A few months ago some people I know asked if I would make a model as a birthday gift for a friend of theirs. After a brief discussion we decided on a British Airways Concorde (their friend lives in England). Naturally I chose the excellent Concorde kit by Ralph Currell and Erik Te Groen. As this was a gift for his 60th birthday I modified the call numbers on the pattern pieces to be the mans initials and year of birth.
The kit includes formers for all main pieces. Assembly starts with the fuselage.


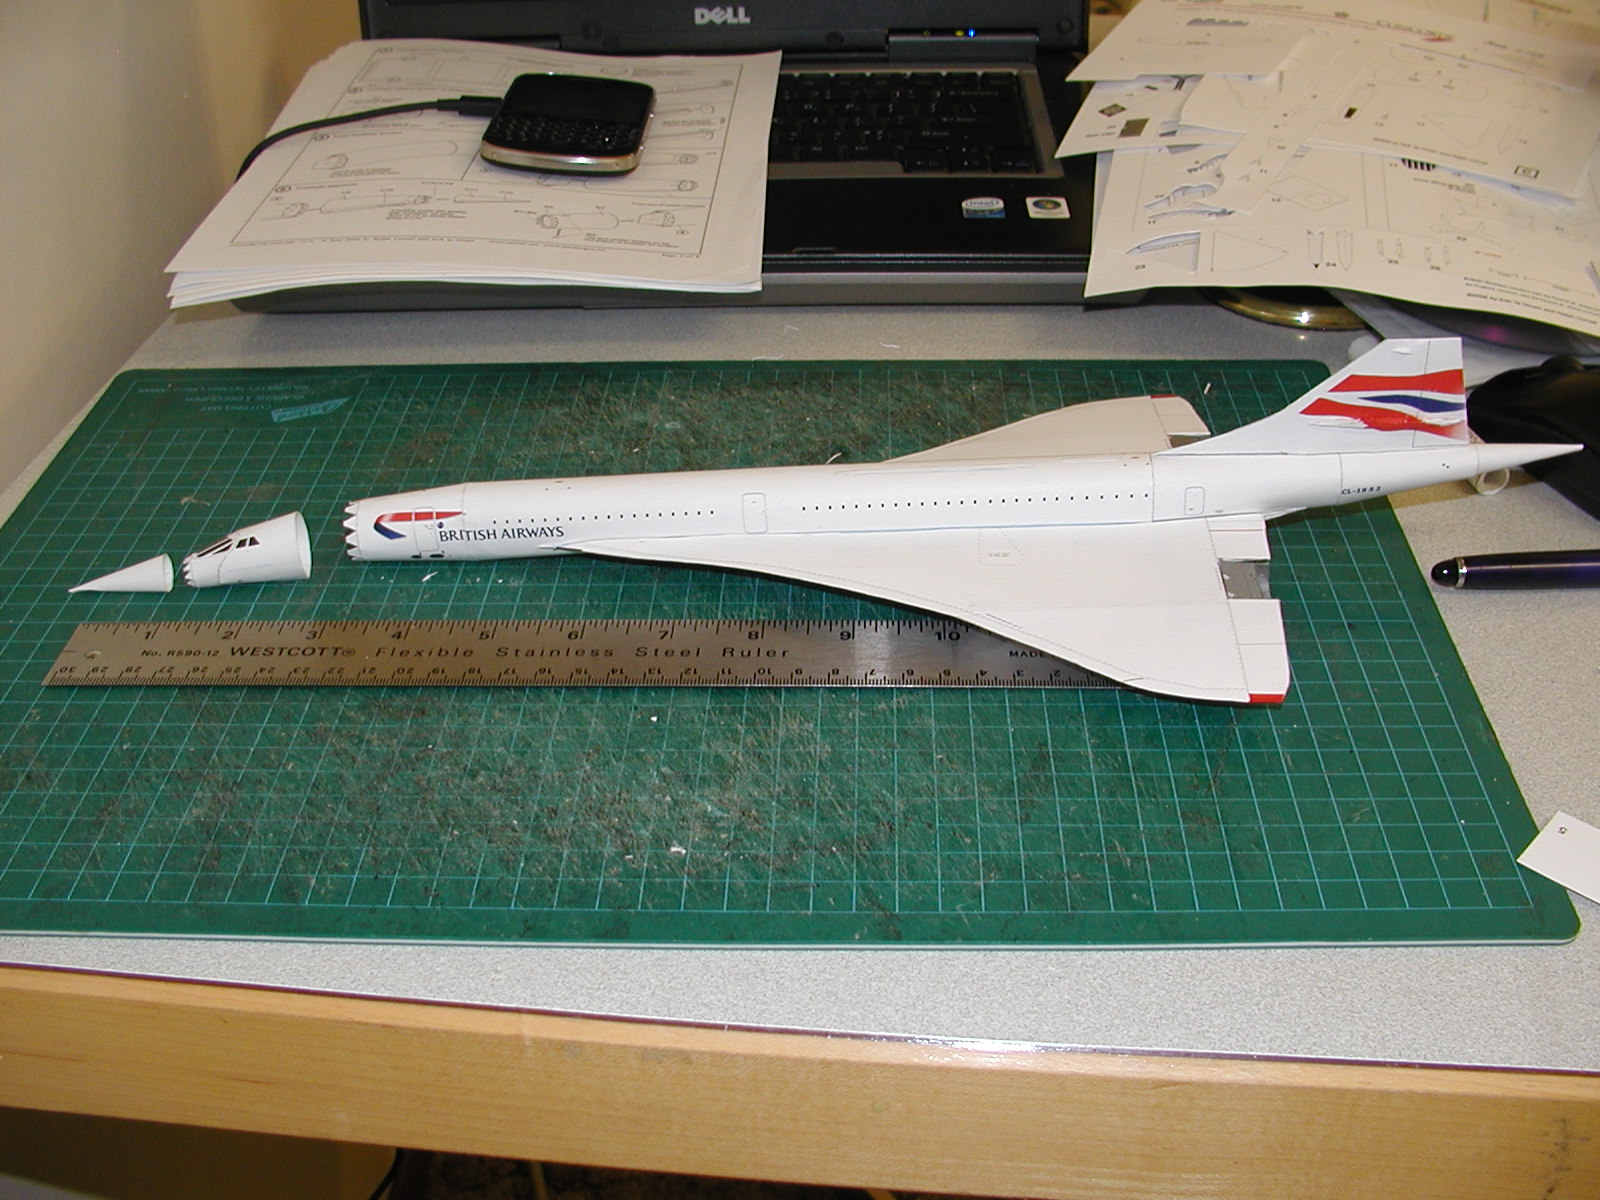
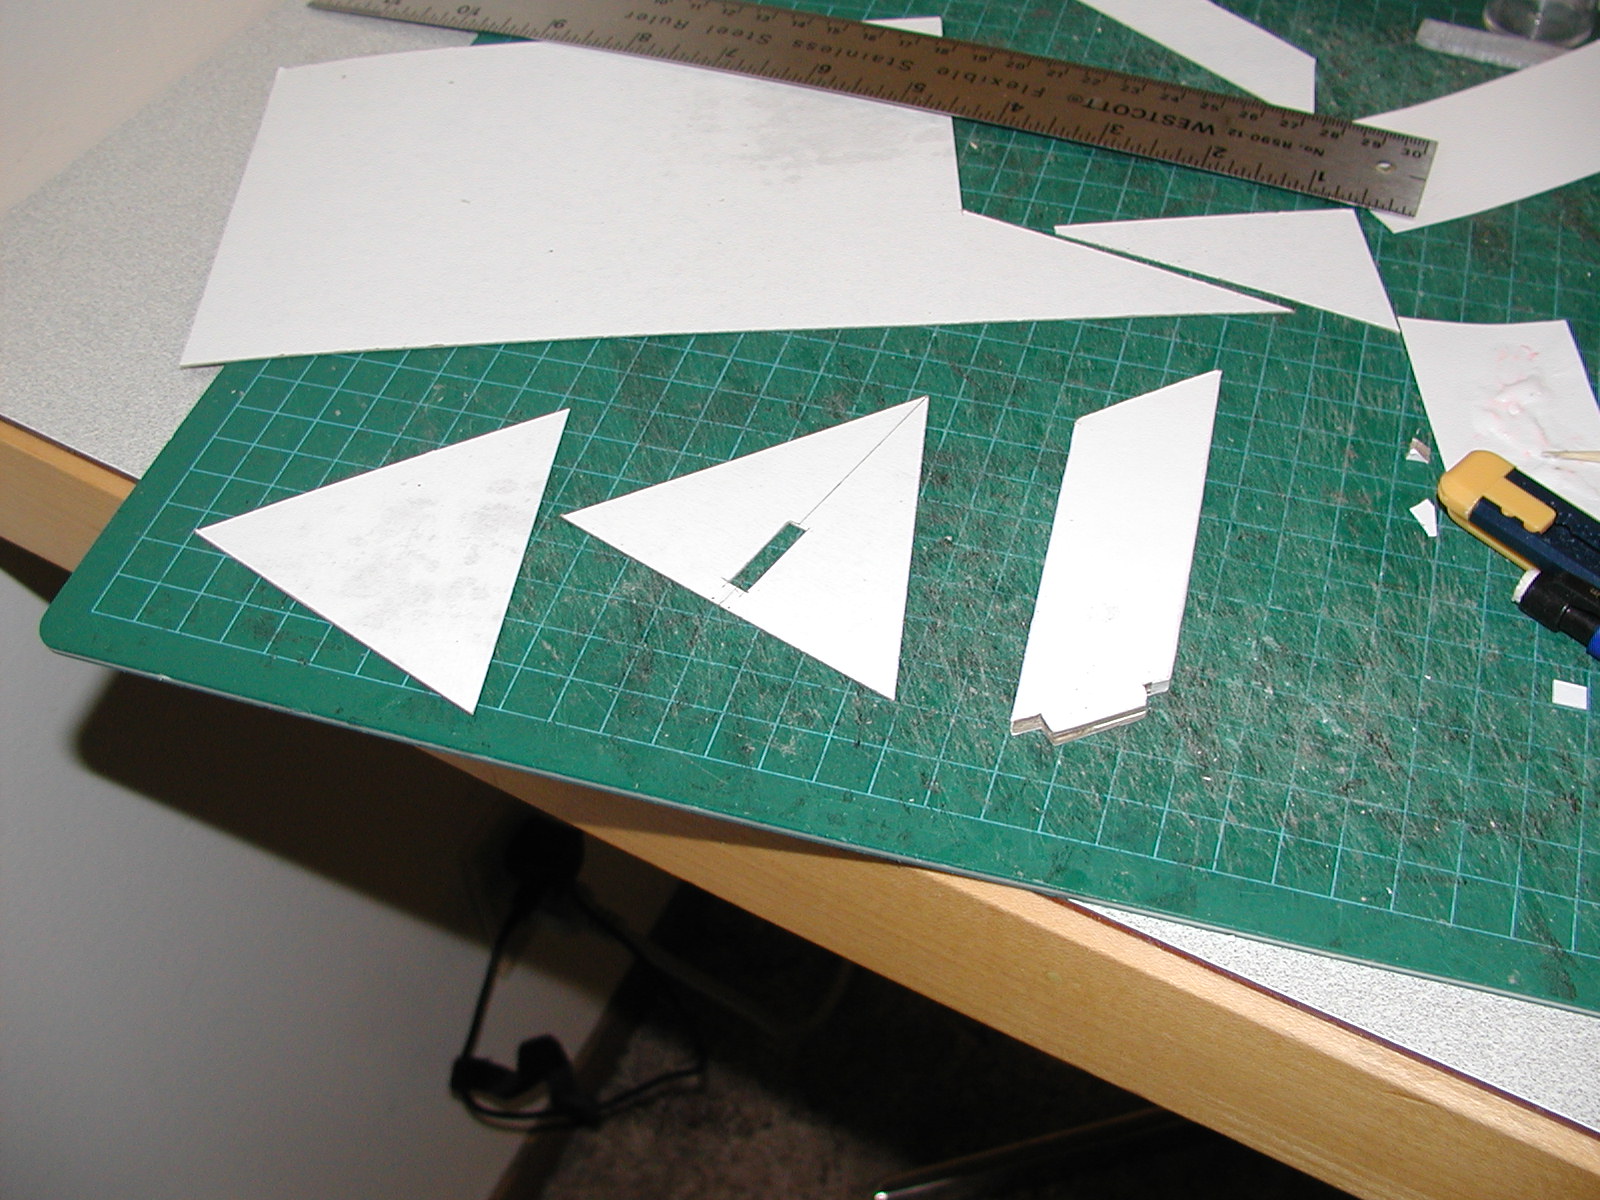
The overall assembly process is to make the main fuselage starting with the center section, add the tail section, then the wings and engines followed by the vertical stabilizer, and finally the surface details.
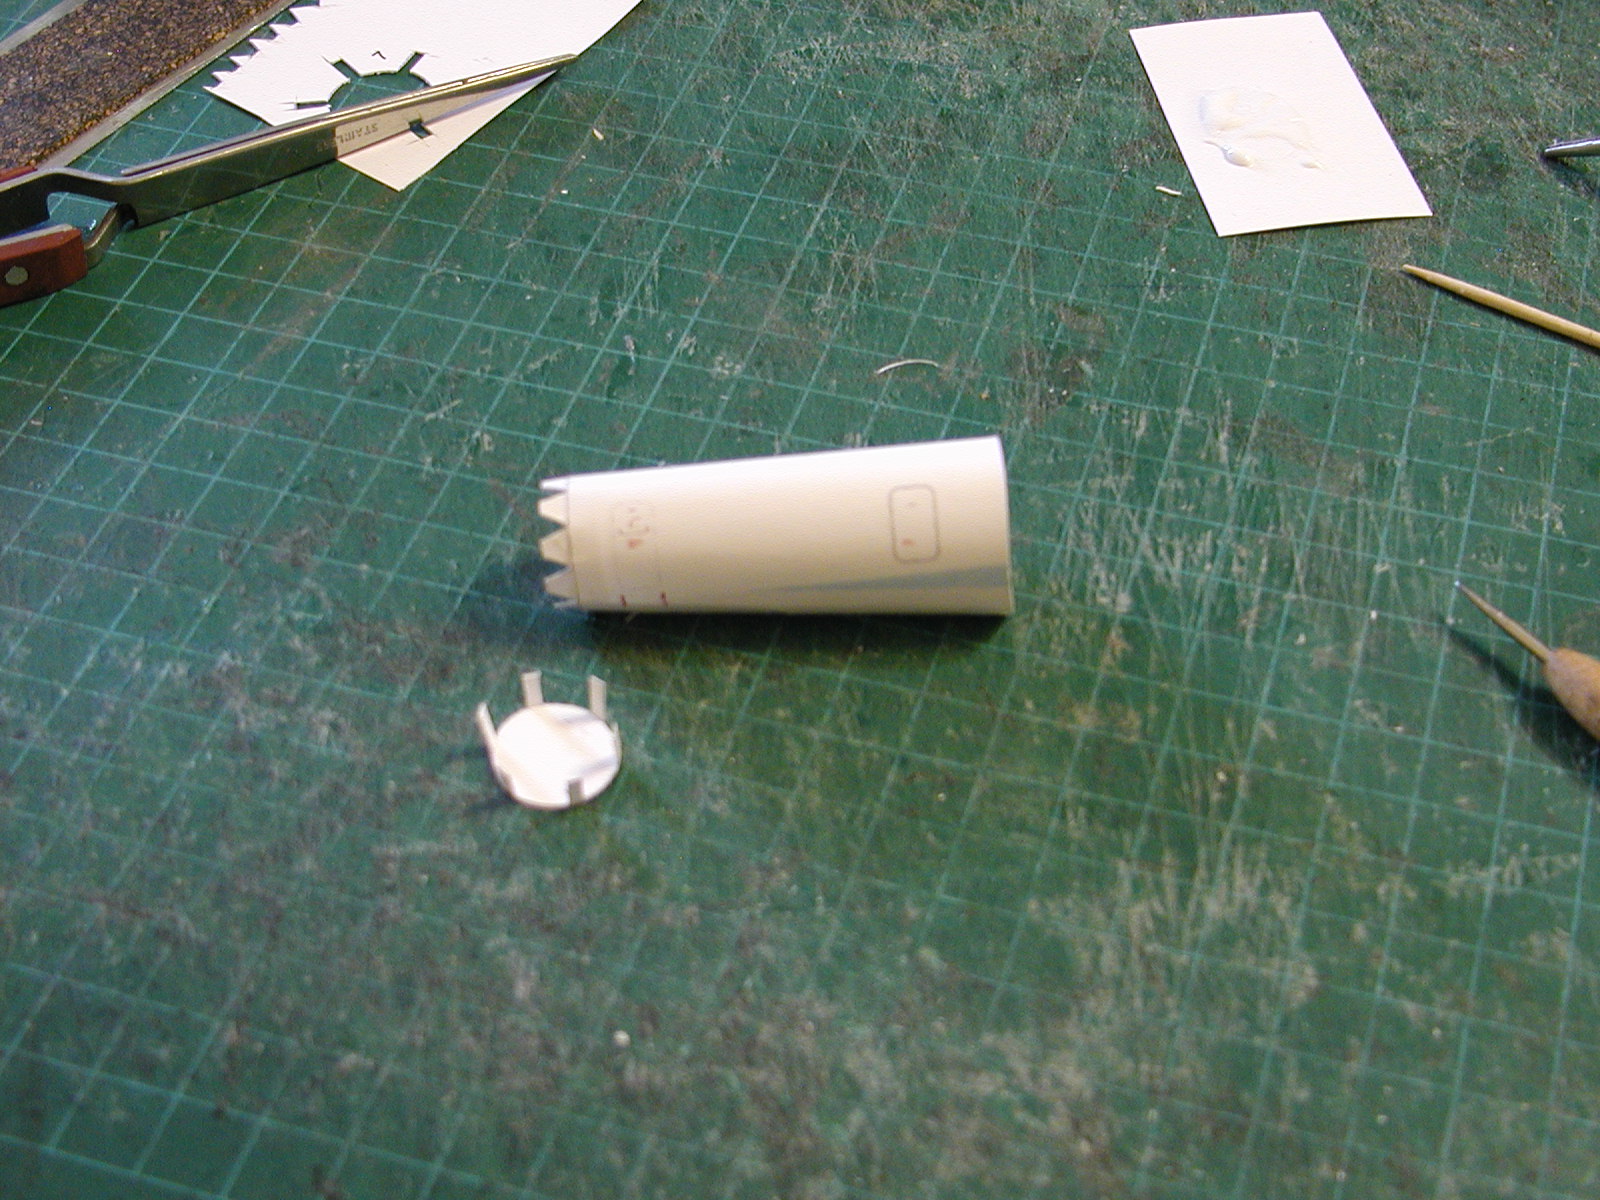
The fuselage sections are designed with joining strips to hold the section together, and formers to set the shape. After closing the section with the joining strips you insert the former to define the cross-sectional shape.
I found it difficult to join the fuselage segments after inserting the formers and had to restart the fuselage three times. Eventually I started from the rear, making the two rearmost segments, joined them together, then inserted the former, and continued working my way forward. For the front I started with the front then worked back toward the center.
More in the next post...
The kit includes formers for all main pieces. Assembly starts with the fuselage.
The overall assembly process is to make the main fuselage starting with the center section, add the tail section, then the wings and engines followed by the vertical stabilizer, and finally the surface details.
The fuselage sections are designed with joining strips to hold the section together, and formers to set the shape. After closing the section with the joining strips you insert the former to define the cross-sectional shape.
I found it difficult to join the fuselage segments after inserting the formers and had to restart the fuselage three times. Eventually I started from the rear, making the two rearmost segments, joined them together, then inserted the former, and continued working my way forward. For the front I started with the front then worked back toward the center.
More in the next post...