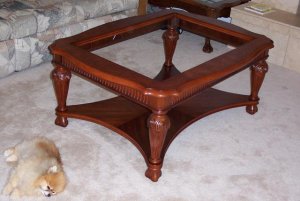
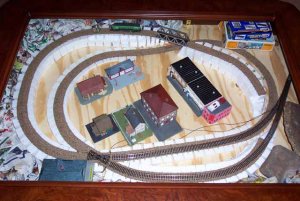
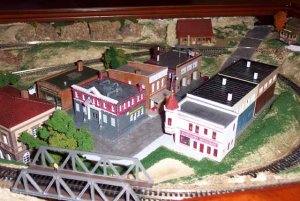
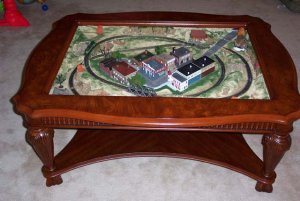
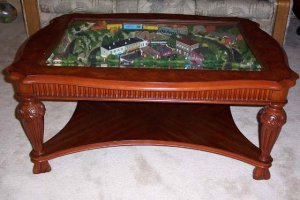
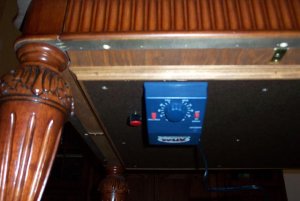
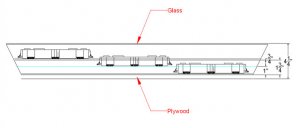
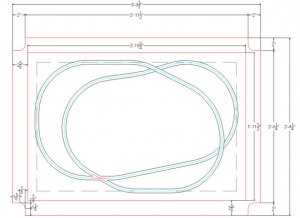
On this particular table, well... hmmm... I thought this was an easy answer but it is kind of complicated the more I think about it. Okay, the first thing I did was cut a piece of plywood to fit inside the existing wood work flush with the bottom of the sides. I then used brass colored L brackets and screws to attach the plywood to the inside sides of the table. The only part of the bracket visible is the small part of the L that hooks underneath the plywood. Below that, attaching to the bottom of the plywood, I created a type of basement space for the wiring. Pictures would be so much easier to describe this... Okay, see picture 1. It's a little blurry but you get the idea. The brown board is separated from the plywood by spacers allowing room for the wiring and to finish it off, I edged it with 1/2" wood corner moulding, and stained the moulding and plywood with the closest color I had laying around in the garage. Phewww.... Then the depth left between the bottom of the glass and the top of the plywood determined the type of layout I would be able to build; in this case a folded figure 8. I placed the crossover at a halfway point between the two to minimize the grades as much as possible (5% max. in one spot) and that left me with just enough vertical room for a bottom cork roadbed, flex track, and boxcar height. On the top, I again had just enough room for a simple bridge structure underneath the track, the track, and again, boxcar height. The whole thing fits with about 1/4" clearance between the top of the boxcar roof and the bottom of the glass. As far as the exact depths were concerned, I could not remember and how to go back and find some of my files. Picture two, hopefully will give you some kind of idea how i came up with the spacing that I did.