A little Diorama for Christmas

OldMiner

Well-Known Member
Jun 12, 2016
275
588
75
77
Nevada
I hope I can get it done in time. My son is a disabled Iraq War veteran. He has lived with my wife and I since he came home in 2006. We are full time caregivers for him. So, when he was in high school, his ‘car’ was my Dad’s ‘69 Bronco. He loved it. We still have it, although it isn’t in running condition now. (LOTS of work to do, LOTS of rust, it was a Kansas City salted rig.)
I thought he should have a little reminder of his ‘car’, so a diorama will result. We also have a Sprinter van that has been modified with a wheelchair lift so Mike can get in and out of the thing. That adds up to a diorama with a Sprinter and a Bronco, and a house with a garage.

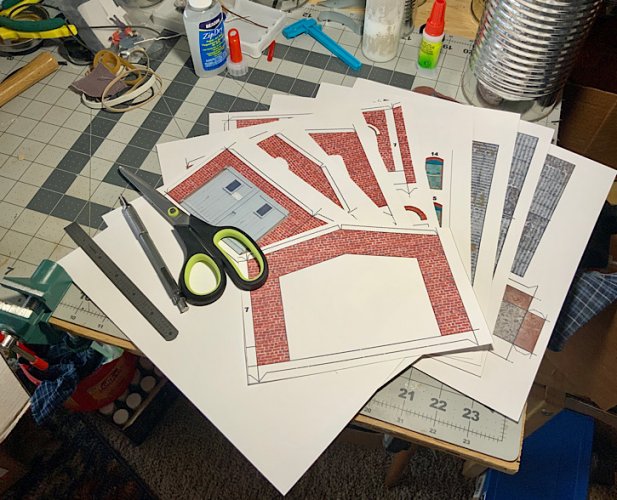
I’ve rescaled and modified this Papermau Warehouse to be the house and garage. It is ready to print now, I printed a test page today and I think I have it right. All this will be in 1:48 scale. It will be mostly paper (110 pound card stock) with a few added bits of wood and plastic.
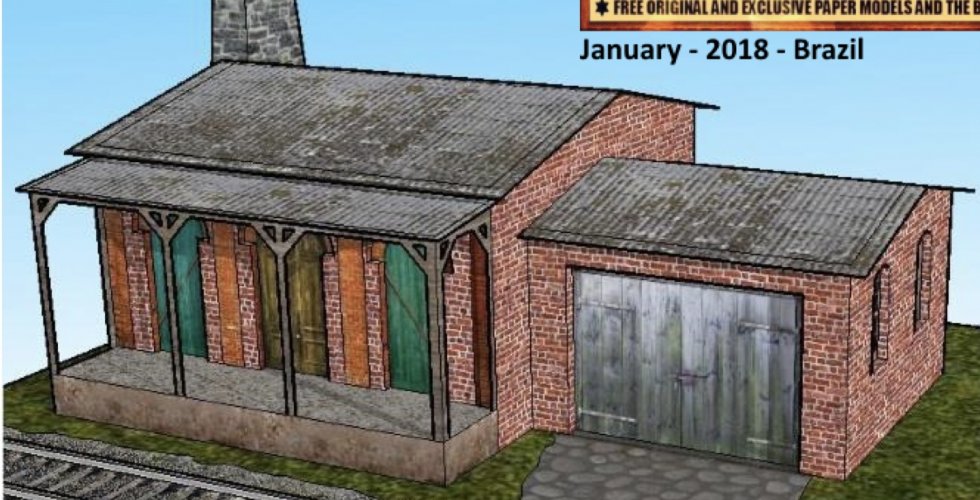
40E86F0F-DBEC-400E-9904-830551E567F0.jpeg

I will need to add a wheelchair ramp to the front porch of the place.

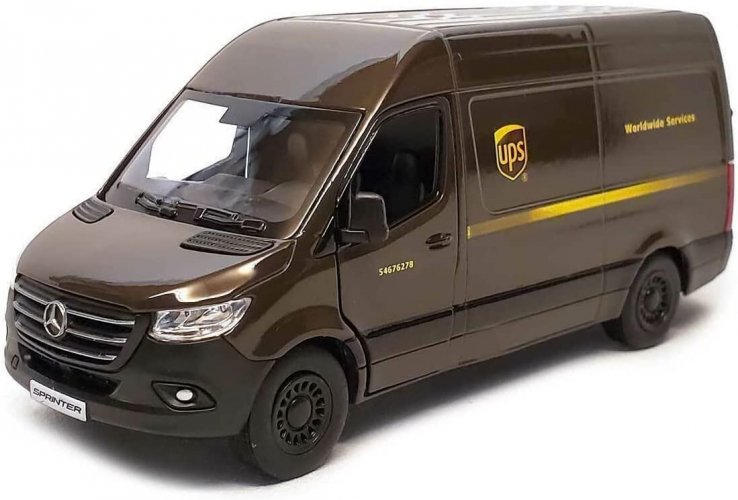
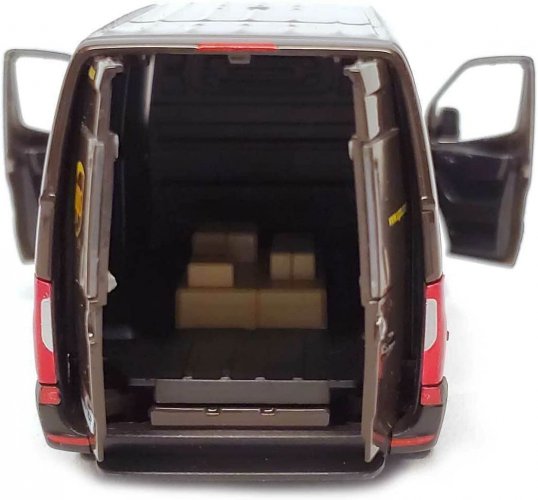
The Sprinter will be represented by this UPS delivery rig. It is a VERY cool little model, with opening doors and a pull back spring motor.
EA0BA6D6-7D05-4C6F-96A9-38980971635B.jpeg

8DAE62A5-0E43-4453-A041-7FFAD5D6ED59.jpeg

The original intent of the diorama was just to have the UPS driver piling packages on the porch. Then the Bronco came to mind. I searched and searched and finally found the perfect paper model on Papercruiser.com. When I told them the story, they sent me the paper pattern for FREE! Great folks. He has some nice models there.

After getting the model, I quickly printed a scaled (at about TLAR scale… that’s That Looks About Right) on ordinary printer paper. Since the old Bronco is now painted flat black and is quite rusty, after checking the scale, which was JUST RIGHT, I printed a grayscale photo quality print on card stock.
Then I snipped out the prototype version in a hurry and glued it together. PERFECT! After that, the Sprinter gave up it’s undercarriage (wheels/chassis/motor) and that was shortened to fit. Again perfect, IMO. (The Brown truck is bringing a replacement Sprinter today)
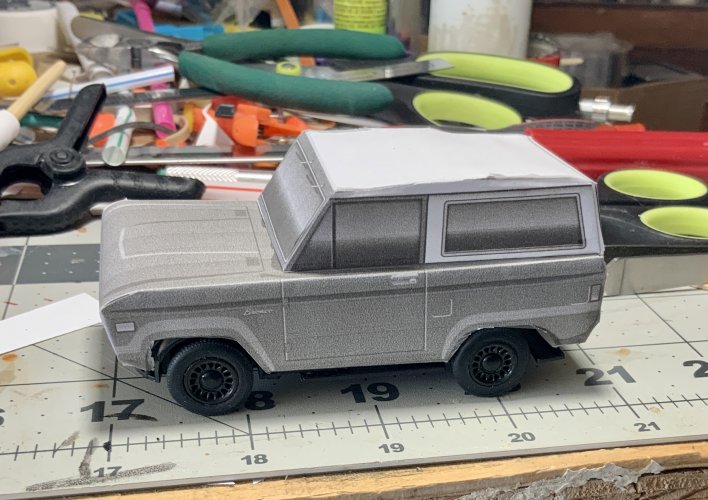
EA707EED-3F0F-4A06-BE2E-66EC6D357A0D.jpeg

This will require a quite a bit of reinforcing inside with wood and plastic but it should work fine. The intent is for the Bronco to be coming out of the garage doors and the UPS guy to be unloading packages on the front porch.
I cleaned off my work table today and put everything else I was working on away to make room to get this done before Christmas.
 
Last edited:

Revell-Fan

Co-Administrator
Staff member
Administrator
Moderator
Aug 1, 2009
11,616
12,357
228
Vreden
I always suspected Santa to go with UPS today. ;)

That is a cool idea! I'm sorry to hear that your son was injured so badly. Hats off to you for taking care of him. I hope that this diorama will cheer him up. :)
 
  • Like
Reactions: OldMiner

OldMiner

Well-Known Member
Jun 12, 2016
275
588
75
77
Nevada
Thanks!
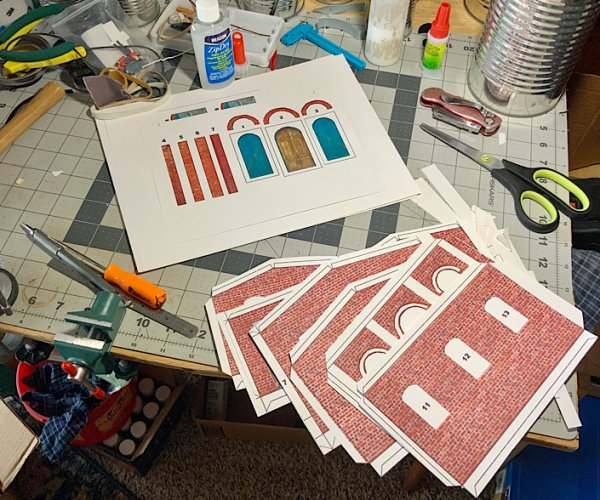
I printed 9 pages of parts this morning and started working on them.

E2D88643-DC93-432F-A0C9-3F12F9E98154.jpeg

As usual, with my attempts to scale individual parts and pages, I had to reprint 2 of them. No worries, there is always need for more building materials. I use an app on my iPad called ‘Print to Size’ and it allows adding individual bits of images, cropping and all sorts of neat things. But, I still don’t have a perfect way to scale things. I finally managed to get a doorway opening height onto a bit of clear plastic and I use that for a lot of things… just hold it up to the screen during the sizing exercise. One of these days, I will come up with a good ‘ruler’ to hold to the screen,
So, then I cut out the main building walls. I will score these and fit them together next. The house and garage will probably be glued down to a cardboard footprint to make handling easier. I want to make the roofs lift off and have wooden structure inside them so we can look inside if we want.

5E4A252D-60C2-491D-8B65-A4D0125EAF33.jpeg
 

OldMiner

Well-Known Member
Jun 12, 2016
275
588
75
77
Nevada
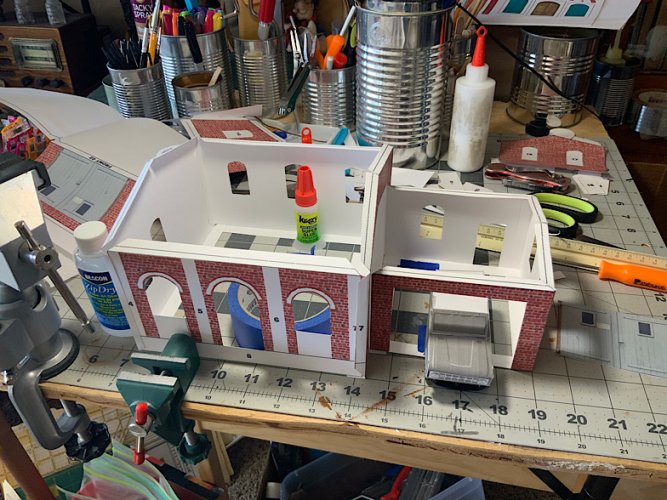
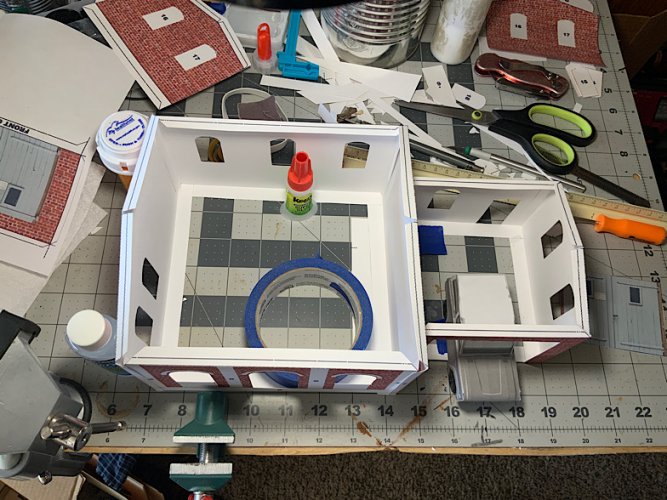
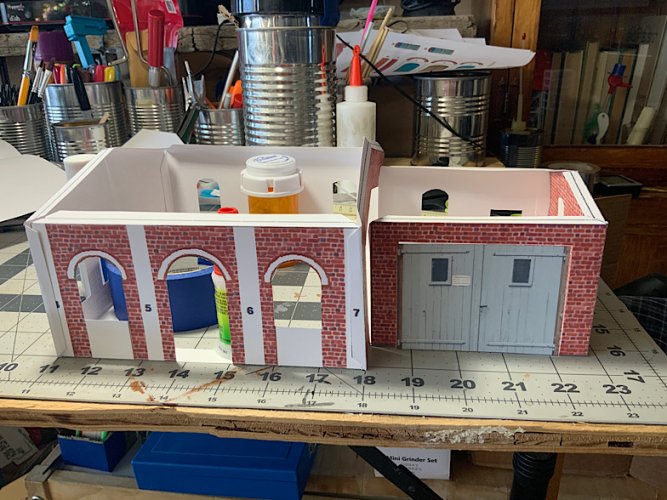
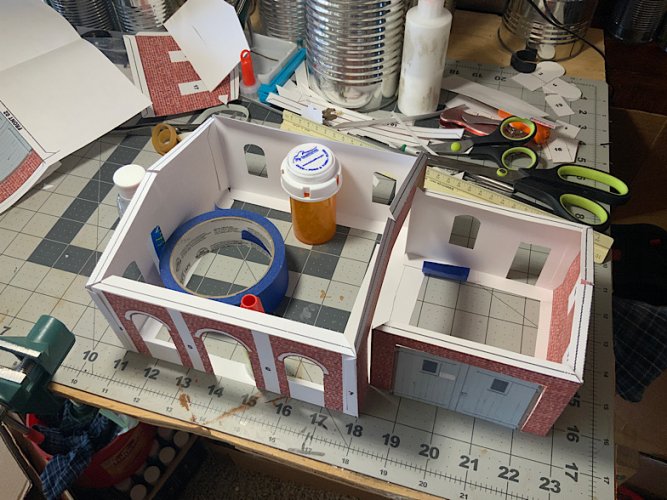
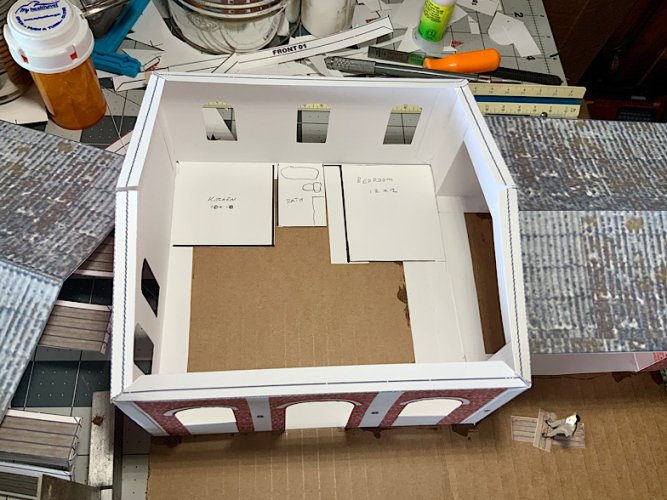
Looks like it will work fine. Now I think I will glue the basic structure together. Only the corners of the garage are glued at this point. I want to put it on a cardboard footprint so I can handle it better while putting in the windows and interior decoration.

57F4F9BF-02A0-44B1-98FE-E191CB5E26FA.jpeg

F24681E6-97CC-4797-803F-CB540AEEF918.jpeg

Once it is on the base, I can decide how the interior will look and design the roof structure. That will probably be stir sticks.
 

OldMiner

Well-Known Member
Jun 12, 2016
275
588
75
77
Nevada
Thanks!
After looking at this in the partly assembled form, I think I will cut the main building down… that is, lower it. We don’t need the loading dock, and it can be a porch at ground level. Makes more sense.
 

OldMiner

Well-Known Member
Jun 12, 2016
275
588
75
77
Nevada
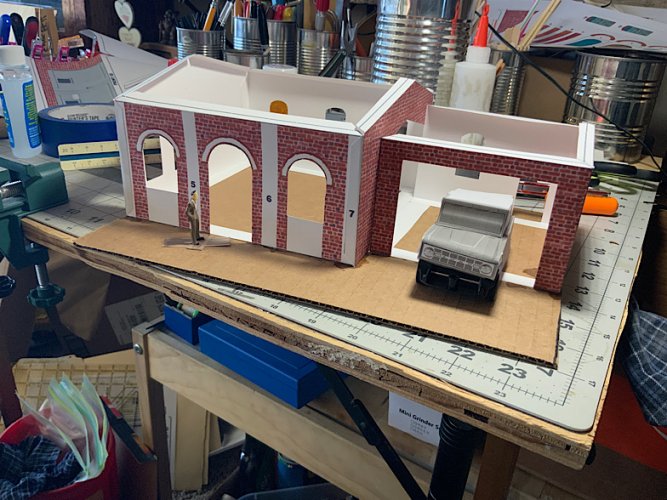
A major change order came in, just in time. Since this is an old railroad warehouse, it is being moved to a more suitable location. That means that the loading dock and raised floor aren’t needed. So, the entire building is now on one level, much more accessible.

6C8398C2-0DE6-4A07-B5FD-D093C084C0C4.jpeg

75A4293C-C3DE-45F0-9DB4-F30D20247789.jpeg

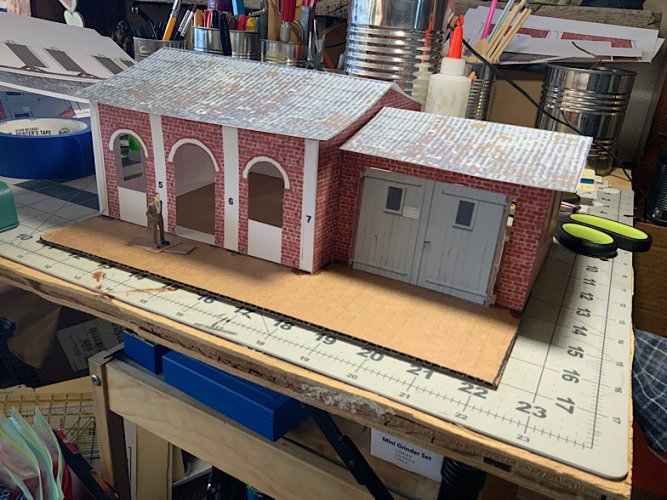
Now it can be attached to the ‘foundation’ footprint.

57822CE6-8834-4A41-94A1-3B266D5F3249.jpeg

B16CE821-0EC0-44FC-A815-A8669EF0BD97.jpeg

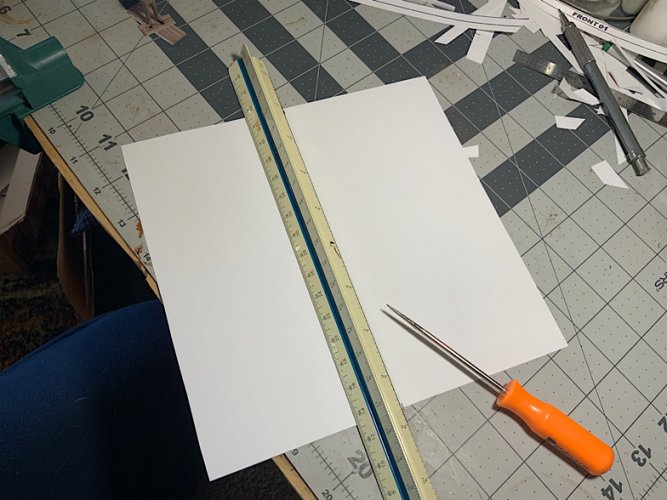
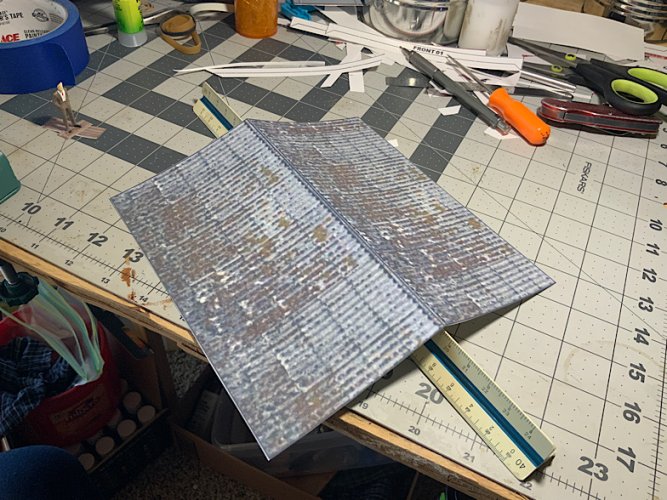
Then the roofing was cut and bent. I like to use my engineer’s scale as a straight edge and a pointy ice pick kind of thing to score the bends with. Then the top edge of the scale can be the ‘brake’ to make the bending even easier.

61FA61A0-FAC2-40AB-B261-A95C08ADE1E5.jpeg

D0C60FDE-C3D8-4A03-9E38-16E670F95F5E.jpeg

And, here is the model with the roof flopped on. The base being attached makes it MUCH easier to detail the rest of the build.
I see those big arched top windows possibly having some stained glass in them. Hmmmm…
Oh, the wooden wall between the garage and house will have a door to access the garage. The main house is about 28’ square.

23B43300-4294-4CB1-97B3-89FDACB2D5E7.jpeg

Making the garage door hinges will be fun. I think I will use paperclip wire. Maybe…
 

OldMiner

Well-Known Member
Jun 12, 2016
275
588
75
77
Nevada
Awesome! I would reinforce the walls and roof with paper or card plates to make them more stable. :)
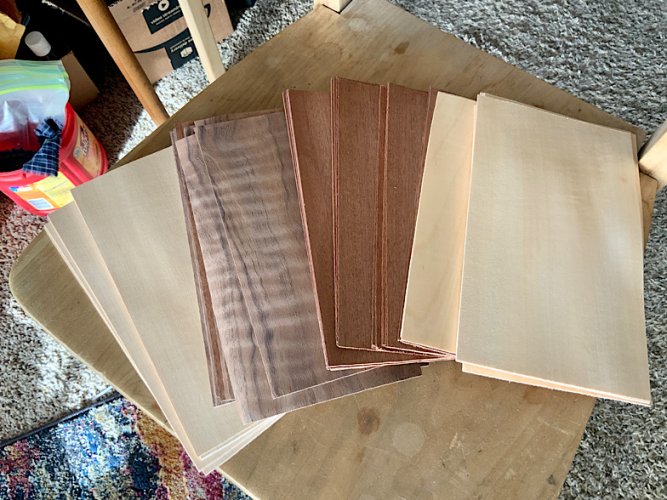
I have a box of wood veneer that I think I will line the roof with, then install the ‘trusses’ or whatever appears there. The walls will get lined and I will probably print that on card stock too. I’m working on the interior layout… kitchen, bath, bedroom, living room now. I do have a huge pile of stir sticks that work great for reinforcing walls and such.
Thanks for the suggestion!13303DE1-300F-4C90-A7DA-F19C591B92A3.jpeg

87AE4B47-C0B9-420F-8FA3-46E7089D58BC.jpeg

The veneer is a little thicker than the 110 pound card stock. With reinforcing from stir stick beams, it should be fine.
 
Last edited:

OldMiner

Well-Known Member
Jun 12, 2016
275
588
75
77
Nevada
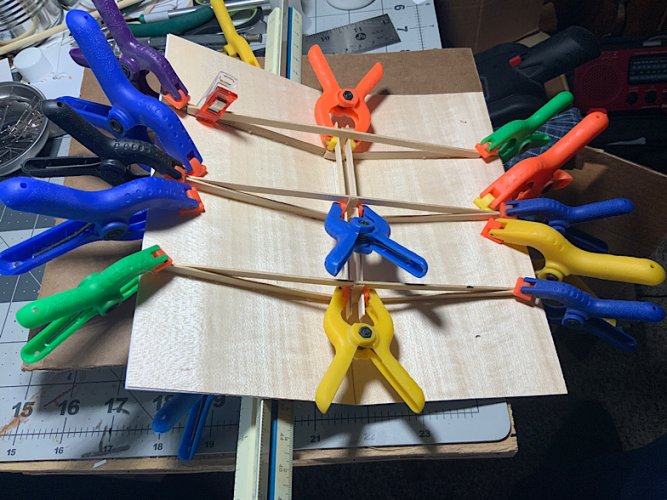
The main house roof is now lined with a light colored veneer. While doing that, I was looking for a weight to keep it flat while the glue dried, and found my ream of legal size 110 pound card stock! And my sizing/printing program allows for that size paper too. Good news.
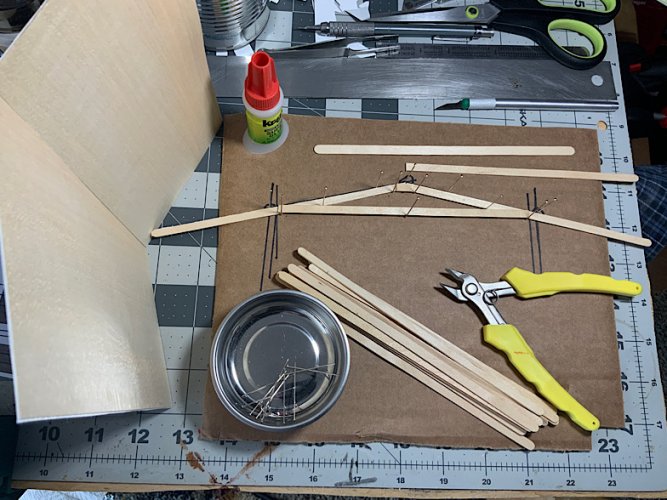
So, we have a lined roof and a truss jig for building the trusses. During the test run, I discovered that I have two widths of stir sticks. ARRGGG! I bought a thousand, but there were some hotel sticks mixed into my tin sitting on the bench. So those got sorted out. Of course, the jig and prototype are made from the narrow ones, but I have enough to make the trusses I need now.

8C959636-3B57-427E-BDCC-81F74750D8FA.jpeg
 

OldMiner

Well-Known Member
Jun 12, 2016
275
588
75
77
Nevada
Heat wave here today. It has made it up to 4 degrees F. About 20 degrees warmer than last night. Tired of cold.

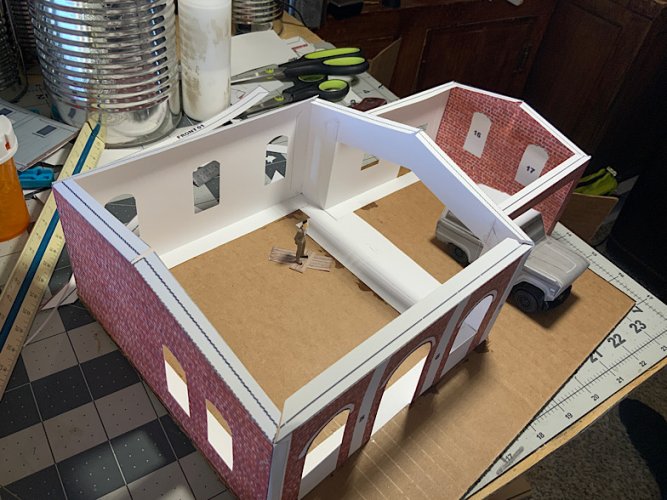
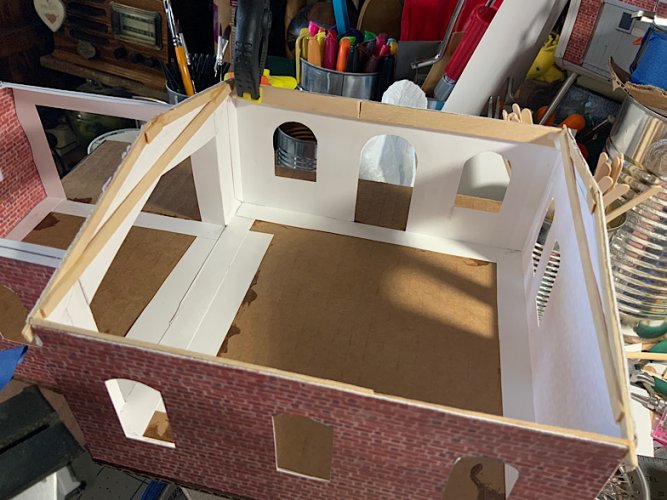
I decided I need 5 trusses. One will be attached to each end wall and 3 to the roof itself. 3 are made now and the one end is glued in place.

4281B7A7-1E67-4012-B91B-0AF1A671B2E5.jpeg

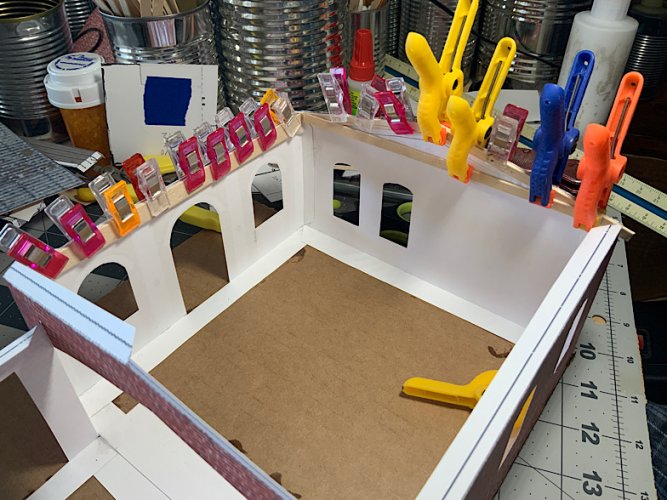
There is a header beam across the top of the front wall and there will be one on the back wall too. I folded the tabs that were made for attaching the roof down onto the walls and glued them in place, for more strength. (Two sides done, two to go)
 

Revell-Fan

Co-Administrator
Staff member
Administrator
Moderator
Aug 1, 2009
11,616
12,357
228
Vreden
Yep, that's exactly how I reinforce walls. I use mainly scrap material, amazon boxes, cardboard inlays etc. Before I use it I make a smell test to see if it is neutral. There is nothing worse than a model which smells like old cheese. ;)
 

OldMiner

Well-Known Member
Jun 12, 2016
275
588
75
77
Nevada
All this house building has worn me out. The trusses are completed and installed. Tomorrow, I will break out the little power tool I bought and notch the front and rear header beams for the rafter tails to sit in. I’ll show the tool, it is a neat, and inexpensive little thing, like a tiny Dremel.

3F2EAB0C-EBD0-4072-A47E-4D1AC8D65B59.jpeg

69AB0481-D11D-49B0-9D80-15FED471FF73.jpeg

The reinforcement is in place around the top of the walls. I am also going to install a round beam under the truss level to stiffen the house from end to end. I want people to be able to ‘raise the roof’ without being afraid of hurting the model.