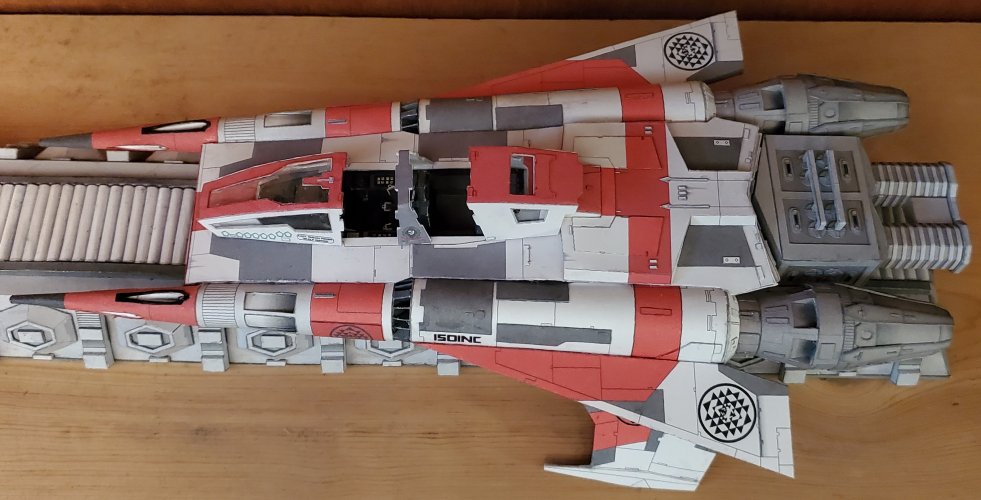
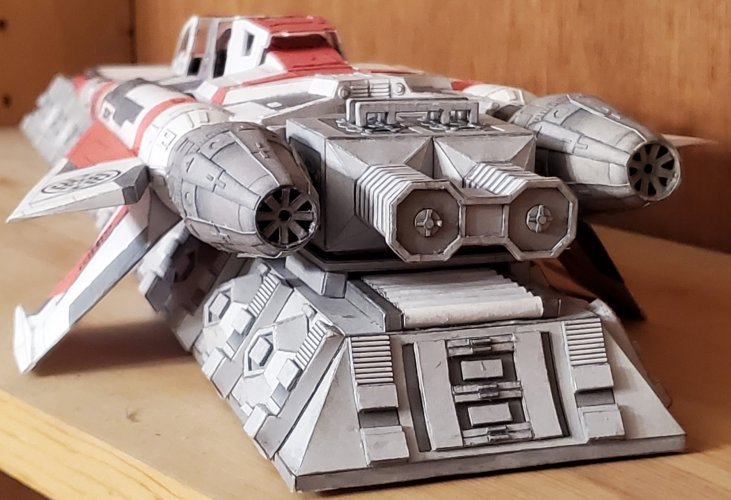
A memorial to my mum (A BRTC25 Thunder Fighter in BSG livery).
- Thread starter Rhaven Blaack
- Start date
You are using an out of date browser. It may not display this or other websites correctly.
You should upgrade or use an alternative browser.
You should upgrade or use an alternative browser.
Thank you sir! There is still a ton more to go!Excellent! The hard work is paying off!
Greebling brings life to a model. I have always loving minute details in things. So, the more greebling the better!!!Is it possible for you not to greenle?
I wholeheartedly agree!!!A life without greebling is possible - but futile.
Now that my (initial beta test build) of the Battlestar Galactica/Buck Rogers Hover Vehicle is complete, I am now, turning my focus back to this project, once again. (*NOTE* I had these photos sitting on the "back burner", whilst I was working on the Hover Vehicle).
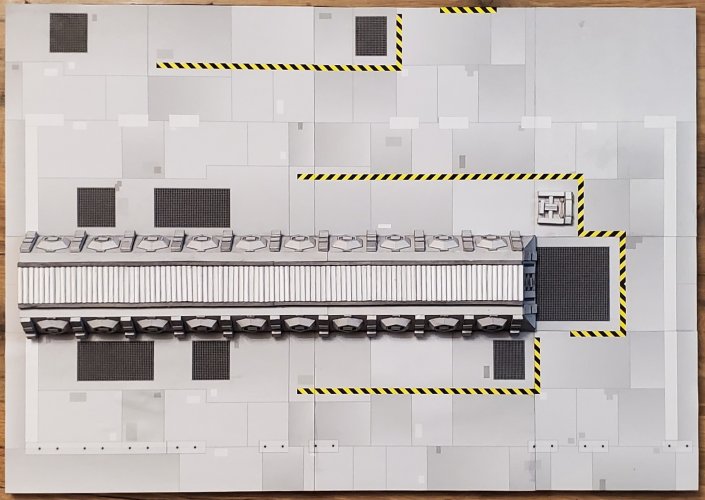
Working on the floor of the Launch bay. I adhered the floor panels to foam core board.
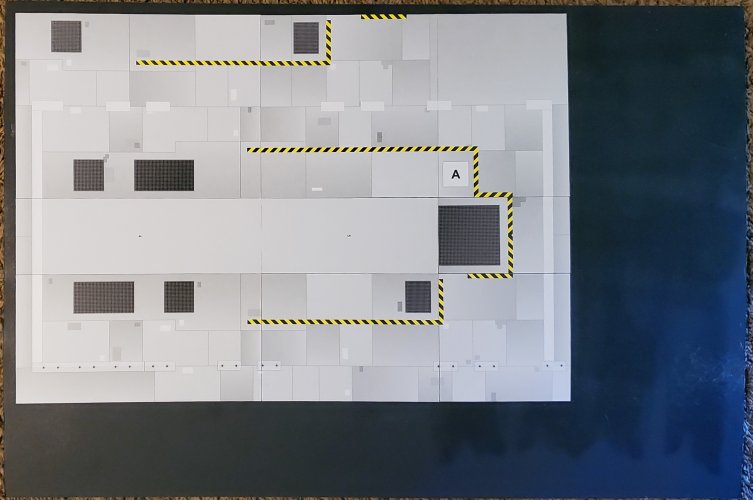
I trimmed the sides, and adhered the floor to very thick corrugated cardboard (for strength and stability).
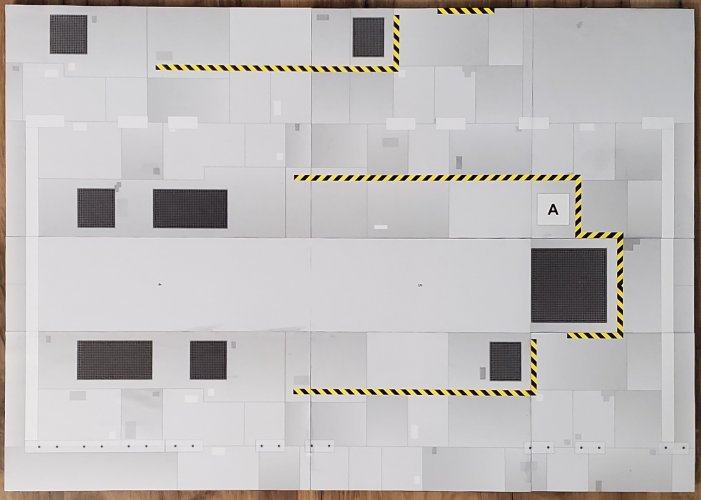
These are the parts for the floor device.
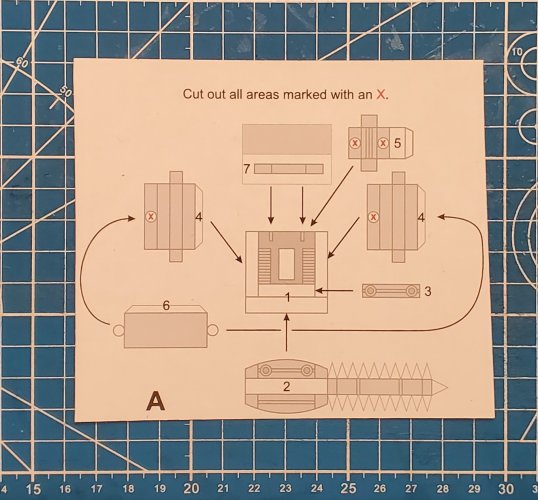
Starting the assembly of the floor devise.
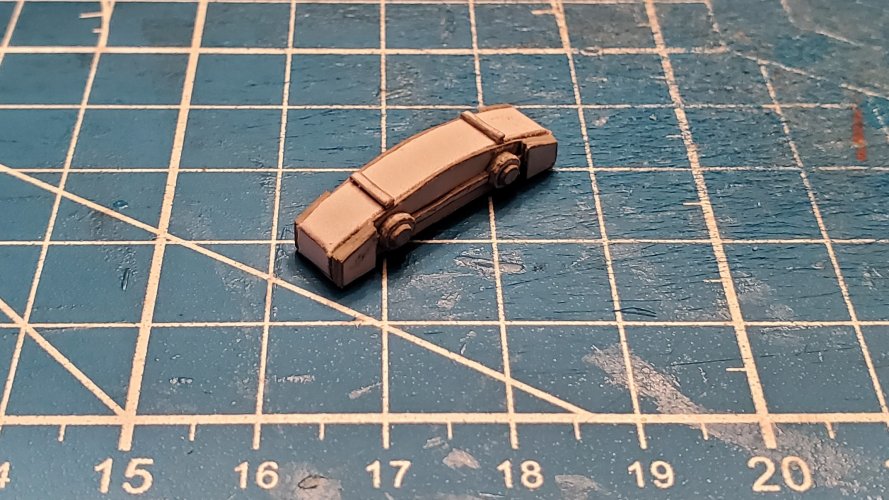
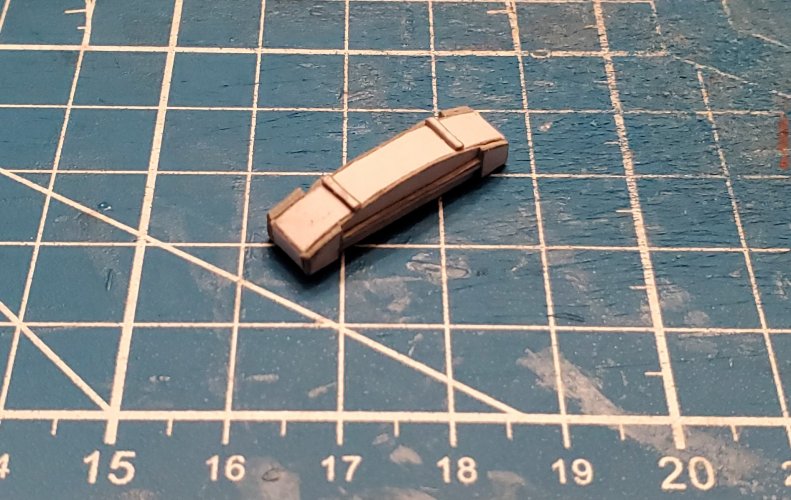
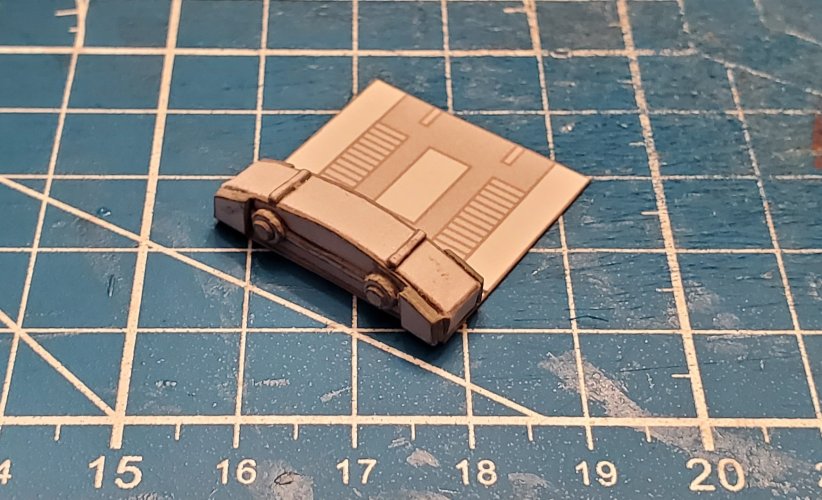
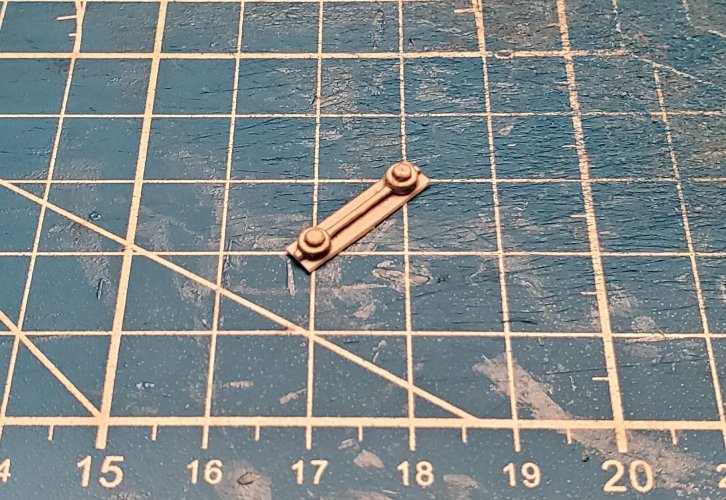
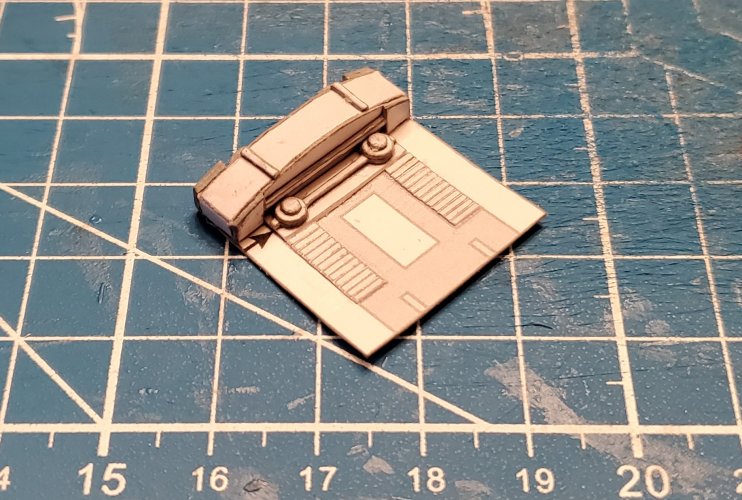
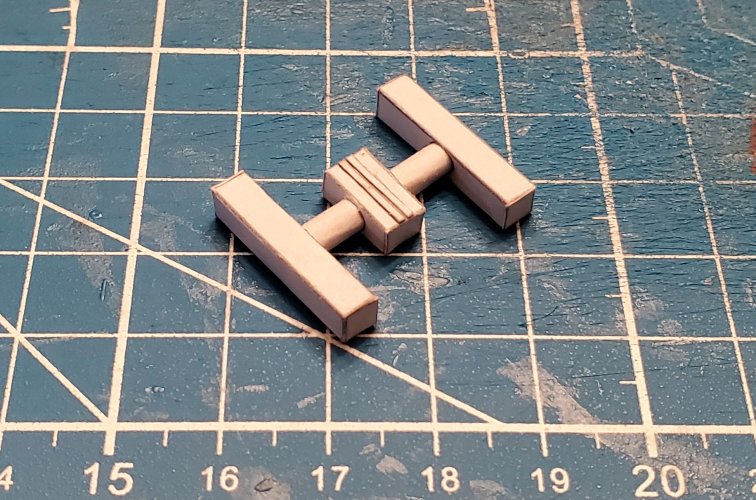
The floor device is fully assembled.
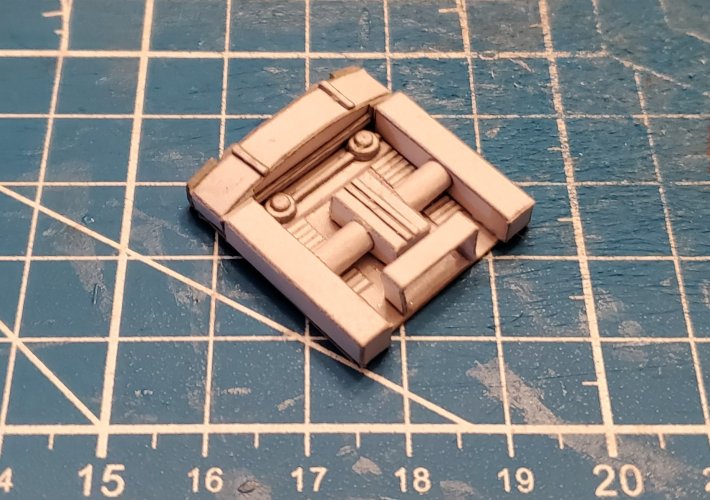
The floor device and launch rail is attached to the launch bay floor.
The Thunder Fighter, launch Rail block, and flight ladder are put in place (none are glued).
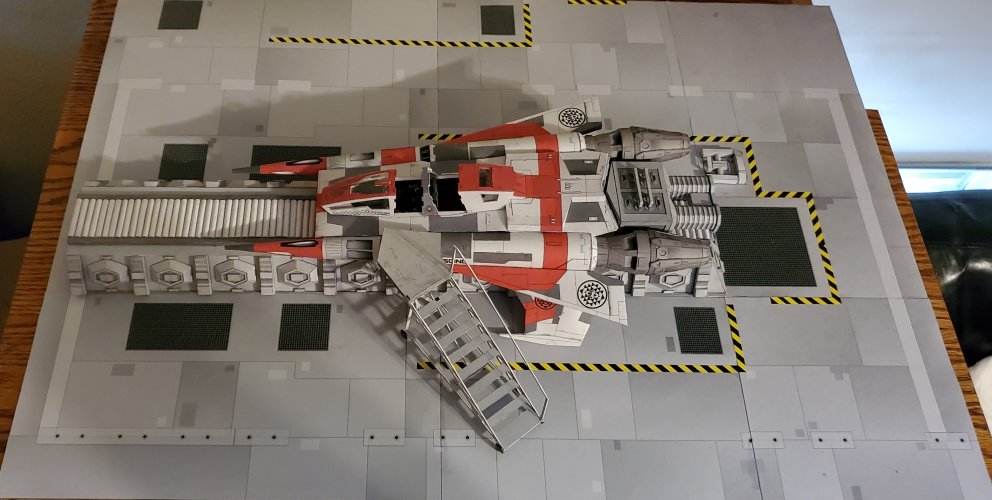
Please stay tuned to your local Colonial Broadcast Network for further updates as they occur.
Working on the floor of the Launch bay. I adhered the floor panels to foam core board.

I trimmed the sides, and adhered the floor to very thick corrugated cardboard (for strength and stability).

These are the parts for the floor device.

Starting the assembly of the floor devise.


The floor device is fully assembled.

The floor device and launch rail is attached to the launch bay floor.

The Thunder Fighter, launch Rail block, and flight ladder are put in place (none are glued).

Please stay tuned to your local Colonial Broadcast Network for further updates as they occur.
I am now working on the walls.
I started with "WALL-1" (the wall connecting the launch bay to the launch tube).
I laminated the parts to foam-core board (for added strength and rigidity).
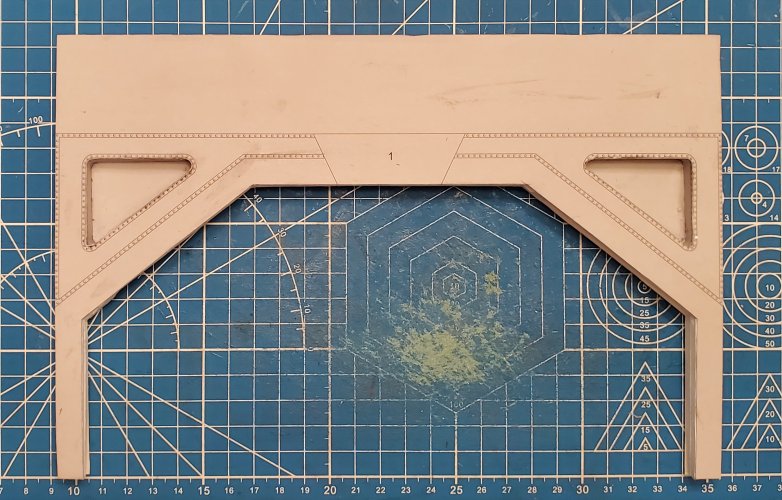
Showing the foam-core board.
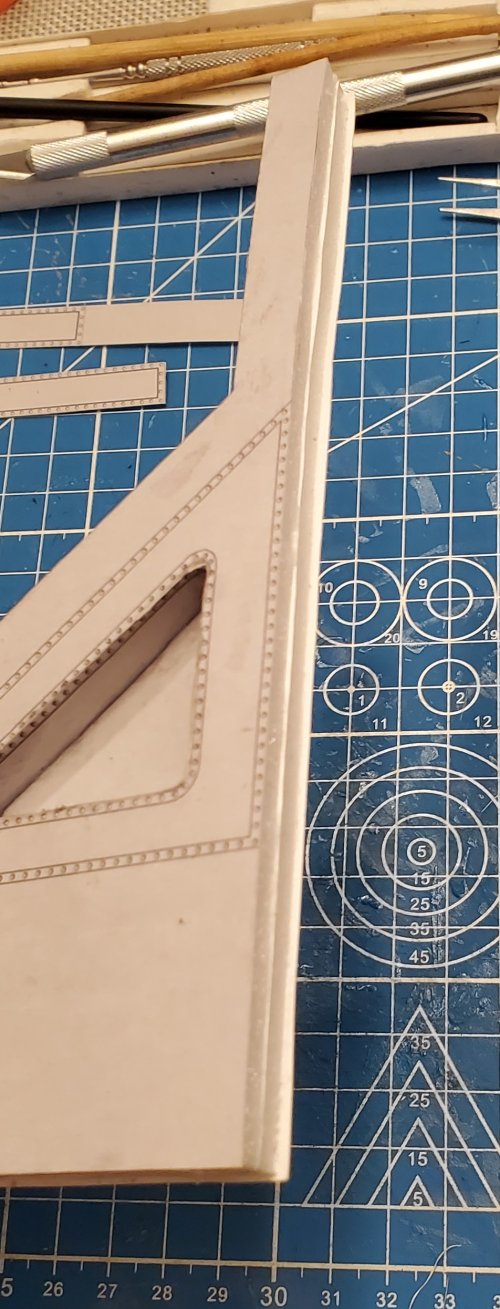
"WALL-1" is fully assembled.
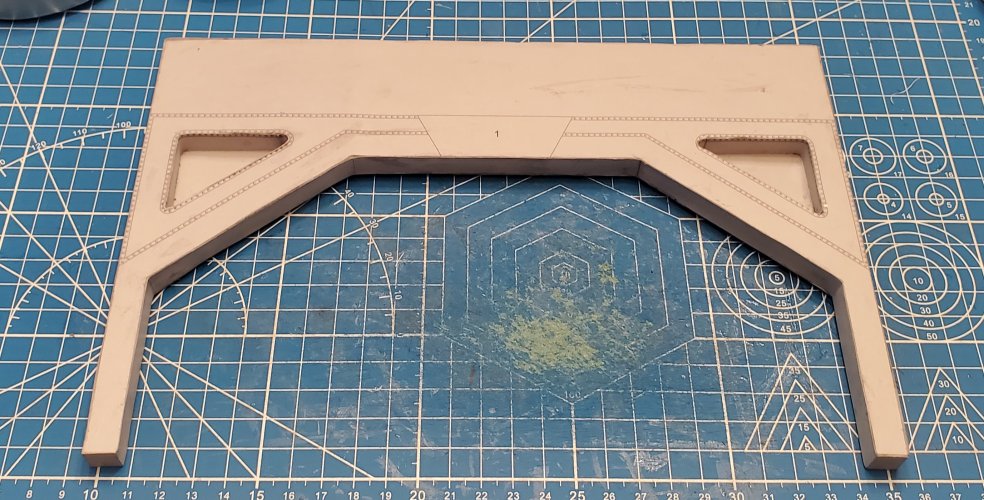
I laminated the "arch" greebling to 0.5mm thick. I also cut out the characters of the "number" plate.
LT-13 ="Launch Tube - 13"
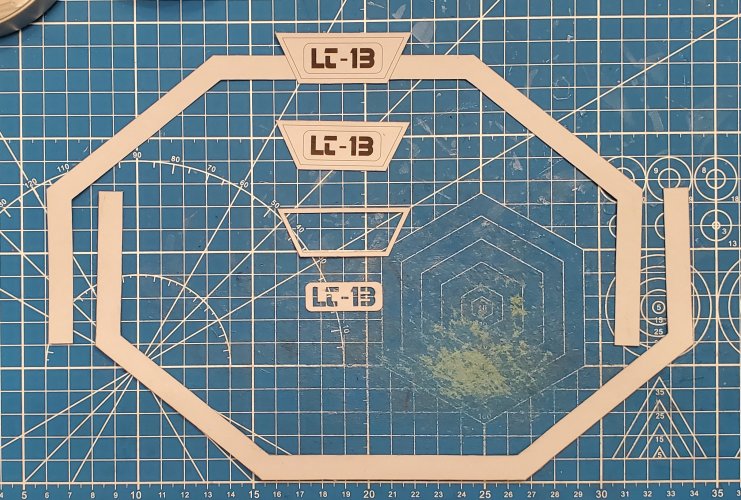
The front "arch" is assembled.
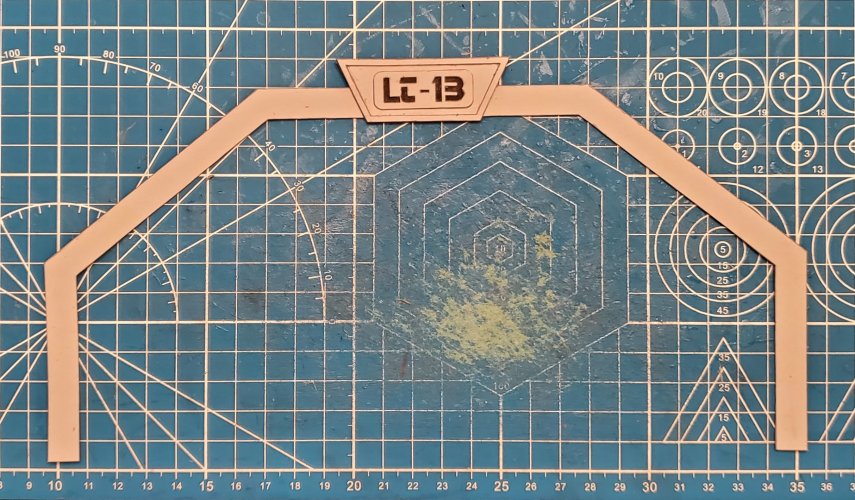
The front "arch" is attached in place.
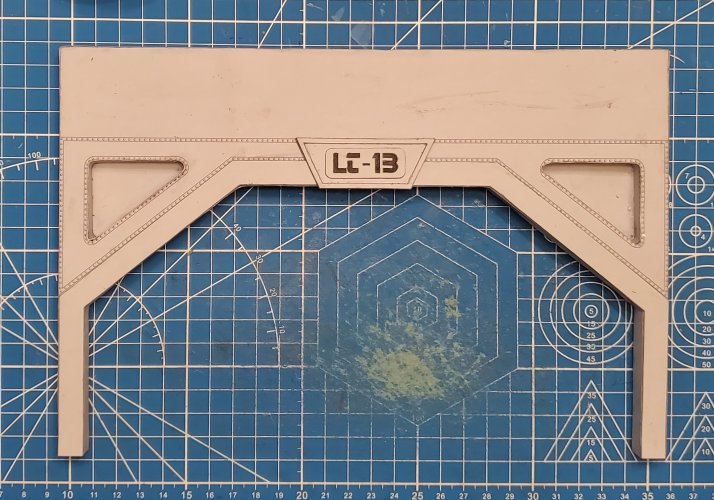
The back "arch" is attached in place.
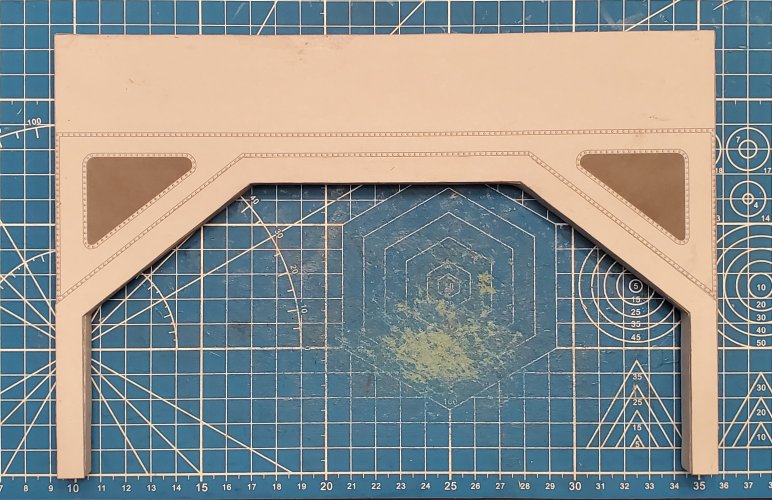
Please stay tuned to your local Colonial Broadcast Network for further updates as they occur.
I started with "WALL-1" (the wall connecting the launch bay to the launch tube).
I laminated the parts to foam-core board (for added strength and rigidity).

Showing the foam-core board.

"WALL-1" is fully assembled.

I laminated the "arch" greebling to 0.5mm thick. I also cut out the characters of the "number" plate.
LT-13 ="Launch Tube - 13"

The front "arch" is assembled.

The front "arch" is attached in place.

The back "arch" is attached in place.

Please stay tuned to your local Colonial Broadcast Network for further updates as they occur.
Last edited:
Greetings Ladies and gentlemen! It is time again for another update. This is "WALL-2" (this is the "back wall" with the lift, connects to the other bays).
I laminated the both parts on foam-core board.

Here are both parts laid out, to show that they are laminated to foam-core board.
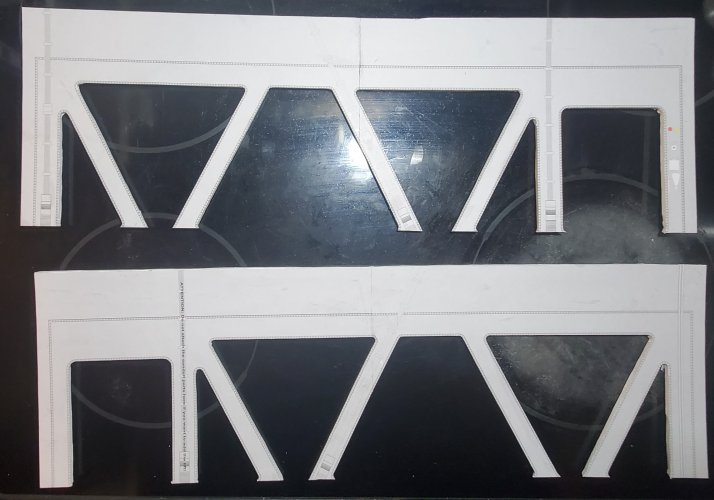
Both sides are sandwiched together, to form a solid piece.
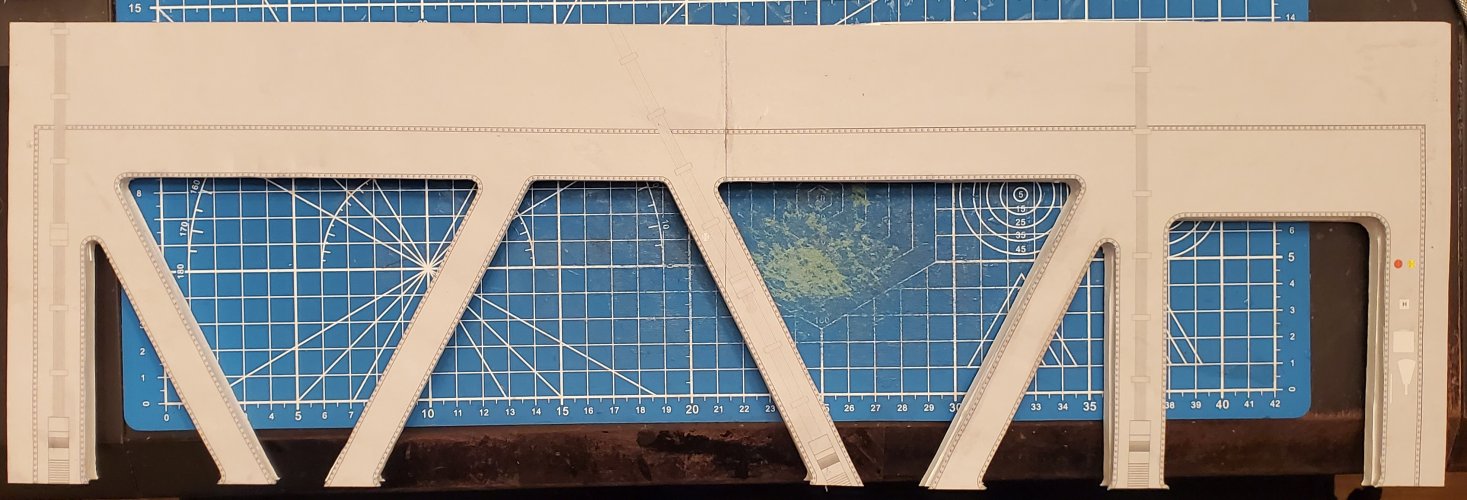
Here are two of the conduits.

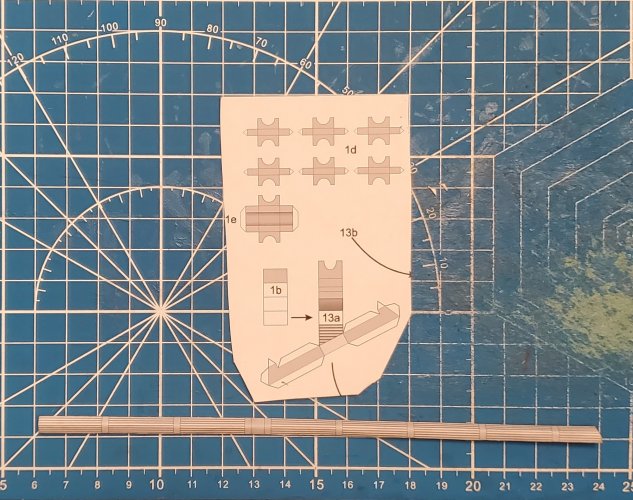
Both sets of conduits are attached in place, to the back side of the wall.
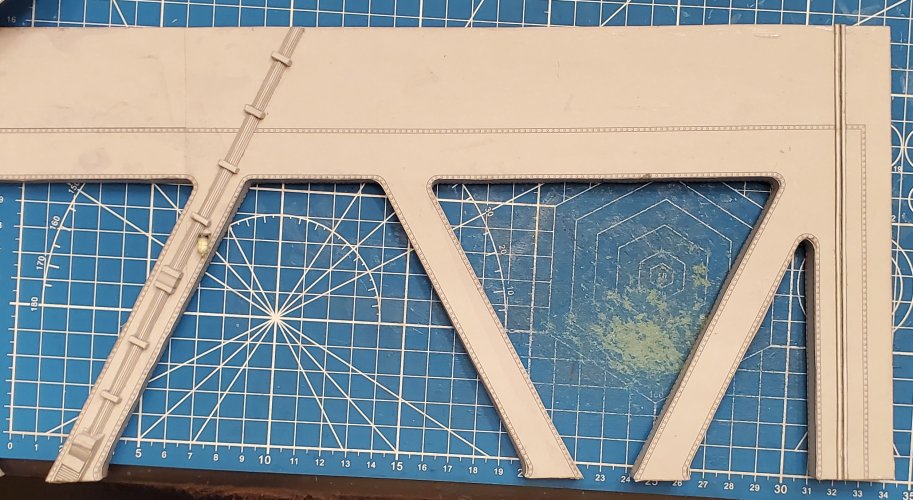
Another conduit and a light is attached in place, to the back side of the wall.
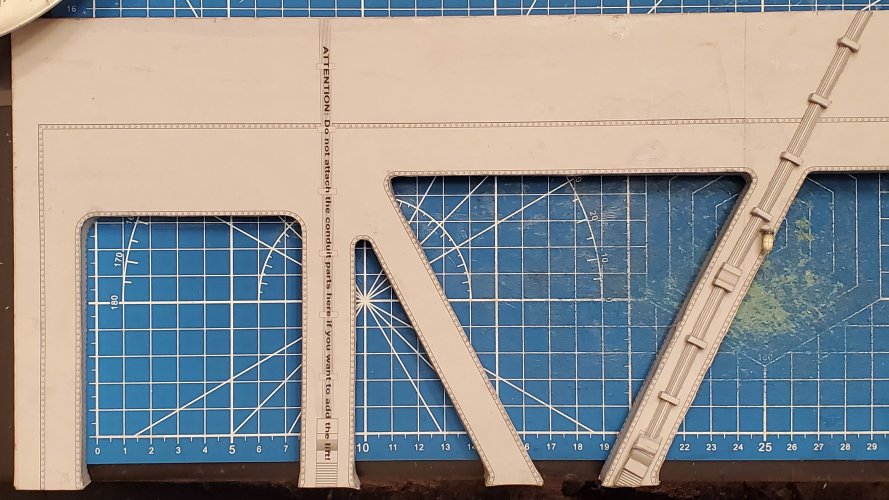
Moving on to the lift assembly. The is the backplate/guide for the lift. The parts are laminated on foam-core board.
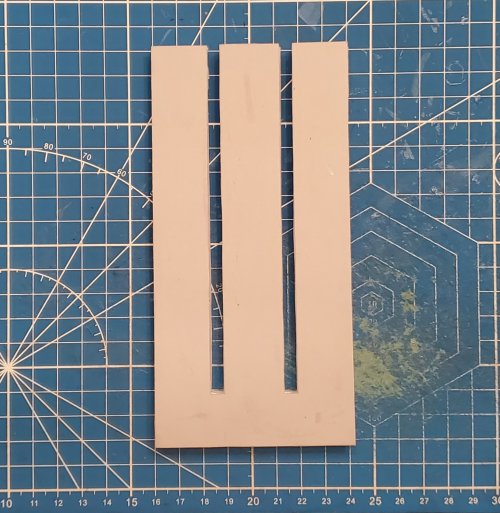
Here is the lift cabin and the lift connector. The parts are laminated to foam-core board.
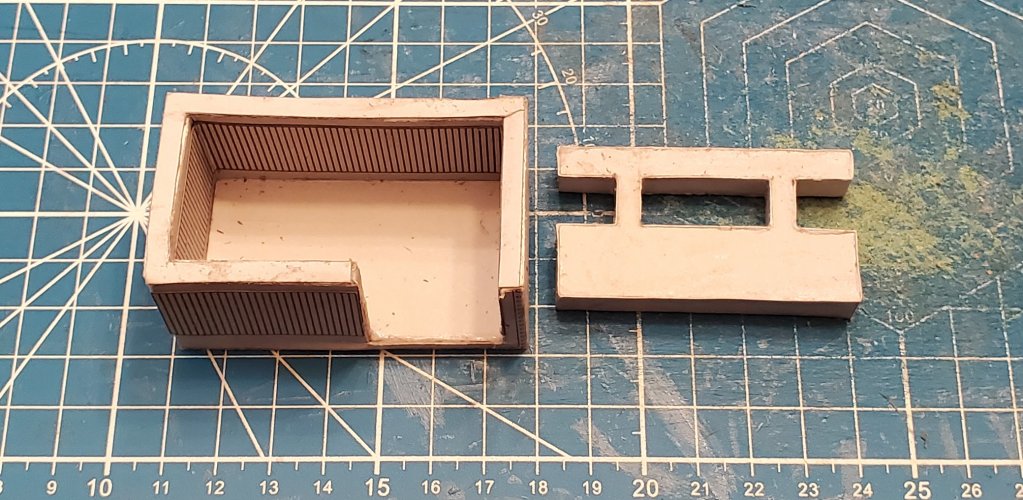
The lift cabin and the lift connector are attached to one another!
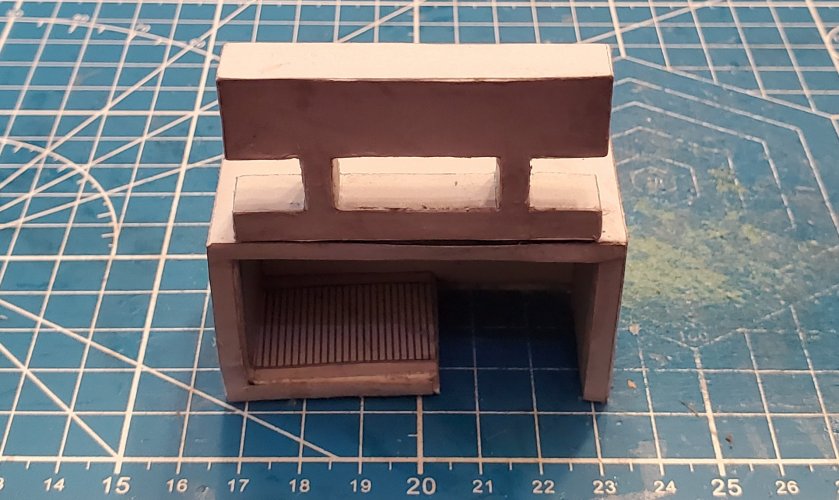
The lift cabin and the lift connector are connected to the backplate/guide.
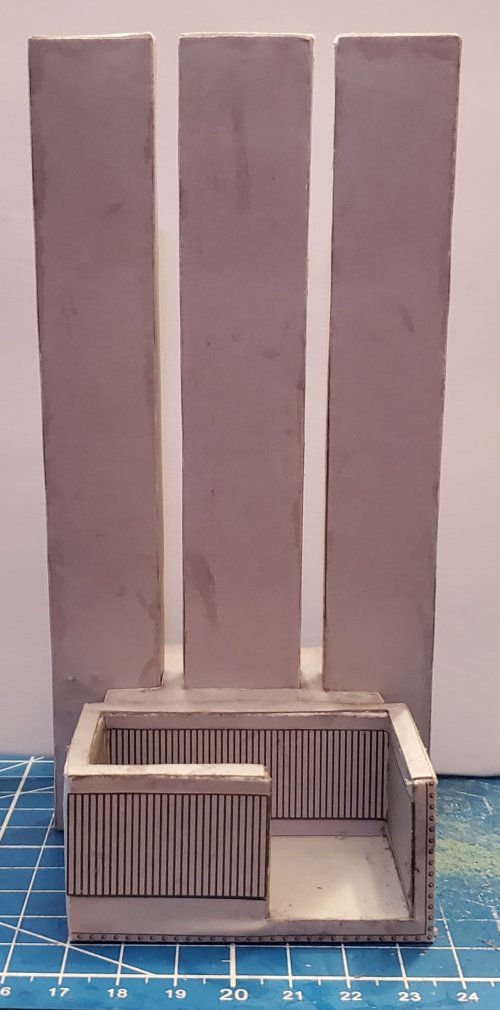
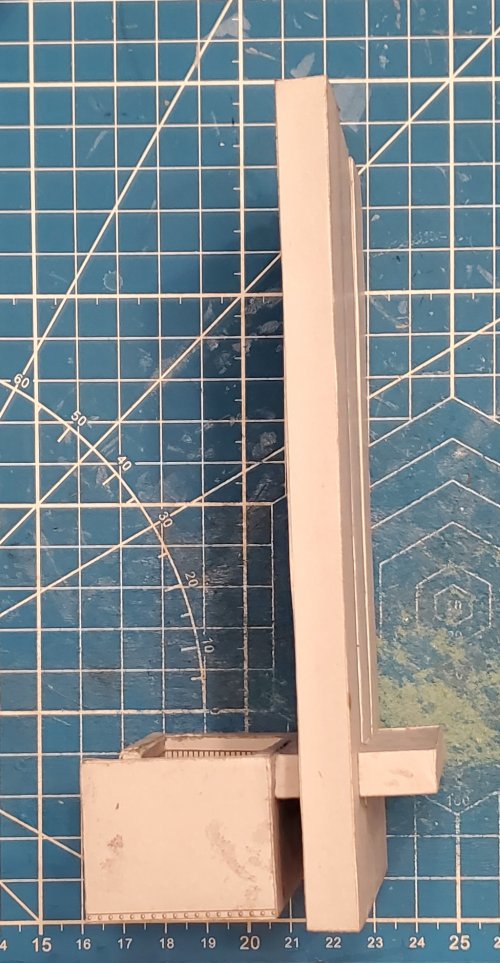
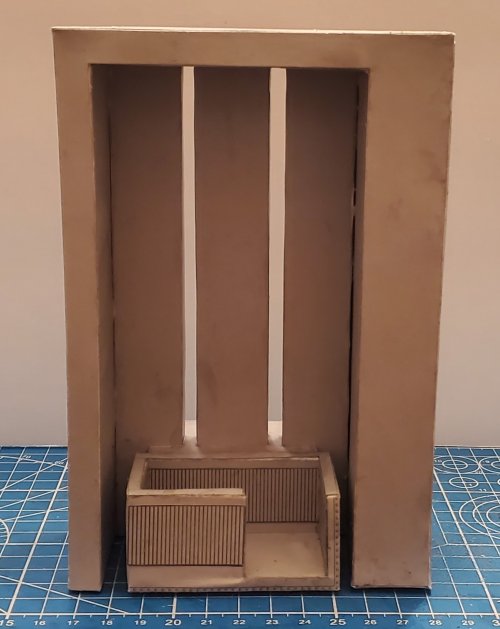
Here is the lift booth. The parts are laminated to foam-core board.
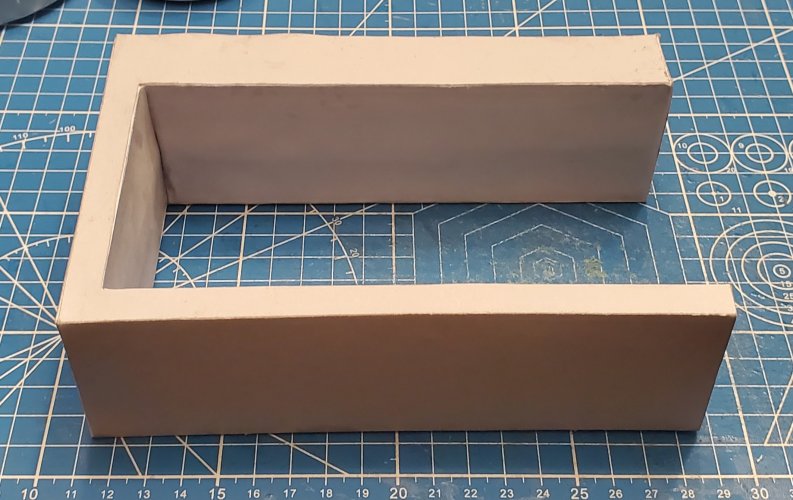
The lift assembly is complete.
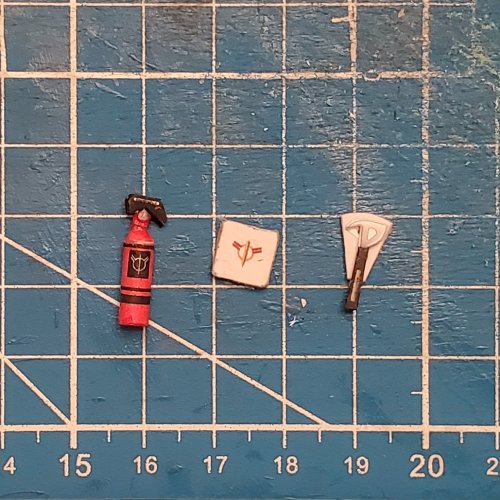
Here are the fire extinguisher, first-aid kit, and hatchet.
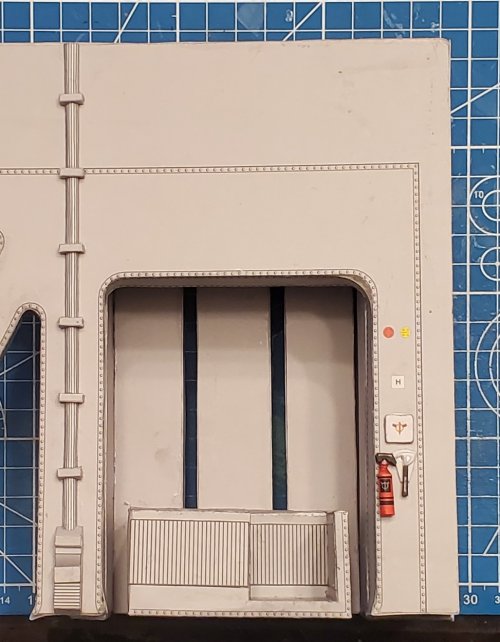
The lift assembly is attached in place on the back of the wall. A conduit, the fire extinguisher, first-aid kit, and hatchet are attached in place on the front of the wall.
The lights and Clackson are attached in place.
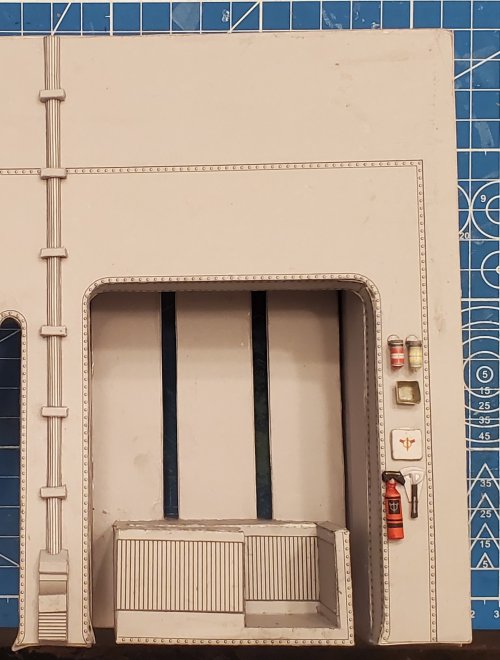
The rest of the conduits are attached in place to the front of the wall. This wall is complete.

Please stay tuned to your local Colonial Broadcast Network for further updates as they occur.
I laminated the both parts on foam-core board.

Here are both parts laid out, to show that they are laminated to foam-core board.

Both sides are sandwiched together, to form a solid piece.

Here are two of the conduits.


Both sets of conduits are attached in place, to the back side of the wall.

Another conduit and a light is attached in place, to the back side of the wall.

Moving on to the lift assembly. The is the backplate/guide for the lift. The parts are laminated on foam-core board.

Here is the lift cabin and the lift connector. The parts are laminated to foam-core board.

The lift cabin and the lift connector are attached to one another!

The lift cabin and the lift connector are connected to the backplate/guide.


Here is the lift booth. The parts are laminated to foam-core board.

The lift assembly is complete.

Here are the fire extinguisher, first-aid kit, and hatchet.

The lift assembly is attached in place on the back of the wall. A conduit, the fire extinguisher, first-aid kit, and hatchet are attached in place on the front of the wall.

The lights and Clackson are attached in place.

The rest of the conduits are attached in place to the front of the wall. This wall is complete.

Please stay tuned to your local Colonial Broadcast Network for further updates as they occur.
Last edited:
Thank you sir!!!Great work, bro! It's coming together nicely!

O my goodness thats looking awesome. great work. I think I will try ro make someting similair for my Tie hanger.
Thank you sir!O my goodness thats looking awesome. great work. I think I will try ro make someting similair for my Tie hanger.
I would like to see a TIE hangar. I think that it would be interesting to see.


