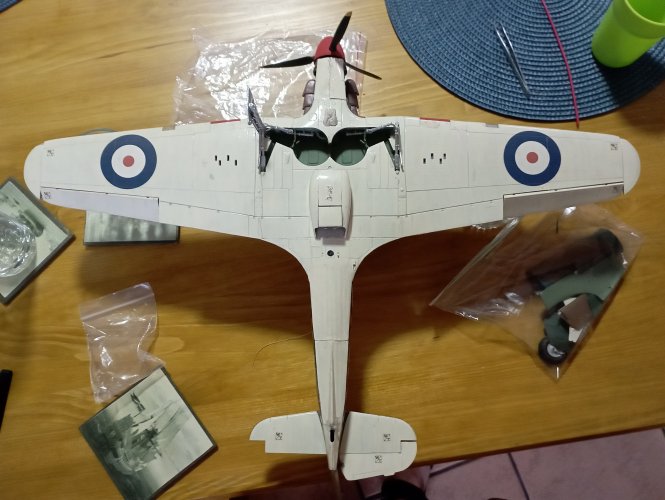
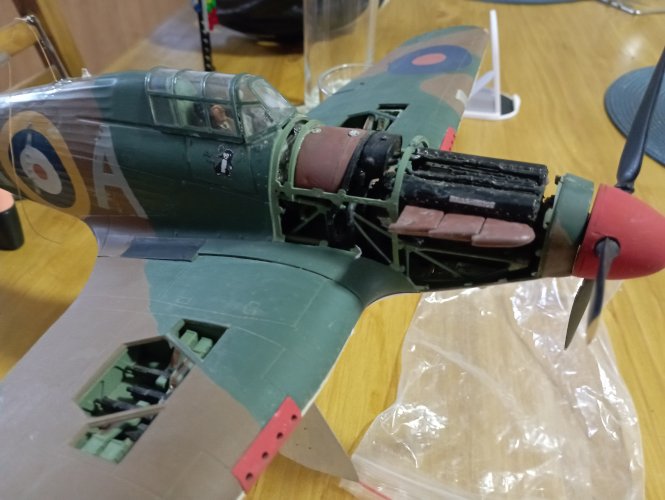
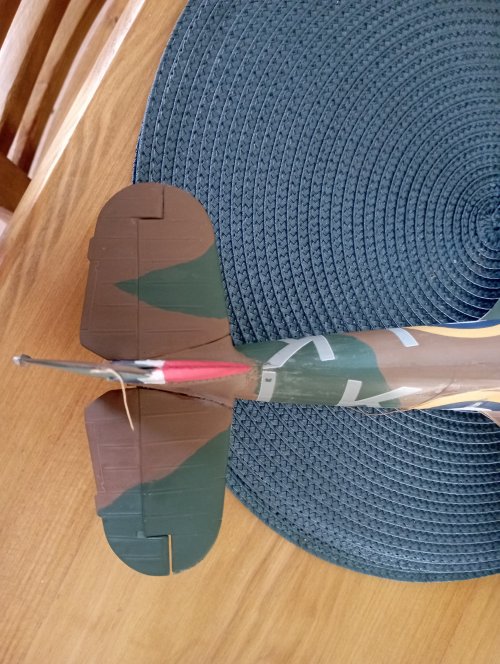
WWII restoration
- Thread starter Cybergrinder
- Start date
You are using an out of date browser. It may not display this or other websites correctly.
You should upgrade or use an alternative browser.
You should upgrade or use an alternative browser.
Enemy fire, water landing, and yet no scratches in the paint. She's a tough one! 
- Apr 5, 2013
- 13,876
- 10,214
- 228
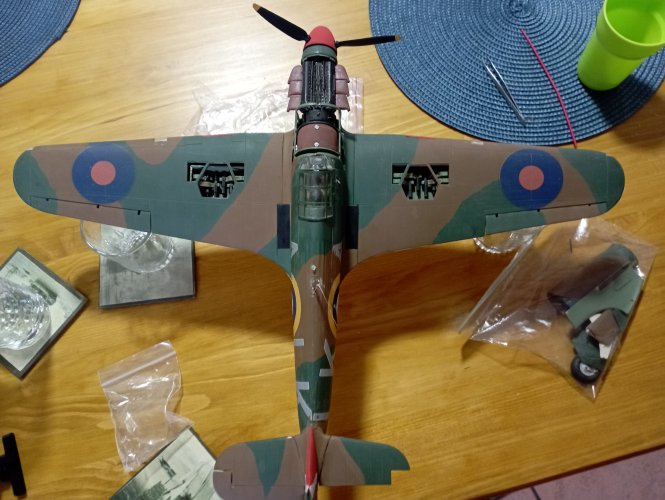
Of course! It's a Hurricane! Workhorse of the RAF!Enemy fire, water landing, and yet no scratches in the paint. She's a tough one!
- Apr 5, 2013
- 13,876
- 10,214
- 228
That's a really well made, and designed model. Certainly worth reconditioning back to it's prior state. 
THanks Zathros, one of the last planes I built (if memory serves) and always loved the Hurricane, it "got stuck in and got the job done", none of the "glory hunting" spitfire nonsense 
Some I may not be able to fix, the glue runs from my dad would need painting over, but I think that would ruin the paint job., two different shades of the same coloour never looks good. That said, I'm going to do my utmost to restore her to her former glory!
Some I may not be able to fix, the glue runs from my dad would need painting over, but I think that would ruin the paint job., two different shades of the same coloour never looks good. That said, I'm going to do my utmost to restore her to her former glory!
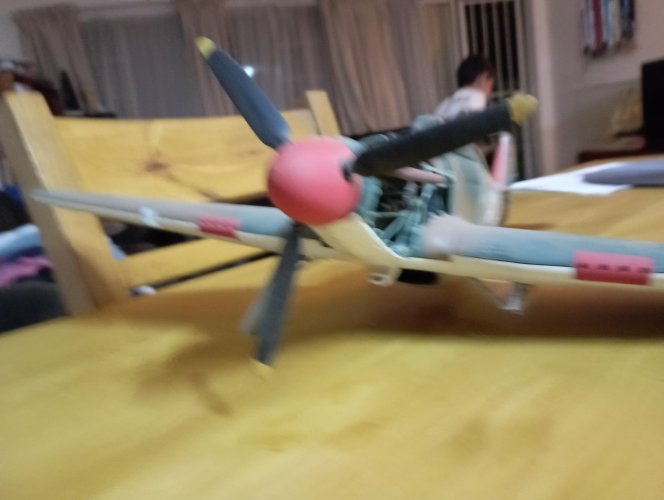
So the front "wall" of the gun emplacement was breaking off, so rather than breaking the wing open it was fixed with the "wedge principle" I ran a bit of glue down the joints and did this
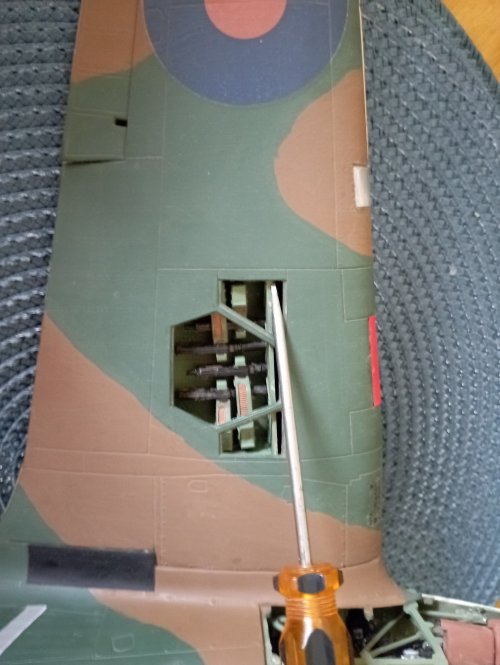
Screwdriver worked quite well I then employed the same tactic to re-attach the gun housing to the underside of the wing, using the guns as an anchor point with the screwdriver lifting the whole structure against the inner edge of the wing (I forgot to photo that part...)

Screwdriver worked quite well
Next up, under carriage
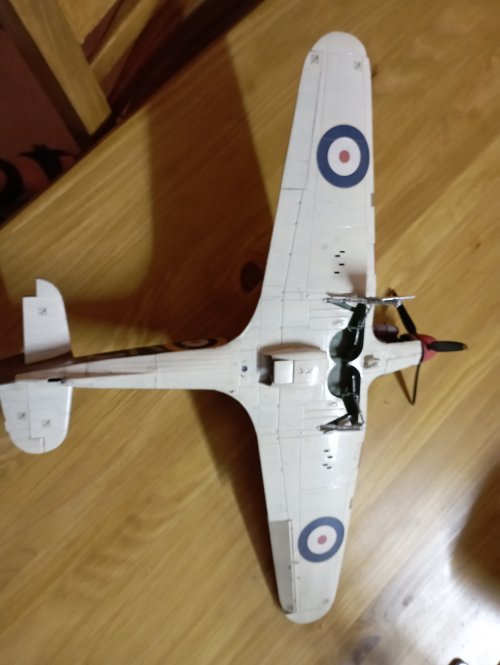
Re-attaching the strut and cover for the main gear was pretty straight forward;
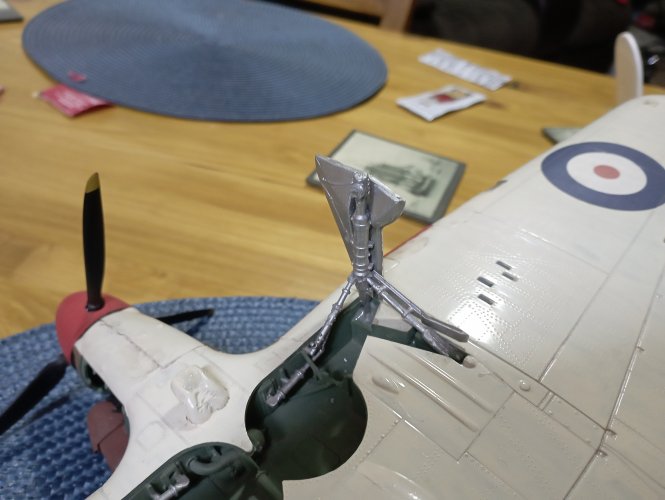
the ail wheel was a different story, the bracket that holds the wheel had been broken into two parts (not counting the wheel) But after employing a similar technique I was able to get one half in place. Then standing, holding the second half with the wheel in place took a bit of patience... but here we go!
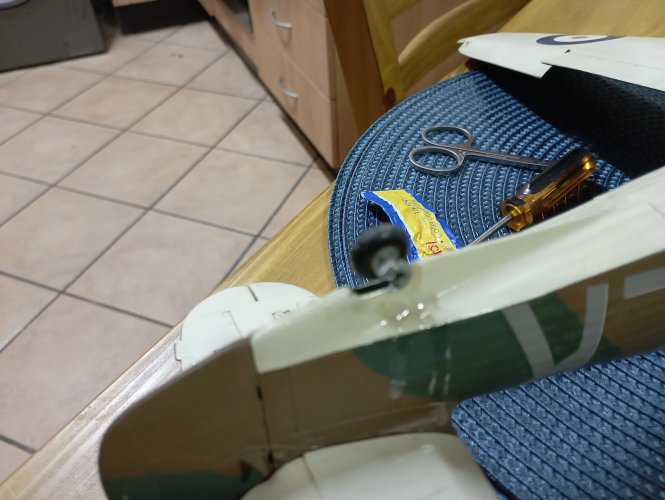
Re-attaching the strut and cover for the main gear was pretty straight forward;

the ail wheel was a different story, the bracket that holds the wheel had been broken into two parts (not counting the wheel) But after employing a similar technique I was able to get one half in place. Then standing, holding the second half with the wheel in place took a bit of patience... but here we go!

- Apr 5, 2013
- 13,876
- 10,214
- 228
I always liked the "Hurricane" sldo. That was not a plane you wanted on your 6. It actually shot down far more aircraft than the Spitfire. 
True, and a fair number of fighters as well. The old pre-conception was the Spit engaged the fighter escort and the hurri took on the bombers has since been disproved
So I had to revisit the tail wheel, between being broken a few times and the conventional cement was just not strong enough I took a suggestion from my dad, of using an epoxy glue designed for steel. And it worked! No painting required as well! I then used this to repair the main gear.
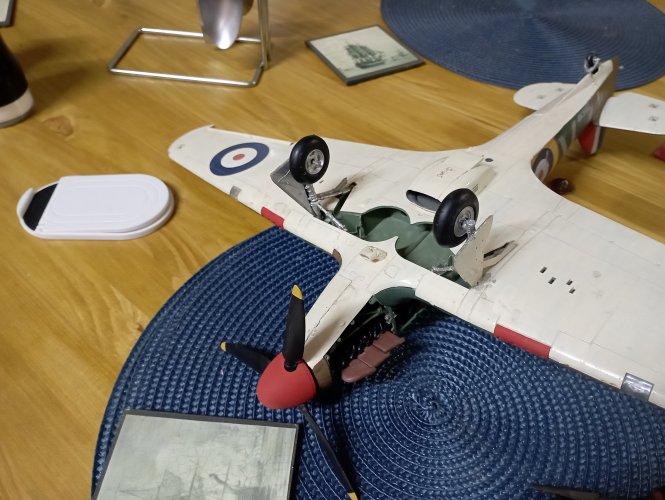
And standing on it's own 3 wheels!
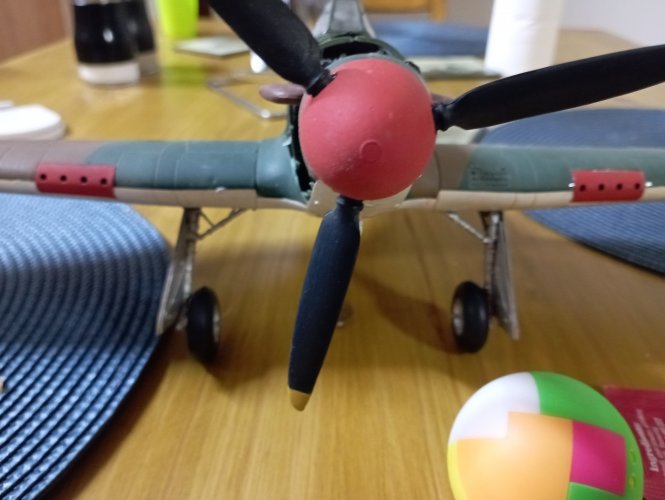

And standing on it's own 3 wheels!

Strick67
AKA Dinoreplicas
Lovely old model, nice to see it getting some TLC
Always preferred Hurricanes slightly over spitfires, not sure why
Always preferred Hurricanes slightly over spitfires, not sure why
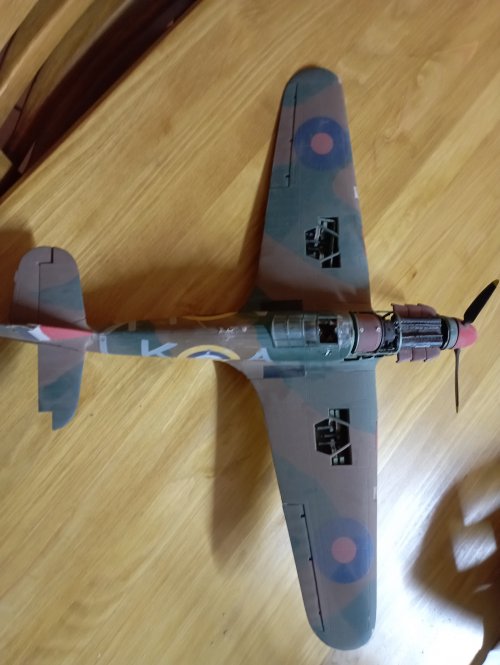
I'd like to get everyone's thought on this; I'm going to glue one of the engine side panels in place, leaving the other and the top loose. Should I close up one of the wing gun bay openings? (leaving the other open, of course)
Doing as you describe is a good display option but was almost never done in real life (IRL) when the engine was being serviced, both panels were open. same with the gun ports. I would have one side open, and the other closed, so you could see both options. If I were building a diorama depicting the aircraft being serviced, then all panels would be open.
One side closed up, ie, engine and guns on right, open, and left closed, or vice versa, looks good from both sides. like the submarine kits open on one side to show the interior, and hulled on the other side.
One side closed up, ie, engine and guns on right, open, and left closed, or vice versa, looks good from both sides. like the submarine kits open on one side to show the interior, and hulled on the other side.


