Working on Sci-fi Wargame Board

DutchLaw

Member
My friends and I have been playing all sorts of (usually) 28mm wargames for many years now. We regularly happen upon a theme, build models and terrain, often mash up our own rules, and play a series of games before moving on to the next 'big thing'. They're a great bunch of guys, all of whom bring something special to the collective. As it happens, I'm the only papercraft guy - mainly because I'm a cheap-ass :) - and every now and then I wow them with a contribution.

Right now we're all working on a 'cowboys in space'-type setting. Bounty hunters, gangs, maybe some evil empire? Basically an excuse for rolling some dice and hanging out. We've all got plenty of miniatures - they're be more by the end of this fad - but what we hadn't done for a while were spacecraft. A few of my mates are making theirs out of kids' toys while I banged out the Genet Models - Ebbles UD-41 Dropship over the last few weeks:
You might notice that the base/board (one of Dave Graffam's sci-fi floorplans I think) thatthe model is sitting upon had seen better days - I think it's about 6-years old and looking worse for wear!

So while poking around my manshed today it occurred to that I could try making a terrain board for our games. Something like a docking bay would be good, especially if it could accommodate the UD-41 and a few other random ships.

Any suggestions or ideas as to how to tackle the project? Maybe you've seen some sets or plans online and thought they could do the trick?
 

mijob

Tie designer
Staff member
Moderator
I love your dropship with all the moving parts. Im not in the board games so I cant help you with this.
 

Rhaven Blaack

!!!THE MAN BEHIND THE CURTAIN!!!
Staff member
Administrator
Moderator
I have to say that the Dropship look GREAT! Genet Models are a great resource for exactly what you are looking for. There is everything from modular and interlocking terrain to different interiors (i.e. modular sections, including; barracks, Cryostasis Systems, Storerooms, Workshop, and much more). With all that the site has to offer, you could easily set of a very large system. This only things that you would have to provide are the figures.
 

Revell-Fan

Co-Administrator
Staff member
Administrator
Moderator
I agree! :)

Is that Jan's APC in the background or a plastic model?
 

DutchLaw

Member
I agree! :)

Is that Jan's APC in the background or a plastic model?
That's the M722 LEV from Ebbles. It was my first gaming model in many years so it's a tad rough - the front isn't quite as neat as I'd like and the wheels are dodgy. But it is a great model. One of my mates came over and showed me how the cannon is meant to stow on the back - I had forgotten all about that! That makes it able to be carried by the UD-41 Dropship.
 

DutchLaw

Member
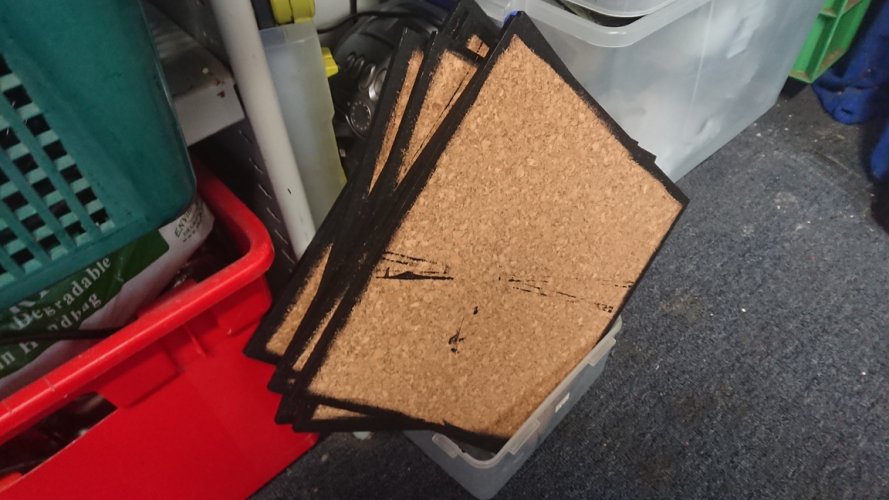
I bought a pack of six 12" cork tiles today, so for starters, I may just start with redoing Dave Graffam's Spaceport - they are a quality product being many layered pdfs. They most definitely work flat, but I may well try and give them a couple of millimetres of height and variation - I'll see how I go.

I'm also looking for some tiles I can use for rooms etc. There's an old game called Guncrawl (from Ebbles/Genet) that shows some images of the Derelict Station on a map layout - see the picture below. I quite like the look of that - I might see if I can track it down. My wargaming club could make use of such a set I'm sure.1658057485187.png
 
Last edited:

Rhaven Blaack

!!!THE MAN BEHIND THE CURTAIN!!!
Staff member
Administrator
Moderator
I bought a pack of six 12" cork tiles today, so for starters, I may just start with redoing Dave Graffam's Spareport - they are a quality product being many layered pdfs. They most definitely work flat, but I may well try and give them a couple of millimetres of height and variation - I'll see how I go.

I'm also looking for some tiles I can use for rooms etc. There's an old game called Guncrawl (from Ebbles/Genet) that shows some images of the Derelict Station on a map layout - see the picture below. I quite like the look of that - I might see if I can track it down. My wargaming club could make use of such a set I'm sure.View attachment 204437
Here is where you can find the modular sections, including; barracks, Cryostasis Systems, Storerooms, Workshop, and much more:
 

Revell-Fan

Co-Administrator
Staff member
Administrator
Moderator
I bought a pack of six 12" cork tiles today, so for starters, I may just start with redoing Dave Graffam's Spareport - they are a quality product being many layered pdfs. They most definitely work flat, but I may well try and give them a couple of millimetres of height and variation - I'll see how I go.
View attachment 204437
If you do it, please show your project here. The plates have a great texture. The Ebbles models should fit with them very nicely.
 
Last edited:

DutchLaw

Member
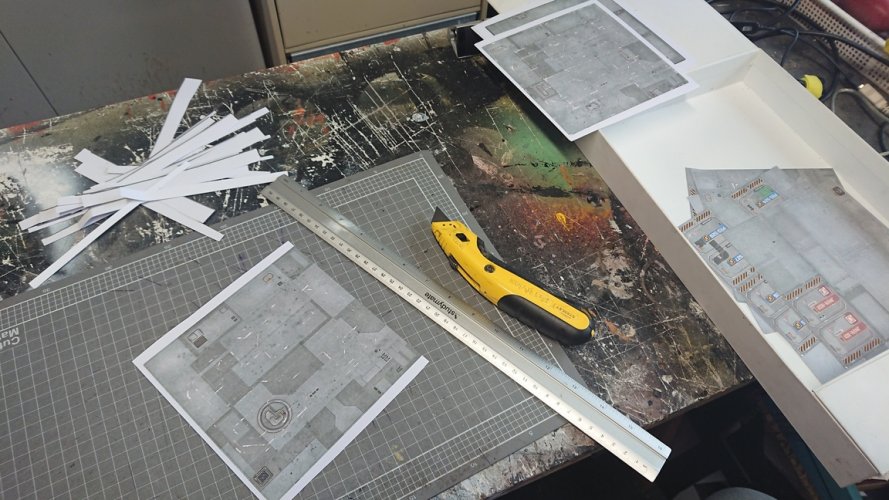
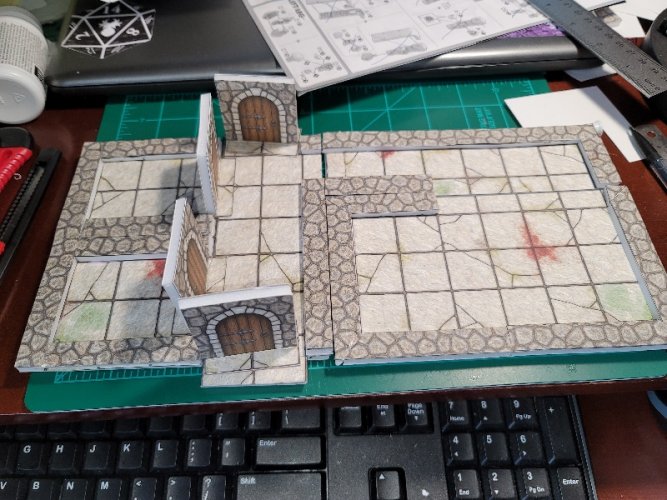
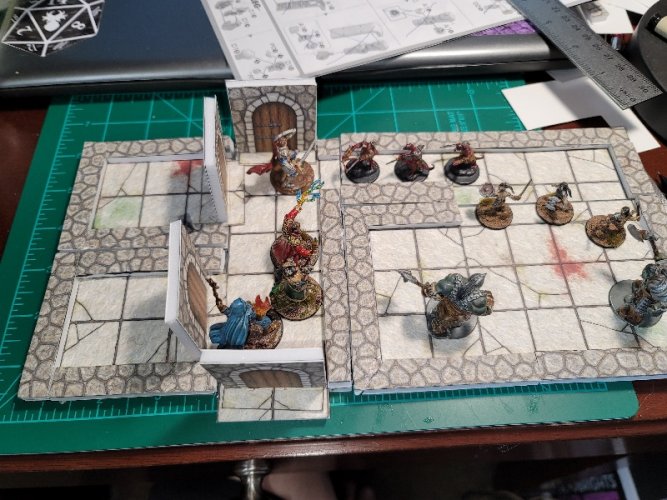
Over the course of the weekend, I made some inroads toward getting my spaceport table underway. As I had mentioned, I ran with Dave Graffam's Spaceport layered pdfs and generated (4x6 = ) 24 6-inch square tiles printed on ~220gms card using my Brother printer. I also painted the edges of the cork tiles black, just to make for a neater end result and hide some of the imperfections that were almost certainly going to creep into the execution of the project.

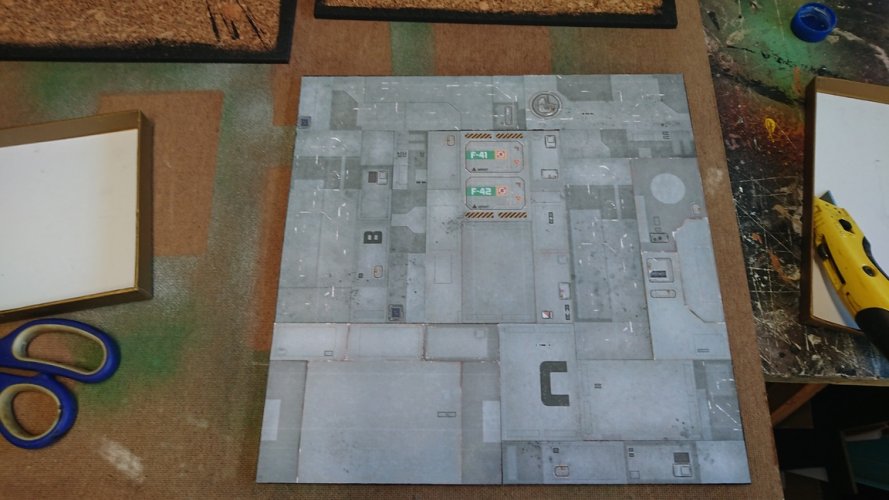
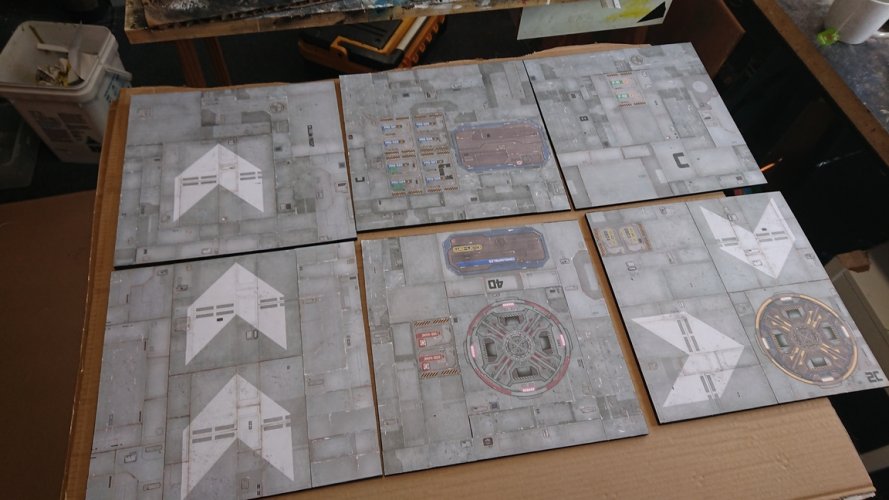
For my first 12-inch tile, I cut out and stuck down 4 of the 6x6 squares, one to each corner. The effect was good BUT it did look a tad... square. Dave's tiles are largely based on a 1-inch grid, so I took to the remaining printouts and cut them up e.g., 1x6 inches, 2x3 inches, and so on. Then it was a case of some simple jigsaw work to put them all together again onto the 12-inch cork, trying to blur the 6-inch quadrant lines. It worked better than I had anticipated. Gluing was initially a spray and then later a glue stick if the card lifted. I stacked and squashed the tiles under some weights they completely dried out, then later went over them a few times with a spray on matt varnish.

The end result was really good. For the price (24-printed pages, some glue, a pack of cork tiles) and time (maybe 4 hours?) it was a great little project and a nice beginning to the table. Next, I have to think about doing some structures...

DSC_6437.jpgDSC_6440.jpgDSC_6443.jpgDSC_6451.jpgDSC_6463.jpg
 

Rhaven Blaack

!!!THE MAN BEHIND THE CURTAIN!!!
Staff member
Administrator
Moderator
It appears that you are off to a great start on this project! I am looking forward to seeing how it turns out!
 

DutchLaw

Member
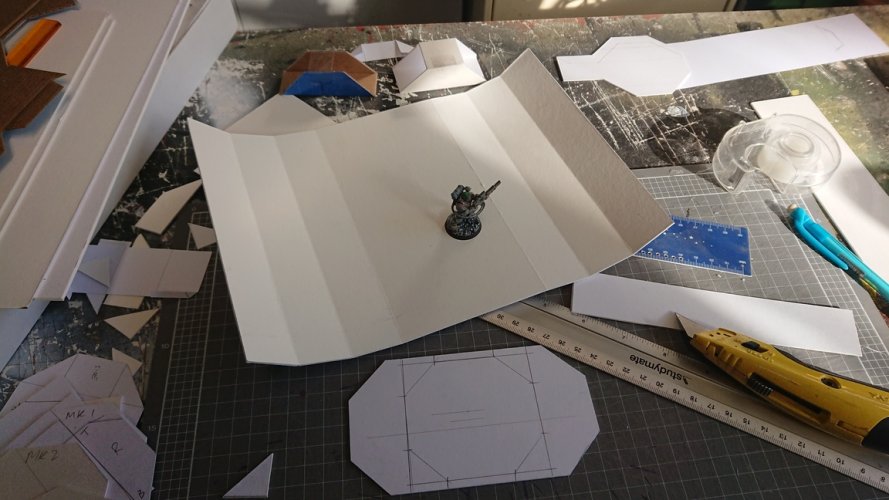
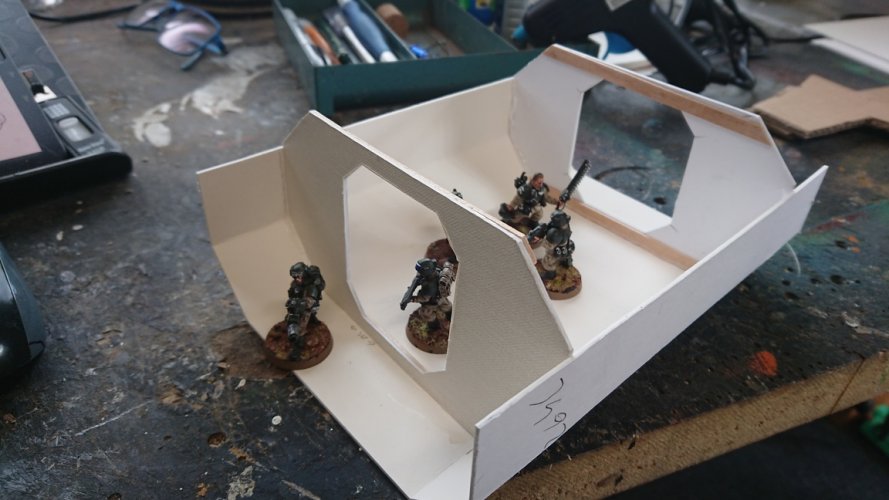
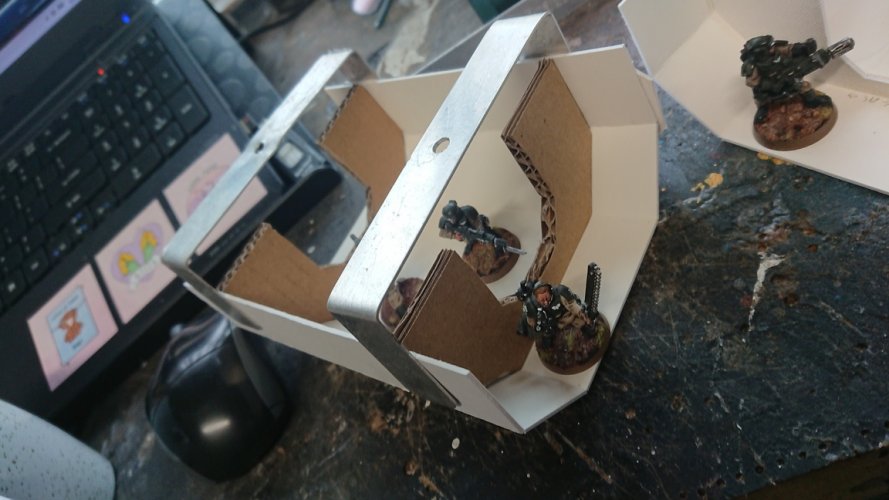
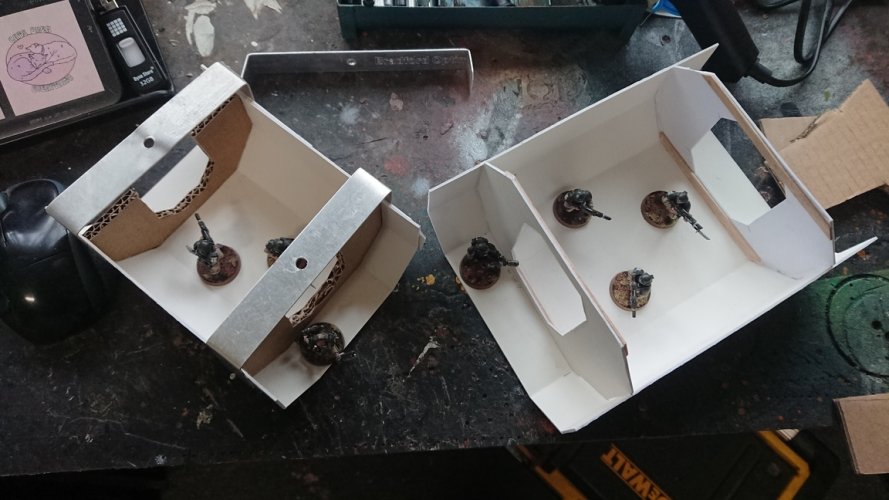
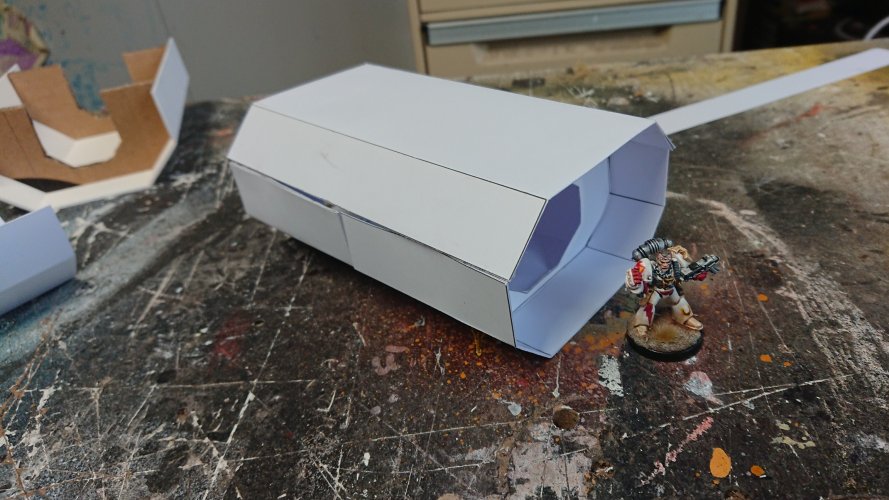
So a couple of evenings and over the weekend I've been trialing some designs for octagonal modules. Here are some pictures illustrating the journey to date. The rubbery goal is to create octagonal 'rooms', with a detachable roof. Maybe some interconnecting corridors as well?

Firstly, here's a rough pattern, with 28mm miniature for scale.

DSC_6495JPG.jpg
I was having trouble putting the shape into place to glue until I made some very simple jigs out of card.

DSC_6517JPG.jpg

Here's a larger room with two doors - I used some paddlepop sticks to reinforce the shape... not that it is really needed.

DSC_6519JPG.jpg
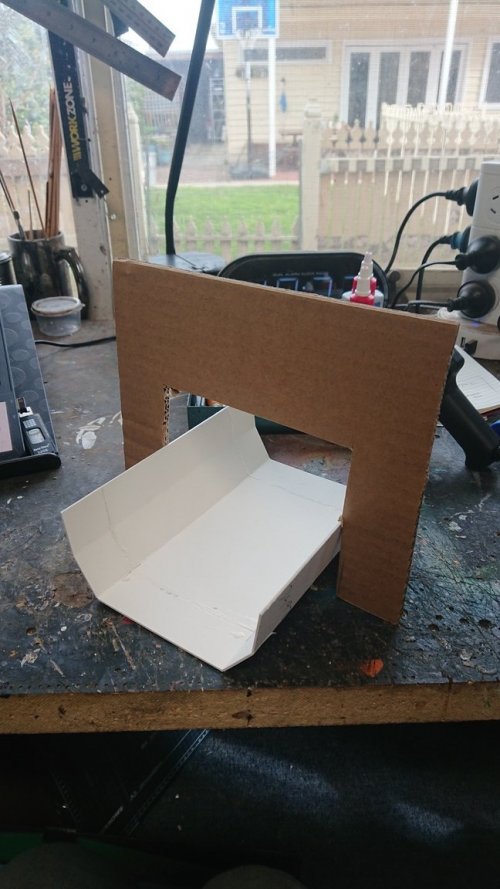
I had some bits of thin metal that I used for a smaller trial. Also I tried cardboard for the doorway.

DSC_6523JPG.jpg
And here are two of the prototypes. I'll probably stick with the lefthand side size... we'll have to see where it goes!

DSCPDC_0003_BURST20220731131116732_COVERJPG.jpg
 

DutchLaw

Member
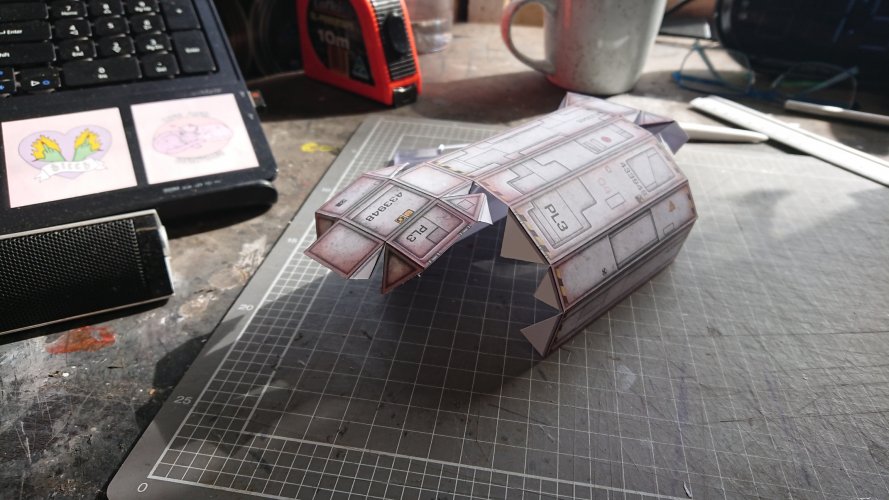
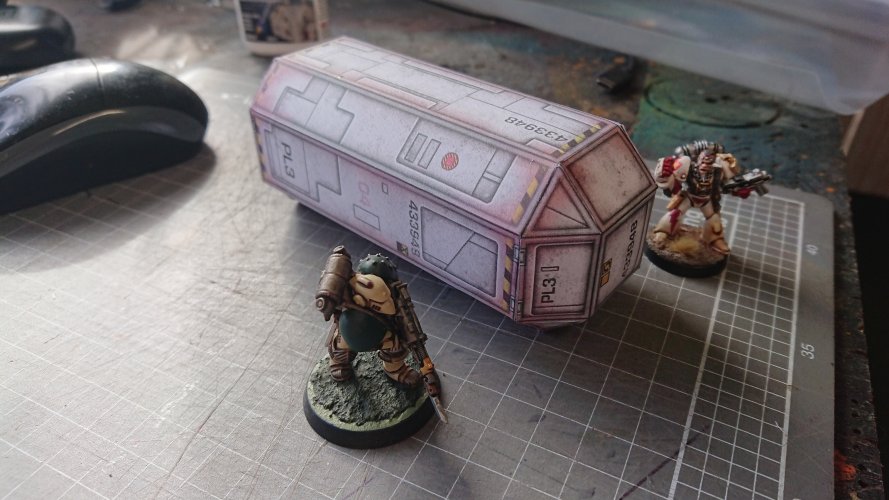
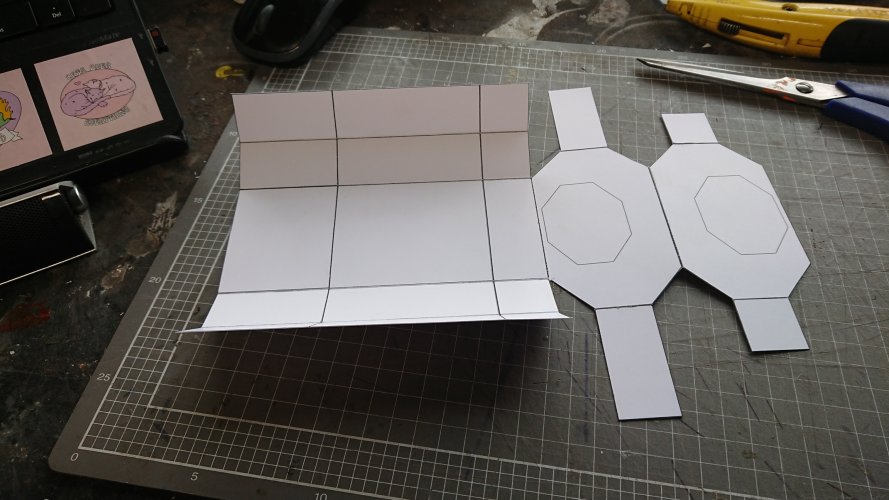
I made some more progress today. I have a Silhouette cutting machine (Cameo 4 Pro), so have been trying to get my head around it over the last few months. This weekend I finally managed to complete my first 'real' machine cut file. Dave Graffam's lovely octagonal Cargo Pod is a great piece of design, if not a tad fiddly to assemble. After some experimentation, I managed to convert Dave's pdf into a Silhouette file that I can now print out and then feed into my cutting machine. All in all, it takes about 5 minutes to go from a blank sheet of paper to this:

DSC_6671.jpg DSC_6675.jpg DSC_6676.jpg

Pretty cool huh? I get the impression that now that I have the cut-and-score file prepared, I should be able to relatively quickly reuse it for the many Cargo Pod variations that Dave also makes. I am thinking of making about four of them for my game's diorama.

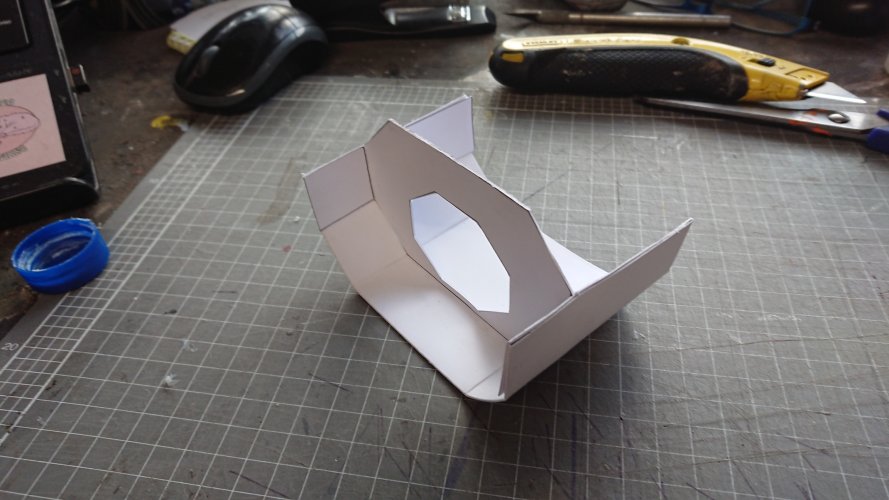
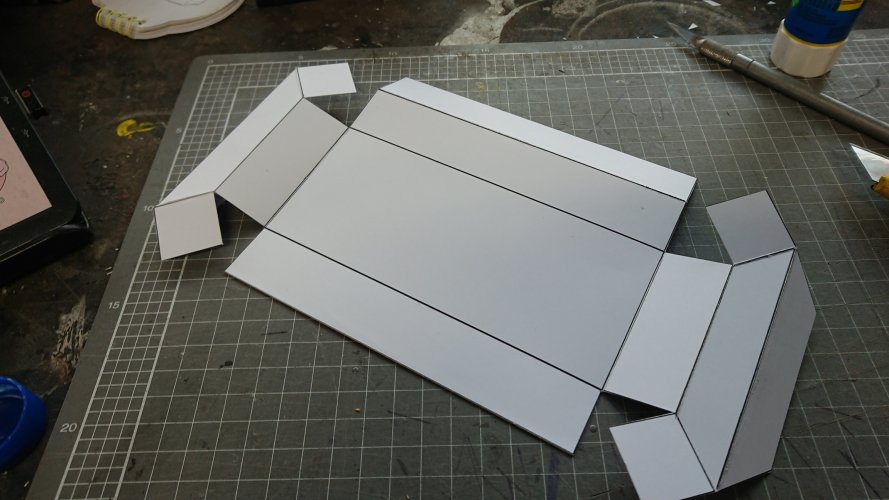
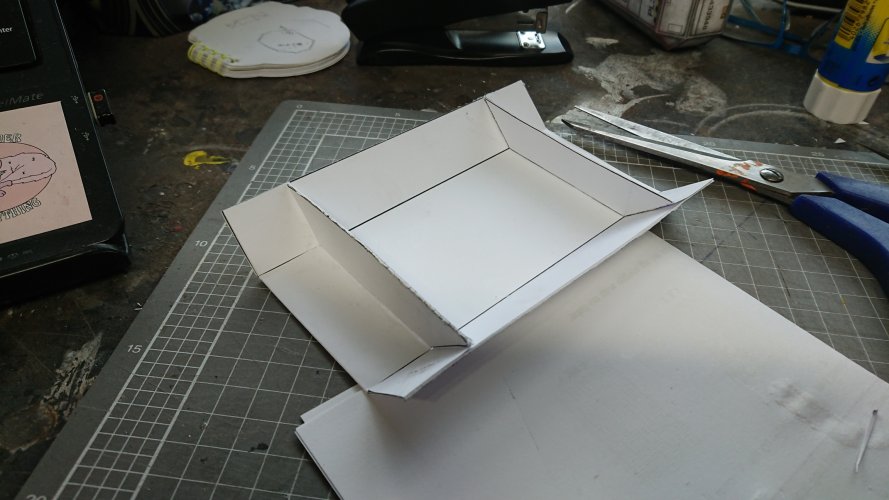
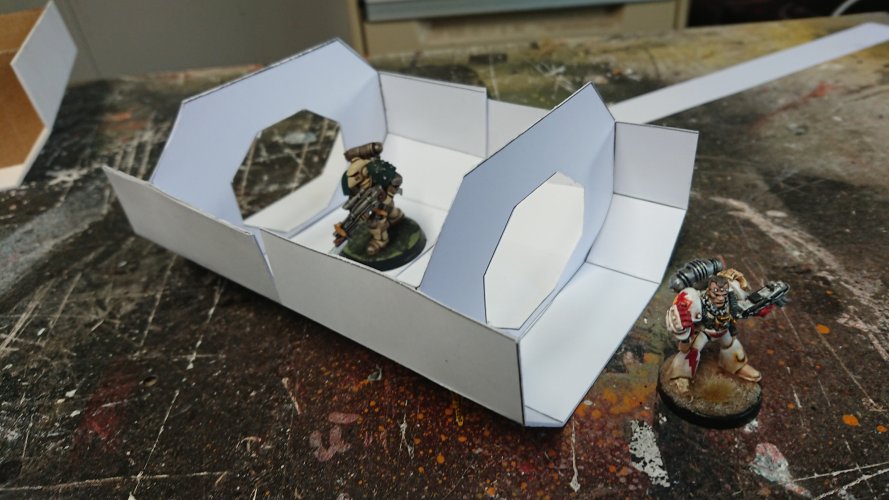
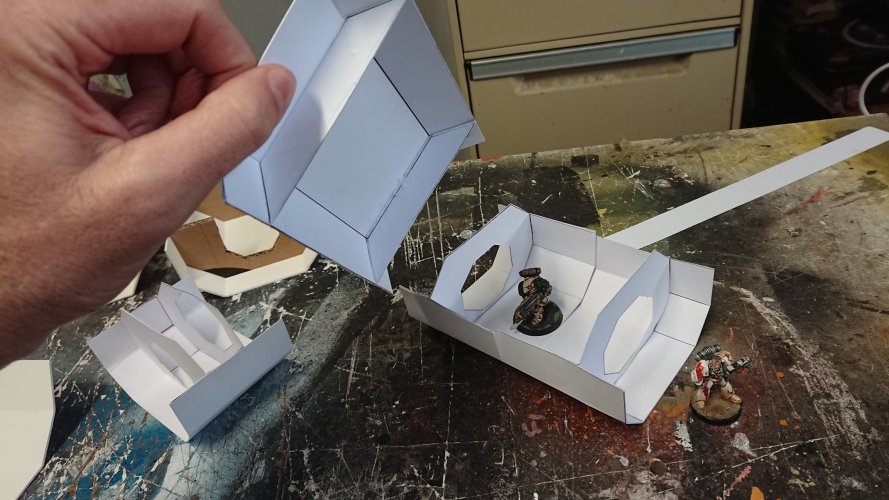
I also found time to work on a few more prototypes for my octagonal modules. Presently I am feeling that 4 A4 sheets of paper/card should be enough to make one interesting module with a ~6x3-inch footprint and around 2.5-inches tall. 2 sheets for the bottom, 1 sheet for the roof, and 1 sheet for adornments. This photo series should give you an idea of how it is coming together.
DSC_6694.jpgDSC_6695.jpgDSC_6697.jpgDSC_6698.jpgDSC_6700.jpgDSCPDC_0001_BURST20220821173621576_COVER.jpgDSC_6699.jpg

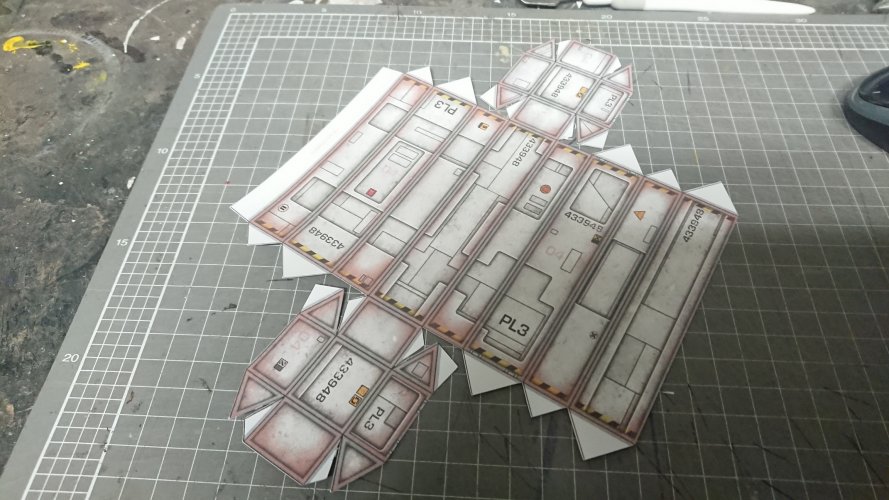
With that design sorted, I'll next turn my attention to texturing the model up. Maybe I should try out that Pepakura program? Does anyone recommend it? Worth the price and effort?
 

Revell-Fan

Co-Administrator
Staff member
Administrator
Moderator
WOW! That is fast! A tremendous time saver. I'm amazed to see how accurate the cuts are. And it scores the parts, too? Most impressive! :)

Pepakura is strictly for unfolding. You can exchange an existing texture file and adjust the colour / hue but nothing else. To texture a 3D model you need to do that either in a 3D program like SketchUp, Blender or Rhino, or you do it like me and paint the texture directly onto the unfolded / flattened parts in a graphic program like Gimp, Photoshop or CorelDRAW.
 
Top