

USS Tarawa LHA1 1/200
- Thread starter barry
- Start date
You are using an out of date browser. It may not display this or other websites correctly.
You should upgrade or use an alternative browser.
You should upgrade or use an alternative browser.
 ops:
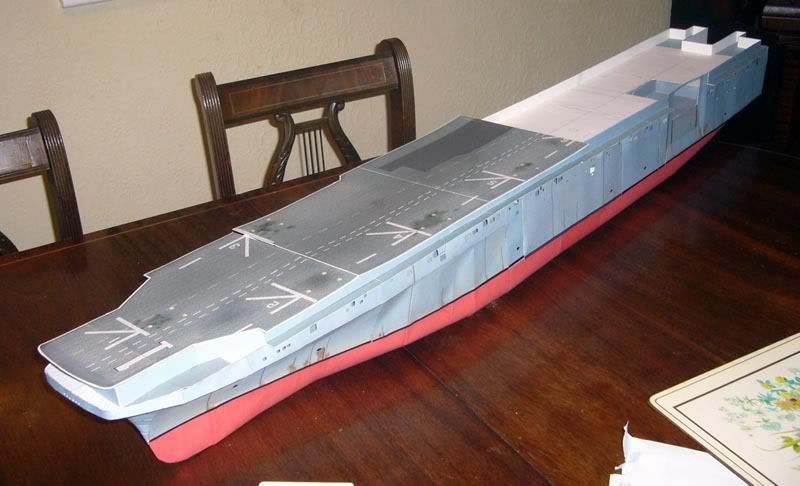
ops:Lower hull closed up
That's the lower hull closed up some bits and pieces still to sort out like hanger interior for instance. The top of the hull sides is in place waiting for the cross beams and it looks like the deck will fit so far. Fitting the side lift housing is a bit of a pig. Flight deck is just laid on top.
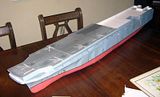

That's the lower hull closed up some bits and pieces still to sort out like hanger interior for instance. The top of the hull sides is in place waiting for the cross beams and it looks like the deck will fit so far. Fitting the side lift housing is a bit of a pig. Flight deck is just laid on top.
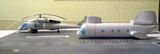
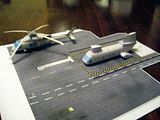
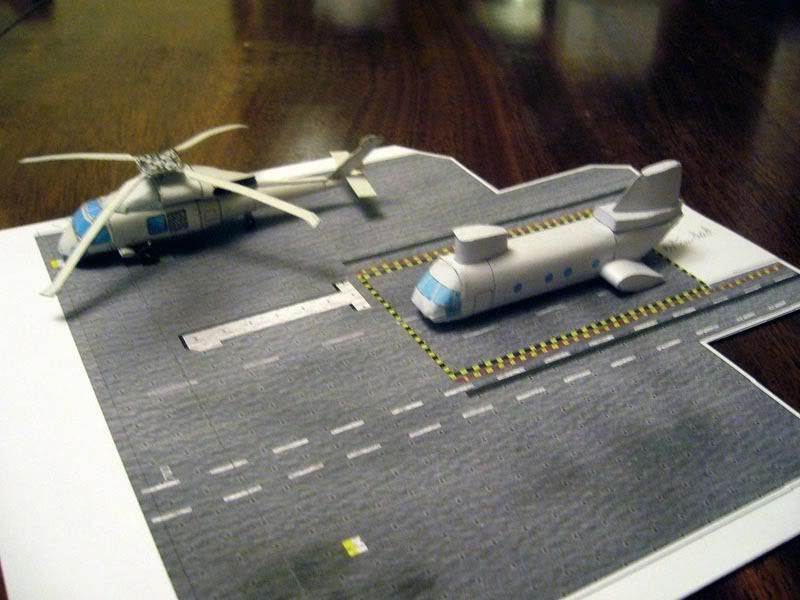
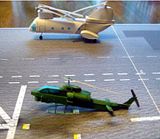
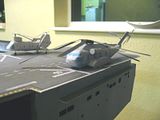
Prototype CH46
Looks as rough as a bear's backside and it's too difficult to build for the most part at least it's a change from ship hulls. I now now it will fit on the aft lift as John's mini diorama proves.
I am not very good at applying textures so I will ask here what is the maximum sized texture you can use in Metasequoia at the moment I just use mine as a guide (hopefully) for redrawing the lines but I would like to get the textures much sharper.
The nose on this needs simplyfying a lot and the tail end needs to be formed of 3 or 4 seperate pieces. Needs some lettering and bits as well I am too tired to try and put wheels and rotors on tonight.Pepakura has stomach ache with it as well.


First of all Barry let me say what an awesome job you're doing on this, I've been watching keenly for a while...
Secondly, I just stumbled across this today and I wonder if it will be of any use to you, I found it on a site that sells detail kits for ship models.
LHA-1 TARAWA (FMCD-11)
Rusty White
This CD contains 90 PDF images from a MODELER'S persective concentrating on the details that modelers want to see. The images are arranged on the CD grouped together in an easy to view and search format. The CD covers just about every aspect of the outside of the Tarawa in full color.
I found it here:HowTo CDs
I hope this is of some use to you. Keep up the good work.
Nick.
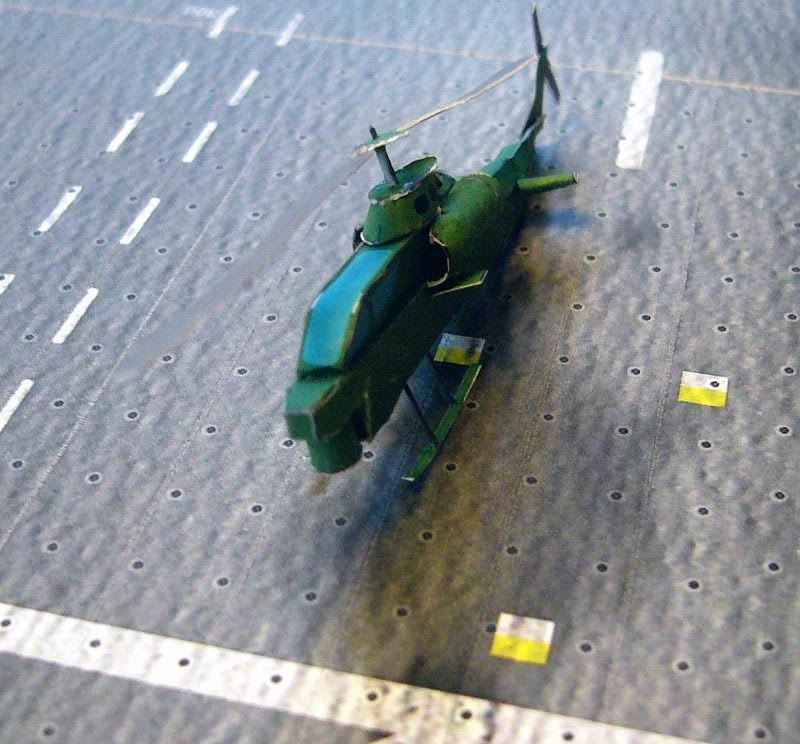
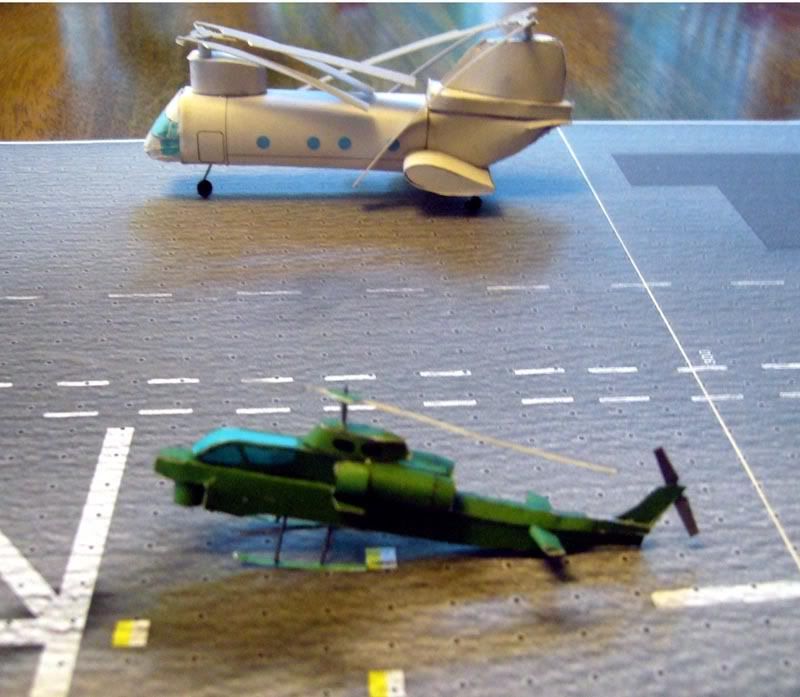
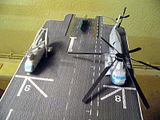
The gnasty gnat
AH-1W This is made using 100gsm paper, a bit small for me and it could have done with a ball bearing in the gatling gun turret to hold the front down. Needs a couple more practice builds really and some rockets.
@jaffro
Thanks for the kind words and the heads up on the disc.
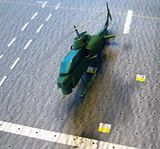
AH-1W This is made using 100gsm paper, a bit small for me and it could have done with a ball bearing in the gatling gun turret to hold the front down. Needs a couple more practice builds really and some rockets.
@jaffro
Thanks for the kind words and the heads up on the disc.

Amazyah
Senior Member
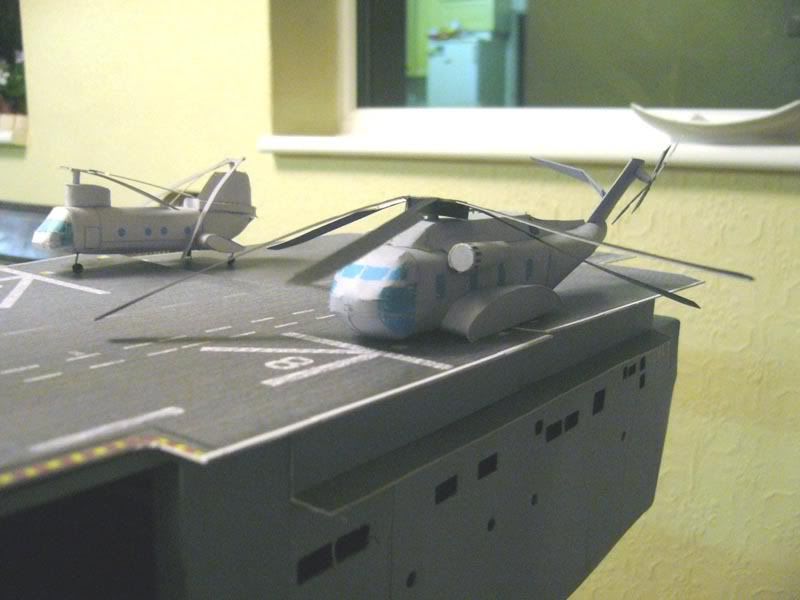
Gnarly Gnat!
That really looks great Barry!
A wonderful addition to the deck and a fine looking heli!
Russell
That really looks great Barry!
A wonderful addition to the deck and a fine looking heli!
Russell
Z
Zathros
John, I really like the hull. It looks like all he hulls I have seen. The stressing makes each panel look like it was welded on. Very realistic. Very nice.
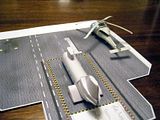
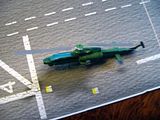
CH53e chopper
Trial run throws up the usual crop of errors I hate putting frames in these things needs wheels paint and stiffer card for the rotors. I'm stuck on doing anything else on Tarawa until I complete all the side rails for the cantilever decks. This one is definately going to have to be ib parked mode lord knows how they handle it on deck it's massive. Don't know the bigger pics are much brighter than the small ones for some reason.
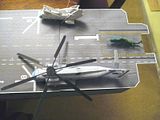
Trial run throws up the usual crop of errors I hate putting frames in these things needs wheels paint and stiffer card for the rotors. I'm stuck on doing anything else on Tarawa until I complete all the side rails for the cantilever decks. This one is definately going to have to be ib parked mode lord knows how they handle it on deck it's massive. Don't know the bigger pics are much brighter than the small ones for some reason.


Wet dock doors
Parts for the wet dock doors still trying to work out where the seals will be winding gear housings are a bit complicated in having so many facets.
Parts for the wet dock doors still trying to work out where the seals will be winding gear housings are a bit complicated in having so many facets.

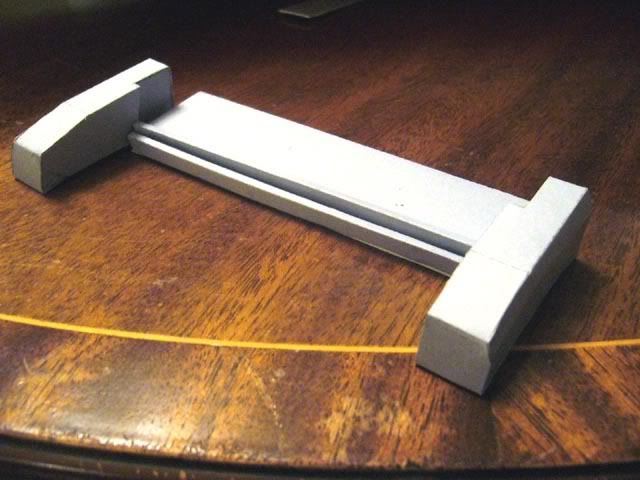
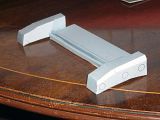
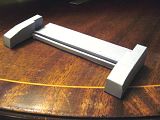
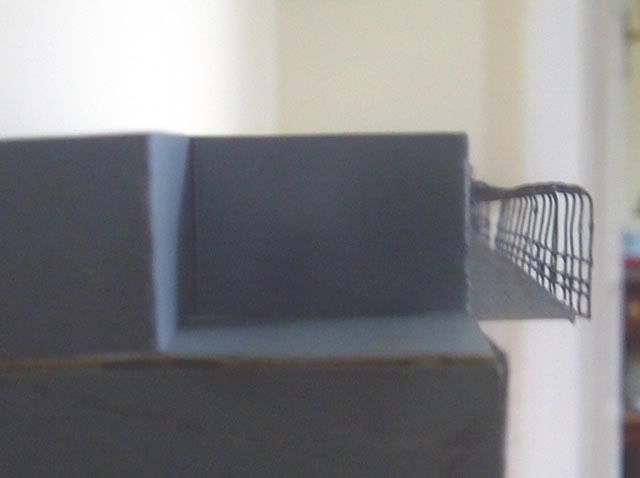
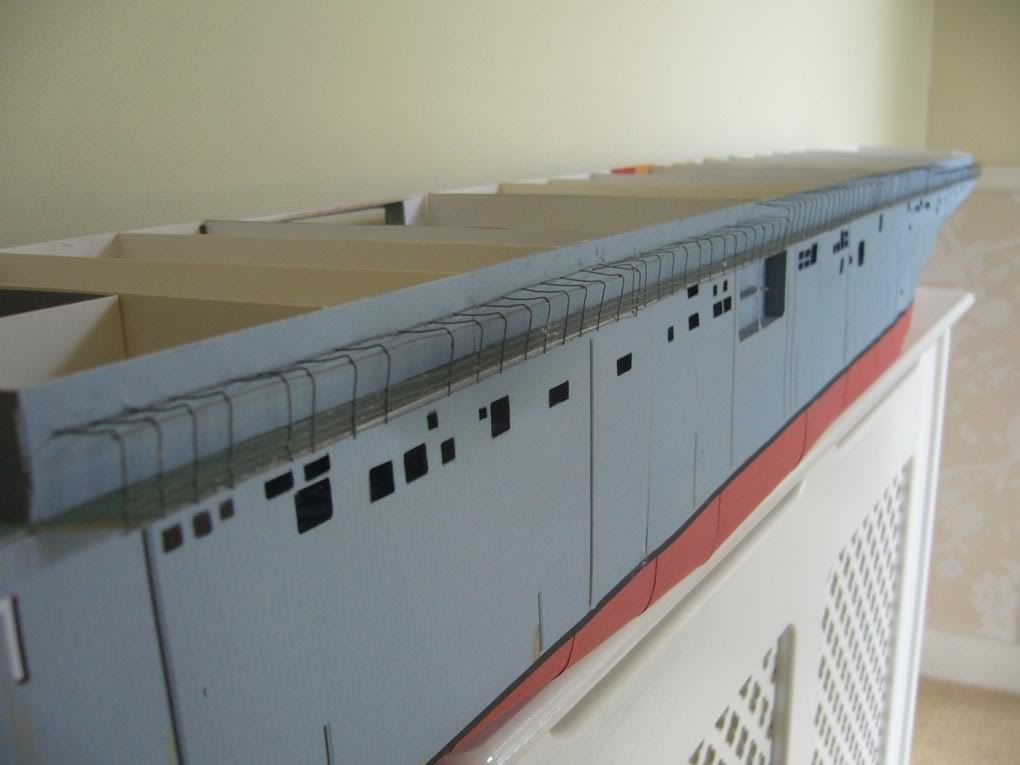
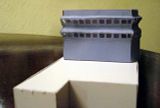
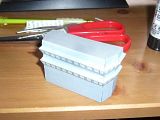
Starboard side rails
Hi All
Not exciting just took a long time winding the chuck away card formers a day to do that and a day to solder up and bend etc there are a lot of other ways it could be done and probably better but I can't cut 100 stanchions the same length however hard I try. It all needs tweaking now it's dry.
Barry,
Wow! Your persistence with this "Jumbo" is incredible!....you are doing a great, great job!!!:goldcup:...Three cheers!!!::excited1::excited1::excited1:
Wow! Your persistence with this "Jumbo" is incredible!....you are doing a great, great job!!!:goldcup:...Three cheers!!!::excited1::excited1::excited1:
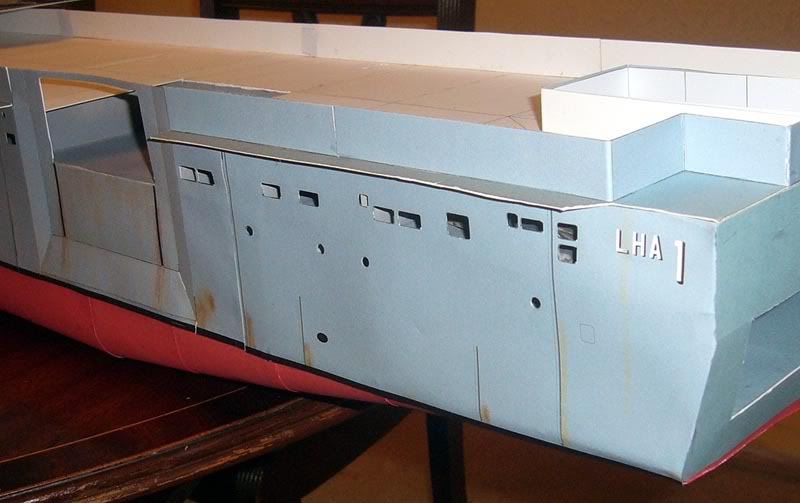
bridge front
Thanks Carl and Bob a bit slow n replying
A couple of test builds one sensible with drawn windows the other ott I think


in the light coloured pic there is a dark mass which appears on every pic now I have cleaned the lens and looked at it with a magnifier and can't see any marks. Anybody give a clue on digital camera faults.
Thanks Carl and Bob a bit slow n replying
A couple of test builds one sensible with drawn windows the other ott I think

in the light coloured pic there is a dark mass which appears on every pic now I have cleaned the lens and looked at it with a magnifier and can't see any marks. Anybody give a clue on digital camera faults.
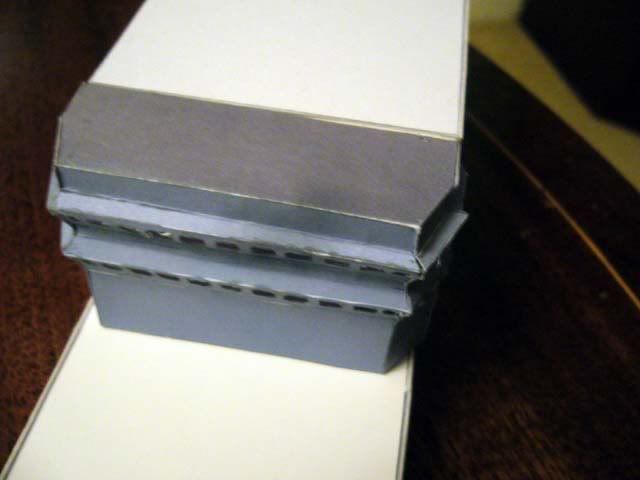
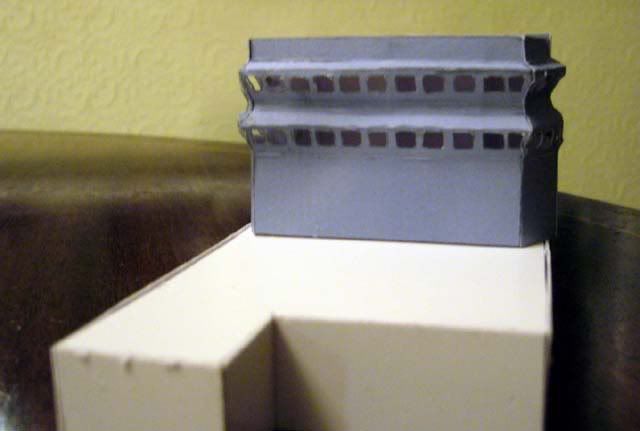
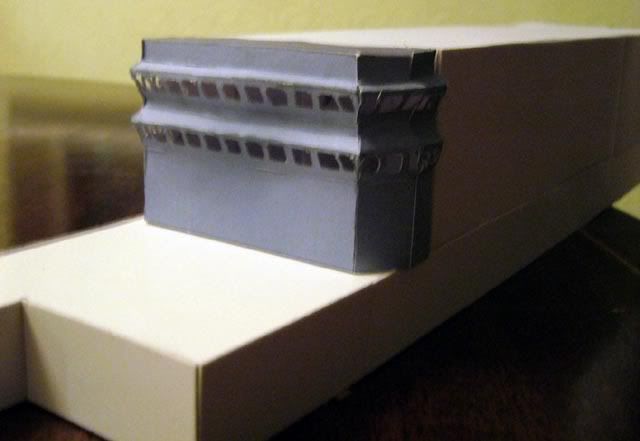
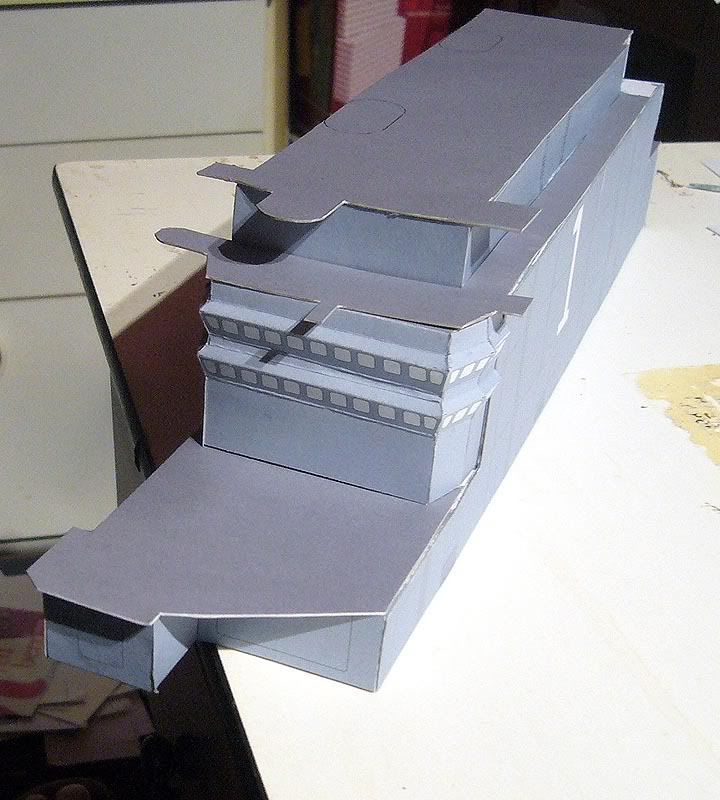
Bridge overlays
At last side overlays are on well there is a large electric conduit to run over the top of the join luckily
The whole thing is about 30 cms long, A3 would be nice some days it neede a heavy support structure


At last side overlays are on well there is a large electric conduit to run over the top of the join luckily
The whole thing is about 30 cms long, A3 would be nice some days it neede a heavy support structure


C
cgutzmer
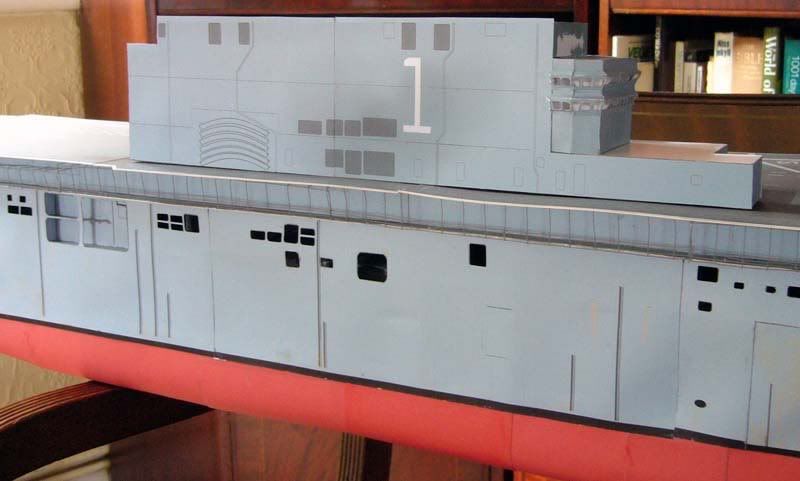
Bridge decks
I would still like to cut out the windows in the bridge so a few bits are not glued down but it does show how the bridge currently looks. If I can't glaze them should the windows be a darker blue or black as they show in photographs or is the colour about right. My grey edging with crayons does not stand closeups I am down right dangerous with a brush these days.

I would still like to cut out the windows in the bridge so a few bits are not glued down but it does show how the bridge currently looks. If I can't glaze them should the windows be a darker blue or black as they show in photographs or is the colour about right. My grey edging with crayons does not stand closeups I am down right dangerous with a brush these days.

Amazyah
Senior Member
Looking really good Barry!:thumb:
I think the color of the windows should probably be darker, if your not going to glaze them. I think if you glazed them, they would still look dark, although, reflective.
Plus, if they were darker, I think they would look more natural.
It's all a matter of personal preference though, I guess. Either way you do it, it would still look wonderful to me!
Keep on plugging, Barry! I'm enjoying it!
Russell