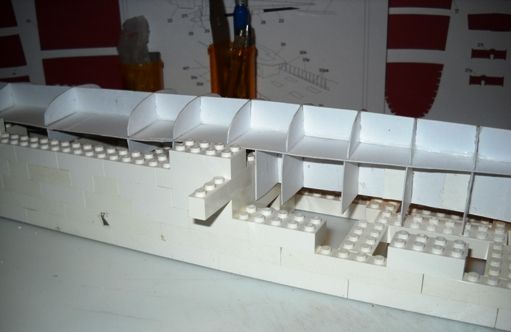
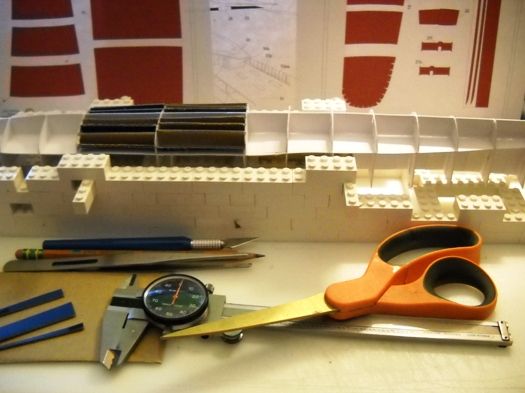
Hi All,
Since I am winding down the current build of one ship model it is time to get underway with the next one. I have chosen the USS Selfridge DD 357, a Porter Class Destroyer. She was laid down in the New York Shipbuilding Yard at Camden, NJ, December 18,1933; the same day and place as the USS Porter, the class leader. Rather than go into her rather extensive service record, I will just direct you to her Wikipedia entry here:
http://en.wikipedia.org/wiki/USS_Selfridge_(DD-357)
Needless to say, she had a full career during the war years and her short life of just 14 years. Like all the other ships of her time she had several paint jobs as various posts and duties came to her. I am using GreMir Models kit number 027 to build her; she is shown in her 4 tone grey/blue wartime camouflage scheme after her rebuilding in 1944. The kit contains a brief history of the ship, 14 pages of photos of the model as built to help reference parts placement, an overall two view General Plan, 7 pages of assembly diagrams, a Templates page and 12 sheets of parts. The assembly diagrams are pictograph style with the numbered parts shown broken down into the steps to construct the ship from building the hull framework on. This is not a beginners' kit more of a medium level of complexity with the number of parts concerned.
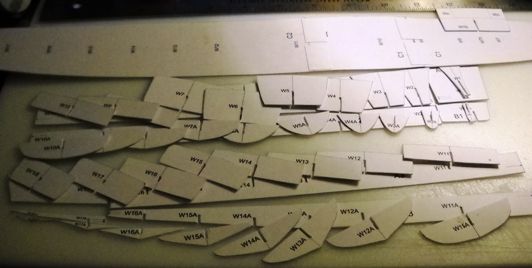
The first three pages are the framework of the hull. As with most ship kits the first step after printing the sheets out is laminating them up to a certain thickness to offer the required stiffness to support all the rest of the parts to follow. I used 110 pound bright white card stock from Office Max to print the parts out on for this important first step. Laminating them to two more sheets of the same card stock gives me .028" thickness. I used 3M Super 77 spray adhesive to glue the sheets to one another, pressed them over night under the weight of a few rather fat heavy books to dry. The next morning I cut the parts free from the sheets.
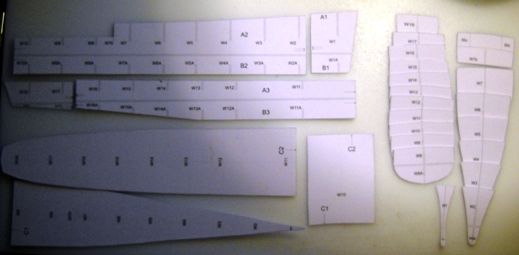
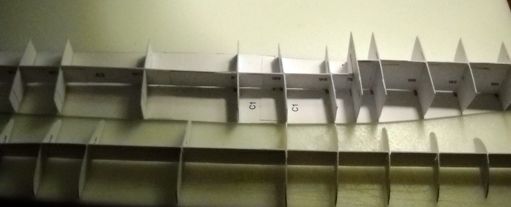
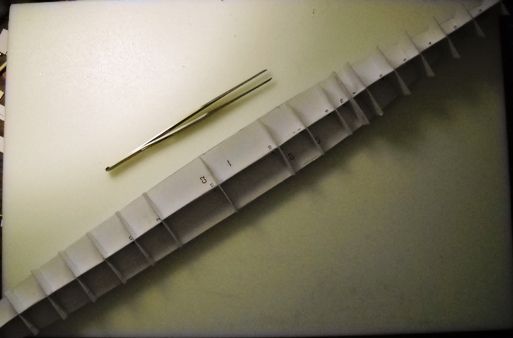
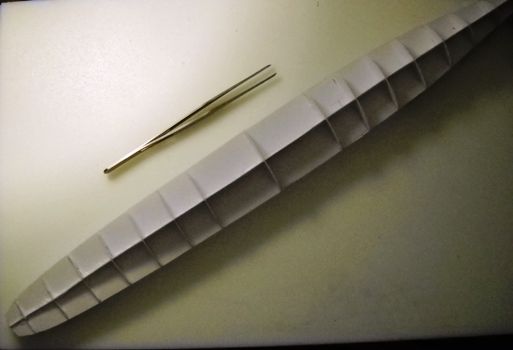
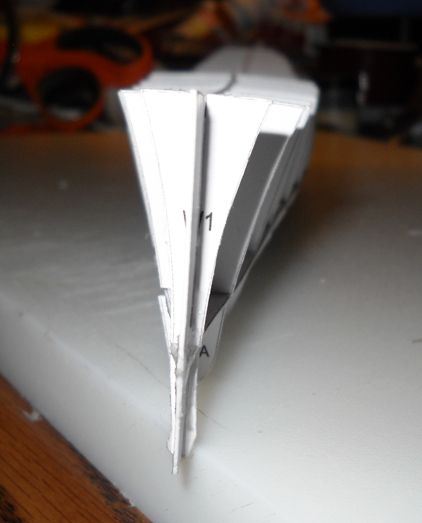
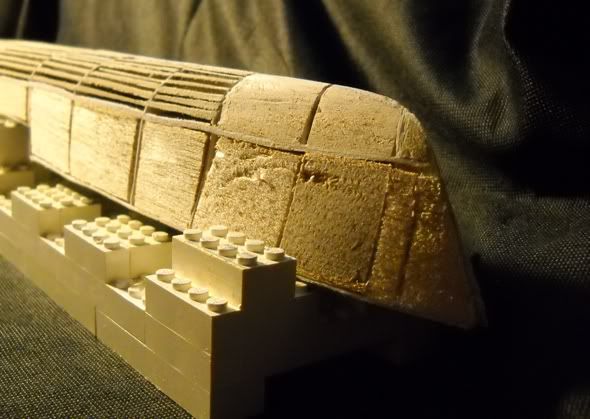
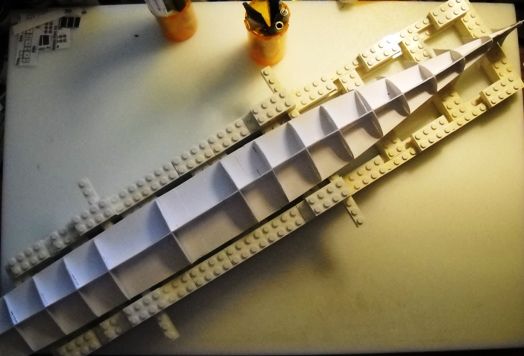
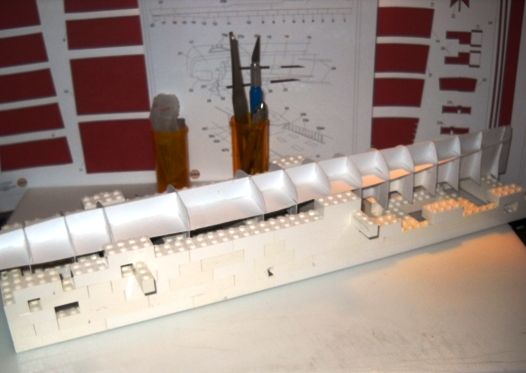
As you can see from the parts there is further cutting to be done before assembly can start. The vertical long hull shapes are cut in half lengthwise to enable one to make either a full hull or waterline build. Since a rather nice base assembly is also included as with all GreMir Models, I will be building the full hull version. Then the section places are trimmed to let you fit each item together. Each of the compartment sections are also cut apart, upper and lower then further trimmed out with their respective slots that fit together with the lengthwise hull forms. Once the upper and lower sections are assembled and joined together they can be glued to the horizontal lenthwise form. Length overall is around 22 and 1/4 inches.
Since I am winding down the current build of one ship model it is time to get underway with the next one. I have chosen the USS Selfridge DD 357, a Porter Class Destroyer. She was laid down in the New York Shipbuilding Yard at Camden, NJ, December 18,1933; the same day and place as the USS Porter, the class leader. Rather than go into her rather extensive service record, I will just direct you to her Wikipedia entry here:
http://en.wikipedia.org/wiki/USS_Selfridge_(DD-357)
Needless to say, she had a full career during the war years and her short life of just 14 years. Like all the other ships of her time she had several paint jobs as various posts and duties came to her. I am using GreMir Models kit number 027 to build her; she is shown in her 4 tone grey/blue wartime camouflage scheme after her rebuilding in 1944. The kit contains a brief history of the ship, 14 pages of photos of the model as built to help reference parts placement, an overall two view General Plan, 7 pages of assembly diagrams, a Templates page and 12 sheets of parts. The assembly diagrams are pictograph style with the numbered parts shown broken down into the steps to construct the ship from building the hull framework on. This is not a beginners' kit more of a medium level of complexity with the number of parts concerned.
The first three pages are the framework of the hull. As with most ship kits the first step after printing the sheets out is laminating them up to a certain thickness to offer the required stiffness to support all the rest of the parts to follow. I used 110 pound bright white card stock from Office Max to print the parts out on for this important first step. Laminating them to two more sheets of the same card stock gives me .028" thickness. I used 3M Super 77 spray adhesive to glue the sheets to one another, pressed them over night under the weight of a few rather fat heavy books to dry. The next morning I cut the parts free from the sheets.

As you can see from the parts there is further cutting to be done before assembly can start. The vertical long hull shapes are cut in half lengthwise to enable one to make either a full hull or waterline build. Since a rather nice base assembly is also included as with all GreMir Models, I will be building the full hull version. Then the section places are trimmed to let you fit each item together. Each of the compartment sections are also cut apart, upper and lower then further trimmed out with their respective slots that fit together with the lengthwise hull forms. Once the upper and lower sections are assembled and joined together they can be glued to the horizontal lenthwise form. Length overall is around 22 and 1/4 inches.


