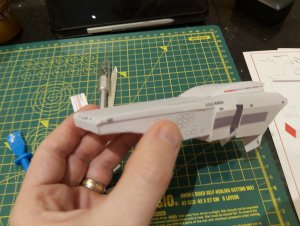
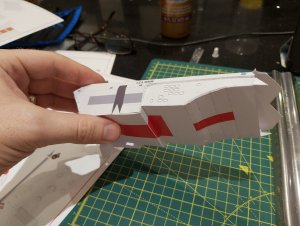
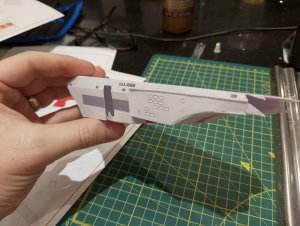
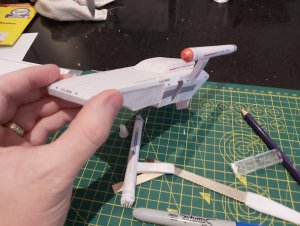
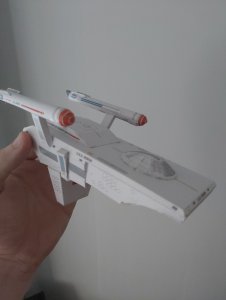
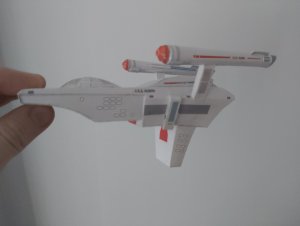
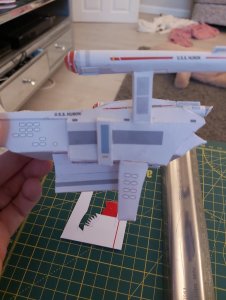
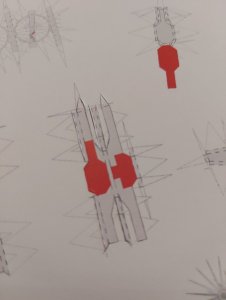
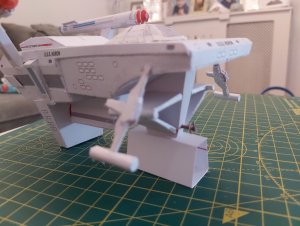
A ship that's a little diff.
On one hand cubes with nacells on.
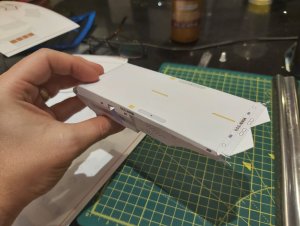
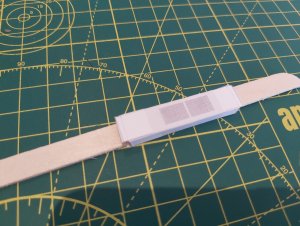
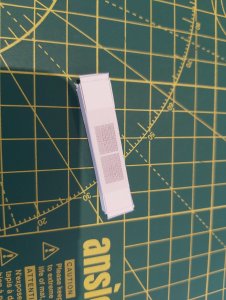
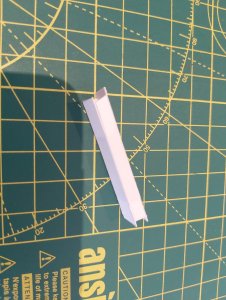
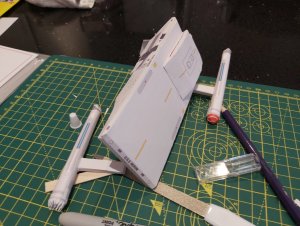
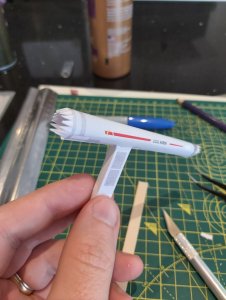
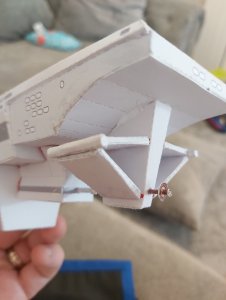
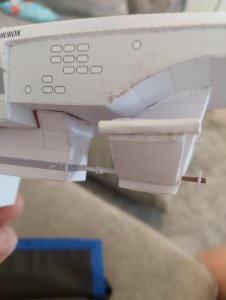
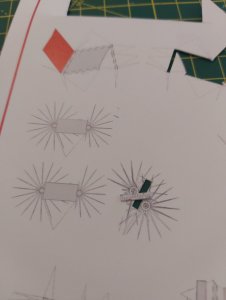
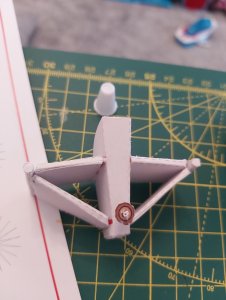
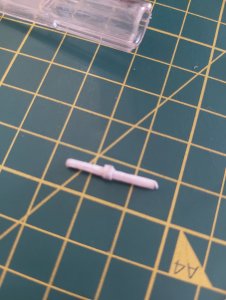
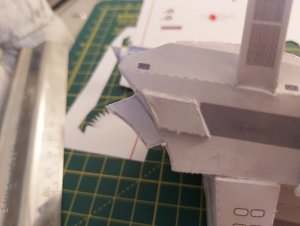
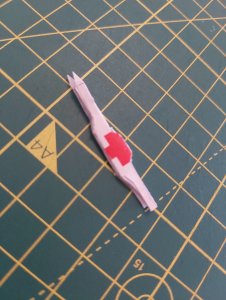
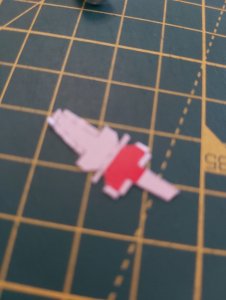
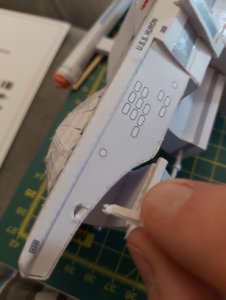
On the other hand a tough build (see the pics of some mad parts!
On one hand cubes with nacells on.
On the other hand a tough build (see the pics of some mad parts!
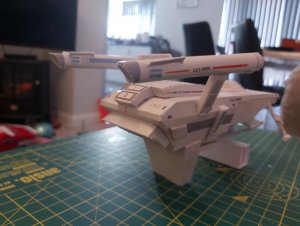
You are off to a good start.
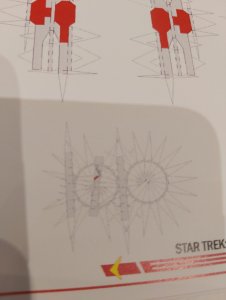
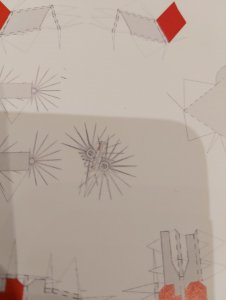
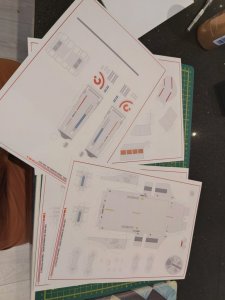
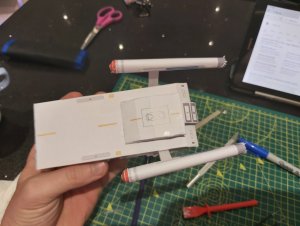
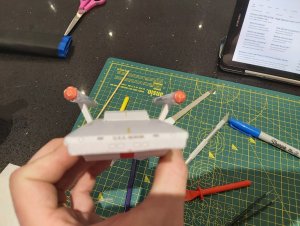
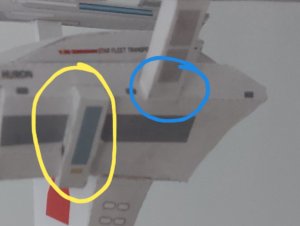
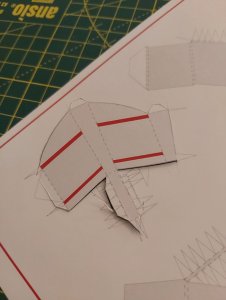
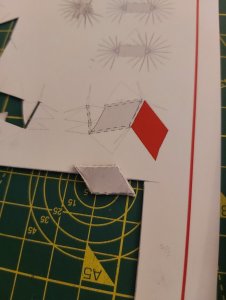
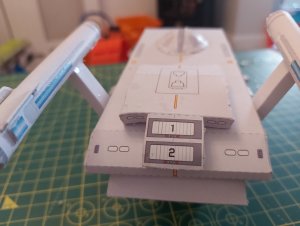
It looks like whoever designed that model used pepakura to unfold it and add the glue tabs. I would like to suggest just cutting the parts out without the glue tabs and just use strips of paper/cardstock to join the parts. You will end up with tighter seams and fittings.
I really am looking forward to this build thread!
I have had this and the Shermin Class cargo drone (both done by Bones) for years and never started them for lack of directions. Maybe from this thread I can figure out what goes where and how to best complete it!
Please share details of the parts locations, any tips you have on fitting it well, and and suggestions on a better build.
Again, really looking forward to the process!
Slainte!!!

 papercraftcroatia.wordpress.com


")
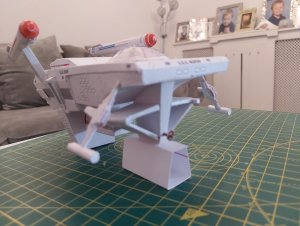
Great build! The ship reminds me of the TAS support vessel that I began unfolding. I'll get back to it soon.