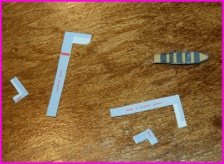
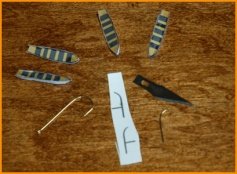
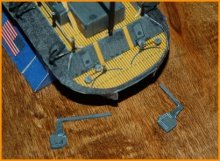
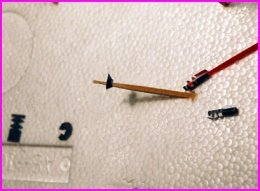
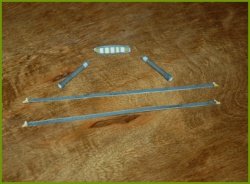
55} I assembled the four lifeboats and made ready to produce the davits which posed a real problem. From the available literature, they appear to be circular in cross section, very slender, mild taper towards the upper end, and transition from straight to a partial arc at the top. The graphic shows a davit created front and back as a normal papermodel part. I was hoping to be able to glue the parts back to back and strengthen the part. The davit is less than 1/64 inch wide therefore making the davit very weak and floppy. Making the problem even more complicated is the strut in the middle of the davit. In the real world, this is a V strut, so the back to back davit has to diverge into a V.
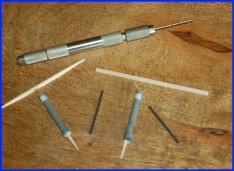
I tried four different designs to create a good looking sturdy davit, all unsatisfactory. Now, one of my methods through out my career has been: Denken sie aus der Kiste!
or in other words, Think out of the box! I knew I had seen that shape several times, just where. Then it hit me, one of my fishhooks (see a lot of these, look at my nickname). Cutting out a section of an Aberdeen #1 hook produced a very close replica of the davit. I could make the V strut using two of the eye sections. A very nice sturdy davit resulted.
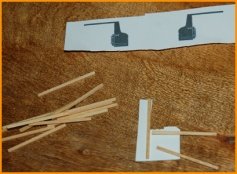
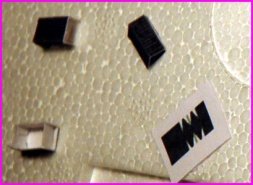
56} Time for the rudders. The parts sheet has front and back images, but we are faced with the same kind of problem. the rudders would be very thin and the long control arm would be very weak. Having a number of N scale turnout ties on hand, I framed out one side the rudder part, in fact I filled it in so that it was solid. I then glued the other side on top of the ties and trimmed and sanded. Making a cardboard sandwitch may be just as satisfactory.
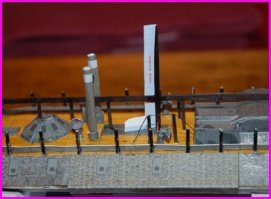
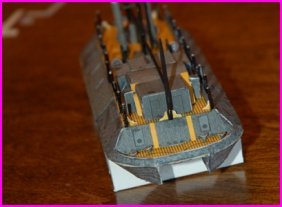
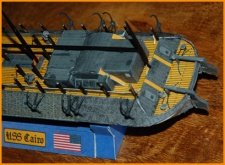
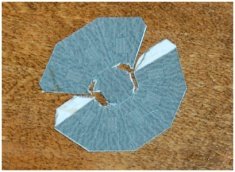
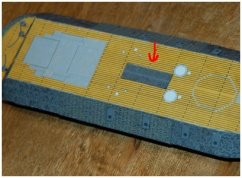
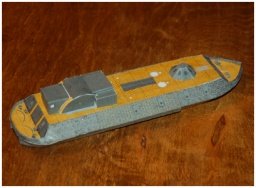
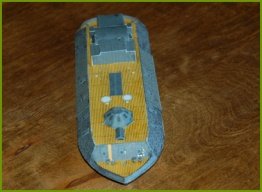
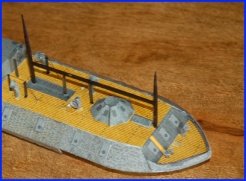
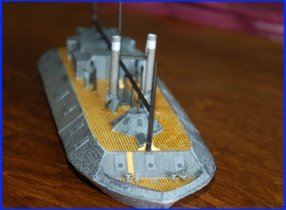
57} The resulting rudders are shown here nearly ready to install. Before installation, the rudder control arms must be trimmed to length and the rudder control cables installed. A small hole was drilled at the top of each control access arc and a small sliver of balsa (1/64 x 1/64) was glued in the hole. Black sewing thread was glued to the stern armor just outside each ladder. The thread was ran around each cable bearing and glued to the balsa sliver.
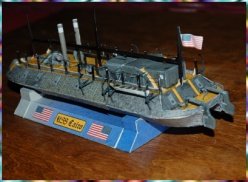
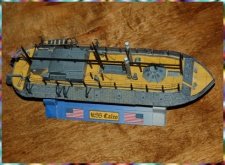
(** Note the installed davits! **)
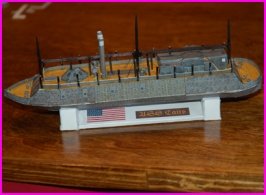
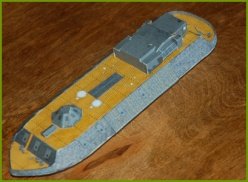
58} Another view of the rudder control cables.
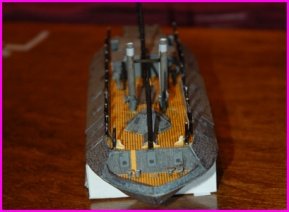
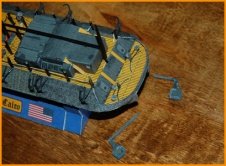
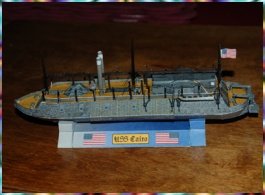
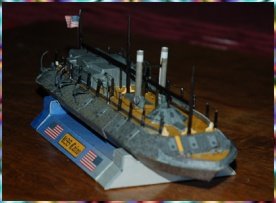
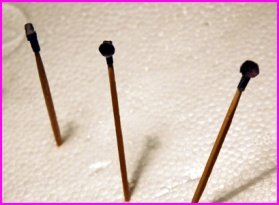
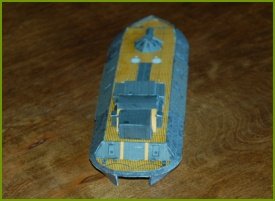
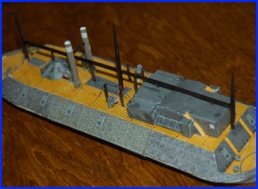
59} The balsa slivers have been trimmed to the correct height and the rudder control arms are cut to the correct length. The rudders are then assemble to the ship.


")


 atriot1::thumb: