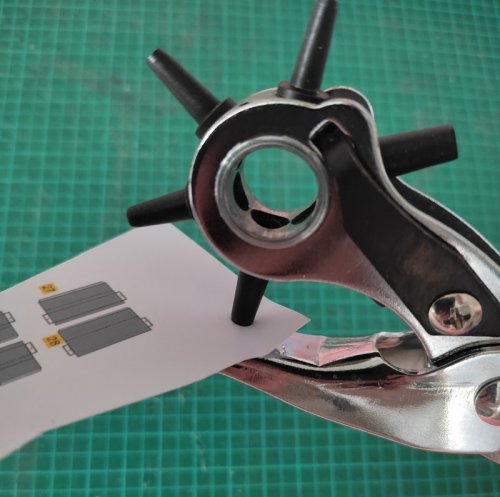
This is a holepunch.
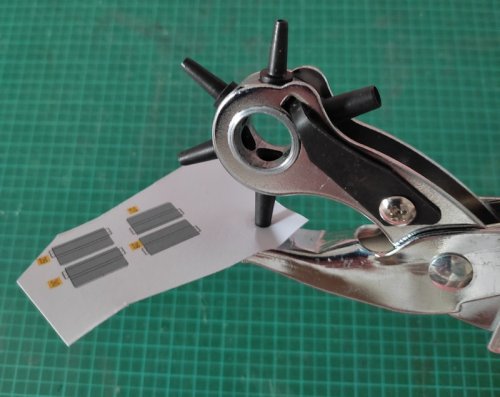
Its purpose is to punch holes through various materials such as leather, card and paper.
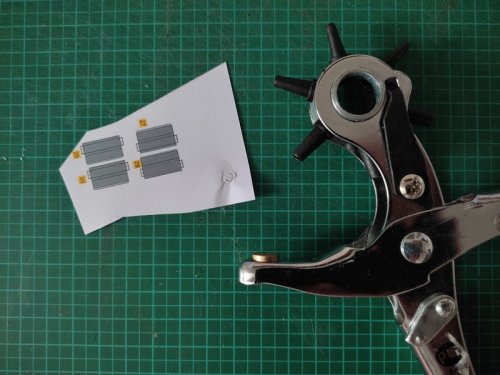
But the way it operates often leads to no holes punched.
A holepunch can be both, a blessing or a curse. In most cases it is a curse because it will not punch through a single layer of paper without problems. The punch will not punch all the way through, you start to wiggle it back and forth and it will chew the paper with no mercy.
As a result the paper gets torn and wrinkled and the hole is far from perfect - if there IS a hole at all.
The effect is frustration on all ends.
I got my holepunch many years ago for dirt cheap. I don't remember how much I paid for it, in fact it might have been a free gift. The main thing is it was not an intended purchase but some sort of - happy accident.

We do not make mistakes!
However, the first results of using it were disappointing.
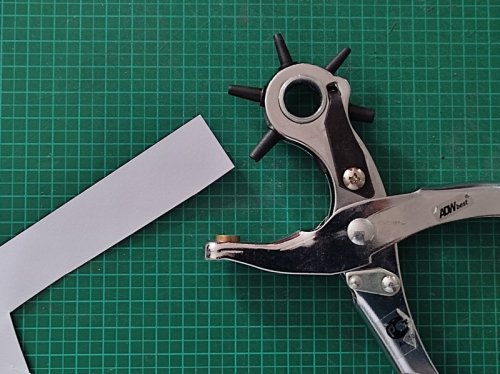
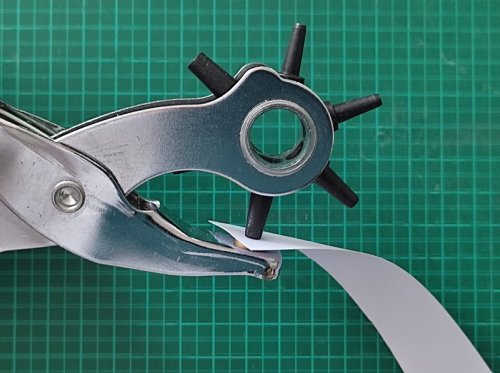
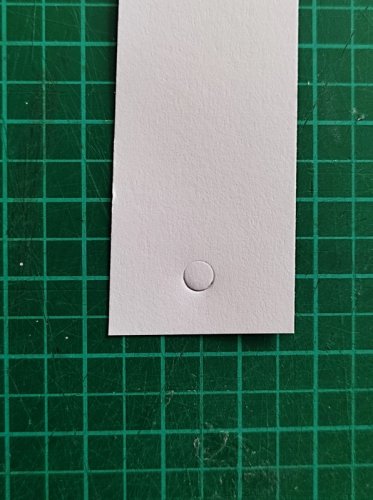
This was the best result. I didn't know why but that darn thing would not make nice holes. I put it away and left it in the bin.
A few years later I need to cut a lot of hoes into some model parts. Since the holes were pretty small I chose to give the holepunch one last chance.
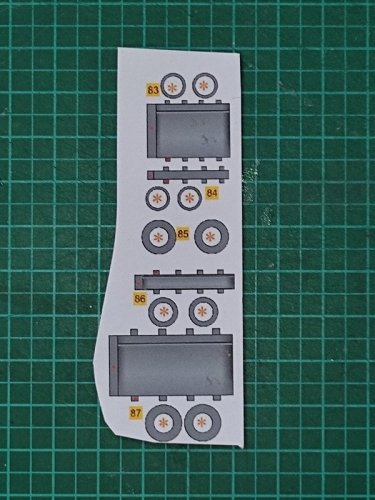
I tested it again on some spare paper. Again, the holes were far from perfect. So I was looking for a new holepunch at the "river store"

Fascinating!
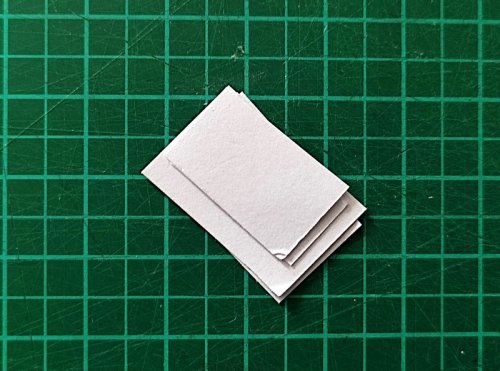
So instead of using just one single layer of paper I used several ones.
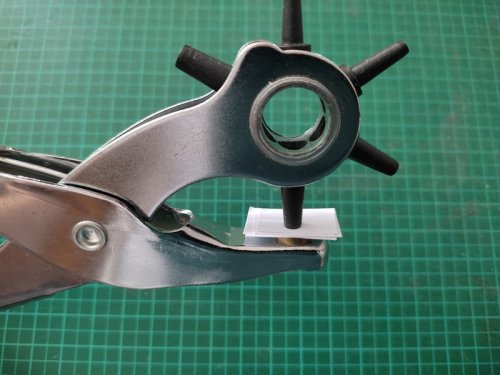
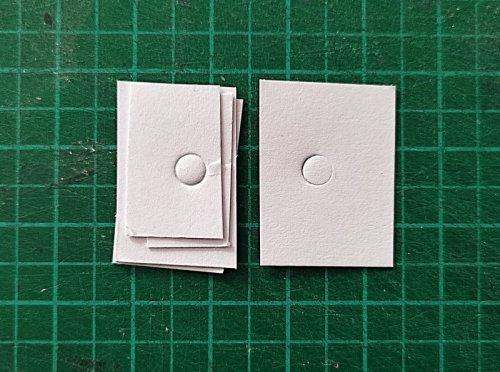
Left: Multi-layered punch, right: single-layered punch. You can see a difference.
Next I took my build parts and punched them with two layers of paper as a backing:
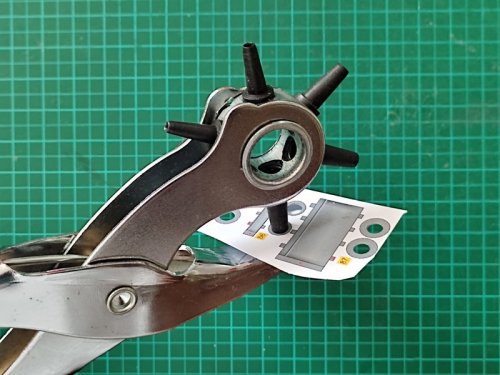
After the first punch I released the pressure, rotated the paper and punched again.
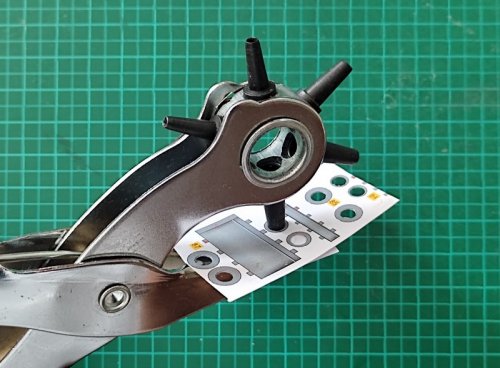
And again.
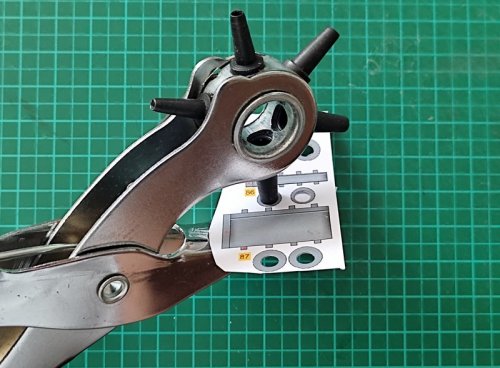
And this is what I got:
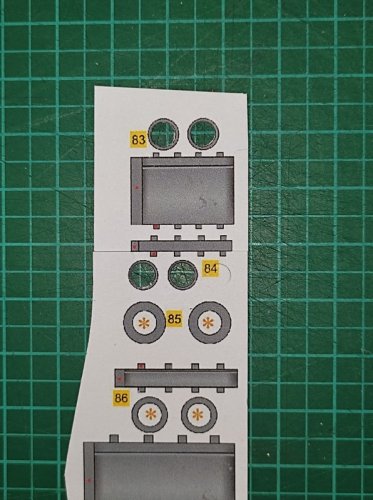
And I too was able to salvage the punched out pieces:
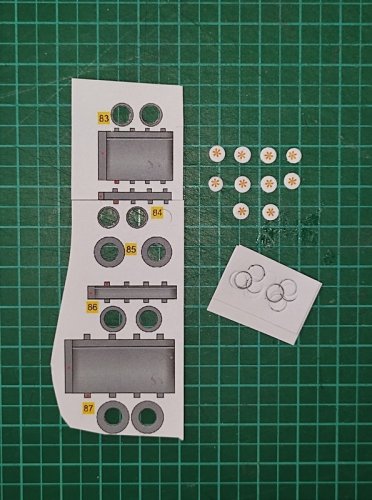
Perfect holes with a holepunch!
This new technique was a real eye-opener and made me like my old holepunch again.
This trick worked because of two reasons:
The brass head on the punch is softer than the metal used for the "punching flute" to make sure that it does not get blunt too quickly. So if you punch a single layer of paper you will never get through it completely. It is rather pressed together than penetrated. By adding some additional "flesh" the holepunch is able to work like an office perforator. It penetrates the top layer almost completely and is only stopped by the additional layers below.
So in summation:
- put two or three layers of scrap paper behind the paper you want to punch
- punch firmly but do not use too much pressure in order not to wrinkle the paper
- punch though several times and rotate the paper slightly between the single punches until the hole is completely cut out.
Do not rotate the paper while pressing the punch down to avoid tearing the paper.
That's it!
I hope you are able to replicate the results.
Have fun and enjoy!
Last edited:

