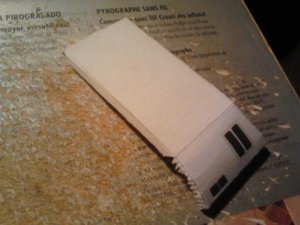
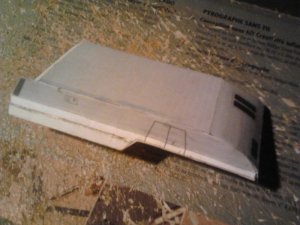
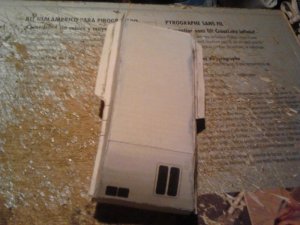
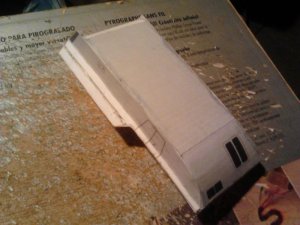
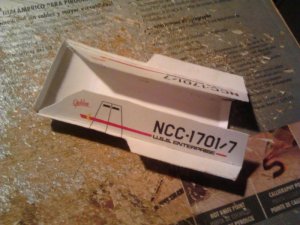
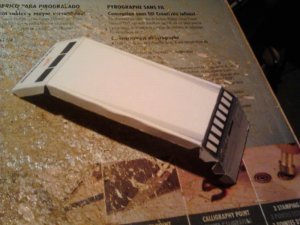
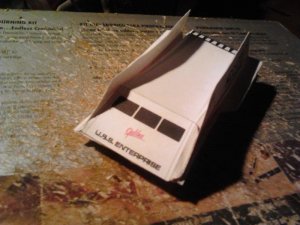
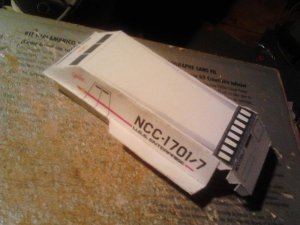
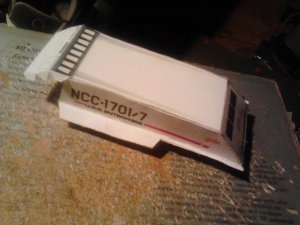
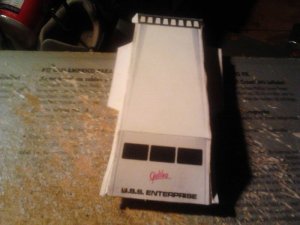
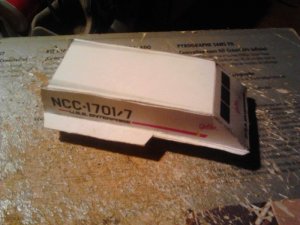
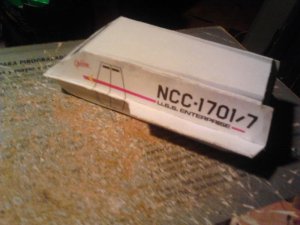
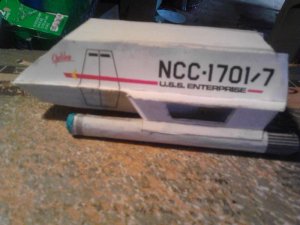
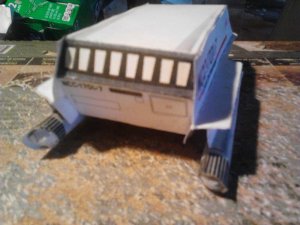
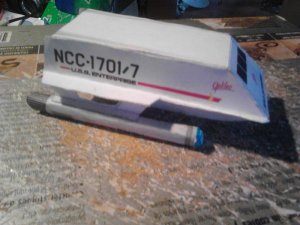
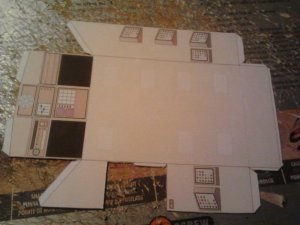
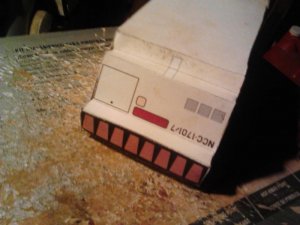
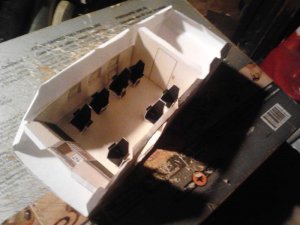
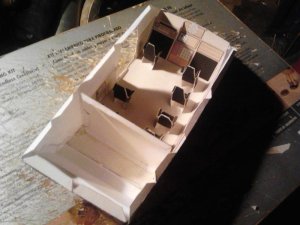
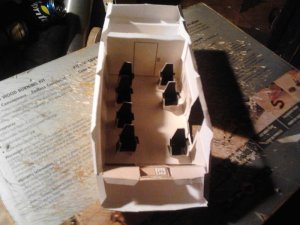
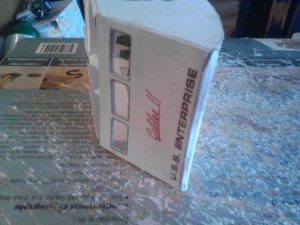
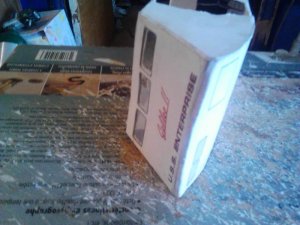
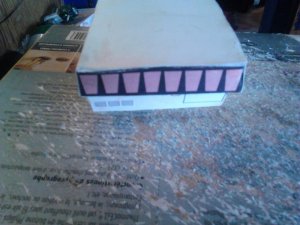
TOS Galileo
- Thread starter blake7
- Start date
You are using an out of date browser. It may not display this or other websites correctly.
You should upgrade or use an alternative browser.
You should upgrade or use an alternative browser.
If you have any questions or problems, please contact me (or any of the site staff) and I (they) will do what I (they) can to help you.Thanks Rhaven Black. It took me awhile to navigate and figure out how to create a build thread.
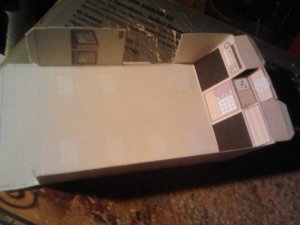
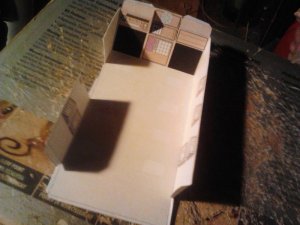
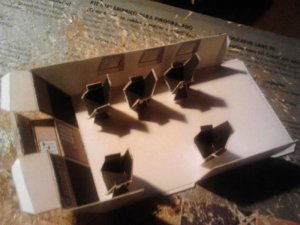
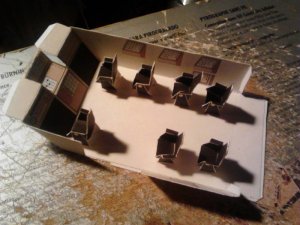
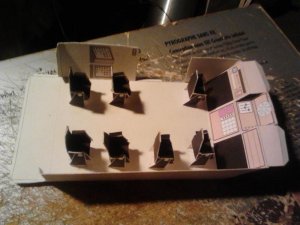
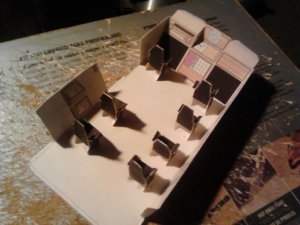
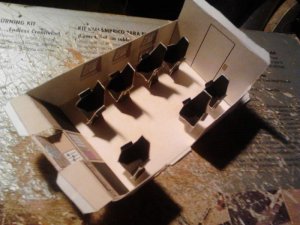
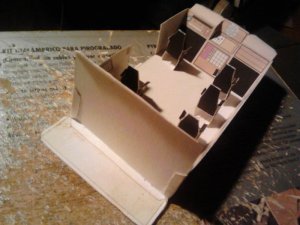
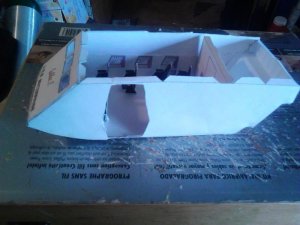
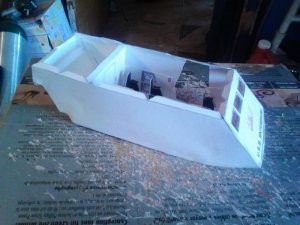
I have always liked models with interiors. You are off to a really good start with this one!!!
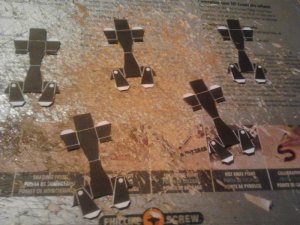
Personally, I would have coloured the white edges of the chairs, but really looking at what you have done, I have to say that I like them the way that they are. It adds a bit more character to the model as a whole.
You are doing a GREAT job on this one. Everything looks really good!
You are doing a GREAT job on this one. Everything looks really good!
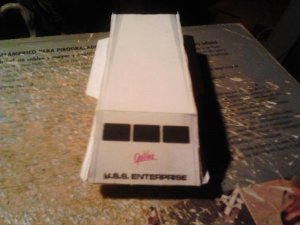
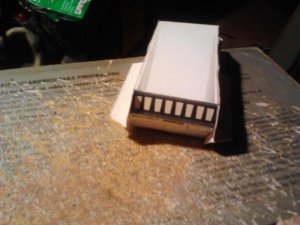
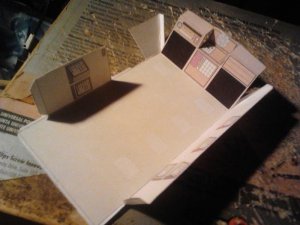
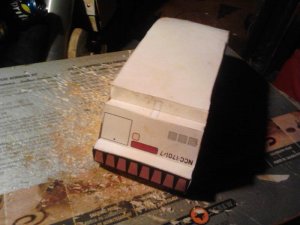
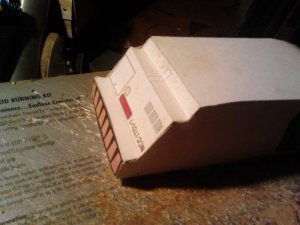
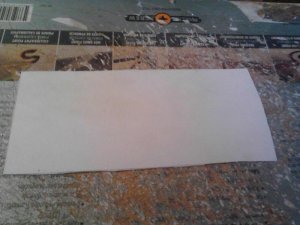
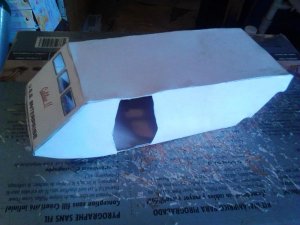
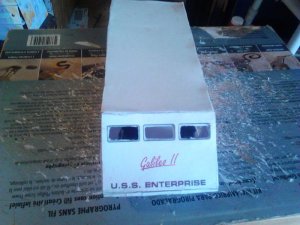
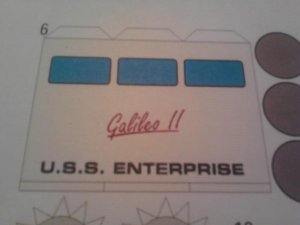
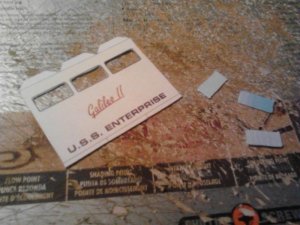
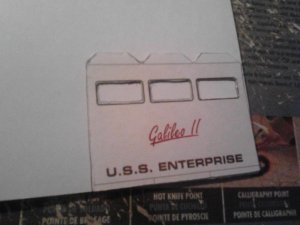
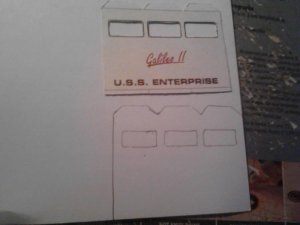
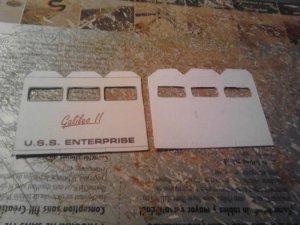
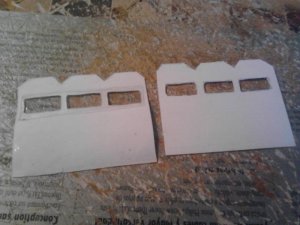
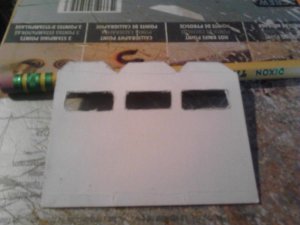
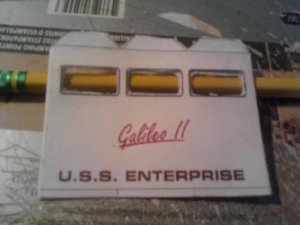
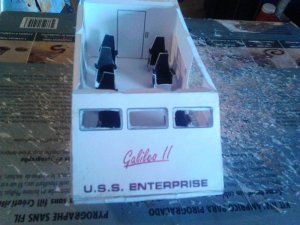
The next 9 pictures deals with making plastic windows for the front windshield. I made a back template by tracing the windshield, then cut out a thin piece of clear plastic that covers all the windows. Place the plastic between the front windshield and the template and glue togather. Rhaven Blaack I forgot to color the edges. I got in a hurry.


- Apr 5, 2013
- 13,886
- 10,245
- 228
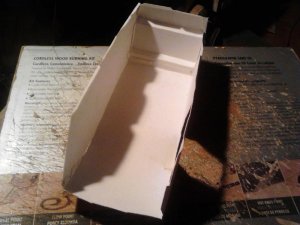
Jorg Stamen built this model a very long time ago, just to clear the air. His interpretation of the model model is awesome. It is better to separate the roof panel than try and fold it, actually, that holds true for side and bottom panels too. This allows you to reenforce them and make a very squared model. The Interior details are great and the seats deserve some cloth glued over them, for texture. I would double the insides with some 110 lb. card stock and slip some corner pieces. This model will warp as it absorbs moisture if not built stiff. My son, then 6, now 14, beat the living hell out of that model, it took serious abuse. I intend to build it again. This time with the outside probably made from aluminum flashing. It truly is a masterpiece.
You can do AirDave a favor by posting a complete build thread of one of his "Pay for" models. That would allow you to post a link to his site, which is commercial, and we only allow links to commercial sites if you build a model you purchased from that site. That goes for any commercial model. In case you didn't know. Otherwise, links to FREE ONLY models are allowed. Not that you posted or did anything wrong. Just some factoids. nice job. I find small models difficult to build. I have large hands. You did a great job on AirDave's model. I am sure you will do the same with J0rg Stamen's interpretation.
Both designers got the top and bottom wrong though (Something you could correct!) . Below are some pictures of the restored Galileo, the real one, used in the series. You can find all the pictures you need here:
Link = http://galileorestoration.com/?page_id=10


Zathros thank you for the advice, but these are models that I have already built, and posted on another forum. My avatar is both models side by side. Thank you for looking at them. these make number 15&16 models I have made since first getting into paper models.
this would be a great trace-over-styrene paper model mix!! I would use 3 AAA batteries made up to look like fuel tanks in the rear compartment wired to a merc switch for bling lighting in the controls and a few peek holes on the right flank side of the hull. thank you for posting this, its been a long time since I built this shuttle model. you did a great job and its very inspiring!


