(TOS) Colonial Viper (MK-I)

Revell-Fan

Co-Administrator
Staff member
Administrator
Moderator
Aug 1, 2009
11,595
12,338
228
Vreden
You are welcome, RB! :)

The nose looks great! thumbsup

I think RF is showing a side of him, that I'm not sure we really want to know about...... :eek: :laughrolling:

Replace the car with the Viper and the singer with me an you know my darkest secrets..! :Grin: :Grin: :Grin:
 
  • Like
Reactions: Rhaven Blaack

Rhaven Blaack

!!!THE MAN BEHIND THE CURTAIN!!!
Staff member
Administrator
Moderator
Jun 12, 2009
12,494
9,858
228
Oregon
www.deviantart.com
It is time for another update!

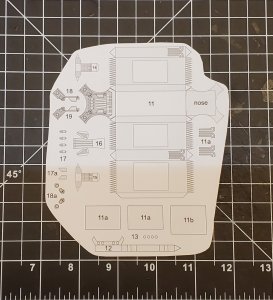
Here are parts for the .
20210302_223950.jpg

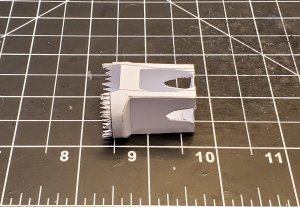
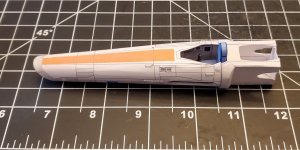
The back end of the fuselage is assembled.
20210303_092200.jpg

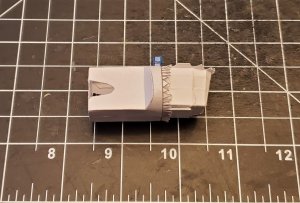
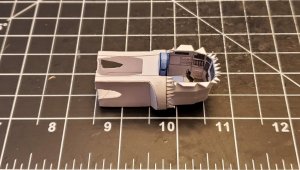
The cockpit tub is attached.
20210303_092904.jpg

20210303_092933.jpg

20210303_092958.jpg

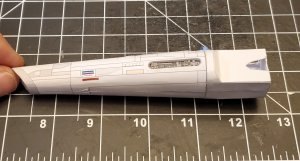
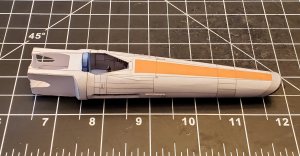
Both pieces of the fuselage are attached.
20210303_095115.jpg

20210303_104817.jpg

20210303_104913.jpg

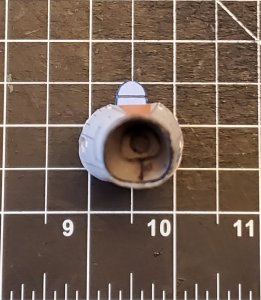
The inner cone is inserted.
20210303_104949.jpg

Now on to the engine mount and engines.

Please stay tuned to your local Colonial Broadcast Network for further updates as they come in.
 

Rhaven Blaack

!!!THE MAN BEHIND THE CURTAIN!!!
Staff member
Administrator
Moderator
Jun 12, 2009
12,494
9,858
228
Oregon
www.deviantart.com
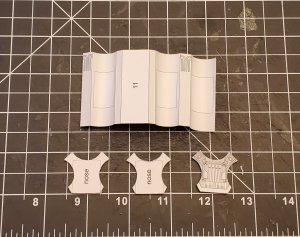
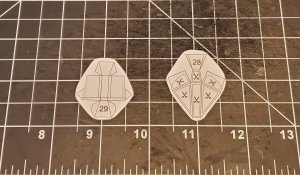
Now time for another update!

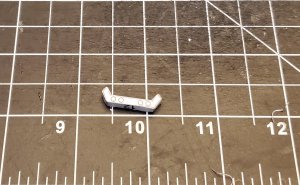
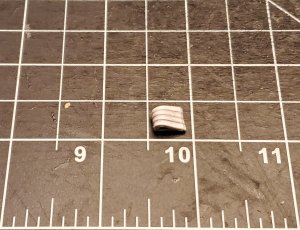
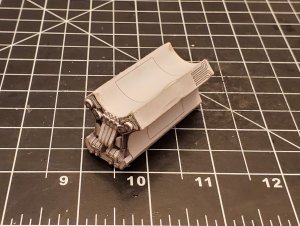
Here are the parts for the engine mount!
20210303_120658.jpg

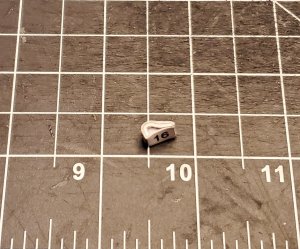
I too the end pieces off and took another end piece (which will be used as a center support) and laminated them to (roughly) 2mm.
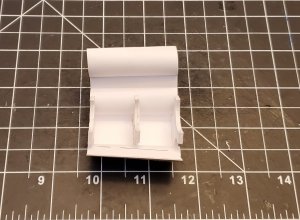
20210305_110323.jpg

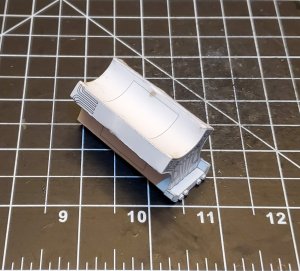
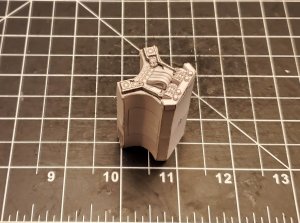
The end and center pieces are in place.
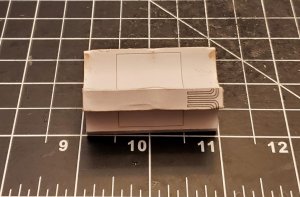
20210305_110626.jpg

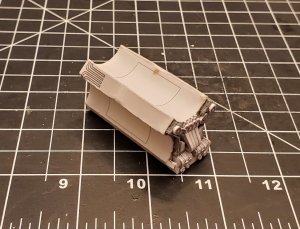
The skin is closed up.
20210305_162722.jpg

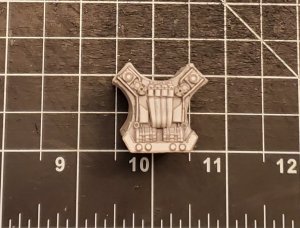
I took the front plate and laminated it to (roughly) 2mm thick.
20210305_162827.jpg

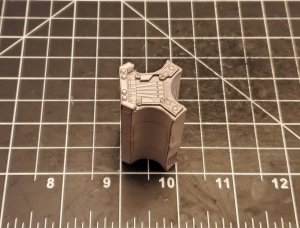
This piece is assembled.
20210305_163607.jpg

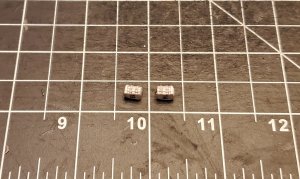
This piece and the four round knobs are attacked.
20210305_165218.jpg

Continuing on with the greebles.
20210305_173811.jpg

With this, I recessed the sides. Granted, you really will not see it that well. However, I thought that I would try my hand at it to see if I could actually do it.
20210305_180453.jpg

I also raised each tube texture to show individual sections.
20210305_180510.jpg

I raised the straps on the boxes.
20210305_193443.jpg

The tubes and boxes are attached.
20210305_204053.jpg

I added the rest of the greebles.
20210305_214404.jpg

20210305_214417.jpg

20210305_214436.jpg

Please stay tuned to your local Colonial Broadcast Network for further updates as they come in.
 

Awry_Chaos

OKB-4155
Dec 22, 2020
1,228
1,572
95
49
Spokane, WA
Now time for another update!

Here are the parts for the engine mount!
View attachment 192580

I too the end pieces off and took another end piece (which will be used as a center support) and laminated them to (roughly) 2mm.
View attachment 192581

The end and center pieces are in place.
View attachment 192582

The skin is closed up.
View attachment 192583

I took the front plate and laminated it to (roughly) 2mm thick.
View attachment 192584

This piece is assembled.
View attachment 192585

This piece and the four round knobs are attacked.
View attachment 192586

Continuing on with the greebles.
View attachment 192587

With this, I recessed the sides. Granted, you really will not see it that well. However, I thought that I would try my hand at it to see if I could actually do it.
View attachment 192588

I also raised each tube texture to show individual sections.
View attachment 192589

I raised the straps on the boxes.
View attachment 192590

The tubes and boxes are attached.
View attachment 192591

I added the rest of the greebles.
View attachment 192592

View attachment 192593

View attachment 192594

Please stay tuned to your local Colonial Broadcast Network for further updates as they come in.
A most EXCELLENT job, @Rhaven Blaack . this is going to be FRAKKING AWESOME!!!
 

Rhaven Blaack

!!!THE MAN BEHIND THE CURTAIN!!!
Staff member
Administrator
Moderator
Jun 12, 2009
12,494
9,858
228
Oregon
www.deviantart.com
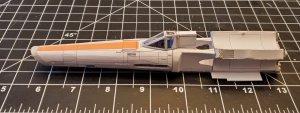
Here another (short) update.

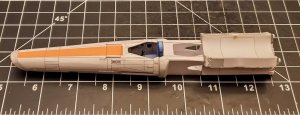
I joined the front fuselage and the engine mount section.
20210306_181147.jpg

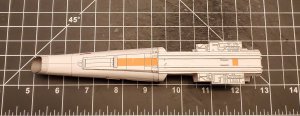
Here are the main components for the underside.
20210306_183130.jpg

The underside is complete.
20210306_211311.jpg

No, I did not cut out the slots for the removeable landing gear. However, I will be permanently attaching them in place.

Please stay tuned to your local Colonial Broadcast Network for further updates as they come in.
 

Rhaven Blaack

!!!THE MAN BEHIND THE CURTAIN!!!
Staff member
Administrator
Moderator
Jun 12, 2009
12,494
9,858
228
Oregon
www.deviantart.com
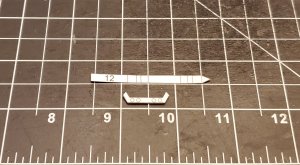
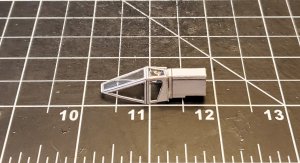
Time for another small update.

Here are the parts for the cockpit canopy.
20210307_092244.jpg

I laminated the main part of the canopy to a sticky label. Then laminated that to a piece of clear plastic. I also raised the detailed pieces of the canopy brace.
20210307_125159.jpg

The canopy and brace are attached (No, the canopy will not be functional).
20210307_125400.jpg

The canopy and brace are put in place.
20210307_130640.jpg

Please stay tuned to your local Colonial Broadcast Network for further updates as they come in.