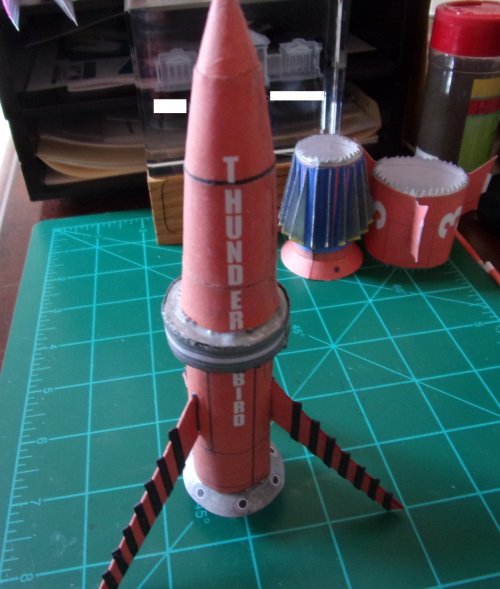
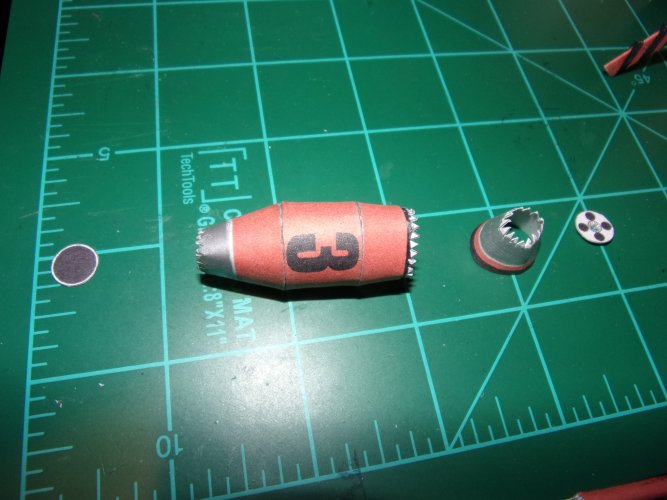
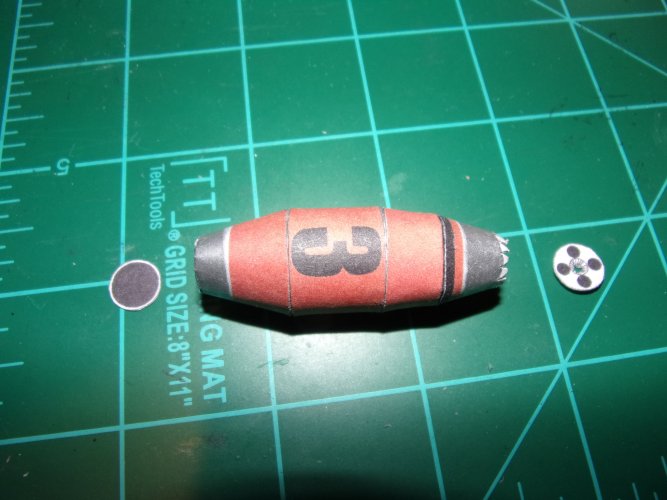
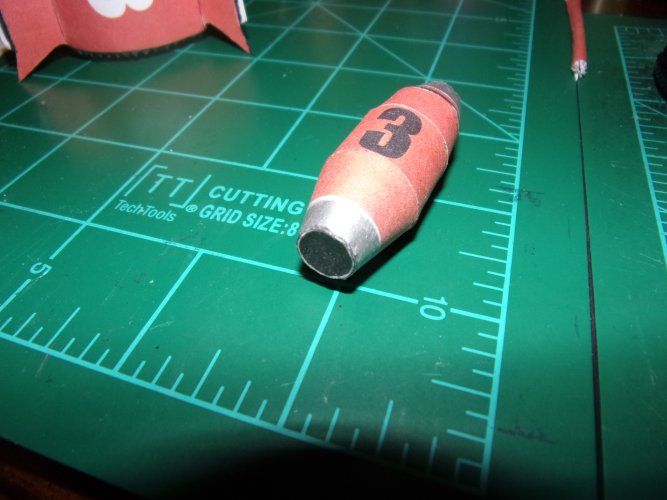
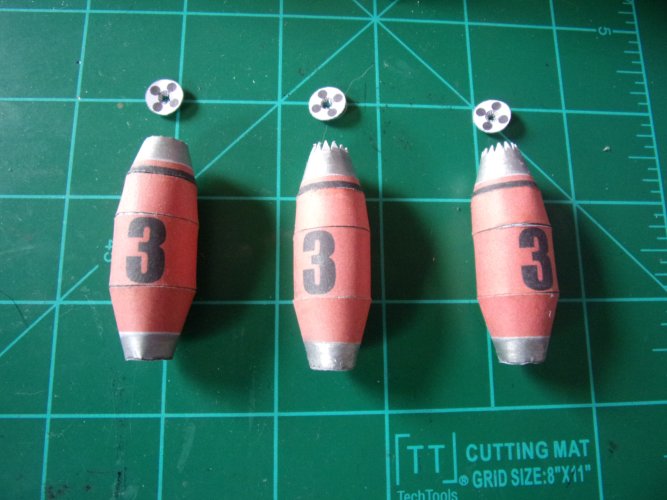
Thunderbird 3

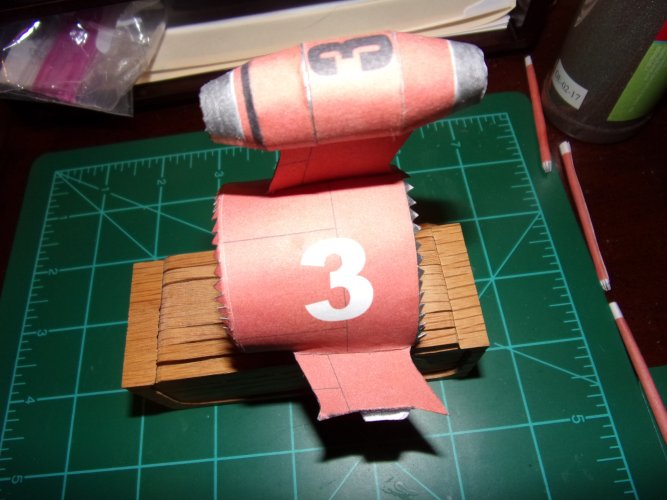
#3 was always one of my favorites. Lots of detailing on this model. Nice! :)
Thanks Z! :bowdown: Obviously more to do. The dicey part of joining the nose cone and the other sections of the model together are coming up. Fingers crossed.
Sky Seeker
 
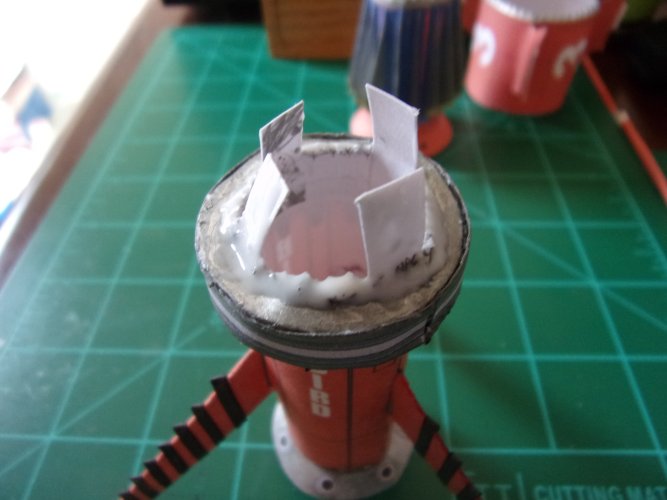
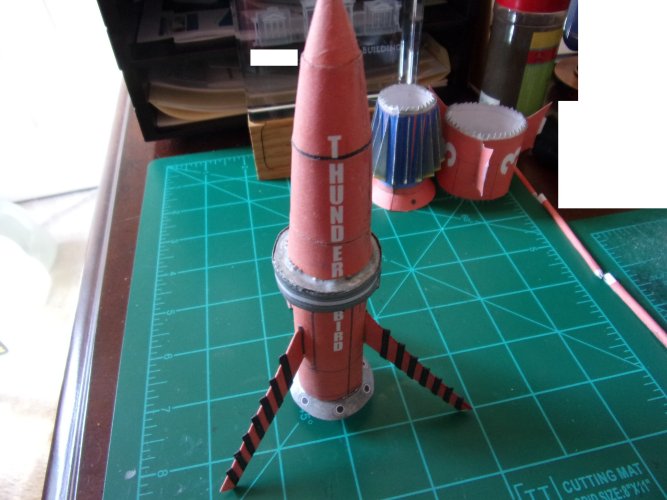
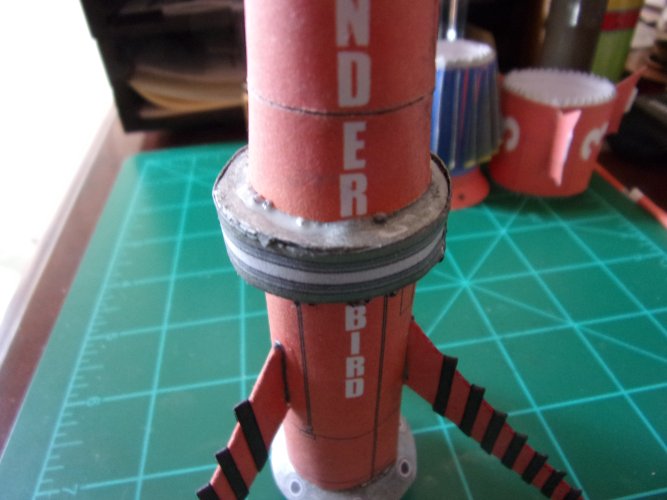
Joining the nose cone to the upper intermediate section
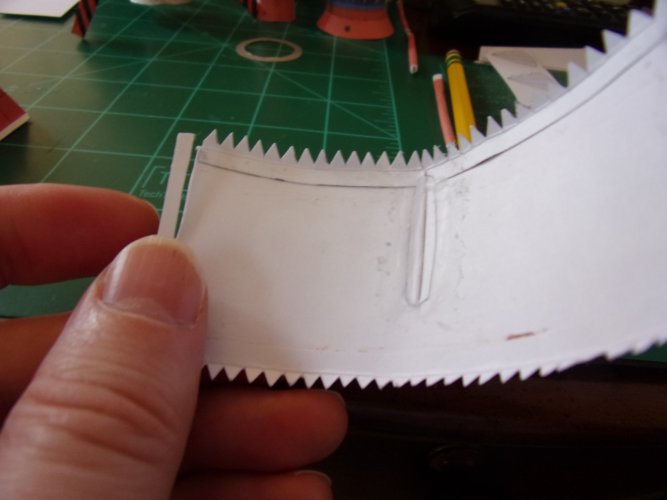
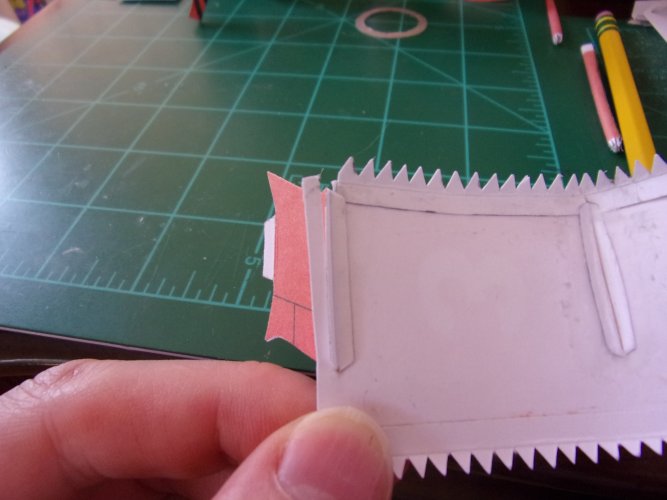
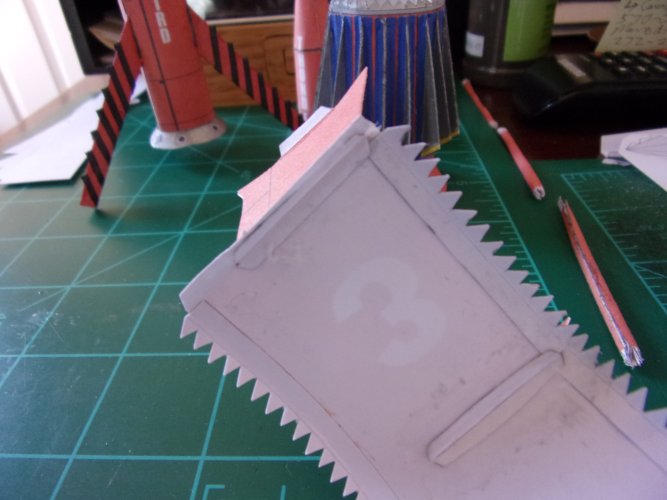
Glue applied to the periphery around the opening around the vertical tabs. Glue also applied to the tabs. Once positioned, the tabs are pressed into the inner side walls of the nose cone. This is done to reinforce the connection with the upper intermediate portion and the nose cone. This makes the connection MUCH stronger.

1743531142121.jpeg

1743531737416.jpeg
Note - overgluing done on the base of the nose cone to further reinforce and join to the two portions together.
1743531165706.jpeg

1743531754983.jpeg

Nose cone joined!

That's it for now!


Sky Seeker
 
I built Thunderbirds 1-5, plus some of the pod vehicles. Sadly the pictures have been lost (with the tapatalk debacle). I'll take some new ones and update my build thread :)

 
I built Thunderbirds 1-5, plus some of the pod vehicles. Sadly the pictures have been lost (with the tapatalk debacle). I'll take some new ones and update my build thread :)

Cybergrinder,
It's great hearing from you! :animated:
Been a while! How's everything going in SA? Just took a look at your old thread and a lot of the older pics seem to be gone.1744242283857.png It's good to know that you'll upload them again sometime. Looking forward to seeing your pics of Thunderbird 3.:)

Have a good one!:toast:

Sky Seeker
 
Last edited:
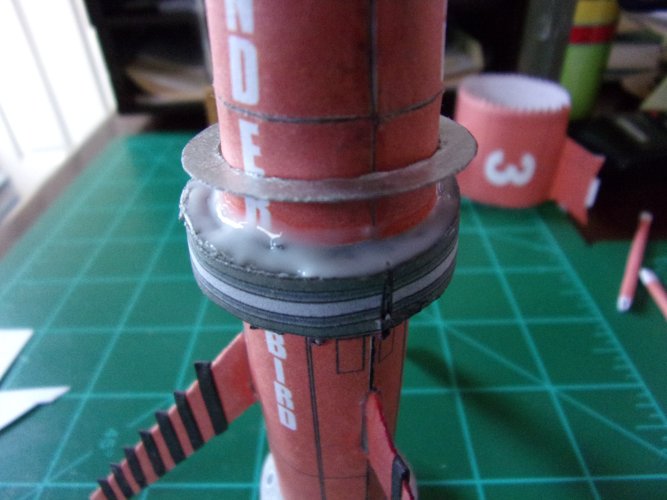
Mid section Ring redo
As you can see in the earlier pic that the top of the ring is pretty messed up so I decided to add another new cut out ring to make things smoother.
1744754004689.jpeg


1744754013325.jpeg
1744754026130.jpeg
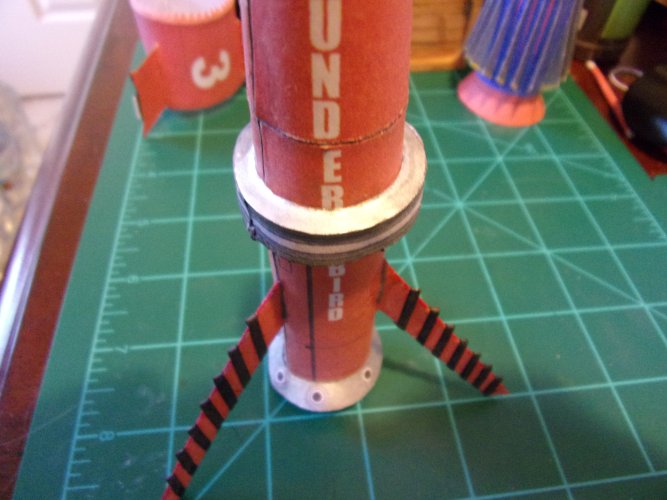
The pic below shows everything attached. It might look white it's not. It's just REALLY shiny when the flash hits the ring.
1744754063840.jpeg
That's it for the ring.

Sky Seeker
 
Final stage - bottom section
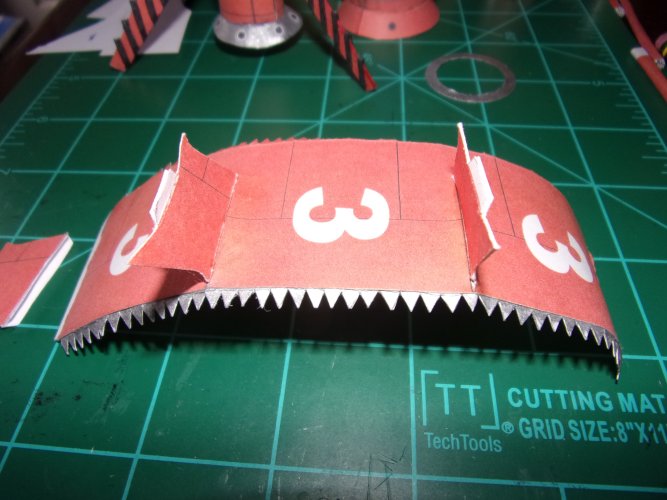
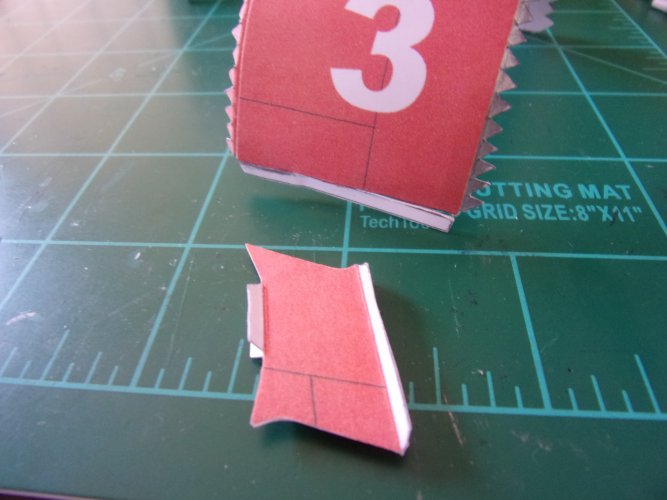
Side connectors - before assembly
1744754732732.jpeg
Side connectors - before assembly

1744754807335.jpeg
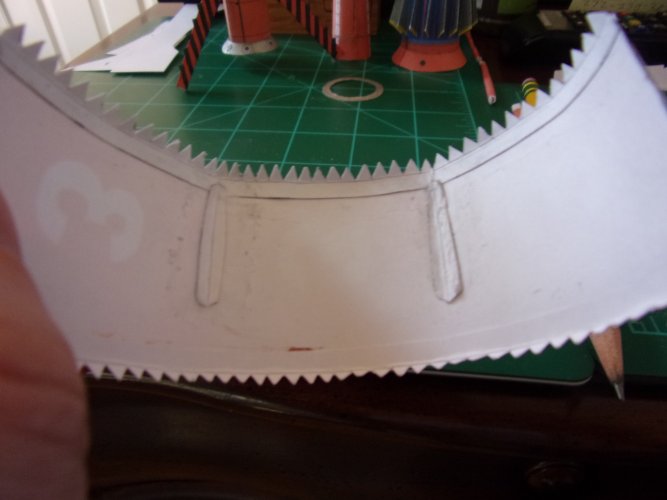
Upper and lower tabs joined to final stage
1744754931825.jpeg
Make sure to cut out slots and then pre-fit side connector portions
1744755111883.jpeg
Connector sections pre-fitted to the main body of the final stage
1744755030316.jpeg
Connector sections glued to the main body - with joined section overglued for additional strength over folded tab portions
1744755225677.jpeg
Connector sections glued to the main body - with joined section overglued for additional strength over folded tab portions
1744755268378.jpeg
Glued Tabs dried
1744755341694.jpeg
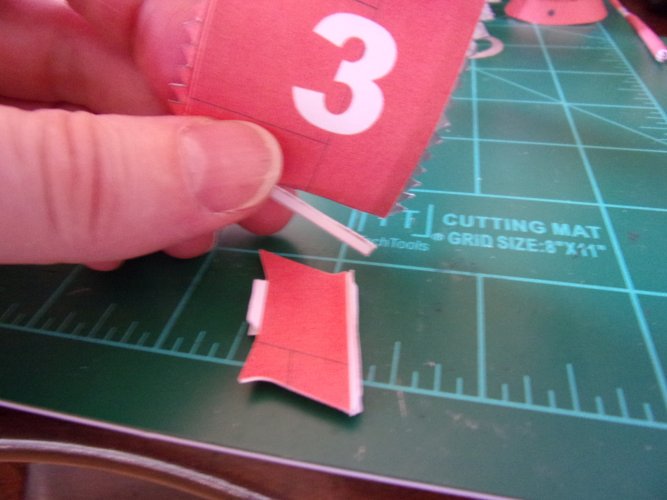
Now if you noticed only two sections were showed - the third connector section was a bit tricky - so here's the solution:
Cut the tab only part way to allow the third connector portion to be slid in (normally we cut the tabs off - do NOT do that in this case)

1744755478024.jpeg
Side view - tab opened to receive the 3rd side connector - front view
1744755527871.jpeg
Side view - tab opened to receive the 3rd side connector - back view
1744755533973.jpeg
3rd side connector - slid in
1744755548254.jpeg
3rd side connector - Slid in and glued in place
1744755582134.jpeg
That's it for now.
Sky Seeker
 
Last edited:
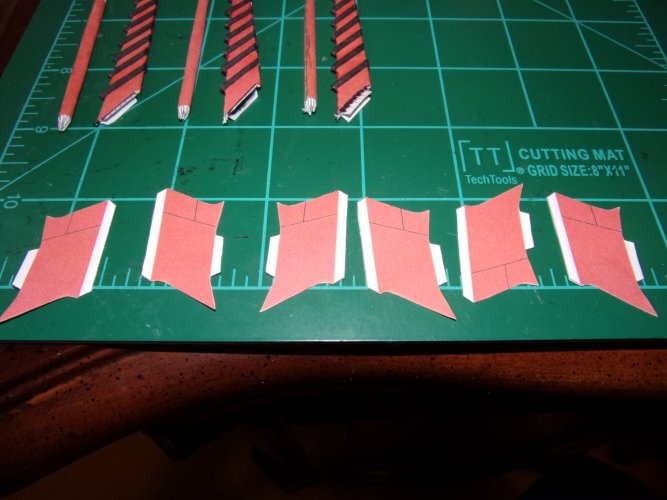
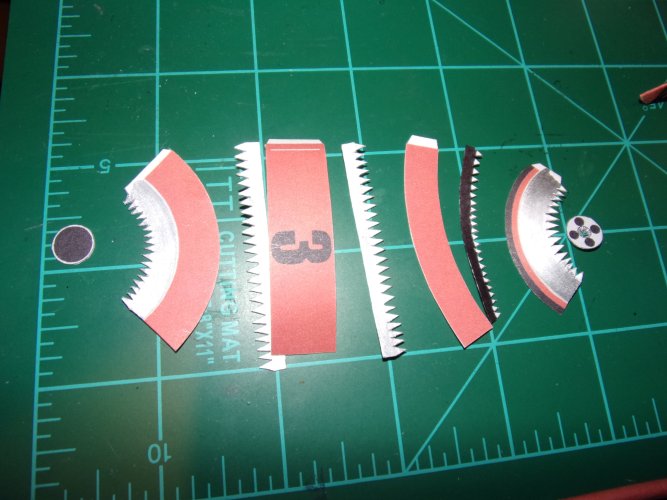
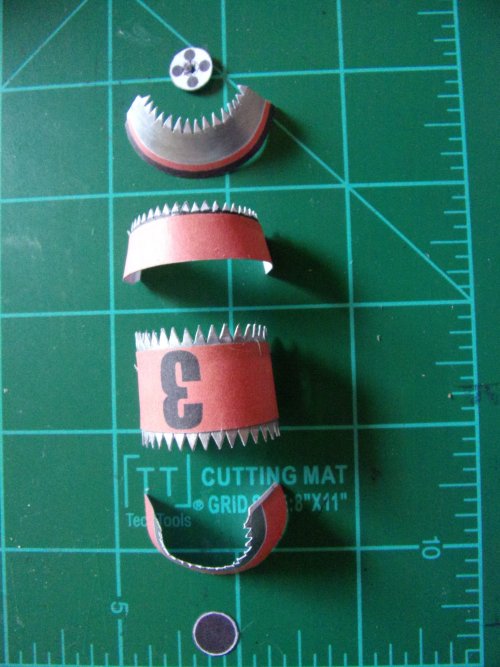
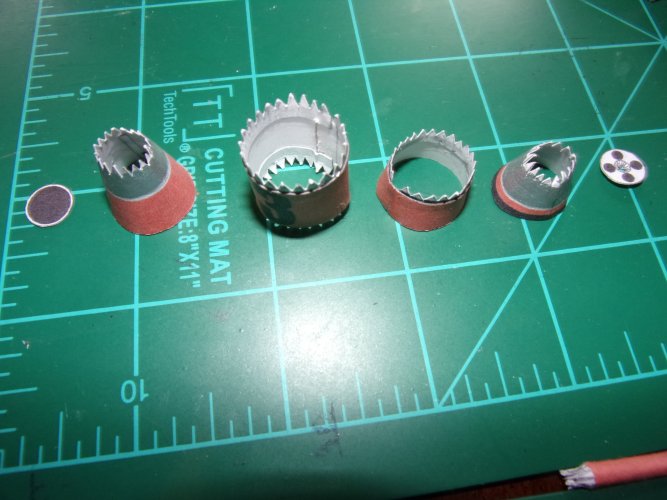
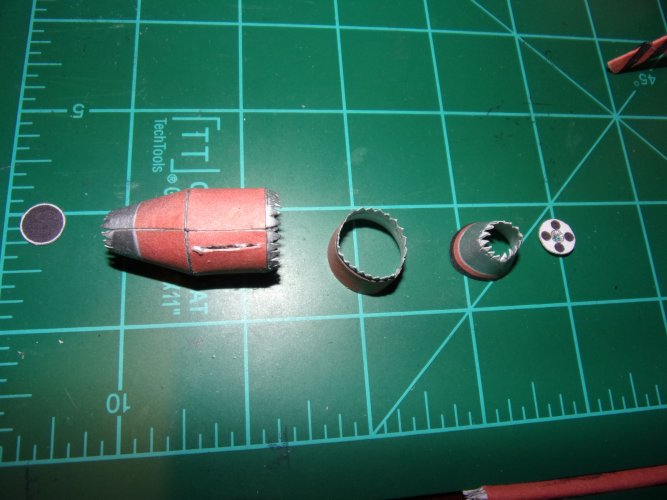
Engine nacelles - templates - I'm only showing the assembly of one of the three nacelles the rest are the same in assembly
1744763969629.jpeg
Engine nacelles - templates - highlighted and colored
1744764038160.jpeg
Engine nacelles - tabs attached
1744764072066.jpeg

Engine nacelles - ends attached - note that the sections are lined up in order to be attached from left to right
1744764141077.jpeg

Engine nacelles - first and second sections joined
1744764250515.jpeg

Engine nacelles - third section joined to first and second sections
1744764368238.jpeg

Engine nacelles - fourth section joined to first, second, and third sections
1744764438847.jpeg
Engine nacelles - end piece joined to nacelle to cap one end
1744764493553.jpeg
All three nacelles assembled - leaving the tops off for now to enable access to the interior for any additional gluing

1744764881573.jpeg


That's it for now!:)
Sky Seeker
 
Last edited:
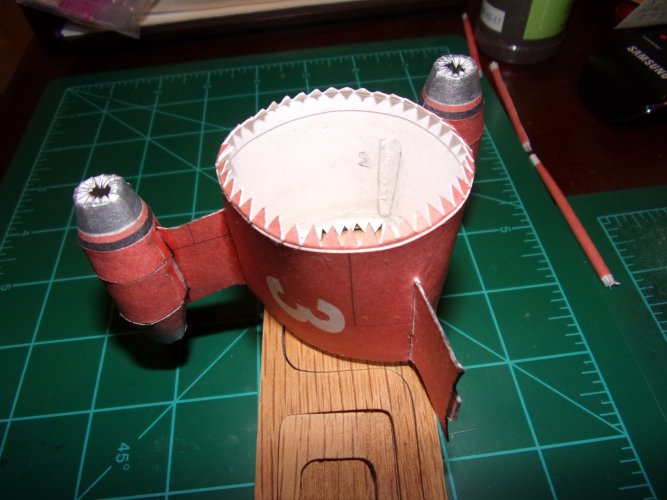
Assembly of the engine nacelles to the final stage - bottom section
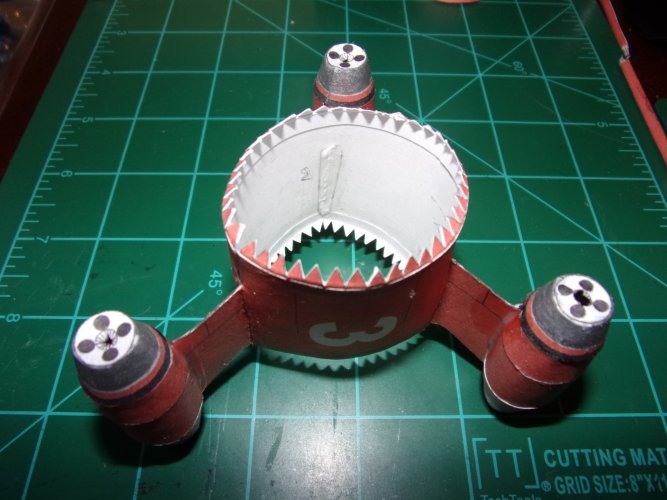
1st nacelle attached - make sure to pre-fit the nacelle to the connector to make sure that everything fits together then glue

1744767329696.jpeg
2nd nacelle attached
1744767524785.jpeg
3rd nacelle attached

1744767608727.jpeg
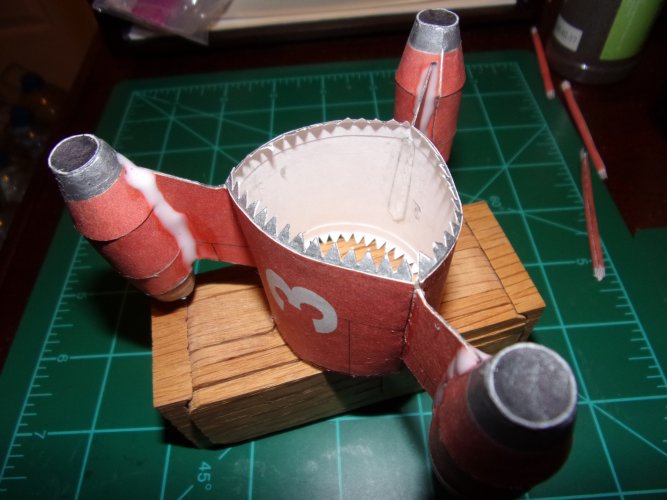
Once the nacelles are attached overglue the nacelles to the connectors to reinforce the nacelle connection - it might look messy - but it works!
1744767641758.jpeg
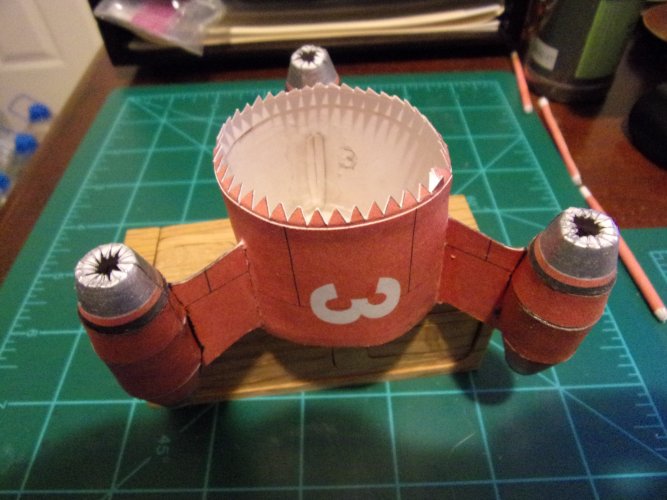
The nacelles all are glued together and dried. Top end caps are added. Please note that if you overglue any internal gluing is redundant and really not needed.
1744767854323.jpeg
Top view - please note that any white areas were colored with pencil to reduce glare.
1744767866363.jpeg
That's it for now!
Sky Seeker
 
Last edited:
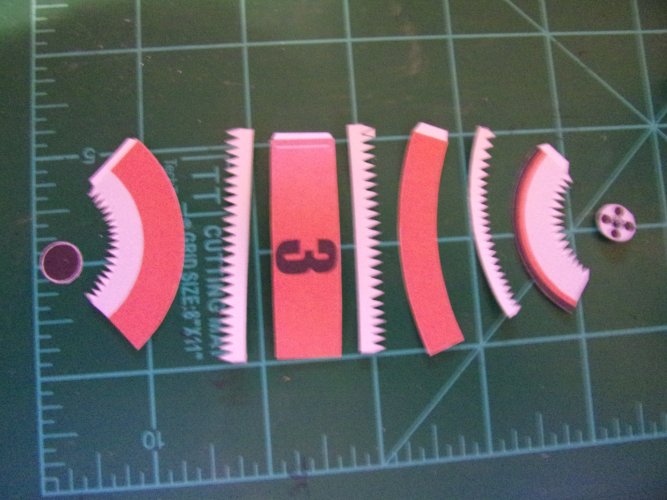
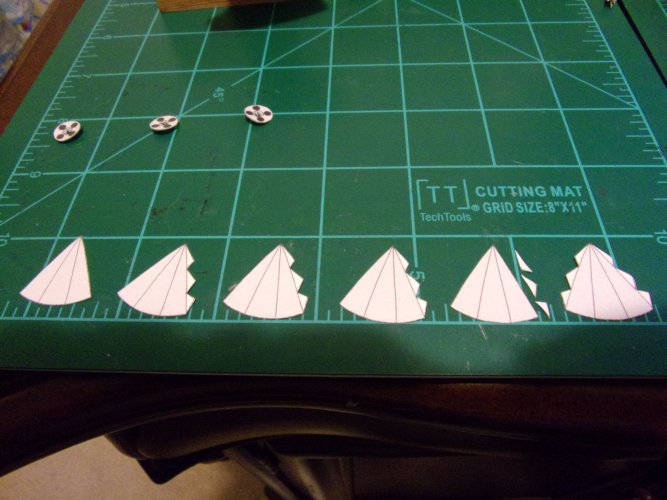
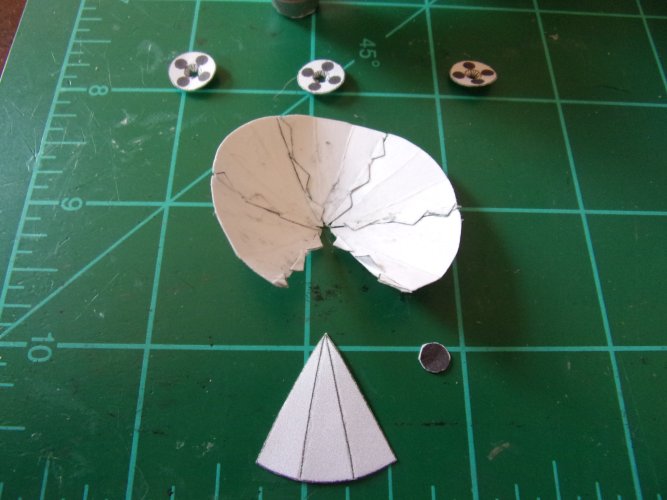
Bottom End Plate Cover - template
1744768008707.jpeg
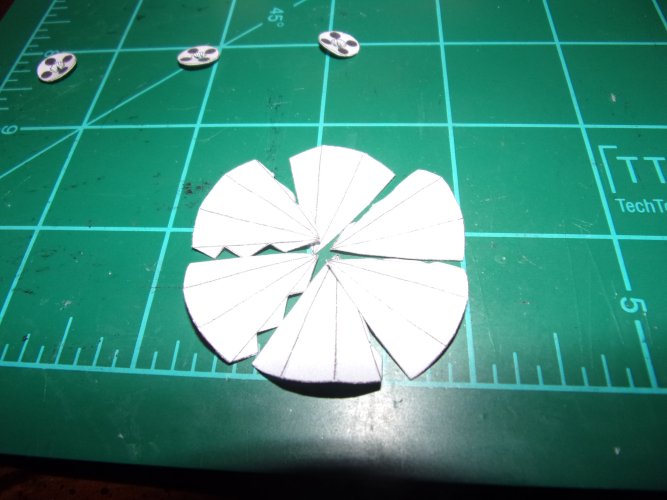
Bottom End Plate Cover - template - arrangement - pre-assembly - this is roughly how they should be assembled
1744768078256.jpeg
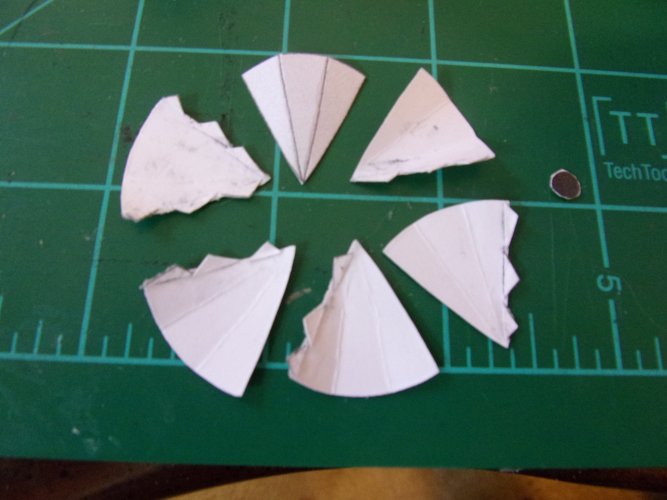
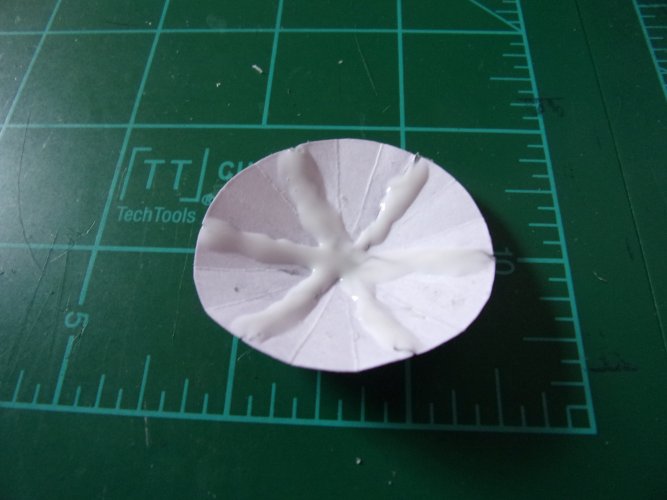
Bottom End Plate Cover - assembly - remove the tabs and then re-glue them so that the pieces form together tight edges
1744768160466.jpeg

Bottom End Plate Cover - assembly - pieces assembled minus the last piece
1744768321197.jpeg
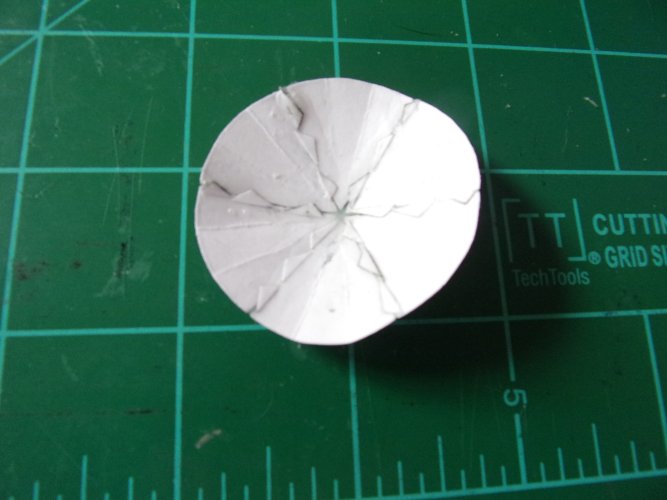
Bottom End Plate Cover - assembly - All pieces assembled - the gap in the center was to be covered by the black circle. However, I lost it somehow and had to improvise.
1744768401379.jpeg
Bottom End Plate Cover - assembly - Overglue joints for a more secure assembly
1744768511125.jpeg
Bottom End Plate Cover - assembly - Overglue areas dried - Note center section is covered so the black circle is not necessary anymore.
1744768582539.jpeg
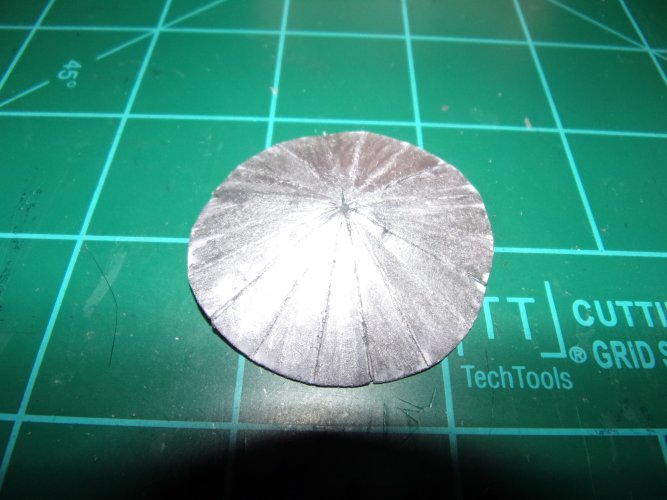
Bottom End Plate Cover - Top of the cover is colored in silver to match portions of the nacelles. To make sure that the plate is adequately colored, just hold the plate up to the light and see how many gaps you have. Add more glue and color as needed until you can't see any light pass through on the bottom.
1744768659919.jpeg
That's it for now!
Sky Seeker