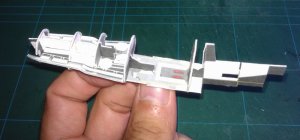
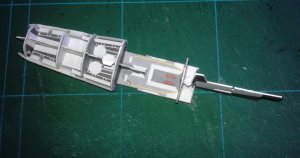
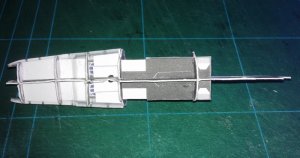
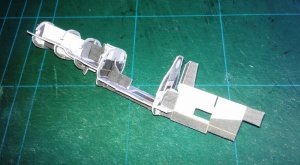
The UHU02 Colonial Viper appreciation thread

Revell-Fan

Co-Administrator
Staff member
Administrator
Moderator
Hello, fans, and hello, UHU02! :wave:

This thread is something special. It is dedicated to the marvellous Colonial Viper Mk. II from the New Battlestar Galactica and its creator, the magnificent UHU02.

His latest creation can be seen here:

http://www.zealot.com/forum/showthread.php?t=174287

This model is so amazing that I have contacted a few fellow members of this forum and asked them if they would be interested in joining a UHU02 Viper group build. They immediately agreed and here we are.

There is no deadline for our builds and no need to get things done as fast as possible. This is no competition. With this thread we would like to say "Thank you" to one of the greatest artists on our planet and to show our gratitude for giving this model to us for free (which should never be seen as a matter of course).

So far I have confirmation that UHU's Viper is being built in Brazil (Rogerio), The Netherlands (Dan), Poland (Rhaven) and Germany (whoever that may be :mrgreen:). USA and UK may be in, too. :thumb:

So have fun and enjoy, and feel free to join us (if you dare :twisted:!)
 

Revell-Fan

Co-Administrator
Staff member
Administrator
Moderator
+++ German sitrep +++

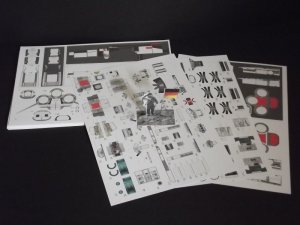
Here are the first WIP pics from Germany. Some of you might know that I am working on a 1:32 scale hangar bay display from the New BSG. UHU's Viper would fit in it perfectly IF it was a bit bigger (the original version is about 1:50 scale). Since I don't know if I will have the time to builld another Viper in a larger scale later I have enlarged the plans by about 155 % to build the Viper in 1:32 scale now. This makes 15 parts pages.
 

Attachments

  • DSCF1074k.JPG
    DSCF1074k.JPG
    98.4 KB · Views: 205

Revell-Fan

Co-Administrator
Staff member
Administrator
Moderator
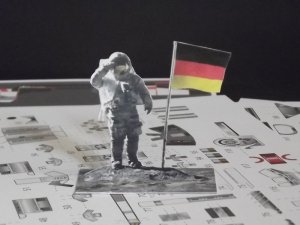
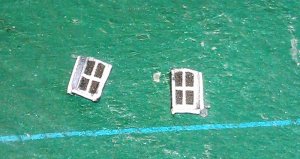
LGA (= Little German Astronaut :mrgreen: !) is standing by for encouragement and advice.
 

Attachments

  • DSCF1073k.JPG
    DSCF1073k.JPG
    93.4 KB · Views: 66

Revell-Fan

Co-Administrator
Staff member
Administrator
Moderator
bounce7

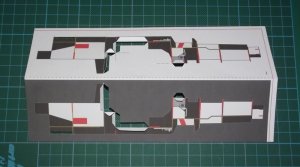
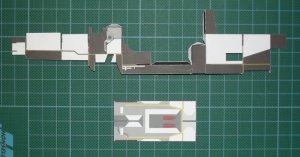
The first parts successfully glued together!
 

Attachments

  • DSCF1078.jpg
    DSCF1078.jpg
    83.1 KB · Views: 120
  • DSCF1079.JPG
    DSCF1079.JPG
    91.6 KB · Views: 116

Rhaven Blaack

!!!THE MAN BEHIND THE CURTAIN!!!
Staff member
Administrator
Moderator
You are definitely off to a good start!!!
It will be interesting to see this at 1:32 scale.
I will be starting my build soon (in 1:50 scale)
 

DanBKing

Dan the Man
26_koninginnedag3.jpg


A little something from the Dutch contingent.........

Hey, R-F, I noticed that on UHU02's website and instructions, he was very specific in getting the correct paper thickness for this model and said it might be a problem if you upscale the model. The paper thickness would have to upscale too.... Did you take this into consideration ????

Just a thought........
 

Revell-Fan

Co-Administrator
Staff member
Administrator
Moderator
I know. Unfortunately I can't get thicker paper at my place so I'm using what I have available (160 g) and will see how far I can go with it. If anything needs reinforcement I'll put a layer of regular card behind it. Anyway, no pain no gain! ;-)

P.S.: Nice flag! :thumb: (Even though I'd love to see Willem-Alexander en Maxima on it :rolleyes: !)
 

Revell-Fan

Co-Administrator
Staff member
Administrator
Moderator
I'm the only King here ......sign1
:inw: Oops, I forgot!
inw.gif
:mrgreen::mrgreen::mrgreen:
 

Revell-Fan

Co-Administrator
Staff member
Administrator
Moderator
+++ German sitrep +++

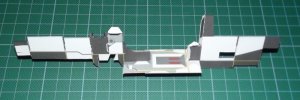
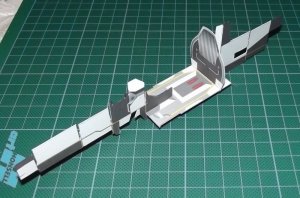
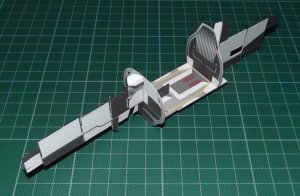
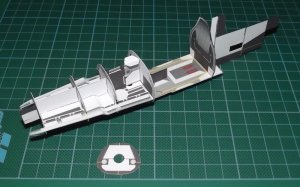
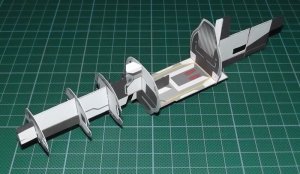
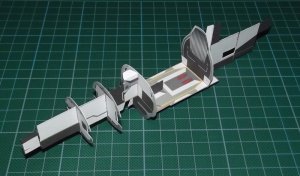
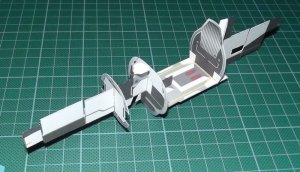
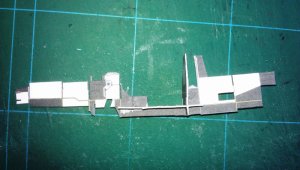
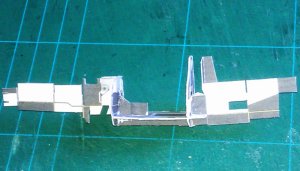
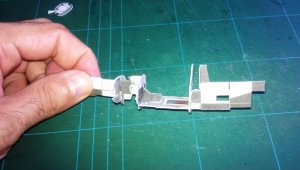
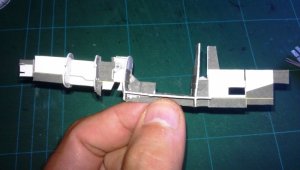
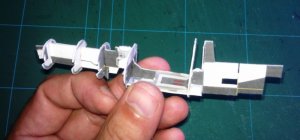
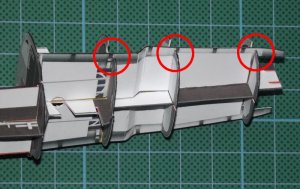
Inner frame done. So far I haven't encountered any problems (knocking on wood :thumb: ). The design is wonderful and elegant, each part slips into position almost instantaneously. Next will be the cockpit.
 

Attachments

  • DSCF1080.JPG
    DSCF1080.JPG
    107.7 KB · Views: 153
  • DSCF1082.JPG
    DSCF1082.JPG
    117.7 KB · Views: 117
  • DSCF1083.JPG
    DSCF1083.JPG
    92.8 KB · Views: 119
  • DSCF1085.JPG
    DSCF1085.JPG
    157.9 KB · Views: 140
  • DSCF1086.JPG
    DSCF1086.JPG
    142.9 KB · Views: 175
  • DSCF1087.JPG
    DSCF1087.JPG
    149.4 KB · Views: 125
  • DSCF1088.JPG
    DSCF1088.JPG
    133.3 KB · Views: 169
  • DSCF1089.JPG
    DSCF1089.JPG
    138.1 KB · Views: 133
  • DSCF1090.JPG
    DSCF1090.JPG
    138.7 KB · Views: 136

Rogerio Silva

Active Member
Absolutely fantastic, as usual. I have downloaded the model, but I'm still joining all the courage I have to print and start working on it. I mean, that would be the fourth model I'm working simultaneously!
I think UHU02's models demand total focus and attention... I probably should wait...
 

silveroxide

Senior Member
Thanks for starting the build. I am still considering it but I am playing around with the size as well. Keep it up and see you around the forum.
 

Rhaven Blaack

!!!THE MAN BEHIND THE CURTAIN!!!
Staff member
Administrator
Moderator
An American addition from Poland

Well ladies and gentlemen, here is my contribution and tribute to this thread and to one of the most talented designers in this world today.

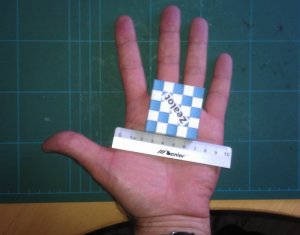
I would like to make a comment to all of you who have BIG HANDS.
As you can see, I have HUGE BEAR paw like hands. I am building this model in the original size that UHU02 created it in (I know, I am in serious need of a check up from the neck up).
I am going to prove that this model (AS-IS) can be made by people (like me) with BIG HANDS!!!:thumb::thumb:
IMAG2645.jpg

Now for the actual start of the build.
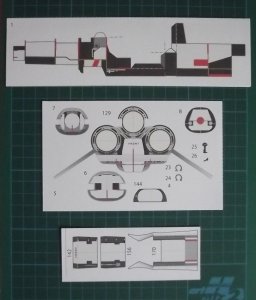
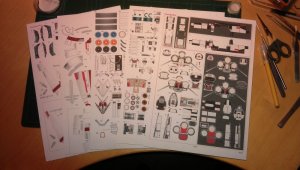
Five parts sheet in all.
IMAG2646.jpg

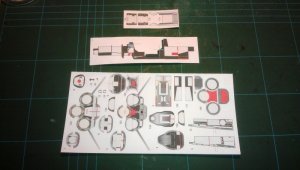
Everything laminated together nicely.
IMAG2647.jpg

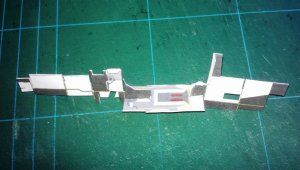
The initial parts for the frame work.
IMAG2648.jpg

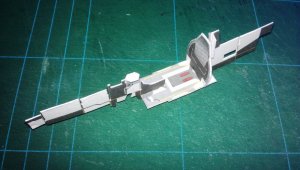
Actual assembly begins.
In starting off, I noticed that this is more like a 3-D puzzle then a model. As Revell-Fan said, each part slips into position almost instantaneously.
IMAG2649.jpg

IMAG2650.jpg

IMAG2651.jpg

IMAG2652.jpg

IMAG2653.jpg

IMAG2654.jpg
 

DanBKing

Dan the Man
You two are just too fast ....... sign1

Looking good so far ...!

I will be getting mine printed off, at UHU02's provided scale, at some point this week.. Then I'll be joining you both in this endeavour!.
 

Revell-Fan

Co-Administrator
Staff member
Administrator
Moderator
+++ German sitrep +++

To Dan: We are looking forward to every assistance you can offer (the Cylon fleet is growing and Starbuck always crashes HER planes so fast, ya know :p !)

To RB: It looks GREAT (and I am referring to the build, not to your hand though :mrgreen: )!

I have noticed that the lower portion of the "ribs" does not align properly with the "floor" parts of the frame. The floor parts overlap a bit on both sides. At first I was very concerned but when I took a look at the WIP pics of the master I noticed that overlap in his build, too. So I'm leaving it for the time being but I'm having an eye on it. I guess dressing up the plane will show if these areas need a little tweaking.
 

Attachments

  • DSCF1094k.JPG
    DSCF1094k.JPG
    119.6 KB · Views: 69

Rhaven Blaack

!!!THE MAN BEHIND THE CURTAIN!!!
Staff member
Administrator
Moderator
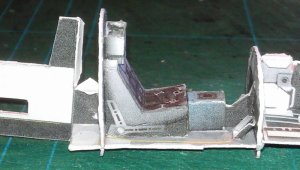
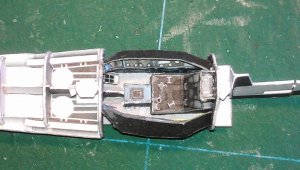
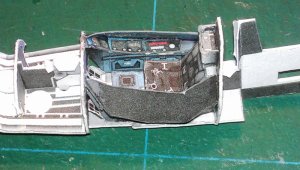
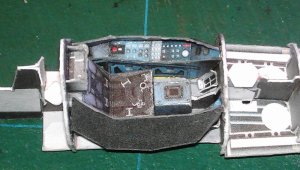
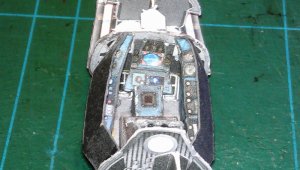
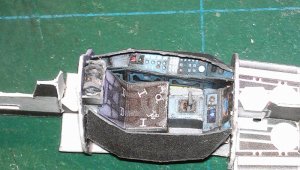
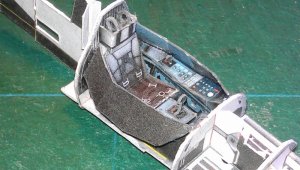
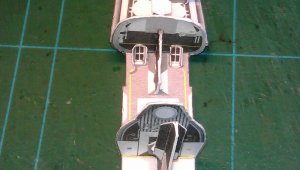
Cockpit interior

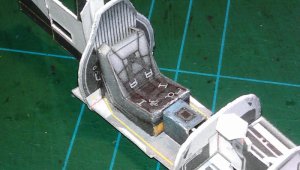
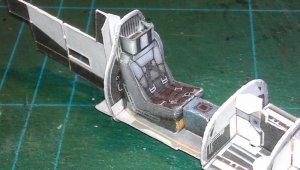
Time to start on the cockpit interior. For being simple, it has a GREAT deal of printed texture that look FAN(FRAKKING) TASTIC!!!

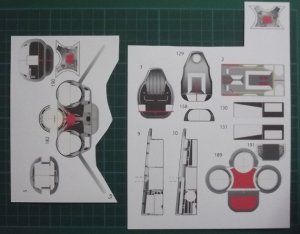
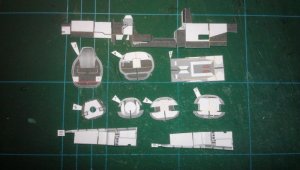
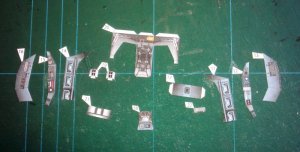
Here are most of the parts that are needed for the cockpit interior.
IMAG2660.jpg

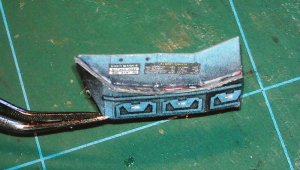
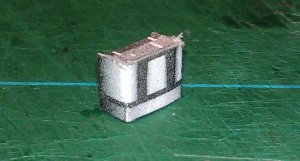
Side console (there are two).
IMAG2661.jpg

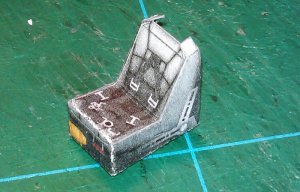
Seat.
IMAG2662.jpg

Headrest.
IMAG2663.jpg

Foot pedals.
IMAG2664.jpg

Foot pedals attached.
IMAG2665.jpg

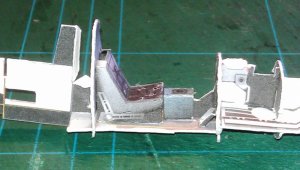
Seat installed
IMAG2666.jpg

IMAG2667.jpg

Headrest attached.
IMAG2668.jpg

IMAG2669.jpg
 

silveroxide

Senior Member
One thing that I would do, is make an extra copy of the seat and cut out the seat belt harness. recolor the seat and place the cut harness into place on the seat. It is just a little small detail that is almost non noticeable but gives a bit of a relief to the cockpit. So far the build process looks great.
 
Top