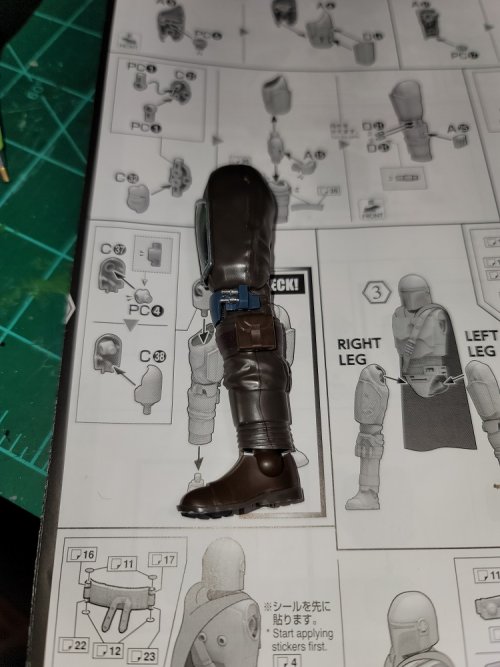
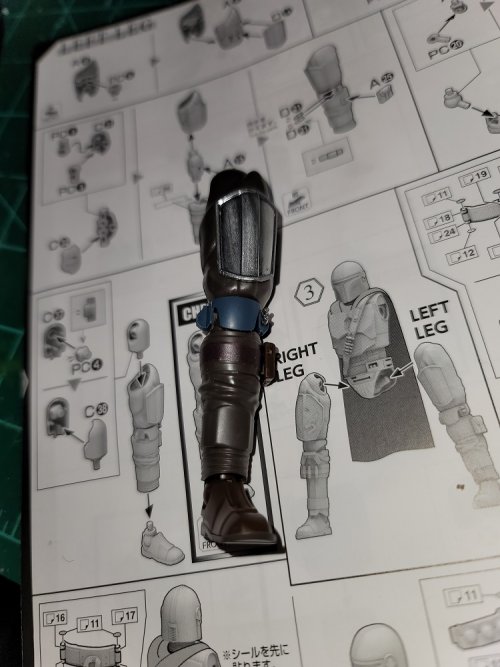
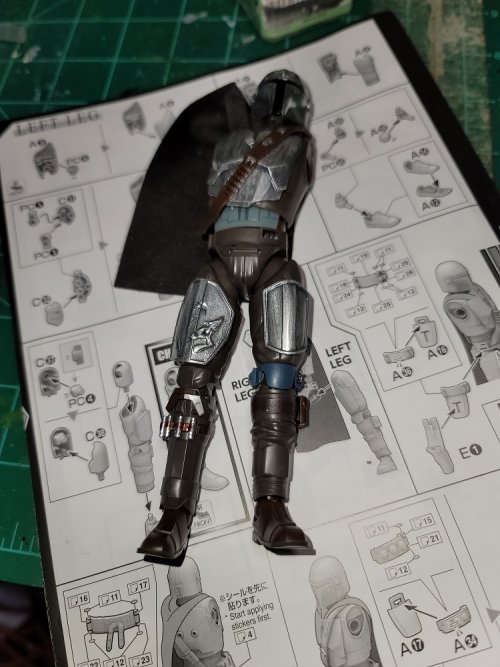
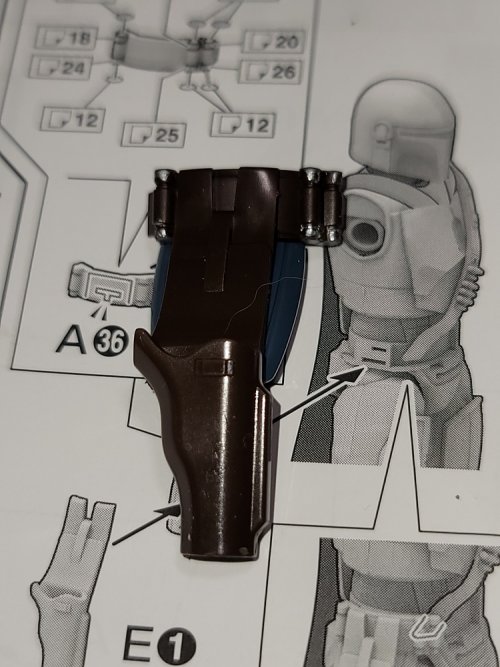
The Mandalorian, 1/12th Scale, by Bandai.
- Thread starter micahrogers
- Start date
You are using an out of date browser. It may not display this or other websites correctly.
You should upgrade or use an alternative browser.
You should upgrade or use an alternative browser.
And The Mandalorian begins...
Unboxing, and all sprues out of the plastic.
A sprue
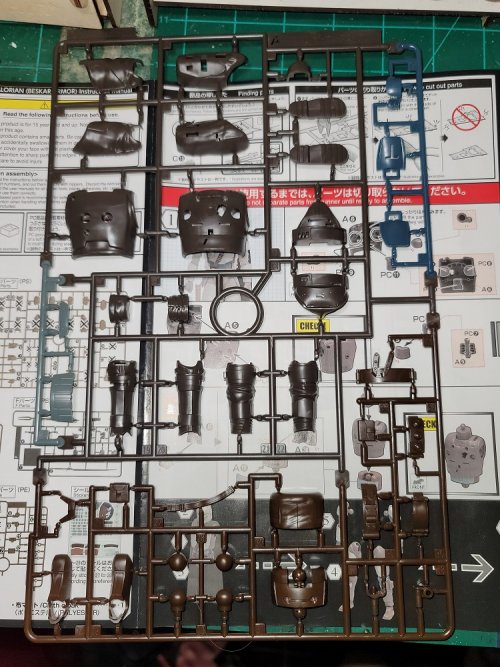
B and C sprues, these are the 2 sprues shared with the Boba Fett kit, so many parts on these will not be used.
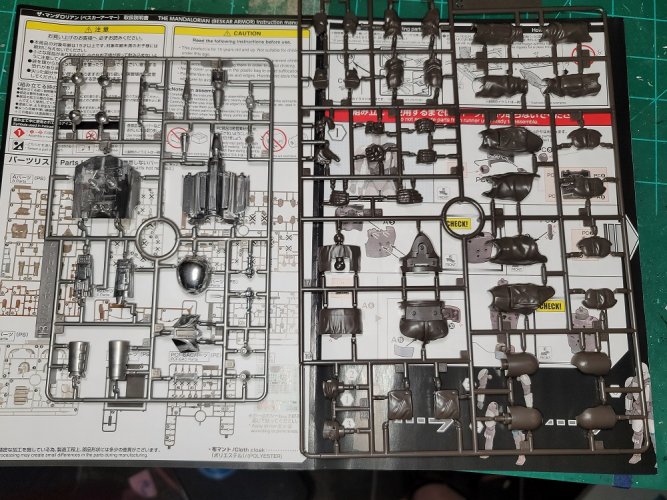
D, E, and F sprues.
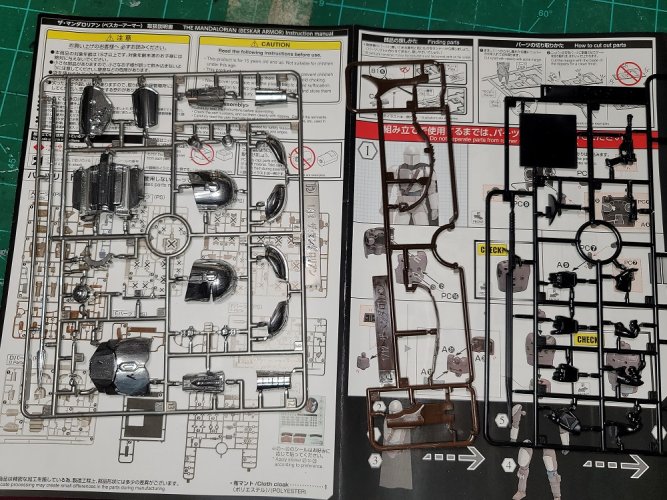
Poly caps and base sprues.
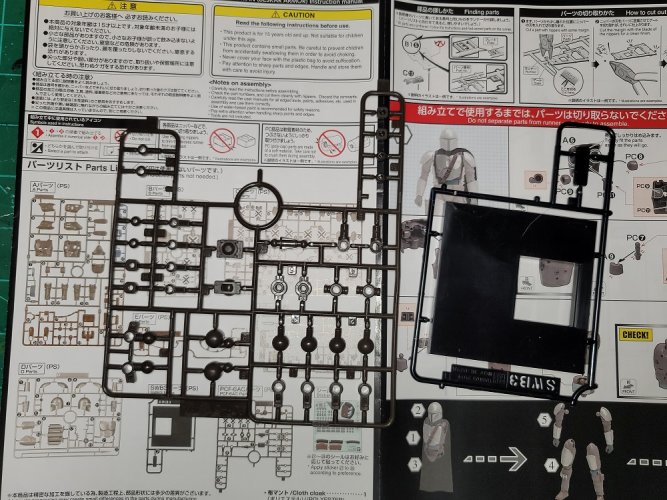
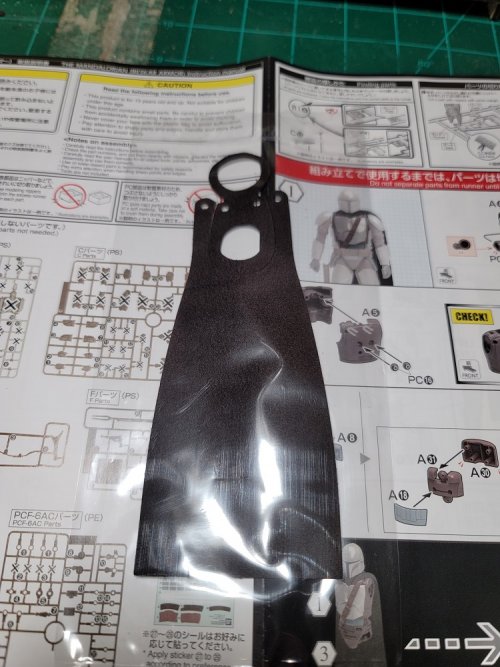
The Cloth Cape still bagged until needed.
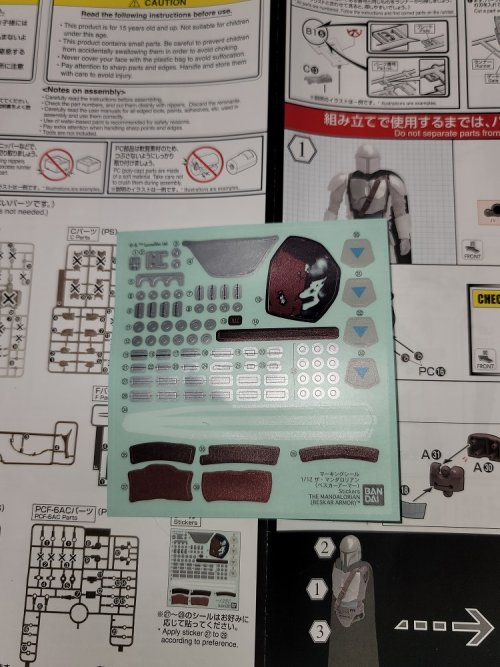
Sticker sheet. These are pressure stickers, not water slide decals...
And starting tomorrow....
Step 1
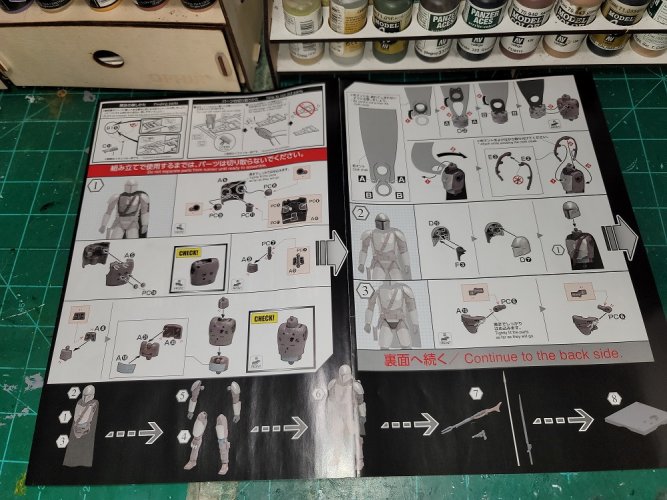
Needles to say, I will be doing my best to make this a high level build.
Unboxing, and all sprues out of the plastic.
A sprue

B and C sprues, these are the 2 sprues shared with the Boba Fett kit, so many parts on these will not be used.

D, E, and F sprues.

Poly caps and base sprues.

The Cloth Cape still bagged until needed.

Sticker sheet. These are pressure stickers, not water slide decals...

And starting tomorrow....
Step 1

Needles to say, I will be doing my best to make this a high level build.
I'm surprised no-one has said this yet, but, This is the Way.
Looking great!
Looking great!
Step 1, section 1. Construction starts with the chest.
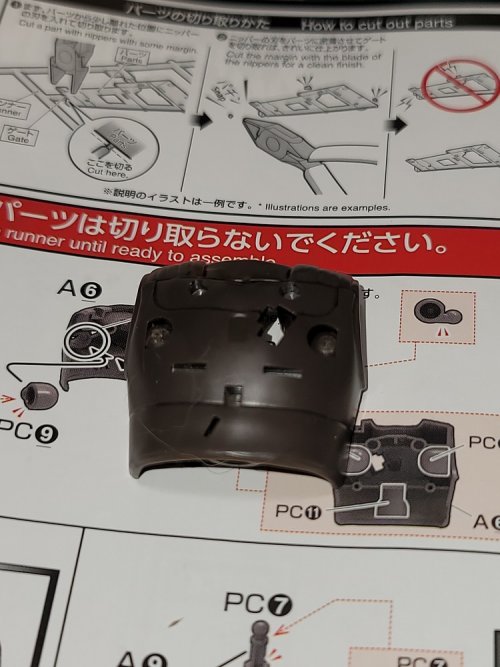
Poly caps installed for shoulders and waist.
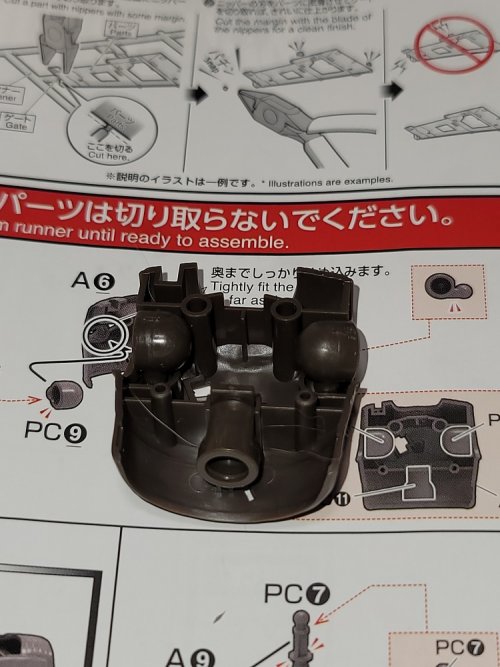
and back plat of chest installed.
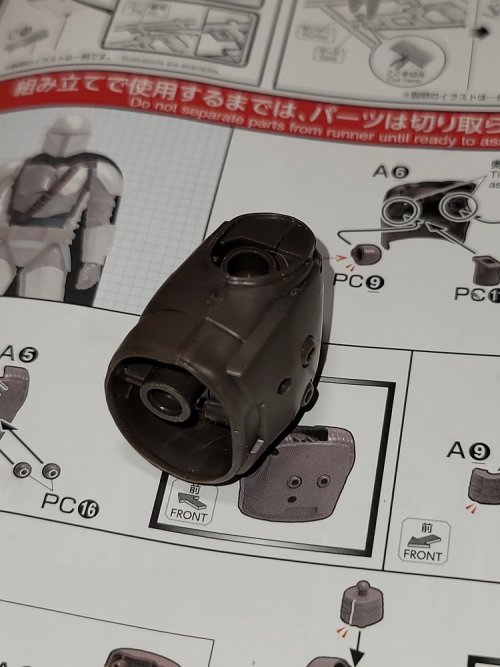
The neck is three pieces, two had plastic and 1 poly cap
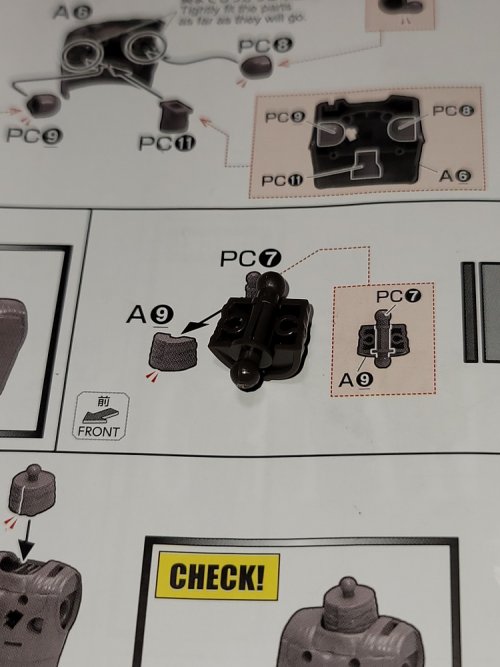
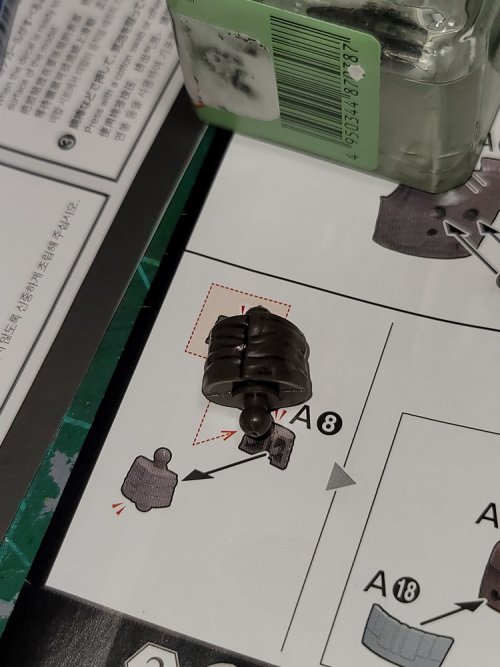
The waist is three pieces in two colors.
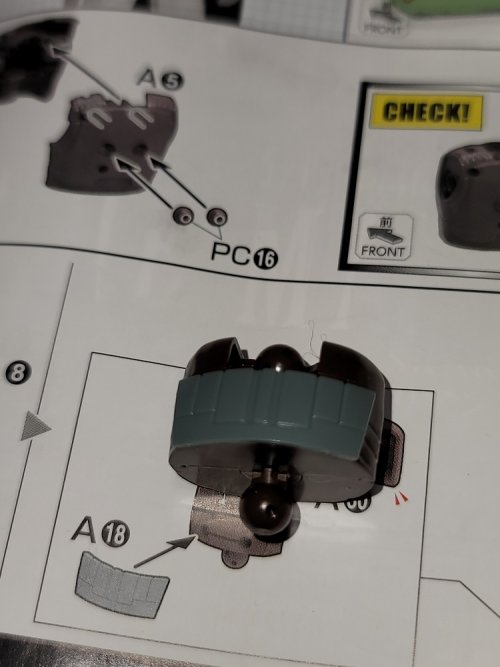
I added detail by using the panel liner pens in the recesses.
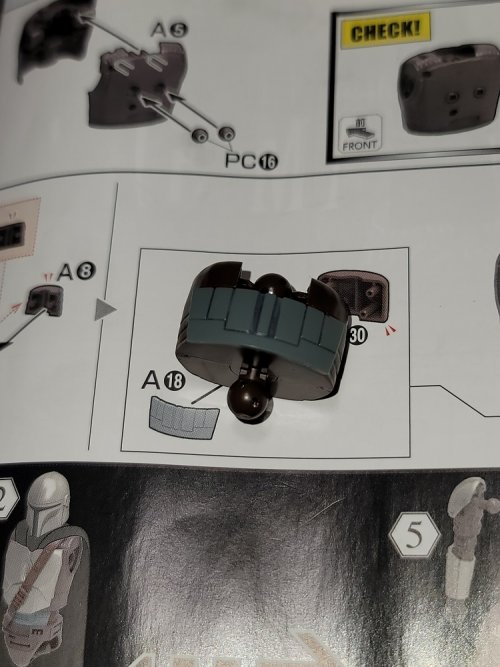
And the core complete, chest neck, and waist.
Next is step 1 section 2.

Poly caps installed for shoulders and waist.

and back plat of chest installed.

The neck is three pieces, two had plastic and 1 poly cap


The waist is three pieces in two colors.

I added detail by using the panel liner pens in the recesses.

And the core complete, chest neck, and waist.

Next is step 1 section 2.
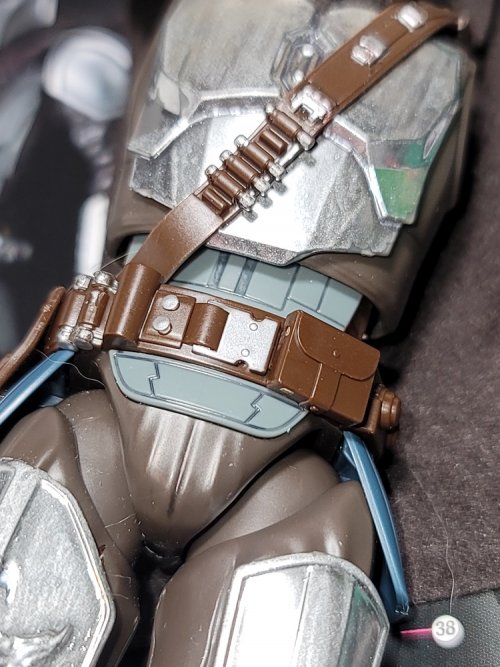
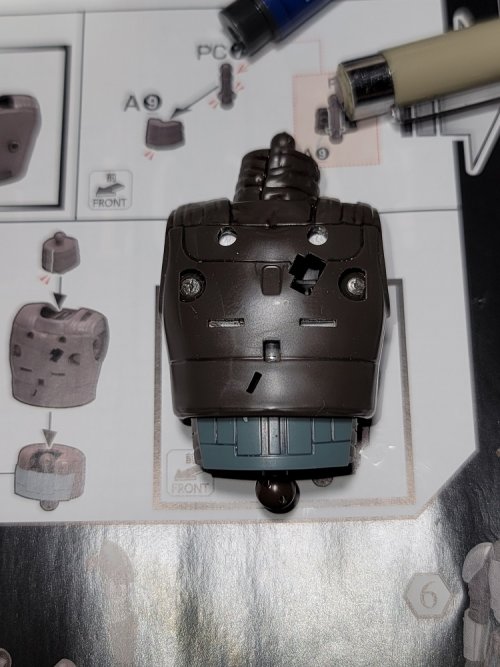
step 1, section 2 are the chest details, Beskar breastplate,, bandolier, and cape.
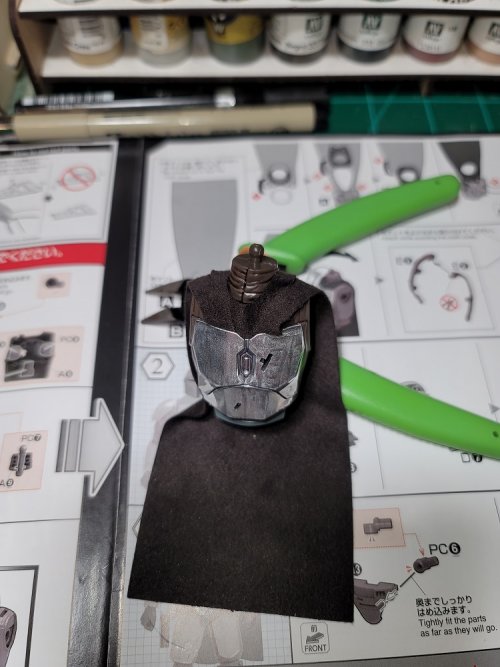
the cape has 4 small holes, and 2 large holes. The 4 small holes align with the 2 keeper pins on the back of the breastplate.
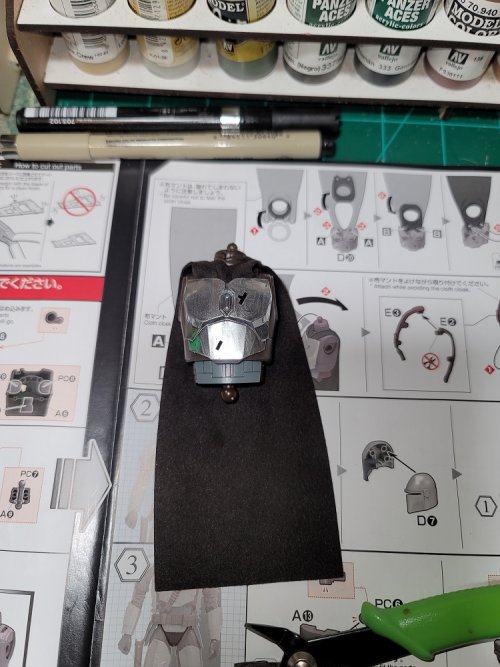
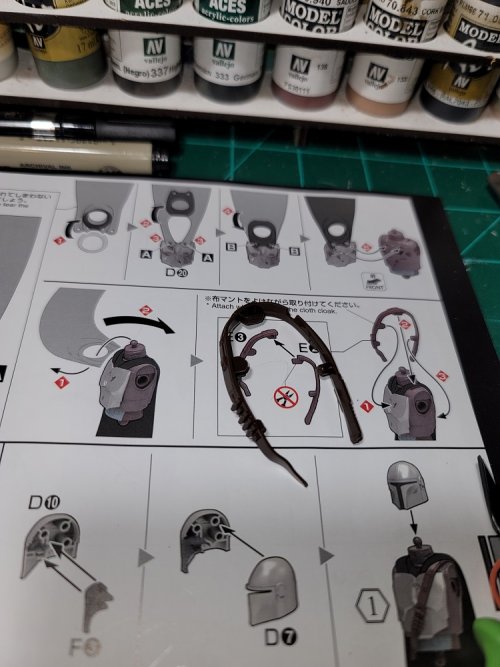
the bandolier is 2 parts of flexible plastic,
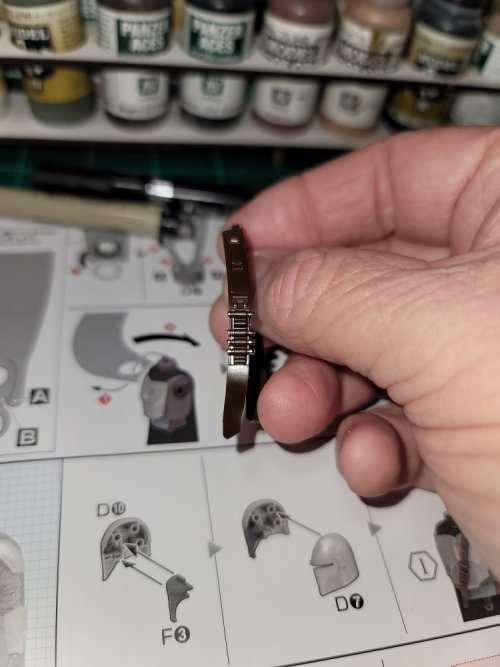
I used the Molotow chrome pen to detail the shells, and Vallejo Liquid Sliver for the buckles and hardware.
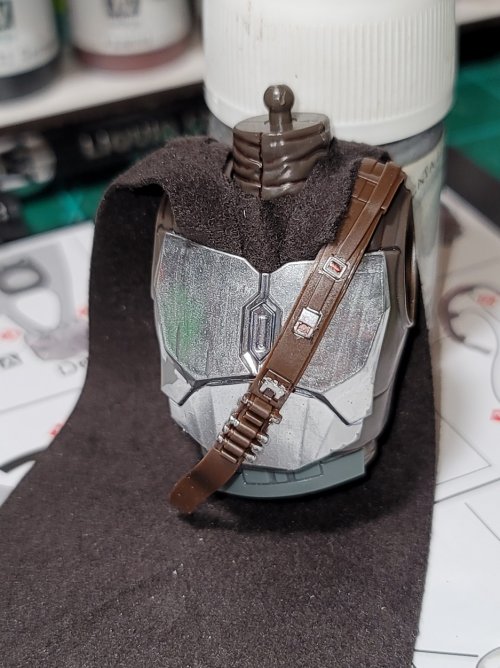
and the beauty shot for the end of step 1
Next will be the head.
the cape has 4 small holes, and 2 large holes. The 4 small holes align with the 2 keeper pins on the back of the breastplate.


the bandolier is 2 parts of flexible plastic,

I used the Molotow chrome pen to detail the shells, and Vallejo Liquid Sliver for the buckles and hardware.

and the beauty shot for the end of step 1

Next will be the head.
Thanks, I am trying to do good work, but I've found the flaw with Molotow Chrome, it is still soft, even after 2 days drying time. But I will admit, this may be because the coat was to thick in that area.You are of to a good start with this model. Keep on going.
I stripped the Molotow chrome off of the helmet, and re-applied a thinner coat, and it dried overnight.
Step 2 is the helmet, and consists of 3 pieces. The two helmet halves, and the vision port. I gave the vision port a light coat of Gundam color gloss black.
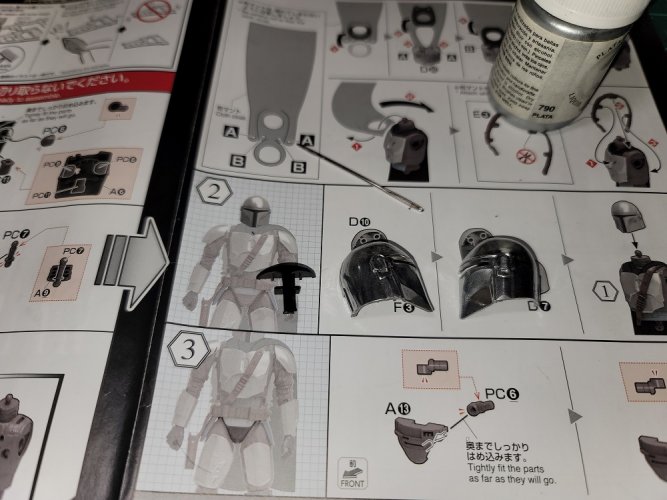
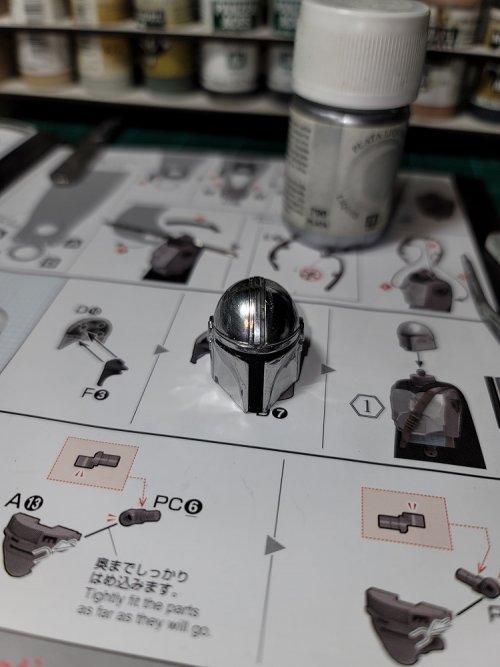
The vision port is installed in one helmet half.

And the other half is added to complete the helmet.
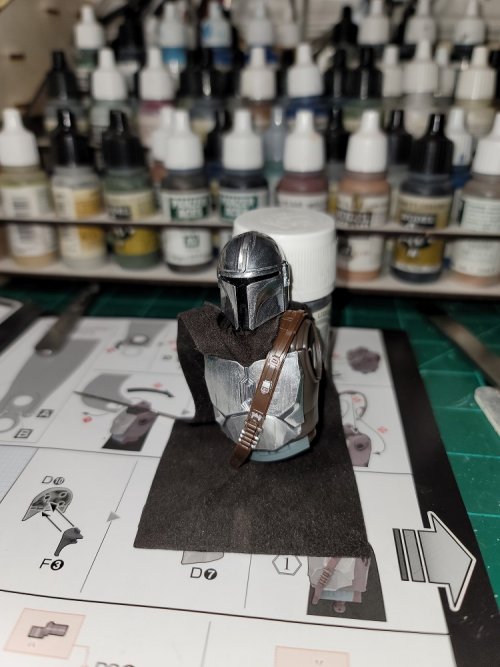
then the step finishes by adding the helmet to the torso.
And without his helmet...
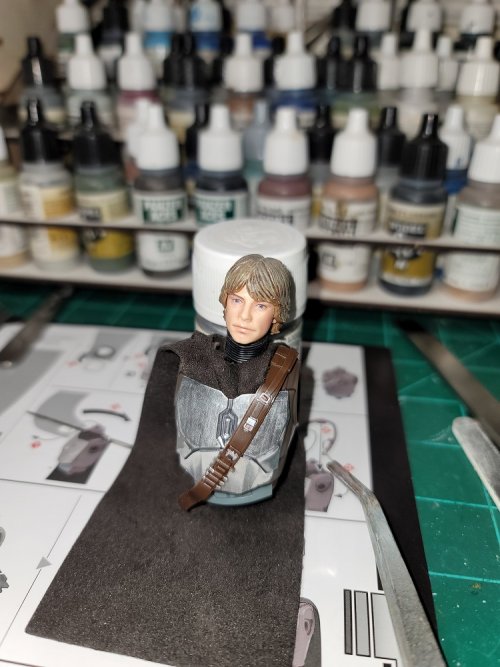
Wait a second, that's Luke in the armor...
That is kind of fully that you put Luke's head on it.
Yea , Every one loved the reveal of Luke in the season 2 finale, the only complaint, is that Disney didn't do as good a job de-aging Mark Hamill as the internet DeepFake people can do.That is kind of fully that you put Luke's head on it.
"The Lukalorian". Streaming now on Z+. Priceless!


My flat is on the third floor, so all of my builds are high level, too... (duck and cover)Needles to say, I will be doing my best to make this a high level build.

I was fine with it, mainly because I totally freaked out seeing him in the show. Later Lucasfilm hired the guy who perfected Mark's appearance. He is now working on the show. His latest job was Luke's appearance in "Book of Boba Fett".Yea , Every one loved the reveal of Luke in the season 2 finale, the only complaint, is that Disney didn't do as good a job de-aging Mark Hamill as the internet DeepFake people can do.
I knew it was Luke when they showed the X-Wing coming in... I could count the stripes, "Red V" coming in. "Most Impressive" how they kept that secret until the end.I was fine with it, mainly because I totally freaked out seeing him in the show. Later Lucasfilm hired the guy who perfected Mark's appearance. He is now working on the show. His latest job was Luke's appearance in "Book of Boba Fett".
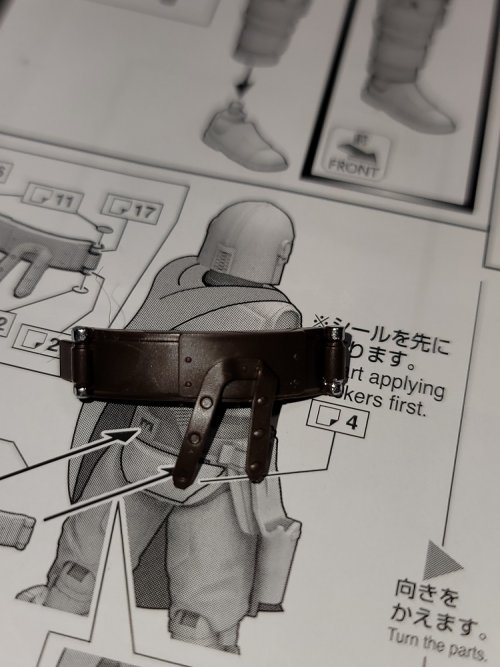
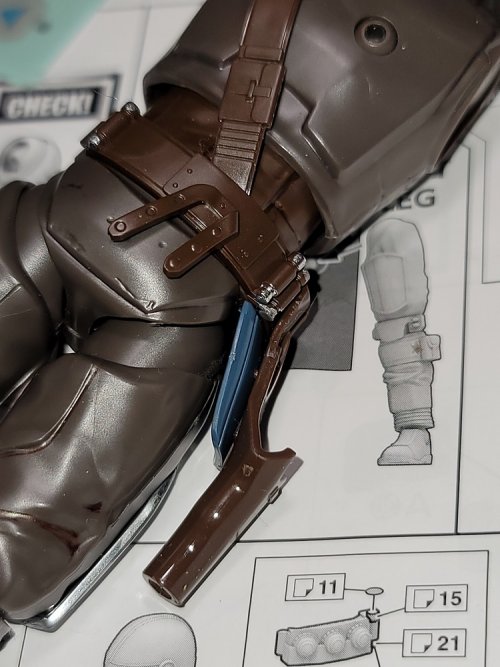
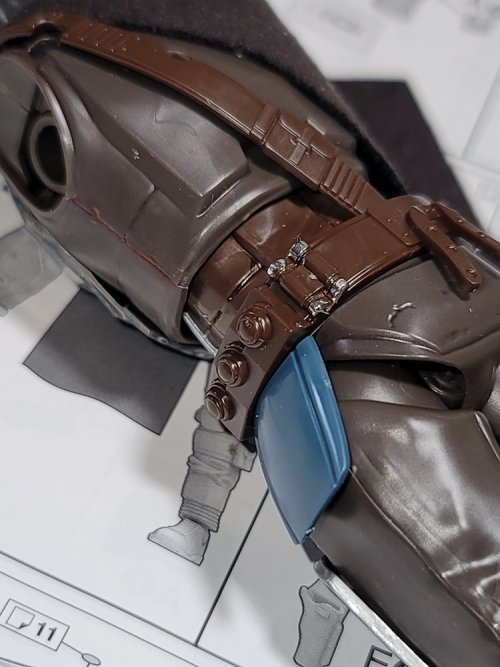
Back to the project on the table... Step 3 is the waist, on ly 5 parts, to plastic. and 3 polycaps.
First the front of the waist, and the 2 poly caps that form the hip hinges.
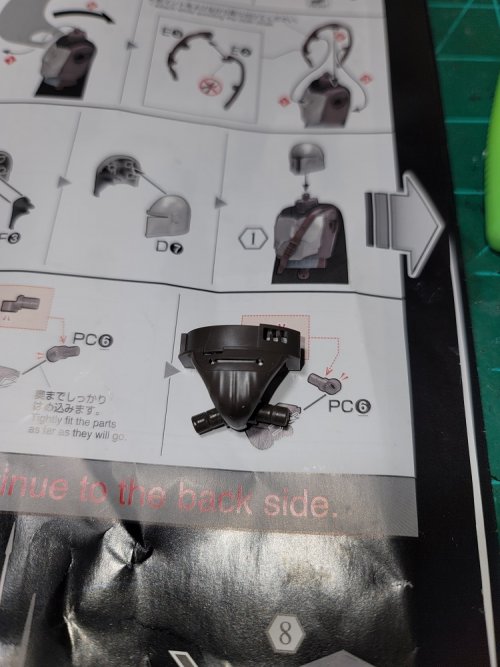
Then the poly cap that forms the waist hinge, and the rear of the waist.
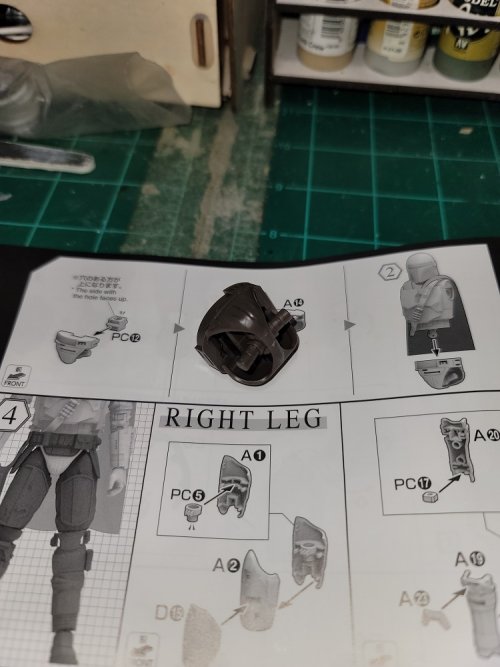
Then the waist is attached to the torso.
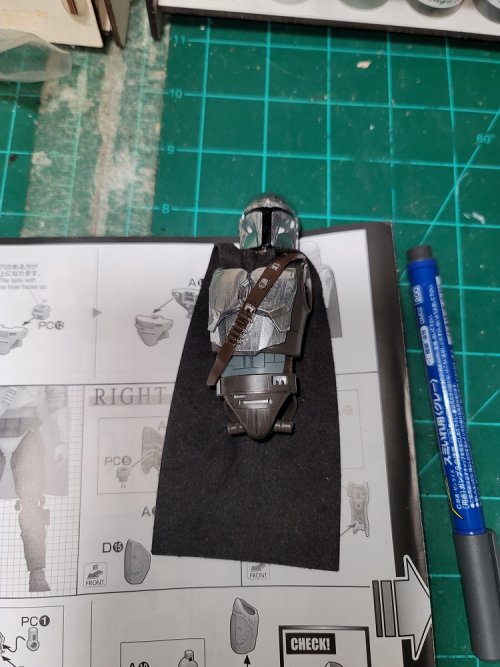
Its comming nicely toghetter micah.
Thanks to you both. It's slow work as most of my day is spent chasing a 16month old...The engineering of these kits is absolutely fantastic. A shame that they have become so insanely expensive. The silver accents look great!


