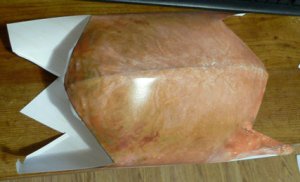
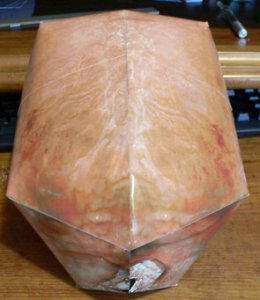
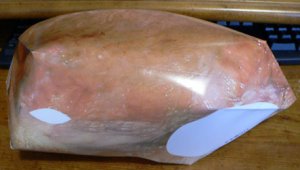
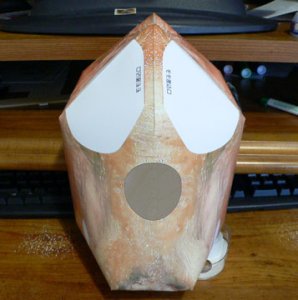
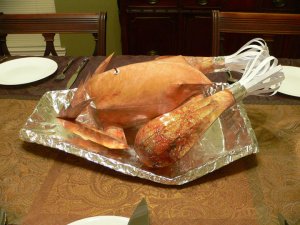
Greetings from Texas. This is my first build thread and I hope it is useful to someone. Being a newbie is tough on here - not much I can offer as far as expertise considering all the great talent on this site. But you can't use that as an excuse not to contribute - so here goes...
This build is as I do it in sections so corrections will be at the bottom - so best to read all the posts to make sure there were no changes or after thought suggestions.
Project: Turkey! (ok Roast Chicken)
Why: November? (Just saw Free Birds with my son...) Looks easy - I like easy.
Changes: Supersized (wanted a Turkey - not a small chicken)
Materials
Elmer's CraftBond Paper Craft Glue Gel
Kodak Photo Paper (kinda glossy - the cheap thin one - good for buttons)
Scissors and an X-acto if needed.
Super sizing -
The model was in a PDF. Using Reader version 11, in the print menu, select "Poster" and set the percentage to 212:
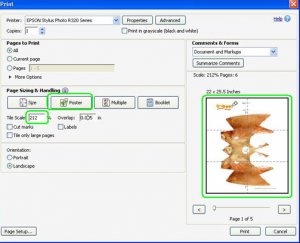
The original model takes 5 pages, this change grows it to 6 pages per original page for a total of 30 pages. That's an expensive turkey to me paper wise - hope it can hold its own weight - we'll see:

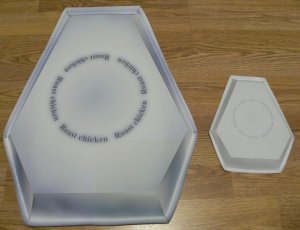
To give an idea of the size, here is a side by side comparison (printed the pan at normal size in draft mode so it could be seen - that's it on the normal 8.5 x 11 letter sized paper on the right):
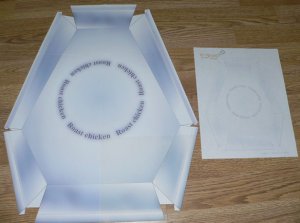
The poster (tiling) setting will chop up the model so not all the parts will be contiguous - they will have to be assembled to become one large part - there will be no tabs but there will be a small margin that can be used as a tab - or you could use a strip of paper behind both pages for the best look. (Learned that here by the way :thumb
Sample of a part crossing over two pages:
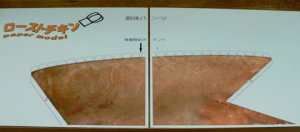
We'll start with the pan as it should be simple to do.
Here is the top of the pan cut out:
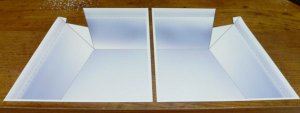
Here is the top of the pan "merged" into one piece. I just trimmed the margin off of one side and glued it on top of the margin on the other side:
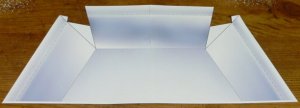
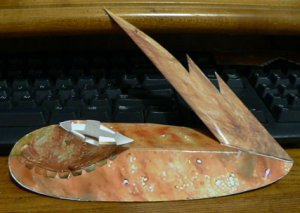
Here is the completed pan print side up and the original size pan for comparison:
Here is the completed pan back side up and the original pan for comparison:
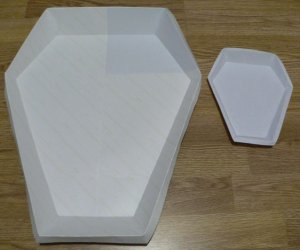
According to the fold lines (if I read them right) this pan could either be print side up and used as a display stand or print side down and used as an actual pan - which would leave the blank paper back showing. Guess we'll see what looks best when the turkey is finished - I suppose foil paper could be used to hide the exposed paper backing.
Putting the pieces together is a challenge since the translation from Japanese is hilarious:

Nothing like a good puzzle...
Well that's it for now, more to follow- the plan is to finish well before the 24th of this month! Thanks.
This build is as I do it in sections so corrections will be at the bottom - so best to read all the posts to make sure there were no changes or after thought suggestions.
Project: Turkey! (ok Roast Chicken)
Why: November? (Just saw Free Birds with my son...) Looks easy - I like easy.
Changes: Supersized (wanted a Turkey - not a small chicken)
Materials
Elmer's CraftBond Paper Craft Glue Gel
Kodak Photo Paper (kinda glossy - the cheap thin one - good for buttons)
Scissors and an X-acto if needed.
Super sizing -
The model was in a PDF. Using Reader version 11, in the print menu, select "Poster" and set the percentage to 212:

The original model takes 5 pages, this change grows it to 6 pages per original page for a total of 30 pages. That's an expensive turkey to me paper wise - hope it can hold its own weight - we'll see:

To give an idea of the size, here is a side by side comparison (printed the pan at normal size in draft mode so it could be seen - that's it on the normal 8.5 x 11 letter sized paper on the right):

The poster (tiling) setting will chop up the model so not all the parts will be contiguous - they will have to be assembled to become one large part - there will be no tabs but there will be a small margin that can be used as a tab - or you could use a strip of paper behind both pages for the best look. (Learned that here by the way :thumb
Sample of a part crossing over two pages:

We'll start with the pan as it should be simple to do.
Here is the top of the pan cut out:

Here is the top of the pan "merged" into one piece. I just trimmed the margin off of one side and glued it on top of the margin on the other side:

Here is the completed pan print side up and the original size pan for comparison:

Here is the completed pan back side up and the original pan for comparison:

According to the fold lines (if I read them right) this pan could either be print side up and used as a display stand or print side down and used as an actual pan - which would leave the blank paper back showing. Guess we'll see what looks best when the turkey is finished - I suppose foil paper could be used to hide the exposed paper backing.
Putting the pieces together is a challenge since the translation from Japanese is hilarious:

Nothing like a good puzzle...
Well that's it for now, more to follow- the plan is to finish well before the 24th of this month! Thanks.


