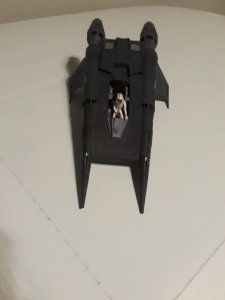
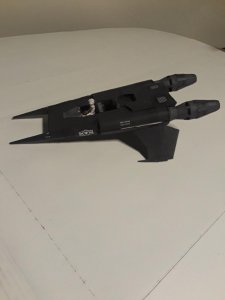
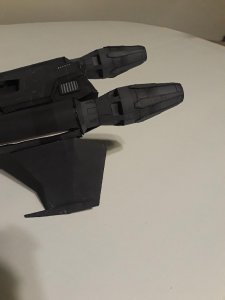
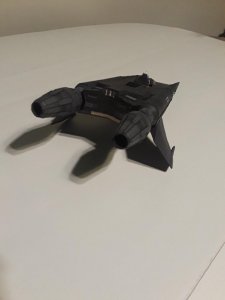
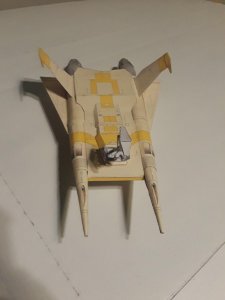
Stealth Advanced III Thunder fighter
- Thread starter ennder
- Start date
You are using an out of date browser. It may not display this or other websites correctly.
You should upgrade or use an alternative browser.
You should upgrade or use an alternative browser.
Ok. Not a problem. Since this way works better for you, GO FOR IT! However way you do it, you are still doing a great job!I tried that way with the first one I built.... ended up having to make 2 more exhausts.
I did it this way and it worked better for me. That's just me though.... a lot of things work
better for me in reverse.
Am I just odd..... or are other people like that too.
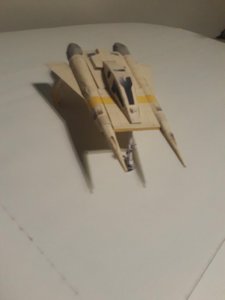
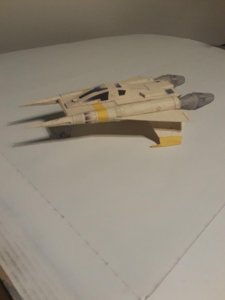
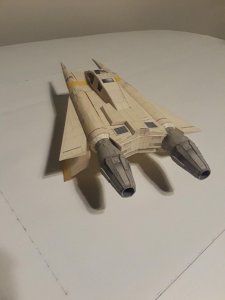
@ennder You did a great job on the "David Jones" Concept version. It looks really good!!!
The Stealth version is coming along very nicely!!!
The Stealth version is coming along very nicely!!!
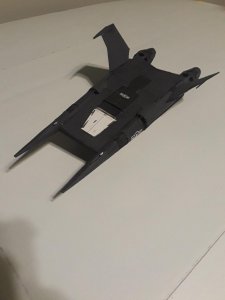
Completed:
I finished it last night. I had to cut a recess into the bottom of the fighter to accommodate the front wall of the landing gear bay.
but other then that it went together well. Thank you RB for allowing me to have the files to build this. I'll have to get some thin plexi
to build a case to go over it to protect it.
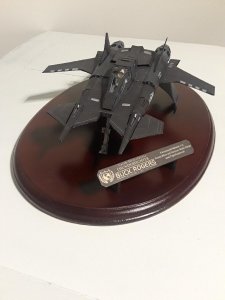
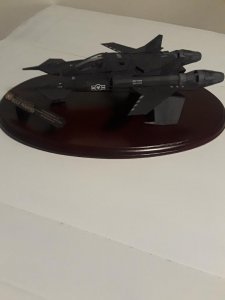
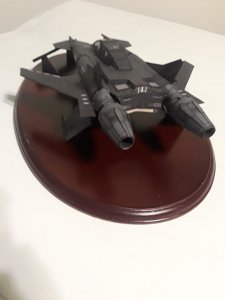
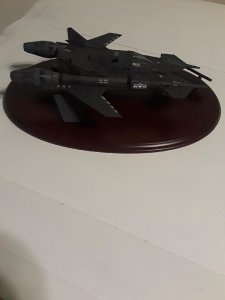
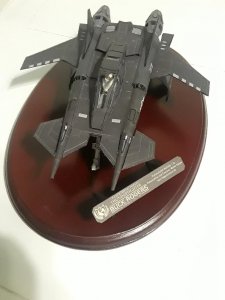


Great looking build, much better than my attempt at the standard version. I Like that it looks like a natural in the "Stealth" "Black out" scheme.
I did this when I first built the figure... Later I thought that I would have to shorten it more. However, the 1/4" I had already taken out ofThe torso would be easiest to cut down, you could have it slide (top over bottom section) till it fit, and it wouldn't be noticeable.
the torso and the shortening of the neck was plenty. When I dry fitted the canape there was about 1/8" clearance between the figure's
helmet and the inside of the canape.
- Apr 5, 2013
- 13,876
- 10,216
- 228
Cut those people up and make them fit into those spaceship!!  You should see me trying to fly a Cessna 152, my right shoulder is lifted up 6 inches, those planes were meant for Munchkins to fly!!
BOY, that looks outstanding indeed! It looks as if your colours are even deeper and "thicker" than on our first builds. It looks almost as if you have spray-painted it while keeping the lines intact. The result is awesome!  :Bravo::Bravo::Bravo:
My printer prints a little darker then the screen shows (I'm ok with that)... and I colored the paper edges with permanent markerBOY, that looks outstanding indeed! It looks as if your colours are even deeper and "thicker" than on our first builds. It looks almost as if you have spray-painted it while keeping the lines intact. The result is awesome!:Bravo::Bravo::Bravo:


