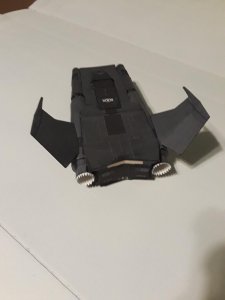
Stealth Advanced III Thunder fighter
- Thread starter ennder
- Start date
You are using an out of date browser. It may not display this or other websites correctly.
You should upgrade or use an alternative browser.
You should upgrade or use an alternative browser.
Last edited:
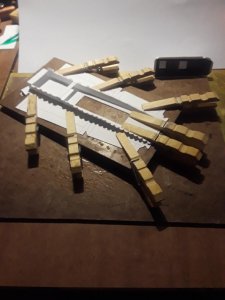
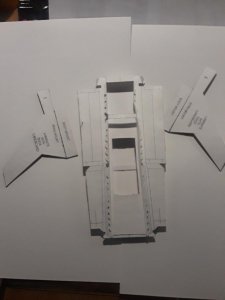
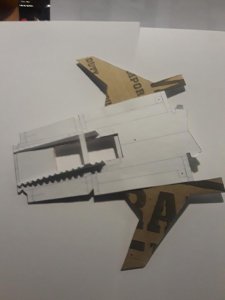
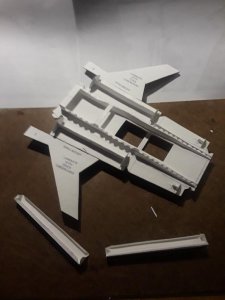
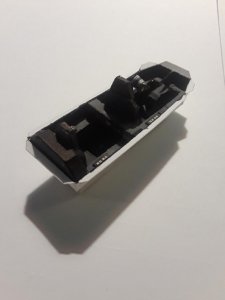
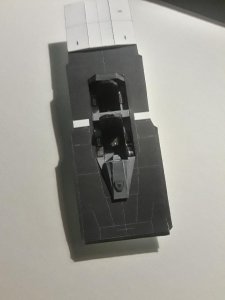
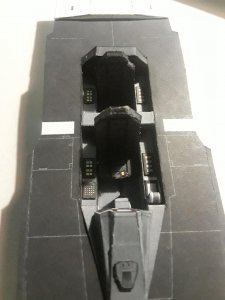
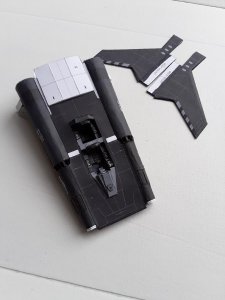
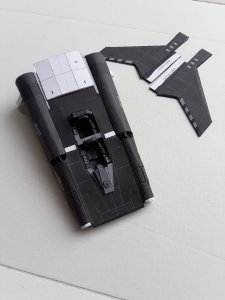
So far I haven't run in to any problems. I did reinforce the big piece on the bottom at the back
with 1 mm cardboard, that keeps it rigid and you don't crush it easily.
I have the TCFGaming thunder fighter figures that I want to use with this model.
but the instructions don't show how to build the helmet.
Is there a build thread for the figure anywhere?
with 1 mm cardboard, that keeps it rigid and you don't crush it easily.
I have the TCFGaming thunder fighter figures that I want to use with this model.
but the instructions don't show how to build the helmet.
Is there a build thread for the figure anywhere?
Last edited:
- Apr 5, 2013
- 13,876
- 10,216
- 228
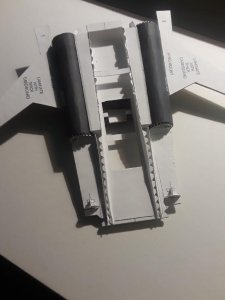
Maybe too thick of card stock for the round fiddly bits on the sides, that's why they are so bumpy, but it is coming out really nice. You could correct that by printint the same part of regular paper and covering the present parts. Easy fix. 
You are doing a good job on this project!So far I haven't run in to any problems. I did reinforce the big piece on the bottom at the back
with 1 mm cardboard, that keeps it rigid and you don't crush it easily.
I have the TCFGaming thunder fighter figures that I want to use with this model.
but the instructions don't show how to build the helmet.
Is there a build thread for the figure anywhere?
Making the helmets for the Earth Defense Forces Pilots is very simple and straight forward. Just assemble the main part of the helmet as is. The spine goes on top. the other pieces layer up and go on the sides. Look at the the link below as a guild.
Repainting Tiricks' figurines
Hello Ladies and Gentlemen, As (most of) you know, I repainted some of Tiricks' figurines to look like mechanics from BSG (TNS) (with Tiricks'permission of course) for the Viper diorama that I built (http://www.zealot.com/threads/the-uhu02-colonial-viper-appreciation-thread.174905/page-26)...
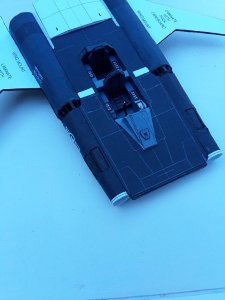
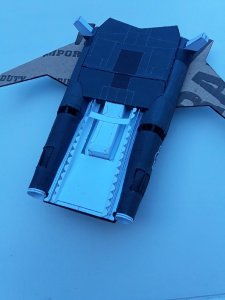
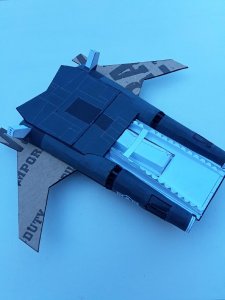
these were taken today under the carport..... not so blue.
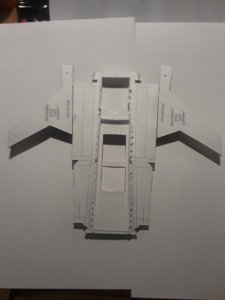
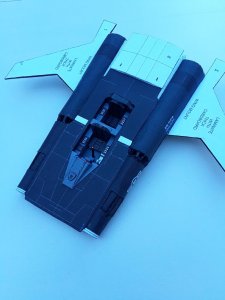
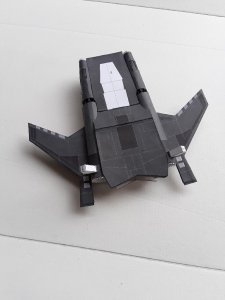
the "wings" will be permanently attached later, I have found that
it is very convenient to have them removable at this point, so they
don't get damaged as I'm working on it
Good idea! Now on to the main problem and referring to @zathros reply and the fiddly bits... ack!
If you are trying to roll paper tubes, it helps to have something that is round and is close to the final size to form it around. I know, I know, sounds obvious, doesn't it? Look around the house for things like large dowels, handles, toys, anything will work if it is the right shape and size. It doesn't have to be some specialized tool, just "borrow" something ( just don't let the wife catch you!!). When you start paper modeling, you'll start to see everything in your house or in the store as a tool.
Start working from one side of the pattern to the other, using a dowel and burnisher to make VERY SLIGHT AND BARELY PERCEPTIBLE bends in the material as you go along. When you reach the other end of the pattern, start over, making more VERY SLIGHT bends around a small portion of the circumference of the dowel as you go along. Keep repeating this process to gradually introduce a curl into the material. Be patient and keep the bends very slight and gradual in order to avoid making longitudinal creases in the material. As you begin to form the cone, be sure to introduce a tighter curl as you get closer to the tip, in keeping with the desired shape of the eventual cone. If you can, try to eventually "over curl" the pattern (curling it into a tighter cone than you eventually want it to be), and hold it for several seconds, or even up to a minute. When you relax the material, it will hold the shape better and you will find it to be easier to bring the two sides of the seam together for gluing. Be careful to curl the pattern at the same rate from tip to base in order to prevent the material from getting creases that are perpendicular to the seam. Exercising patience, taking your time and making sure to be very gradual as you tighten the curl will also help to keep the material from puckering.
Thanks all, I normaly roll the parts before I do any gluing.
But for some reason I don't recall, I glued the parts and then rolled them.
I guess I was just having a brain fart. That happens from time to time.
Thanks for the link RB. That's going to help a lot.
But for some reason I don't recall, I glued the parts and then rolled them.
I guess I was just having a brain fart. That happens from time to time.

Thanks for the link RB. That's going to help a lot.
Your build is coming along very nicely. I'm looking forward to seeing your progress.


Or it was Buck's blue period.He he, this is my blue faze. These picts were taken outside a few days ago, and it was an overcast day.
I think that is why they are so blue.
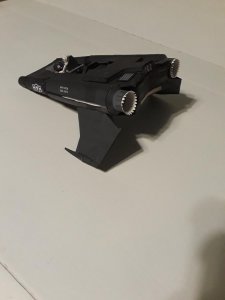
Yes, he is known to be the largest supplier of TF models from the Terran system to Sutter's World.This is the Stealth Advanced III Thunder fighter that Rhaven Blaack supplied me with.
Yes, he is known to be the largest supplier of TF models from the Terran system to Sutter's World.

As well as the rest of the know universe that is allied with Earth Directorate!:hide:
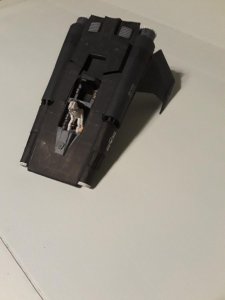
small up date. I built Buck, after reading the thread linked by RB I had no trouble building him.
However, I did shorten his neck and torso, and it looks like I will need to shorten the torso more
to keep the head from hitting the canopy. I tried to reskin the tubes as Z suggested but with my
shaking hands I kept ripping the thin paper, So I may try again later.
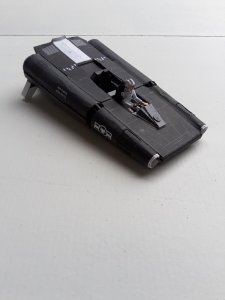
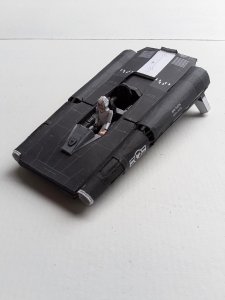
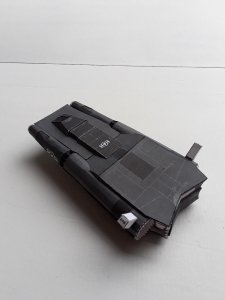
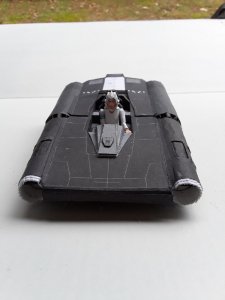
However, I did shorten his neck and torso, and it looks like I will need to shorten the torso more
to keep the head from hitting the canopy. I tried to reskin the tubes as Z suggested but with my
shaking hands I kept ripping the thin paper, So I may try again later.


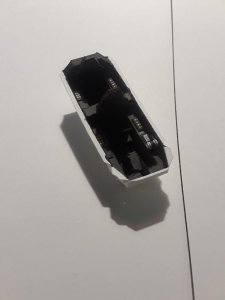
I was able to meet Gil Gerard at a convention, and talked to him about the Thunder Fighter and what he thought of it. He liked it and thought that it was a great ship, at the time it was presented to he, he looked at the cockpit interior and asked where was he supposed to sit? Not only that, but cutting his legs off was out of the question. So, they had to redesign the cockpit interior so that he had a place to sit.
What I can see so far, looks really good!
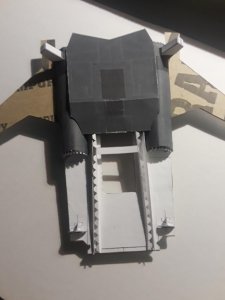
I noticed that you had attached the rear part of the exhausts to the fuselage. If I may make one suggestion, removed them, finish out the exhausts and then reattach them. Otherwise, it may be a bit difficult ( and quite possibly) problematic, the way that you are going now.
I noticed that you had attached the rear part of the exhausts to the fuselage. If I may make one suggestion, removed them, finish out the exhausts and then reattach them. Otherwise, it may be a bit difficult ( and quite possibly) problematic, the way that you are going now.
I tried that way with the first one I built.... ended up having to make 2 more exhausts.
I did it this way and it worked better for me. That's just me though.... a lot of things work
better for me in reverse.
Am I just odd..... or are other people like that too.
I did it this way and it worked better for me. That's just me though.... a lot of things work
better for me in reverse.
Am I just odd..... or are other people like that too.


