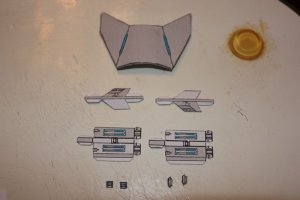
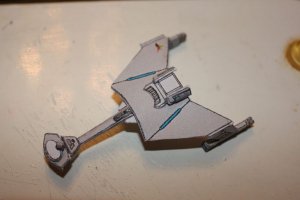
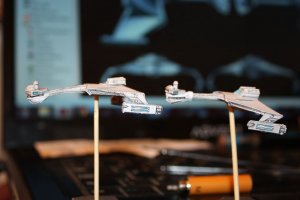
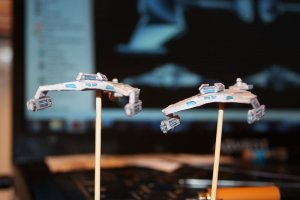
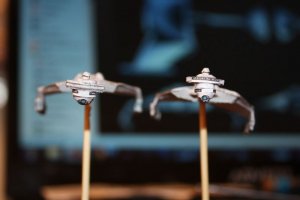
Spaceagent -9 was kind enough to send his D7 design and (as requested) I'm going to build a standard version using his template and my own variation with layered elements. I printed eight copies of Spaceagent's design on one A4 sheet, so hopefully one will suffice for the standard build and the other seven should surely be enough for a layered version.
First up is the standard version:-
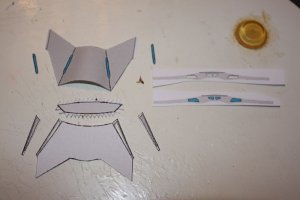
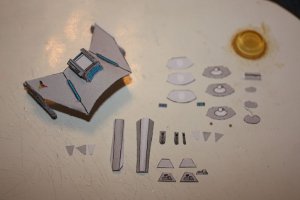
I started with the parts that I was certain of, ie the wings, and worked from there trying to figure out which part should go where. In retrospect I should probably have checked some orthographics, but my internet connection has been dodgy (to say the least!) for a few days.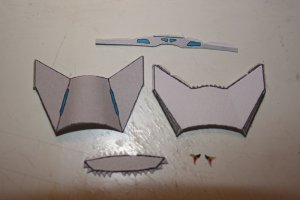
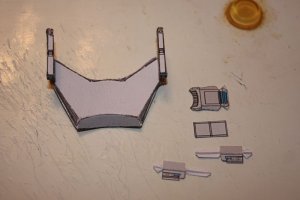
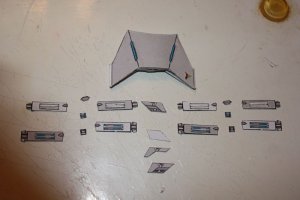
The nacelles went together slightly asymmetrically, but in my opinion this looks quite good when they are attached to the struts. I know that I've placed the smaller pieces in the wrong position - the reference I had available was a similar model which had some very obvious mistakes on it :-( - I placed the squares at the front and used the irregular shaped pieces to form the rear of the nacelles, but I realise that the irregular shaped parts should be folded around the front. This will be remedied in the layered version.
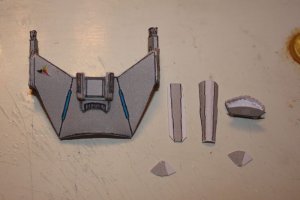
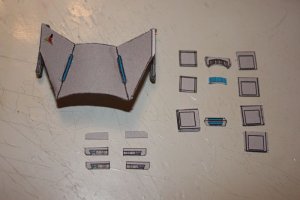
The box on top of the wings - yes, I know; very technical term! ;-) - went on next, and I think I've identified all the parts for it correctly. There is a blue bar which can be placed on the front which I've omitted to give a bit of variety.
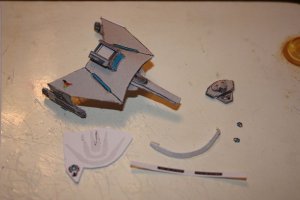
I used a cocktail stick to curve the neck and trimmed the side struts to get them flush with the front of the wing structure.
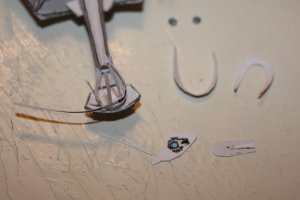
This is where I hit a big snag. The bulb required a lot of reworking - when I had put it together it was twice the size necessary for the rest of the bridge. I had to savagely trim the back and remove large chunks from the top to get it in proportion to the rest of the ship and give it a shape I was satisfied with. It might have been a better idea to remove the tabs and join the bulb pieces with strips of paper glued to the inside, but I did achieve a size and shape which I'm happy with. It's not shown in the next photo, but it will be when I photograph both builds mounted and side by side.
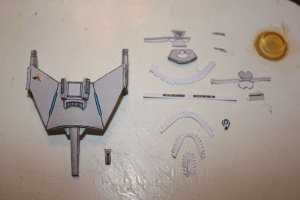
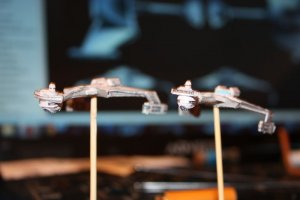
At the end I was left with a handful of pieces which I have no idea of where to put and a few others which I felt were redundant at this scale. Now that I can get back online I'll find some more reference pics and see if I can work out where the mystery pieces go. In the meantime I have a nice teeny, wee D7 measuring approximately 2" long
First up is the standard version:-
I started with the parts that I was certain of, ie the wings, and worked from there trying to figure out which part should go where. In retrospect I should probably have checked some orthographics, but my internet connection has been dodgy (to say the least!) for a few days.

Some trimming on the front and back pieces was required to get all the edges flush and leave a space for the struts to be attached. The symbols had to be cut with a modelling knife as they were too small even for my mini scissors.The nacelles went together slightly asymmetrically, but in my opinion this looks quite good when they are attached to the struts. I know that I've placed the smaller pieces in the wrong position - the reference I had available was a similar model which had some very obvious mistakes on it :-( - I placed the squares at the front and used the irregular shaped pieces to form the rear of the nacelles, but I realise that the irregular shaped parts should be folded around the front. This will be remedied in the layered version.
The box on top of the wings - yes, I know; very technical term! ;-) - went on next, and I think I've identified all the parts for it correctly. There is a blue bar which can be placed on the front which I've omitted to give a bit of variety.
I used a cocktail stick to curve the neck and trimmed the side struts to get them flush with the front of the wing structure.
This is where I hit a big snag. The bulb required a lot of reworking - when I had put it together it was twice the size necessary for the rest of the bridge. I had to savagely trim the back and remove large chunks from the top to get it in proportion to the rest of the ship and give it a shape I was satisfied with. It might have been a better idea to remove the tabs and join the bulb pieces with strips of paper glued to the inside, but I did achieve a size and shape which I'm happy with. It's not shown in the next photo, but it will be when I photograph both builds mounted and side by side.
At the end I was left with a handful of pieces which I have no idea of where to put and a few others which I felt were redundant at this scale. Now that I can get back online I'll find some more reference pics and see if I can work out where the mystery pieces go. In the meantime I have a nice teeny, wee D7 measuring approximately 2" long


