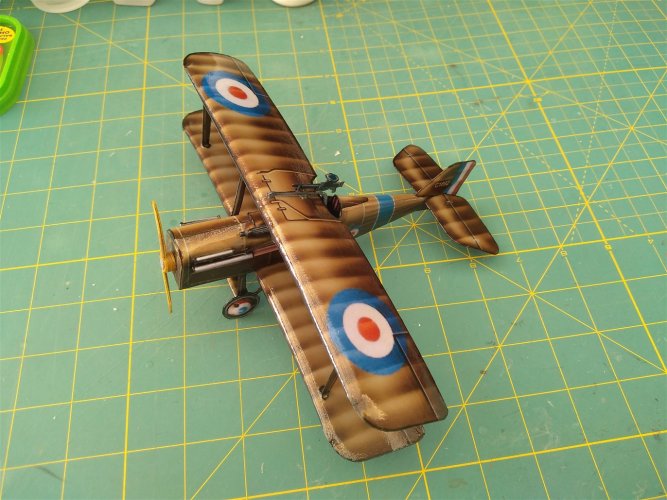
I recently came across Zio Prudenzio’s excellent models on the Papermodellers Facebook page.
I manage to find a link to all his models, https://www.kendar.org/zioprudenzio/fokker.html and downloaded the Se5a version 2. (1 sheet of parts and 1 assembly diagragm).
It was in 1/72 scale and I was looking for something a bit bigger, so I decided to resize it. I have an A4 printer, and I found that 1/32 was perfect. It resized to 2 x A4 sheets and one sheet with the assembly diagragm.
Rhaven Blaack asked me to do a build diary, so here goes.
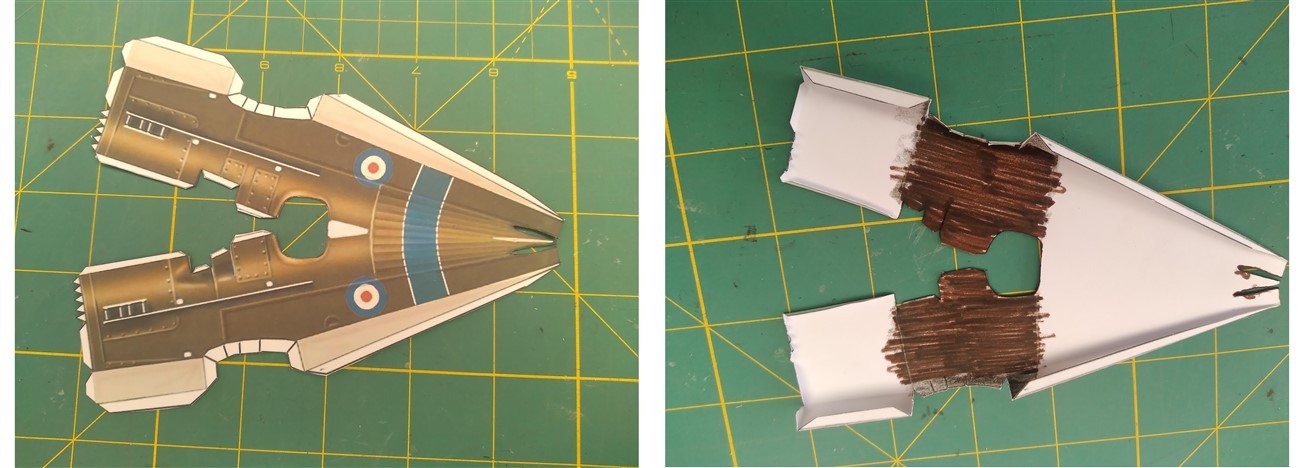
Start by cutting out the fuselage assembly (a) and on the reverse side, colour in as shown.
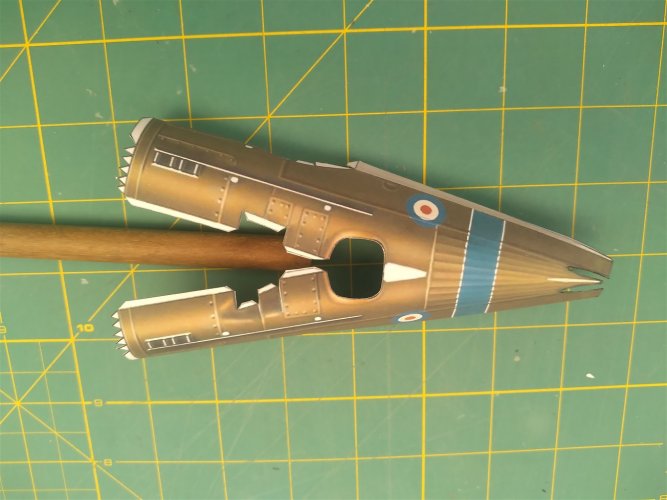
Curve the fuselage sides with a dowel to make it easier to glue the top and bottom edges together.
Glue the underneath sections of the fuselage commencing with the rear and when dry, the front.
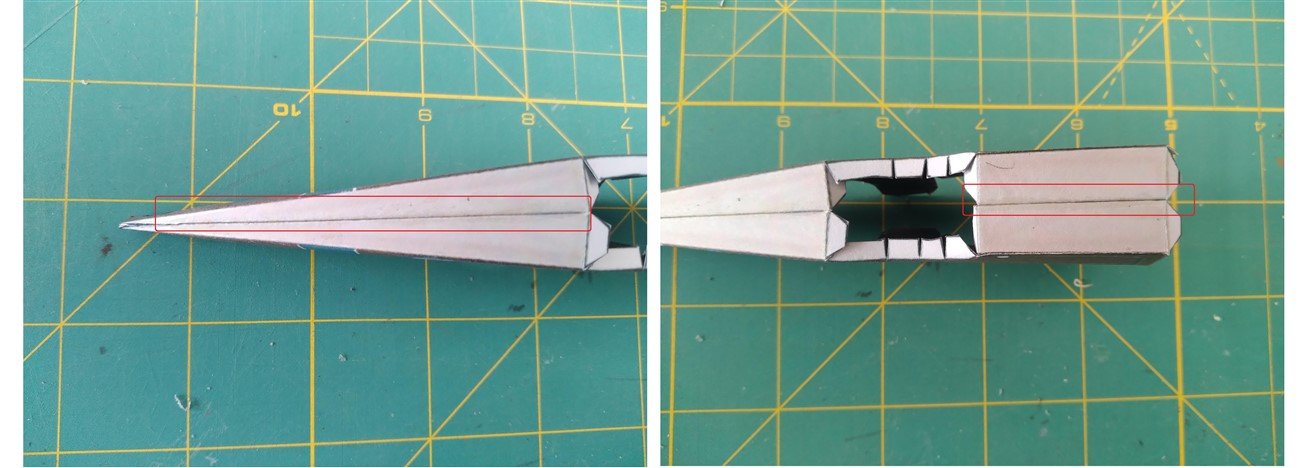
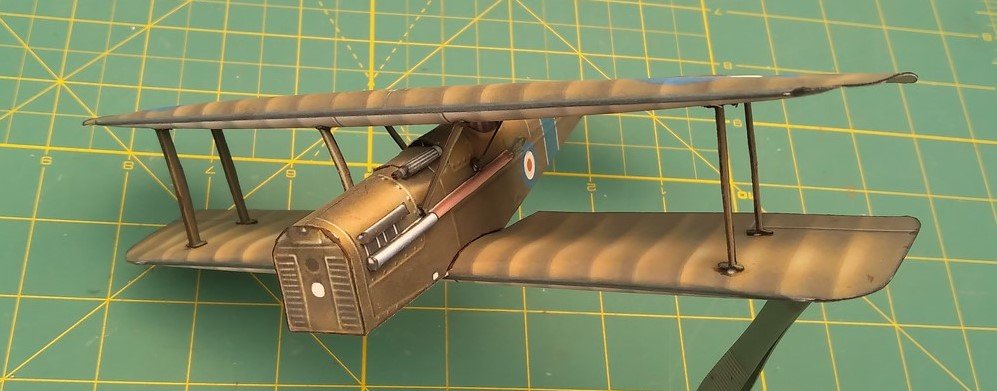
Glue the top of the fuselage at the nose and then in front of the cockpit.

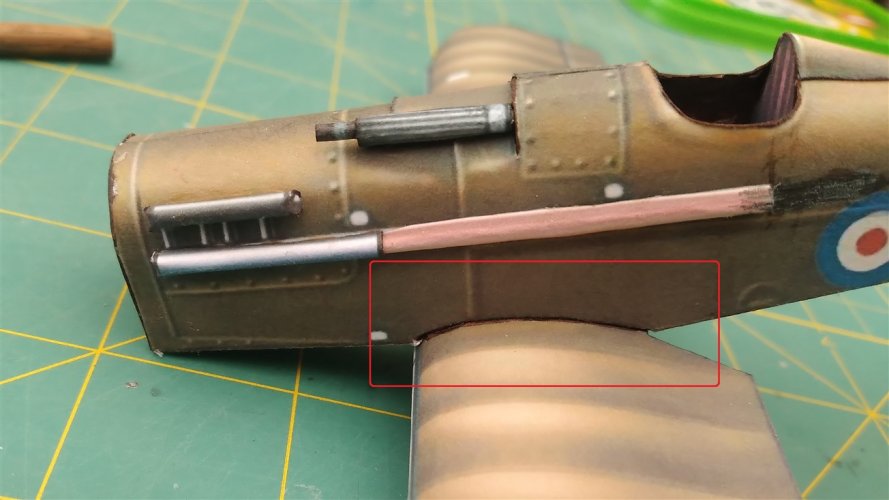
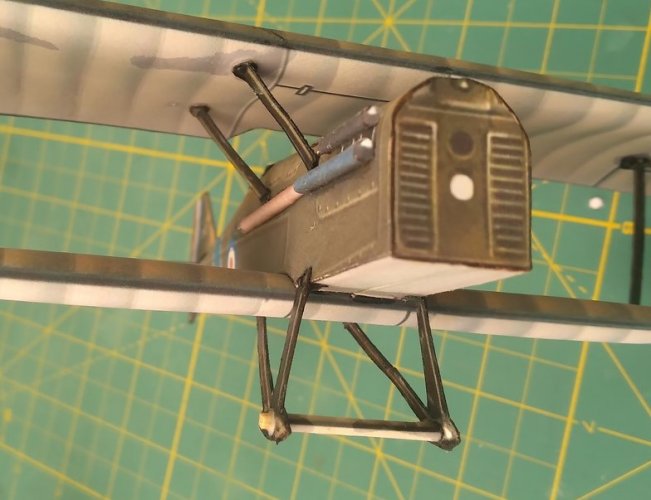
I attached the front engine cowl “g”, in the following sequence:-

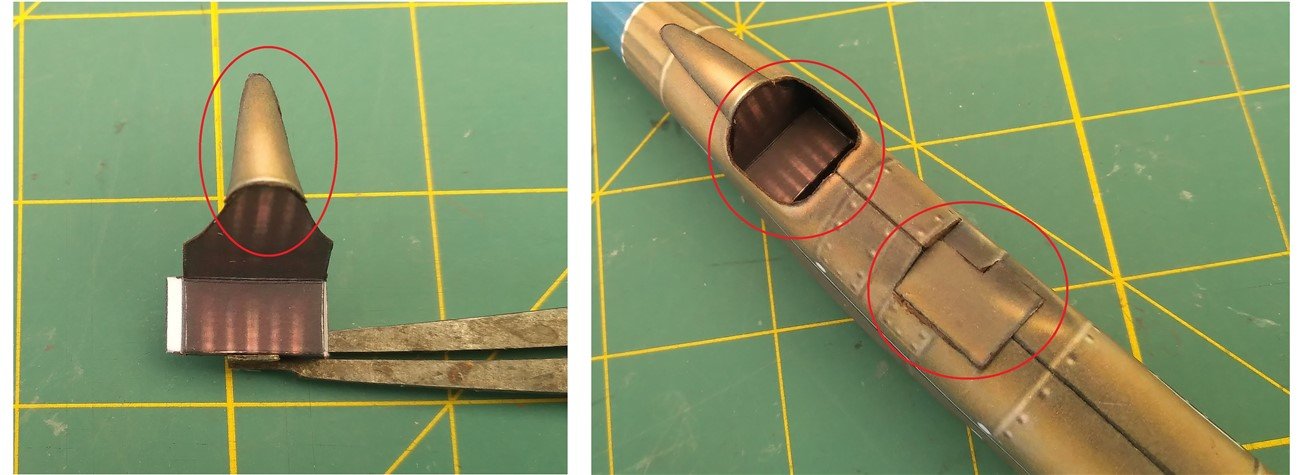
Assemble part “a2” to the seat “c” and glue them in place. Now glue in part “a1”.
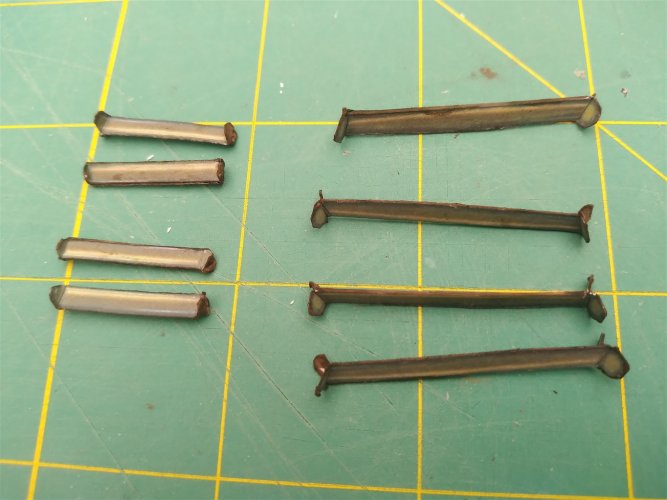
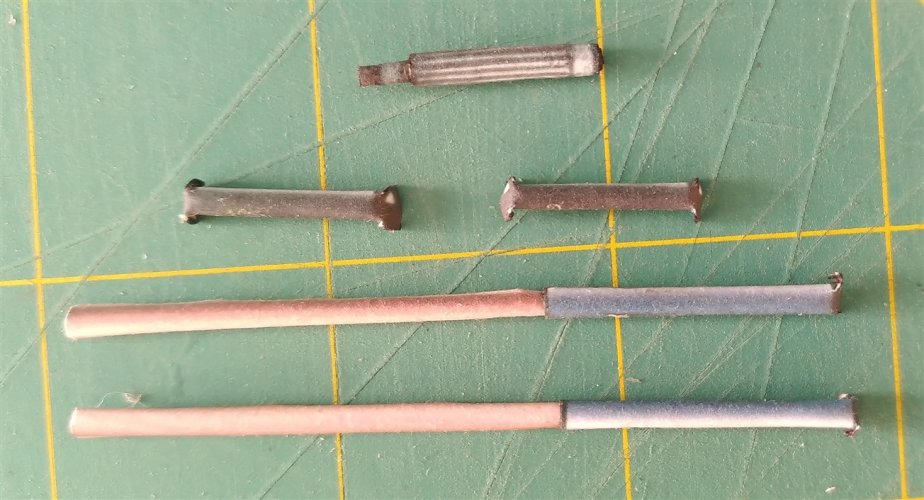
Assemble parts s1-6 and k & k1.
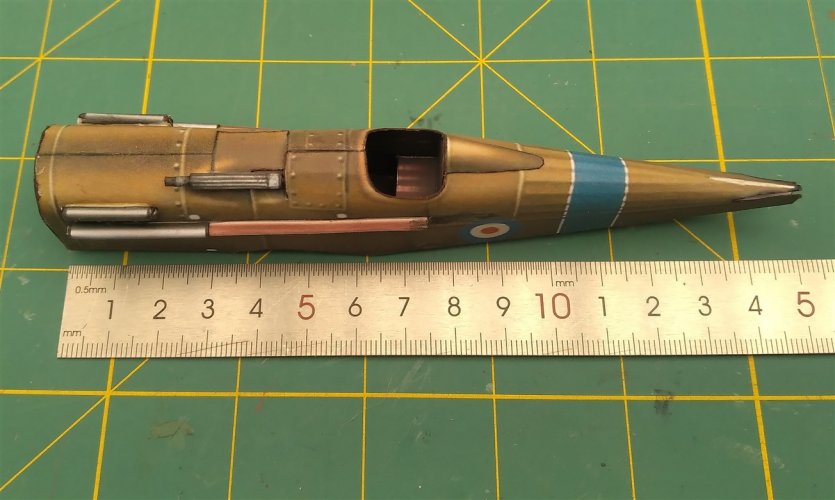
Fit them on the fuselage.
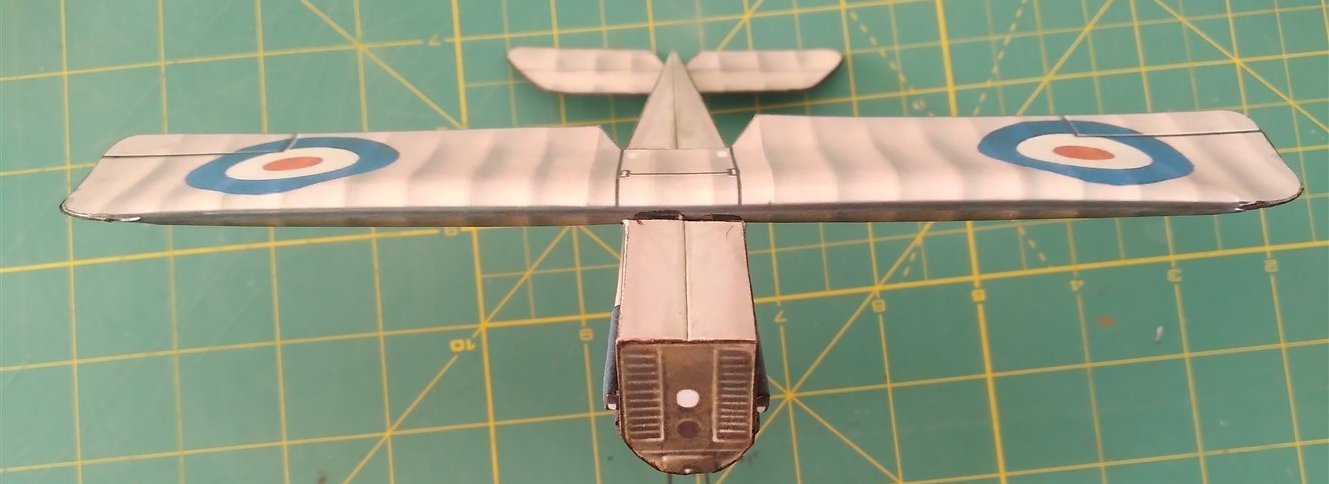
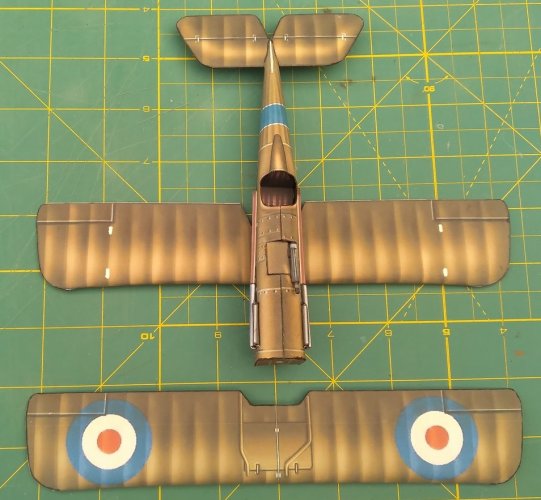
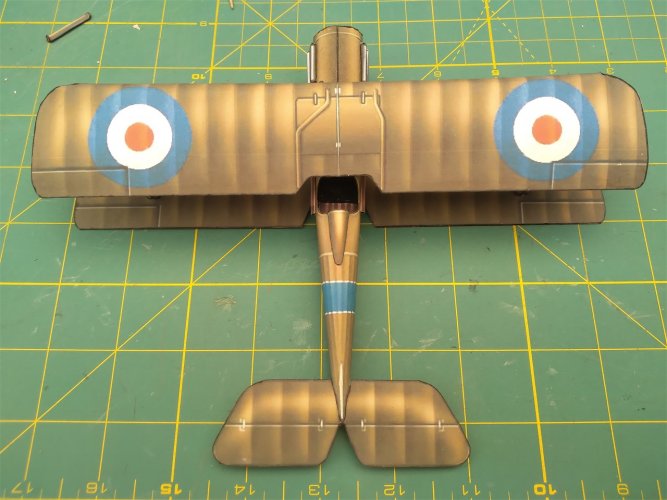
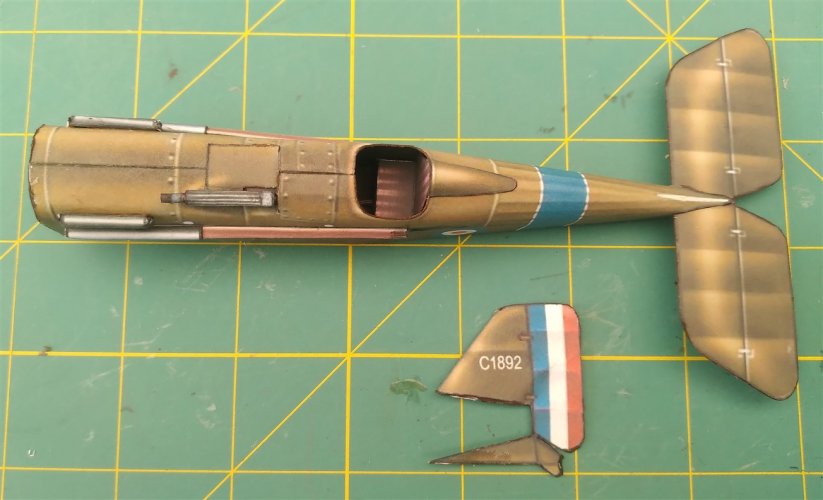
Assemble the tailplane and rudder and just fit the tailplane for now. (The rudder will be fitted after the wings are in place).
The wings will be next ........
I manage to find a link to all his models, https://www.kendar.org/zioprudenzio/fokker.html and downloaded the Se5a version 2. (1 sheet of parts and 1 assembly diagragm).
It was in 1/72 scale and I was looking for something a bit bigger, so I decided to resize it. I have an A4 printer, and I found that 1/32 was perfect. It resized to 2 x A4 sheets and one sheet with the assembly diagragm.
Rhaven Blaack asked me to do a build diary, so here goes.
Start by cutting out the fuselage assembly (a) and on the reverse side, colour in as shown.

Curve the fuselage sides with a dowel to make it easier to glue the top and bottom edges together.

Glue the underneath sections of the fuselage commencing with the rear and when dry, the front.

Glue the top of the fuselage at the nose and then in front of the cockpit.

I attached the front engine cowl “g”, in the following sequence:-
- Attach at the base.
- Glue one vertical side and when dry, glue the other vertical side.
- Shape the top of the fuselage and complete the gluing of the cowl.

Assemble part “a2” to the seat “c” and glue them in place. Now glue in part “a1”.

Assemble parts s1-6 and k & k1.

Fit them on the fuselage.

Assemble the tailplane and rudder and just fit the tailplane for now. (The rudder will be fitted after the wings are in place).

The wings will be next ........
Last edited:


