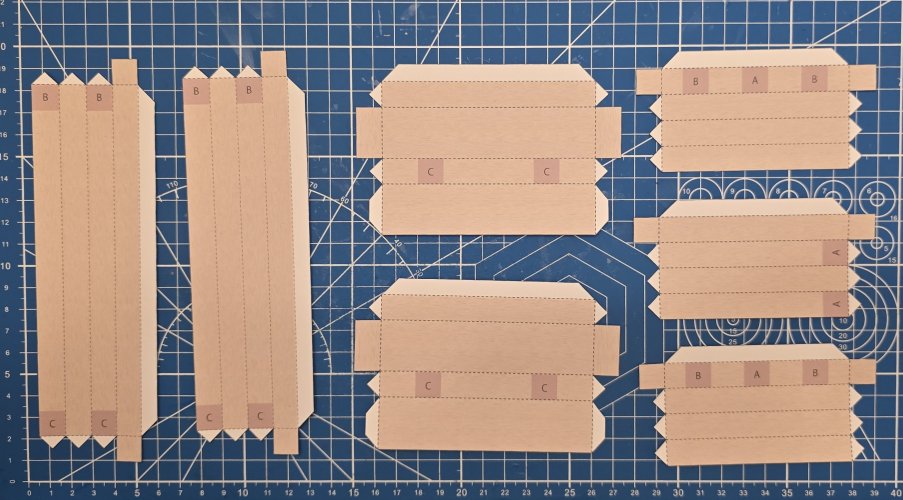
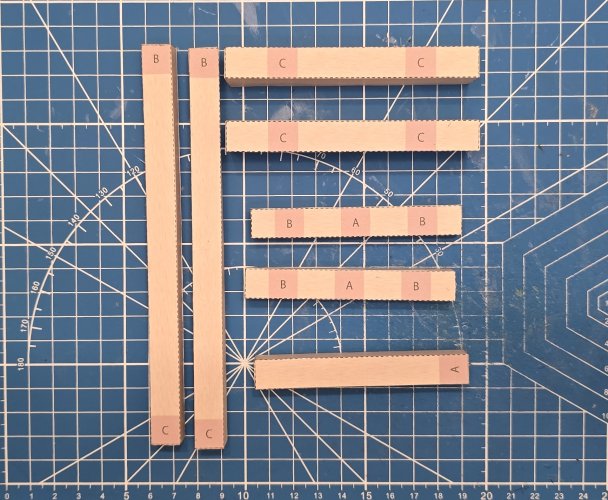
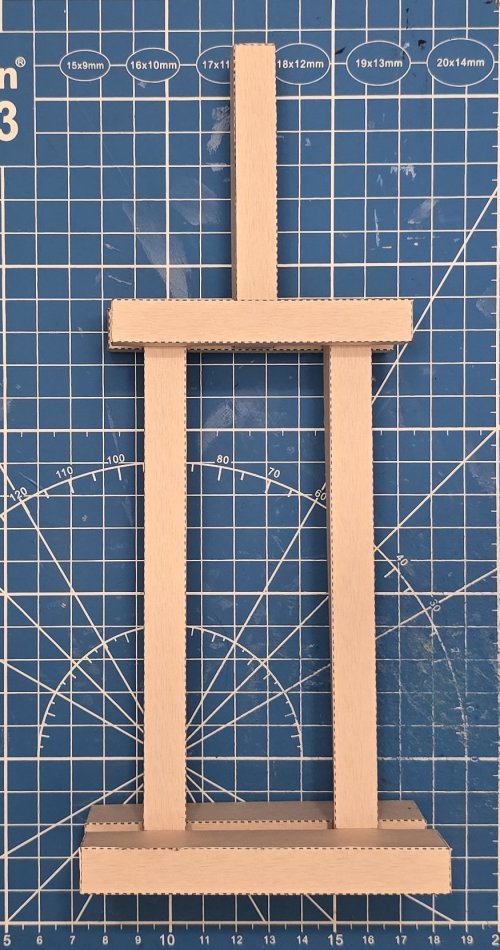
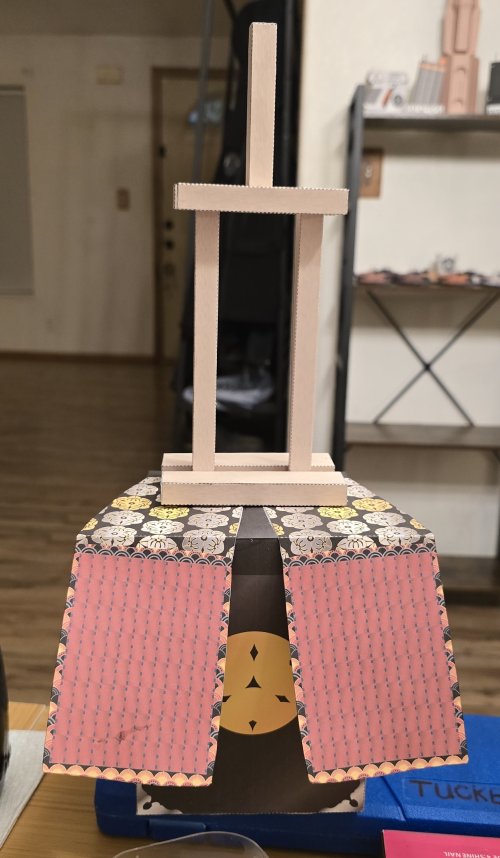
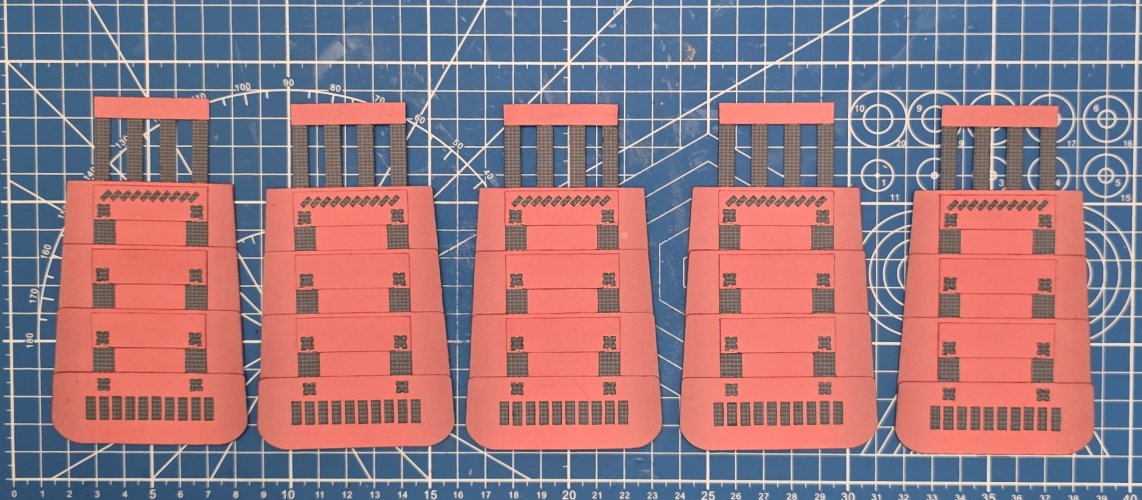
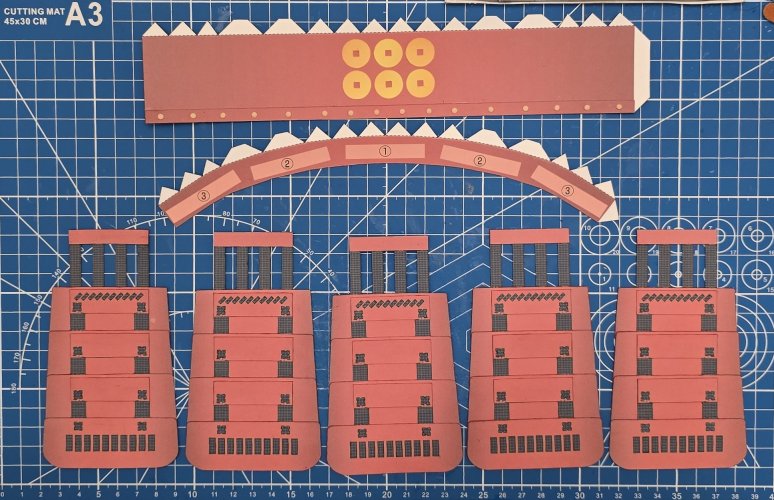
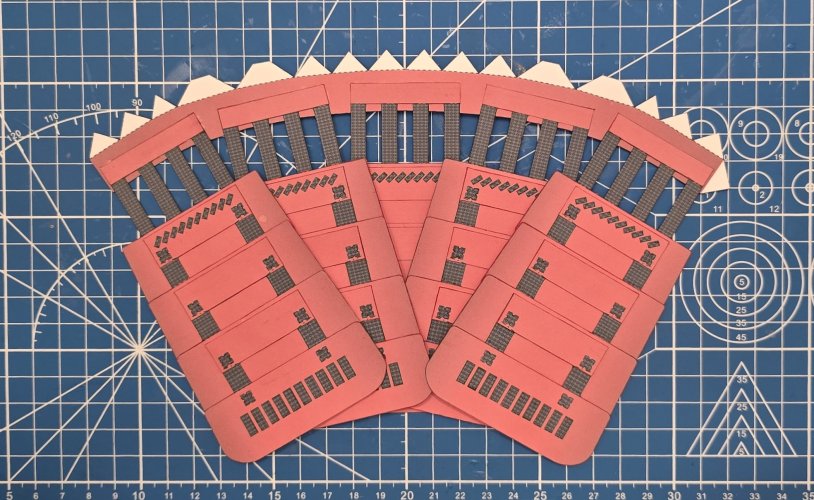
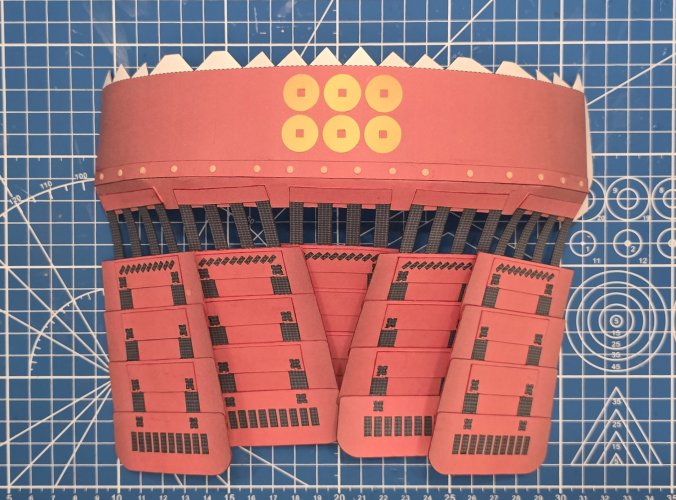
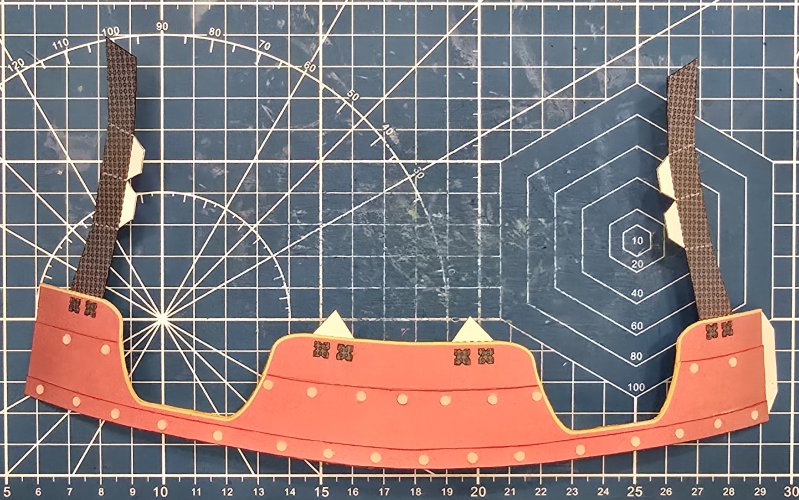
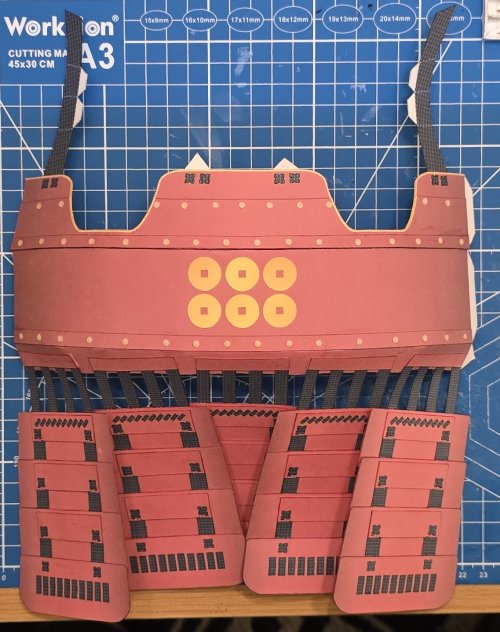
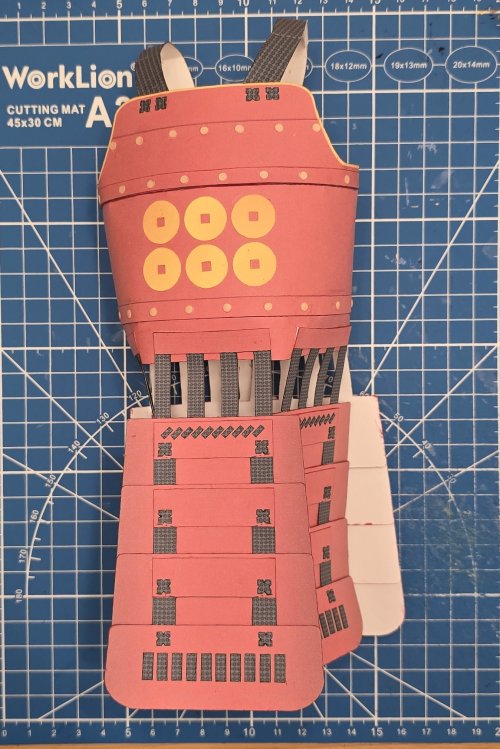
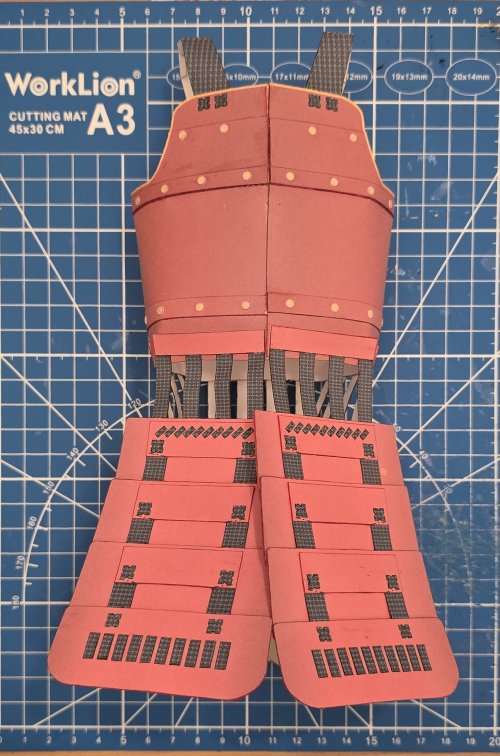
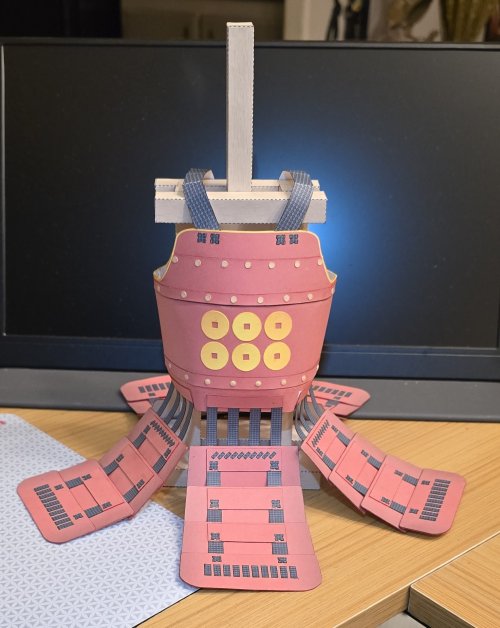
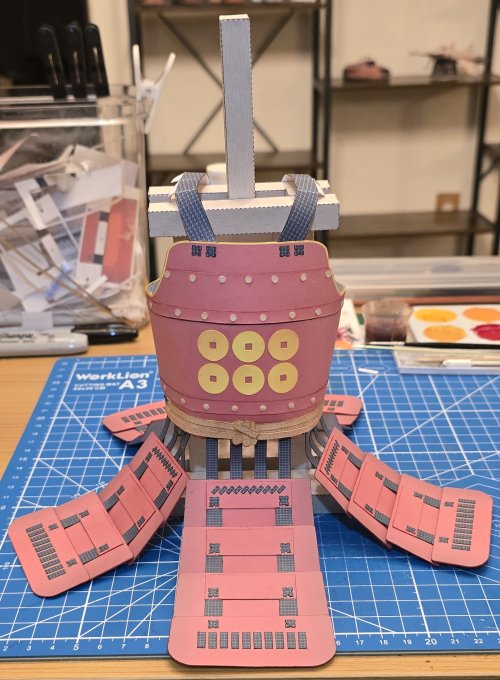
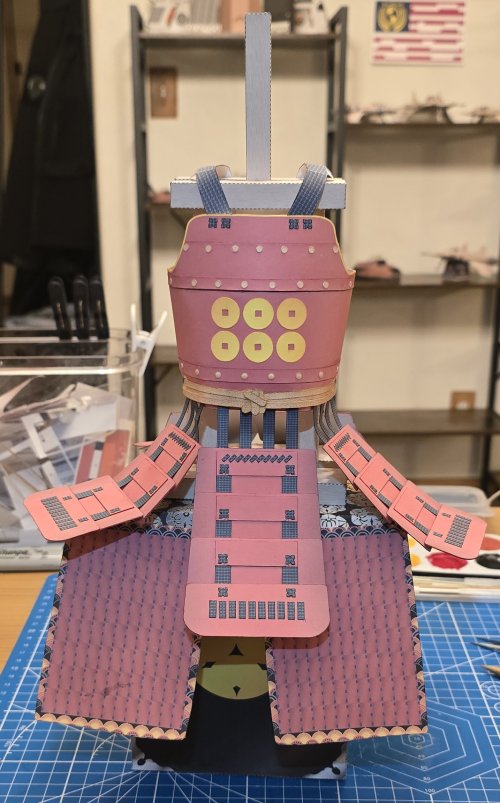
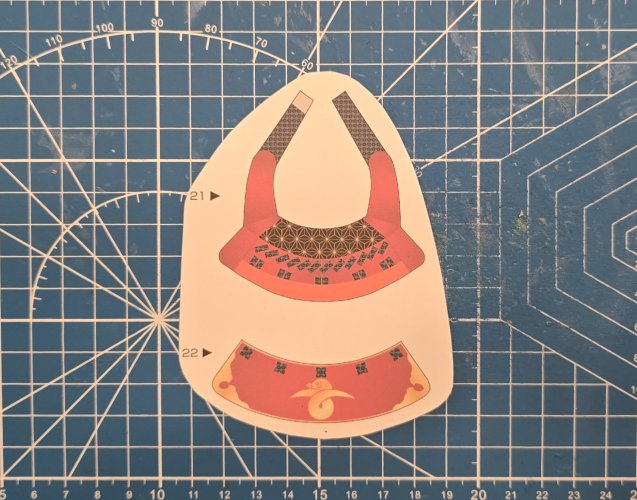
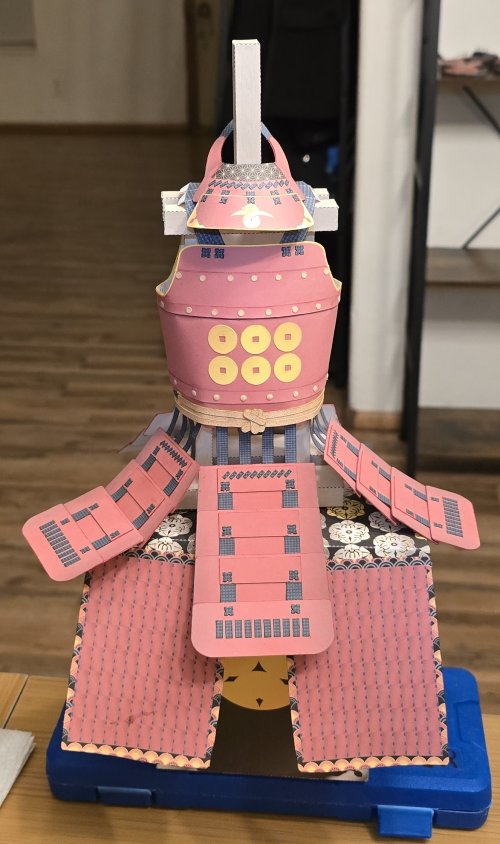
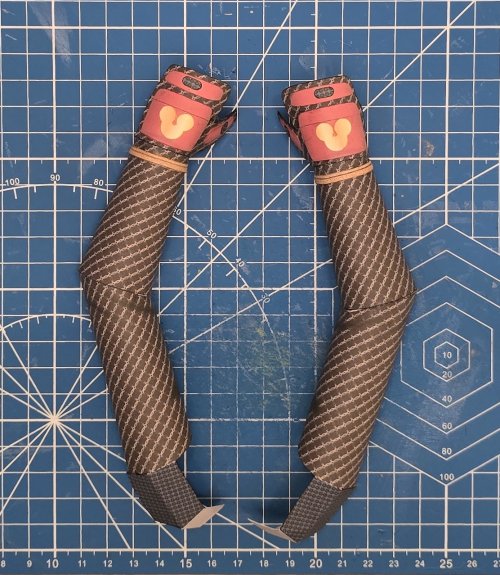
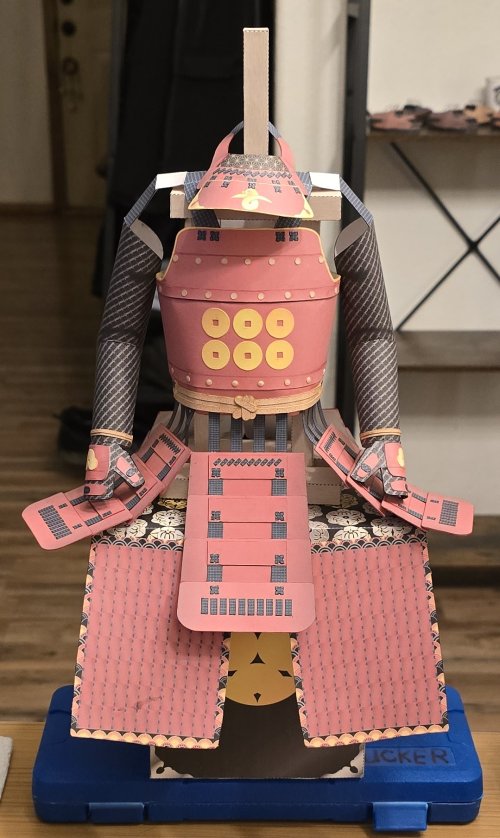
Recently, my eldest daughter informed me that her children (daughter 18 and son 15) have started learning (and practicing) martial-arts. Both have been doing very well and excelling nicely as well. So, I decided to take a step outside of my (USUAL) SCI-FI genre, and make each of them a set of (paper/cardstock) samurai armour.
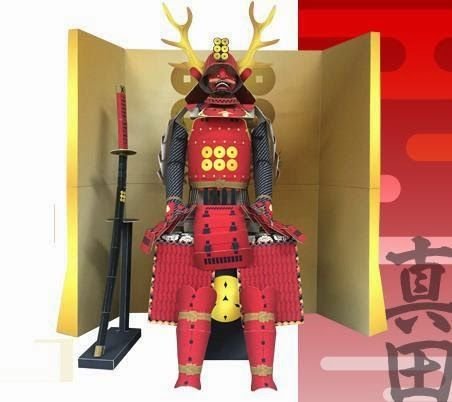
My Grandson's favourite colour is red, I chose to make this one for him:
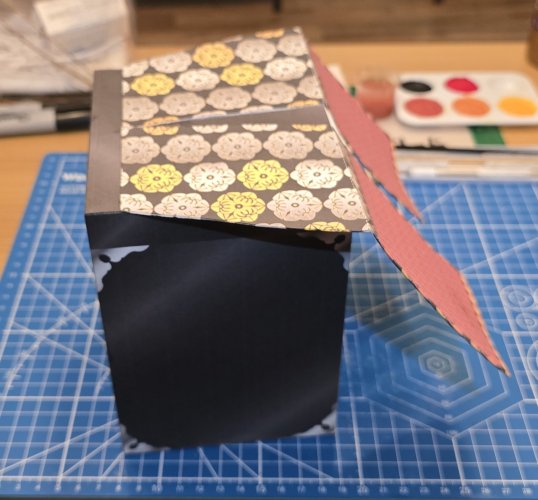
My Granddaughter's favourite colour is black. So, I am making this one for her:
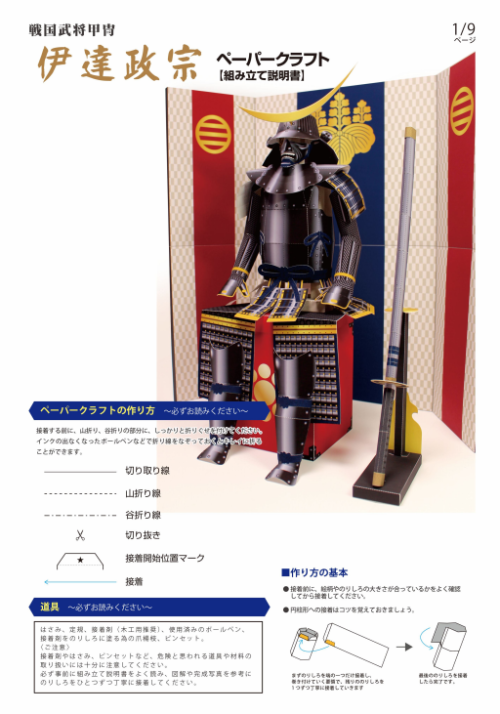
Since I have had these templates for several years, I do not remember where I had obtained them from. However, if you GOOGLE "samurai armour (or armor)", you should be able to find them.
Without further ado, let us jump into this build. I am starting with the red one first.
I assembled the sidewalls of the base.
(*NOTE* This is a rather large model.)
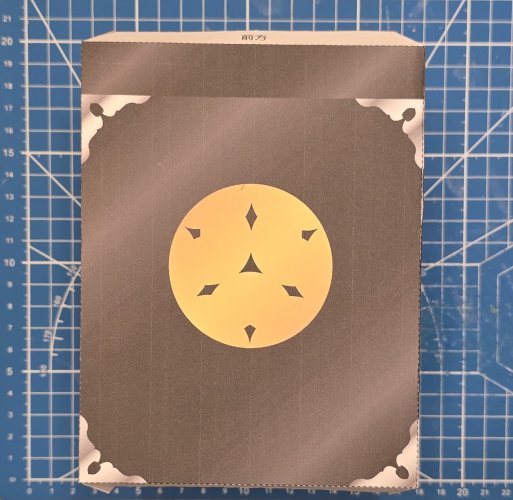
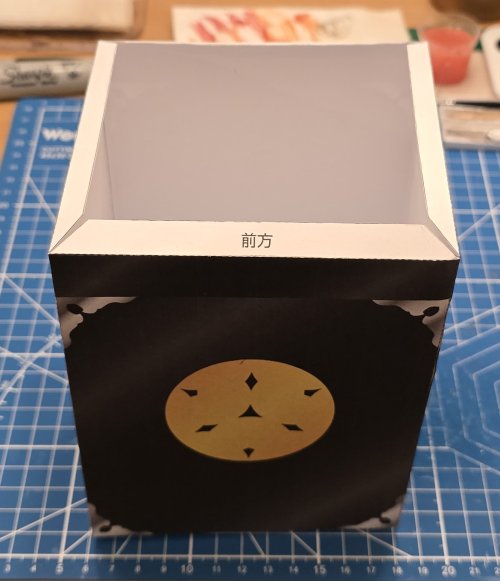
The base is completely empty. So, I decided to make my own internal formers. I laminated the formers to 1.5mm thick.
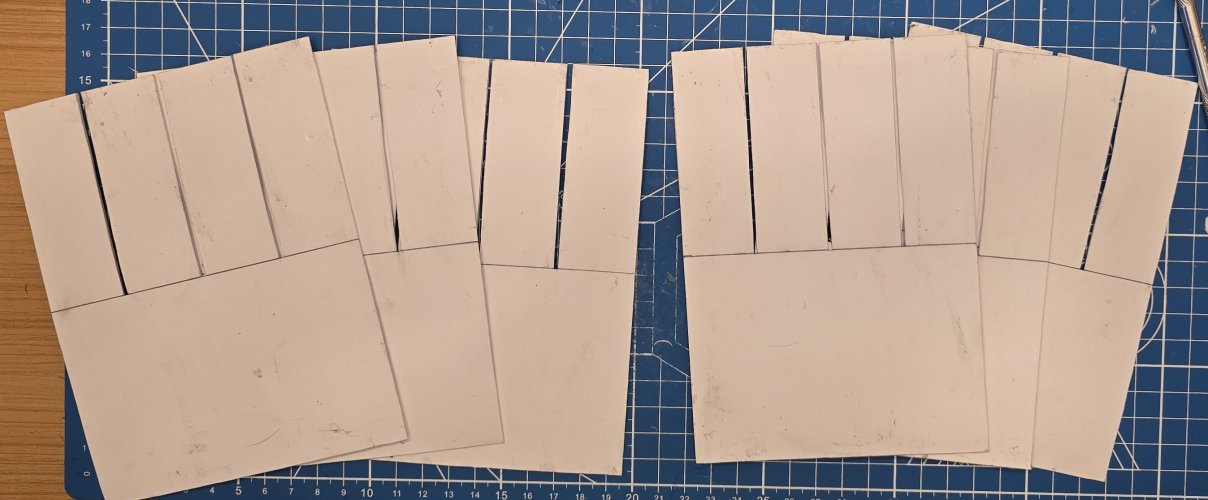
The formers are assembled.
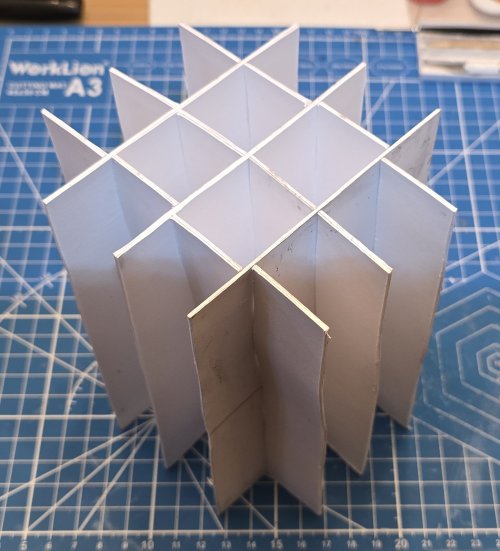
The formers are put in place.
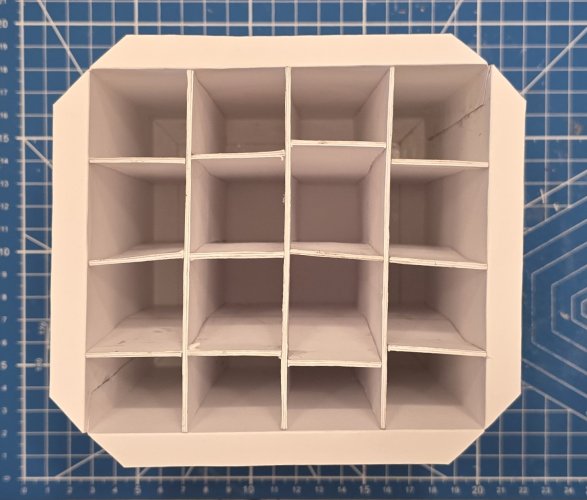
I foled the glue tabs over.
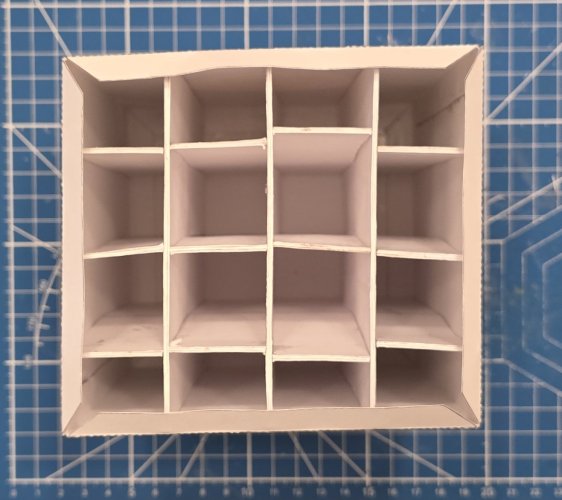
The bottom plate is attached it place.
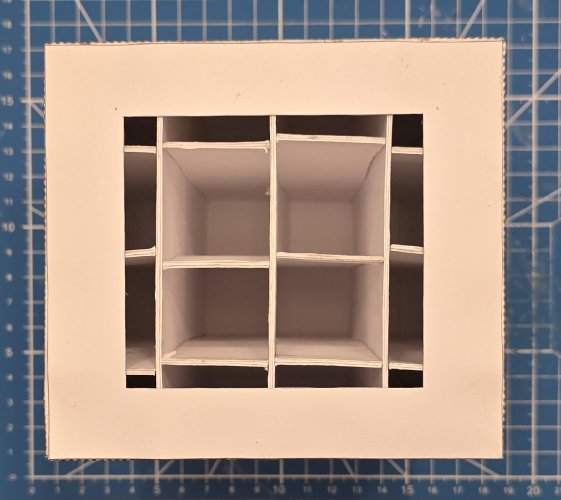
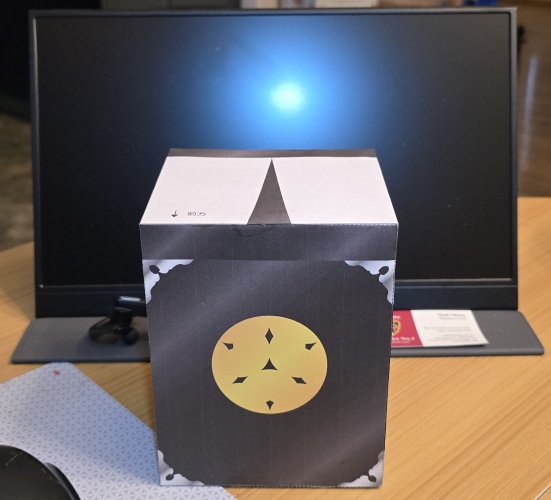
To give a better perspective of just how big this model is going to be, I have placed the base in front of my 15" USB monitor.
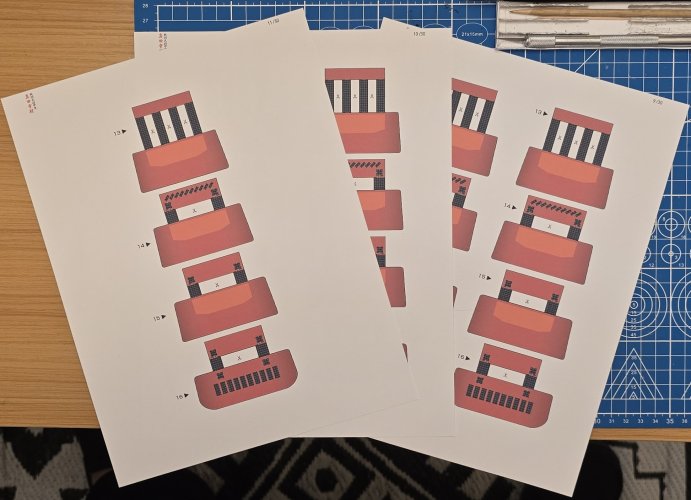
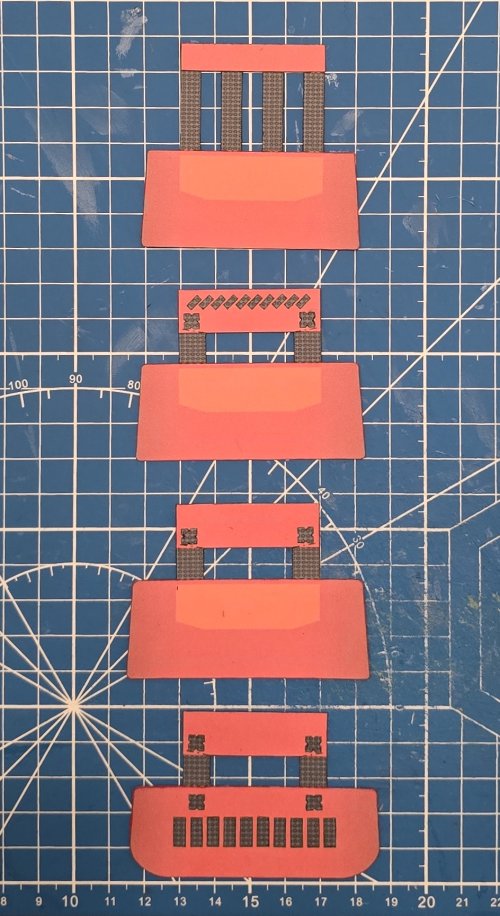
These are the parts for the for the front of the base.
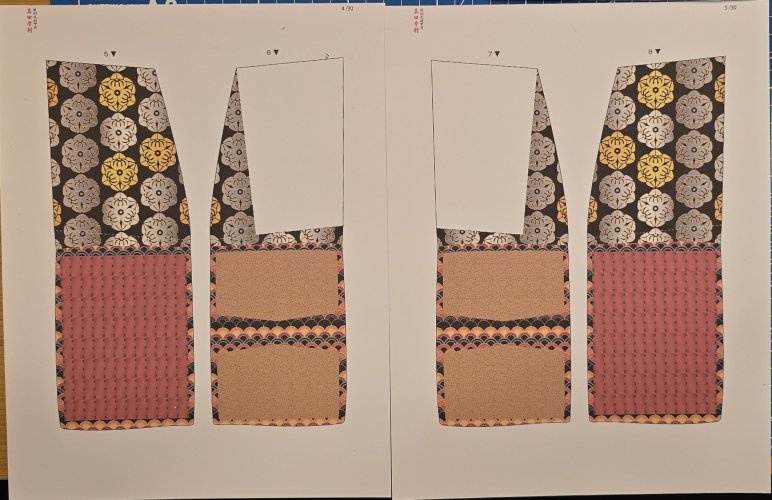
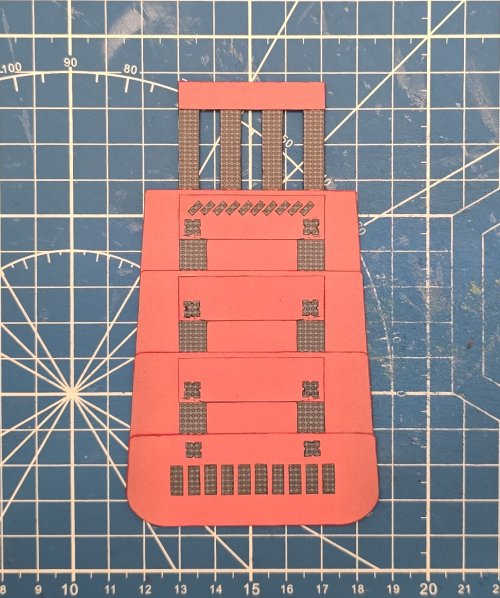
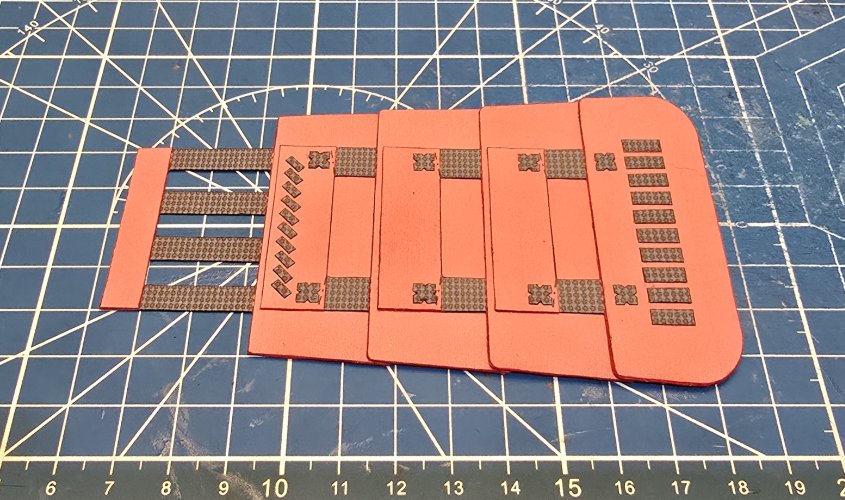
The parts are assembled.
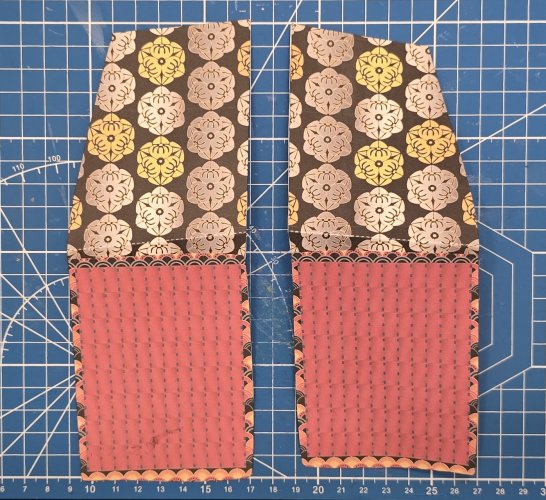
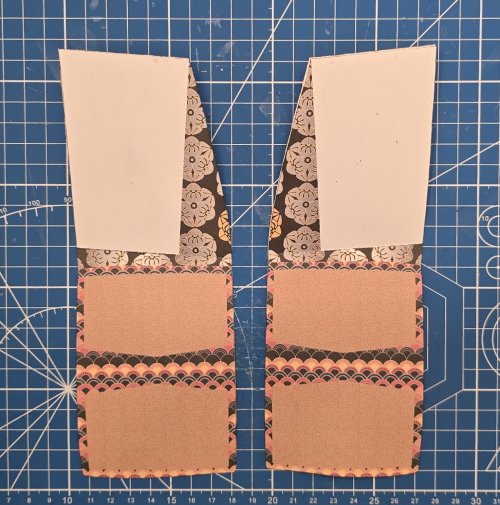
The parts are attached to the base.
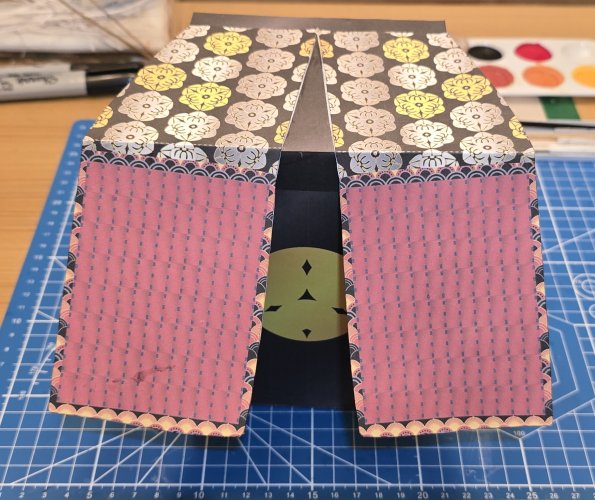
My Grandson's favourite colour is red, I chose to make this one for him:

My Granddaughter's favourite colour is black. So, I am making this one for her:

Since I have had these templates for several years, I do not remember where I had obtained them from. However, if you GOOGLE "samurai armour (or armor)", you should be able to find them.
Without further ado, let us jump into this build. I am starting with the red one first.
I assembled the sidewalls of the base.
(*NOTE* This is a rather large model.)


The base is completely empty. So, I decided to make my own internal formers. I laminated the formers to 1.5mm thick.

The formers are assembled.

The formers are put in place.

I foled the glue tabs over.

The bottom plate is attached it place.

To give a better perspective of just how big this model is going to be, I have placed the base in front of my 15" USB monitor.

These are the parts for the for the front of the base.

The parts are assembled.


The parts are attached to the base.


