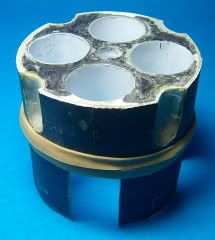
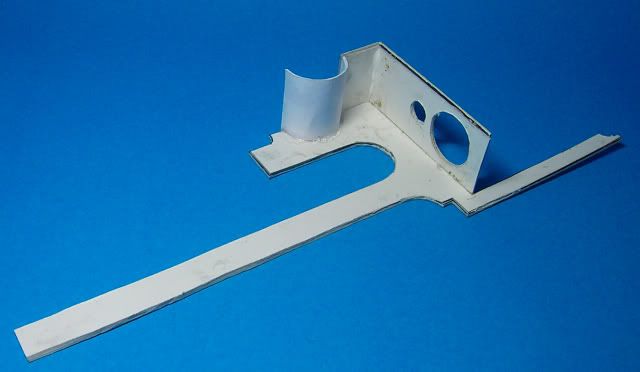
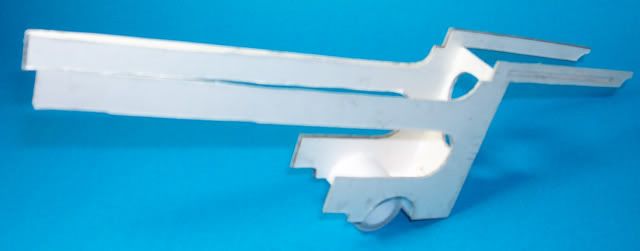
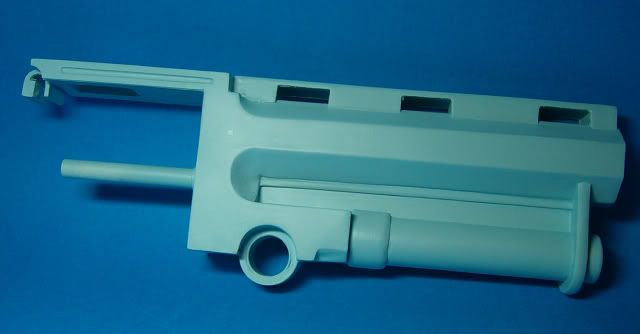
I know I said the frame, but I think this would be more aptly discribed as the Barrel assembly.
First up, Print everything on standard paper in greyscale/text to save some ink. As I'll be painting this thing, print quality is not important, as long as the parts are clear enough to use as patterns. I've glued pretty much the whole lot to 1mm card, just using white glue. I don't seem to have any trouble with warping/wrinkles, just keep the glue well spread out, even, and squish it flat while it dries.
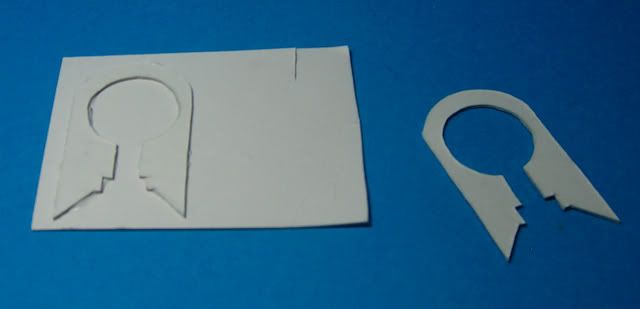
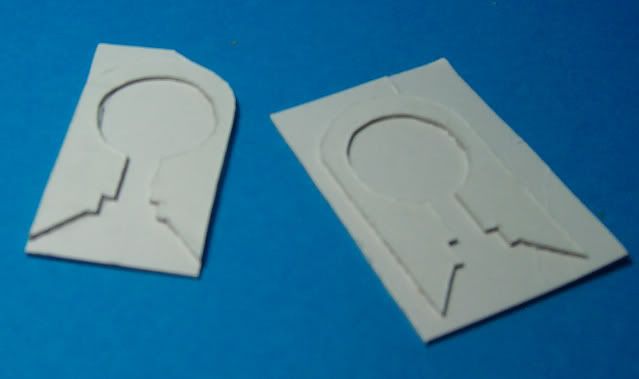
Next trick it to cut out your first pieces, trace around them, cut out the new piece 1mm inside the line, and glue it to the first. this gives a 2mm thick part with a small ledge around the inside edge (make suer it IS the inside..

ops
")
This is the basic plan for all parts, but you will need to plan ahead, and subtract a bit from many parts to allow for the thickness of card on other edges. all parts are separated where they would normally have a fold, making for a lot more pieces, but a stronger built overall. Actually, this model is very well suited to this building approach, with all its flat sides and sharp angles, and simple colouring.
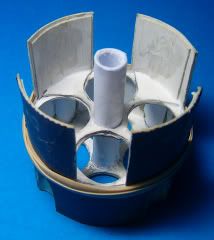
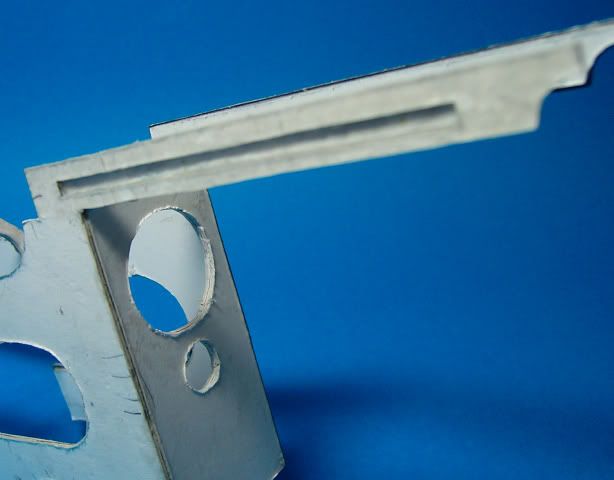
The botom of the barrel assembly has parts to create the swing/opening hinge (part 6 and 7), but unless you wish to able to open and close your Samaritan about twice before catastrophic failure, I suggest strongly the this area be redesigned a bit.
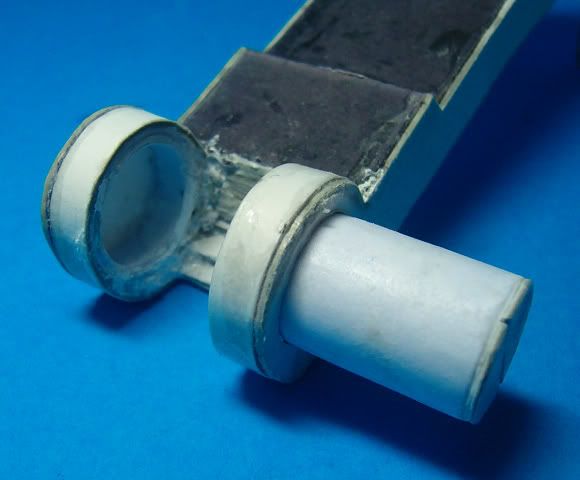
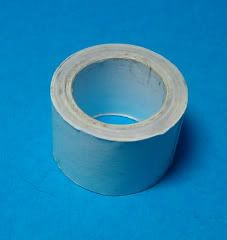
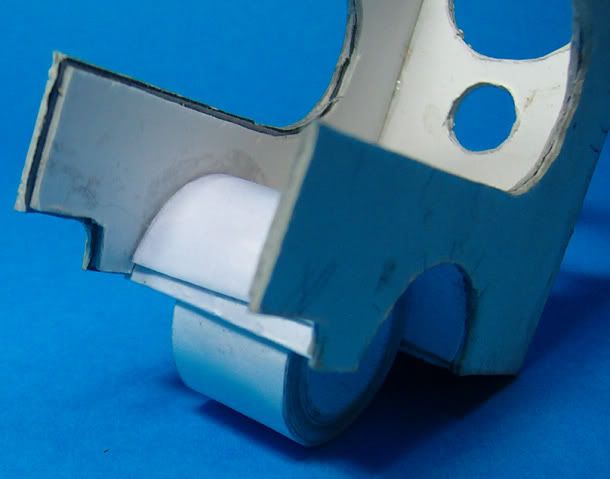
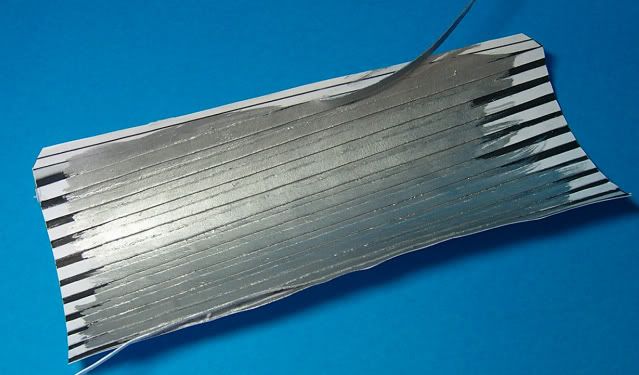
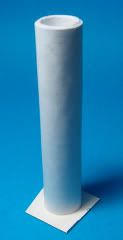
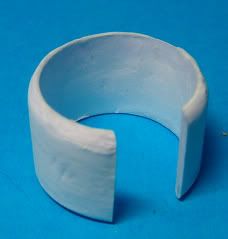
I've made up a ring of paper to the measurments of part 6, made by tightly winding strip of lightly glued paper around a suitably sized former (in my case, a curtain rod), until it reached the required diameter, it then had its ends well soaked with superglue and sanded flat, making a VERY tough ring that should handle fair bit of abuse. The archway in which this was glues was skinned over completly with two layers of well glued card to give a secure anchorage.
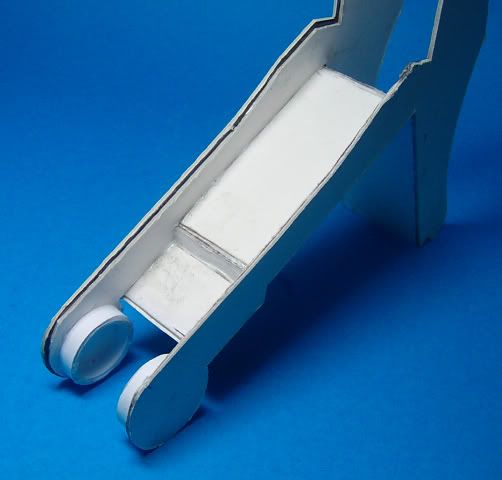
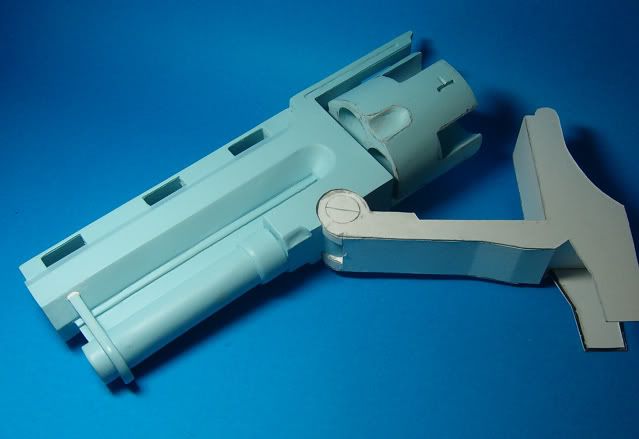
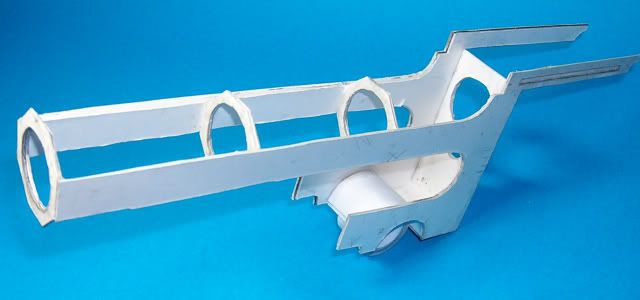
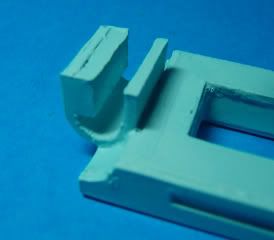
One of the simplest improvement to the basic kit is to cut out the slots on the side of the top strap.
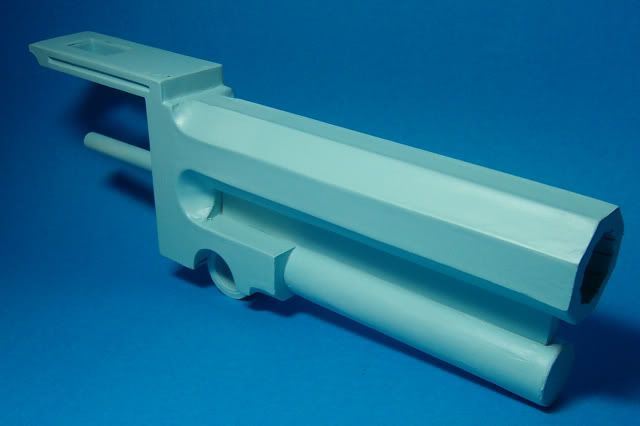
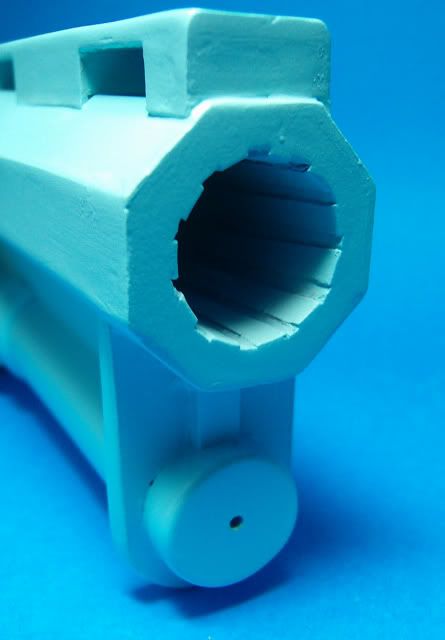
I have added some extra barrel support ring to the barrel to give the sides a bit more to glue onto, But before you do this, BUILD THE BARREL LINER, and check that it fits your holes.
ops: ... I didn't, and now all my wonderful rifling is yuckky at the top where I had to cut 3mm out of the tube...
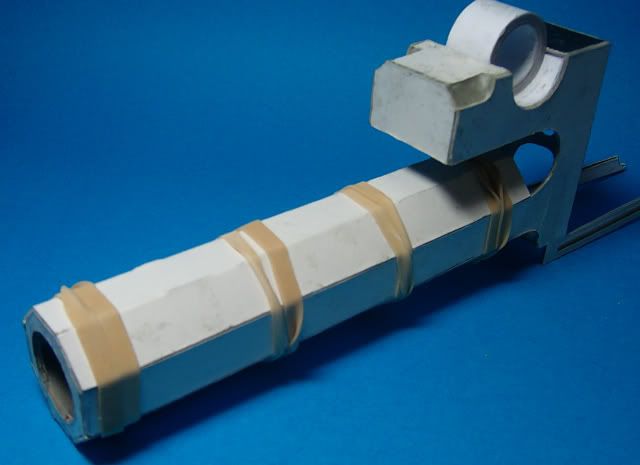
The rest of the build has gone relatively smoothly so far, don't forget to bevel the edges of the outer barrel pices so they fit nice and tight together.
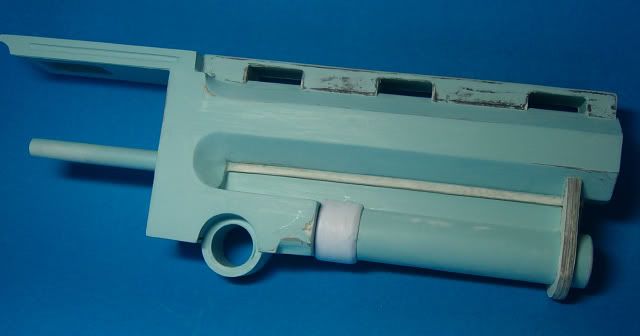
putting in the extra barrel rings made the rubber banding possible, and avoided having to sit and hold the assembly for an hour or so. I left it overnight.


 )
)