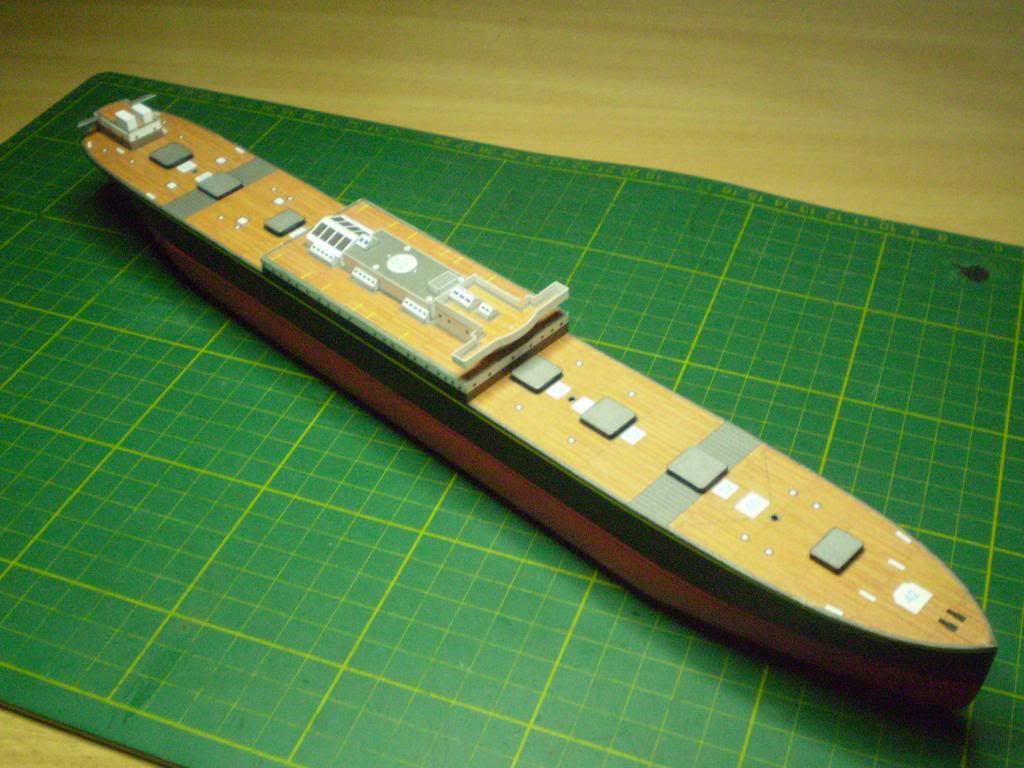
Thank you Zathros, Micah. It was flawless until it slipped out of my hands and have fallen to the floor. I repaired slight damage to the bow and caved in place in bottom side, but it's not flawless anymore

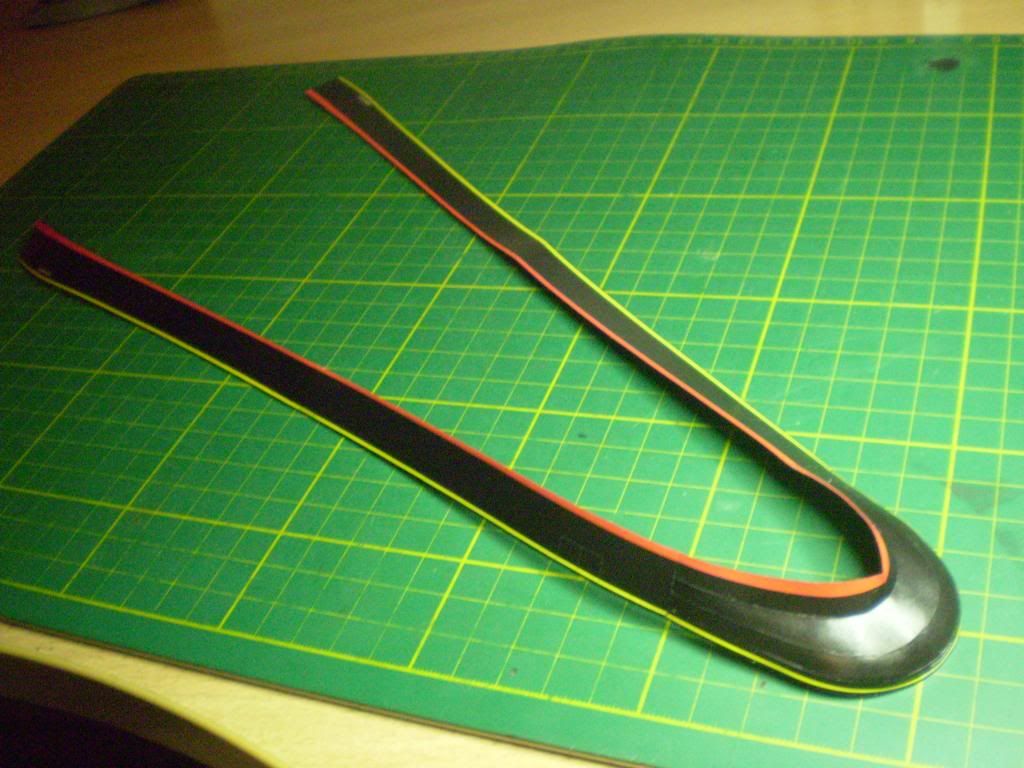
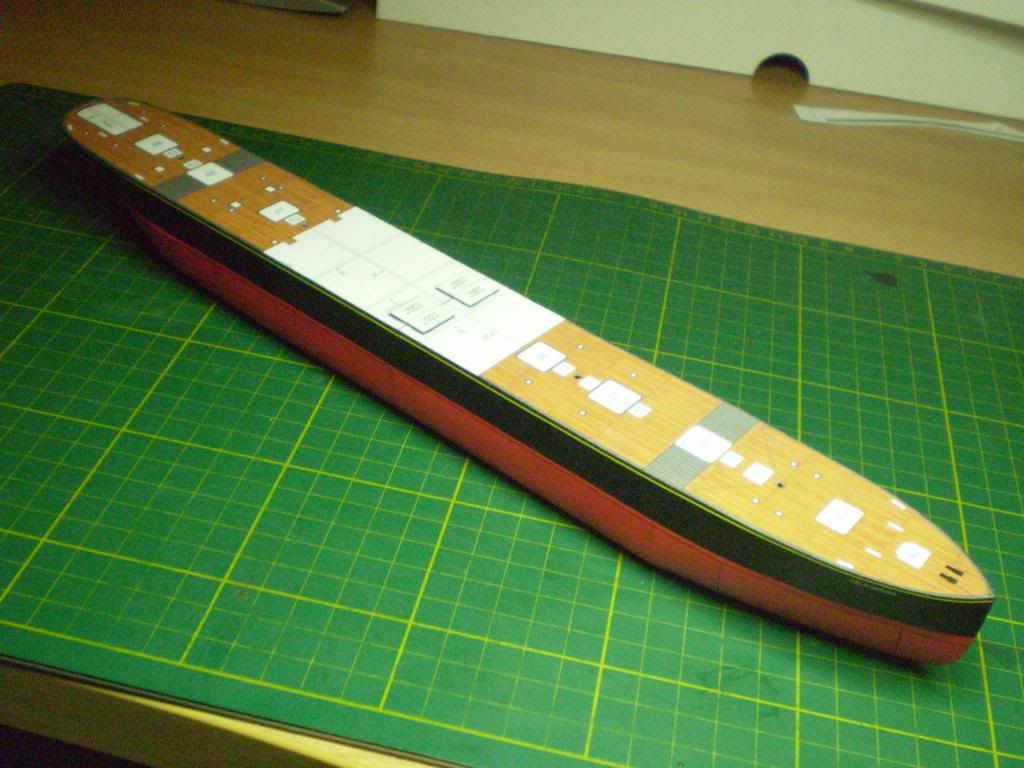
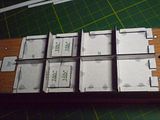
Now it's time to start filling white spaces on board
")
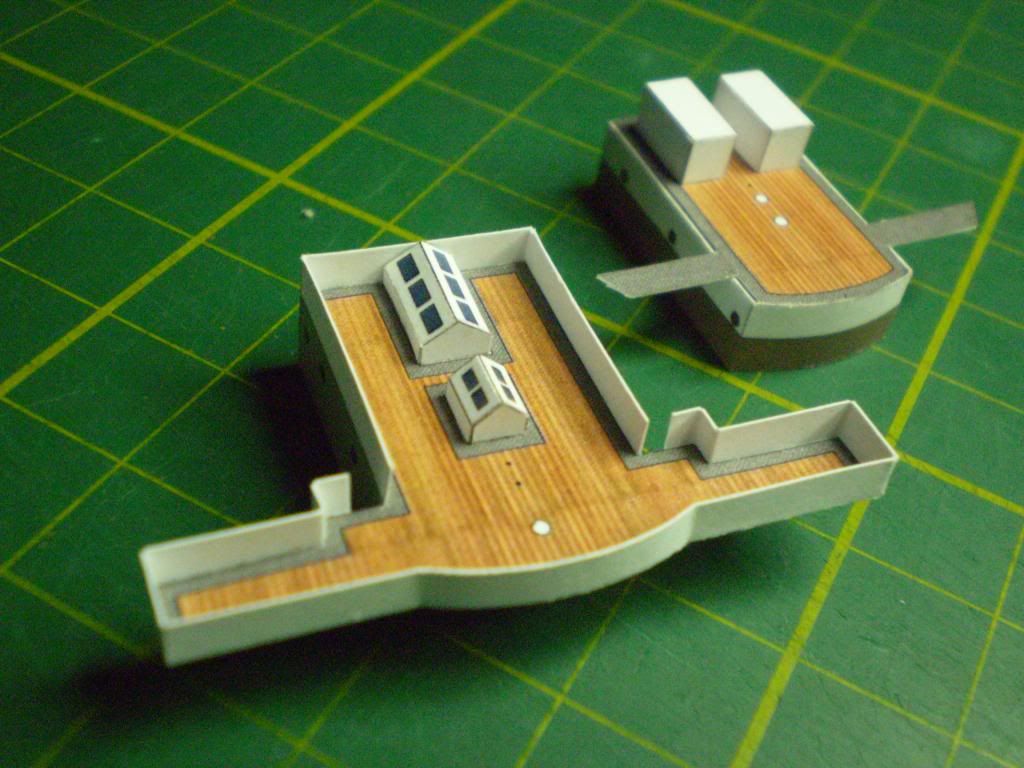
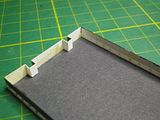
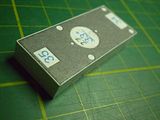
Skeleton of the middle island is glued on the board with drops of cyanoacrylic glue, together with additional strips of card added for easier and more precise gluing of the sides of island. Dry test with a side element shows that it works as intended.
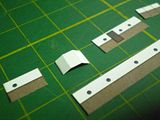
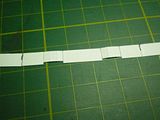
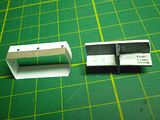
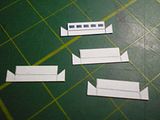
There are many ways to glue box-like elements. One of them is to cut the box apart and glue the pieces separately. It is shown here with the sides of the middle island. They are cut into separate facets, the edges are sharpened so that when glued together they will form a sharp edge. The niches are not cut into pieces - instead their lines are cut slightly from the back - the bend will be sharp but there's no need to glue separate pieces
")
The cut and sharpened pieces are glued together on touch, forming one piece
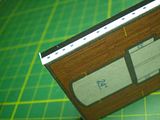
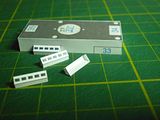
Which is then glued around the laminated top of the island - when the ends meet, there's a tiny excess to cut away. The island is checked for fit and glued onto the skeleton.

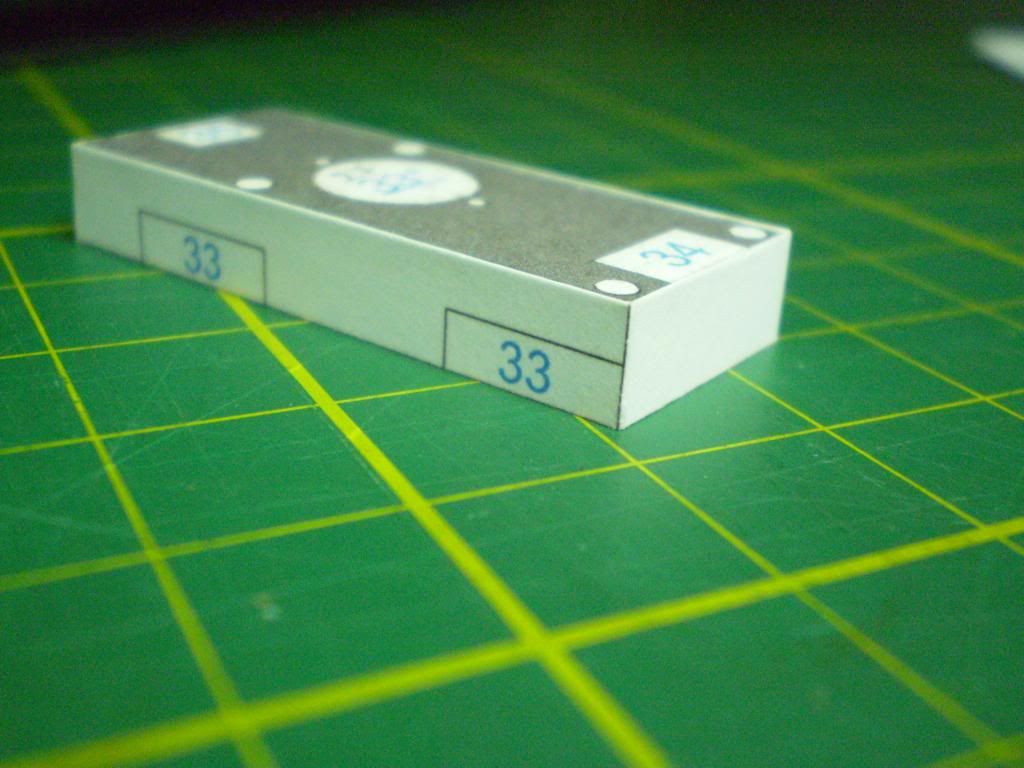
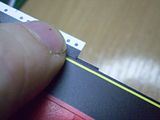
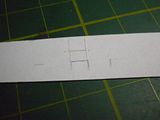
Another way of gluing boxes is based on making the lines of bending thinner from behind which allows for sharp edges without cutting the walls of box apart - much faster method but requiring practice and feel for the material - a bit too deep cut and the part can be damaged.
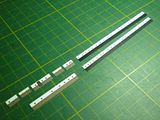
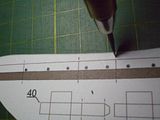
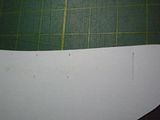
Before cutting a part out there are markings made by doing small cuts with the knife from the front - showing where is the line of bending after the card is turned over. On both sides of the line of bending, from the back, there are cut (not through) two lines. The distance between them depends on the thickness of the card (a matter of testing). Then paper is scratched out from between the lines using the tip of the knife. Then the part is cut out - in this case the sides of the base of the stern bridge. Its skeleton is fit to the part and finally the element is assembled. A tip - the bent wall is the one without portholes - it's 1mm wider than the opposite straight wall.
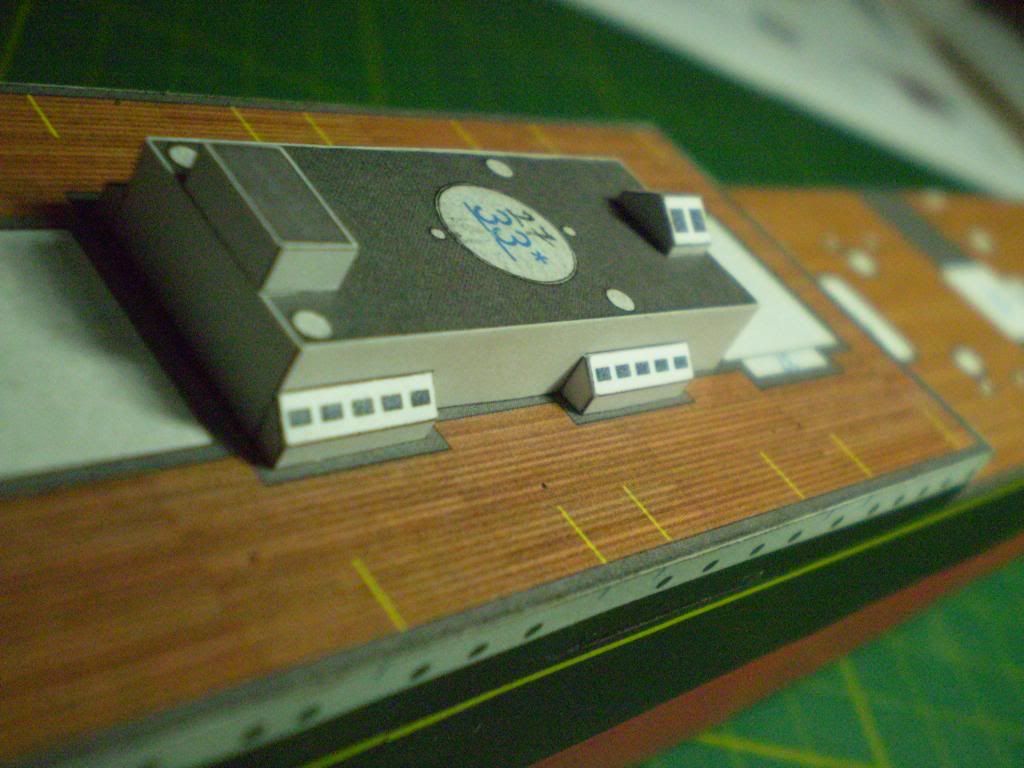
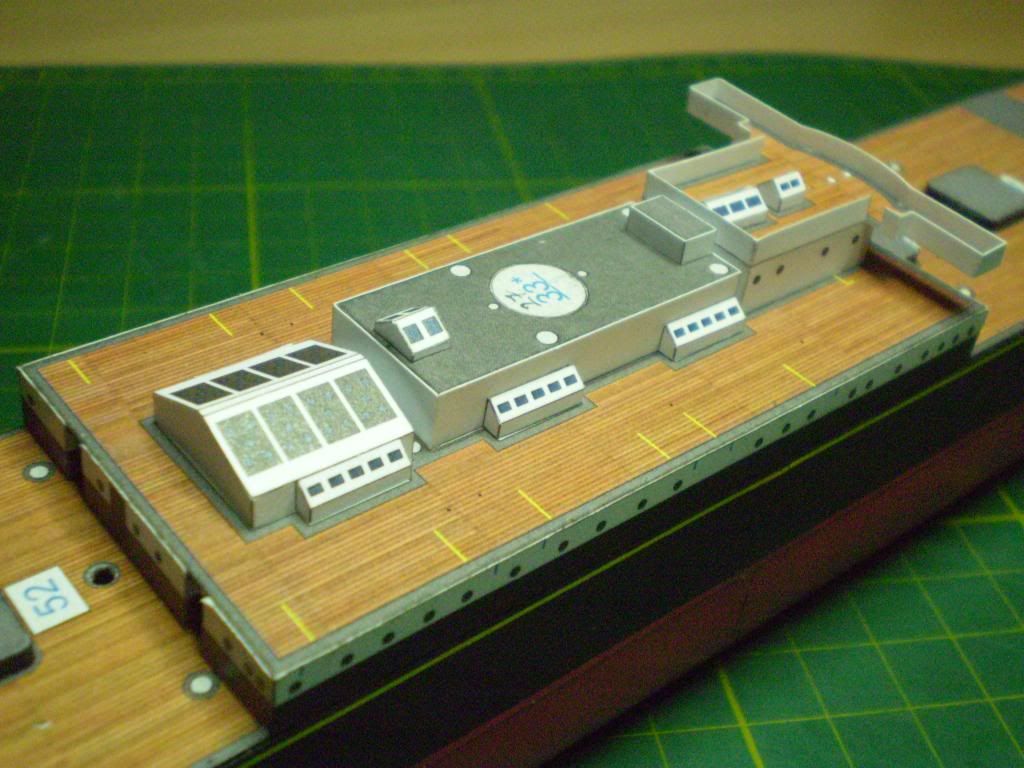
In most cases in this model I will be using the second method. That's how was made this funnel deck
Side skylights and top skylight of the funnel deck are thinned from behind, cut out, glued together
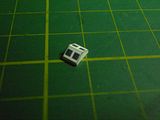
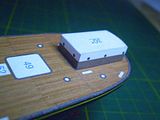
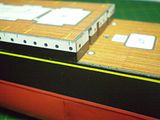
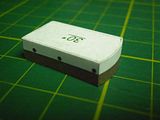
and attached to the funnel deck - together with a hatchway. The resulting structure is fitted dry on the middle deck.
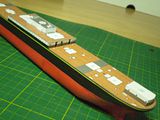
The base of the stern bridge is similarly placed on the stern deck. And last photo shows both structures and the middle deck on one picture.