Great group you guys have going! I’m a recent returnee to paper modeling after finding Modelik’s flower class corvettes while collecting info and reading in support of a Lego scale model (ldraw – “virtual” lego) that I’m working on. I spent the better part of my childhood making things out of paper (and the odd plastic brick), but I’m enjoying my renaissance.
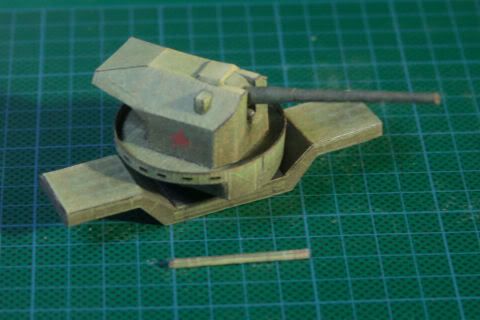
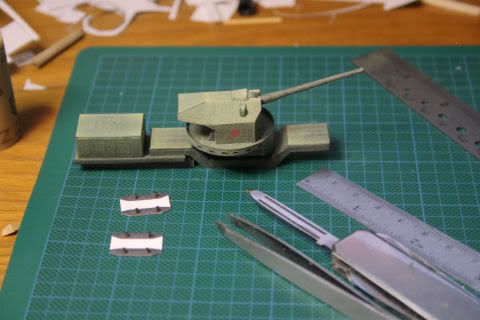
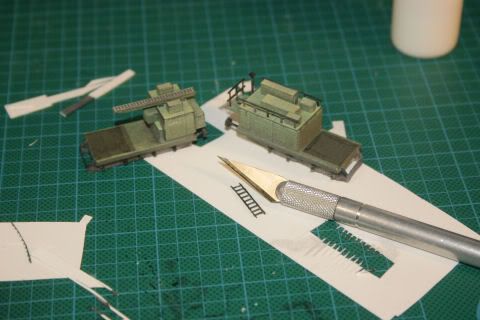
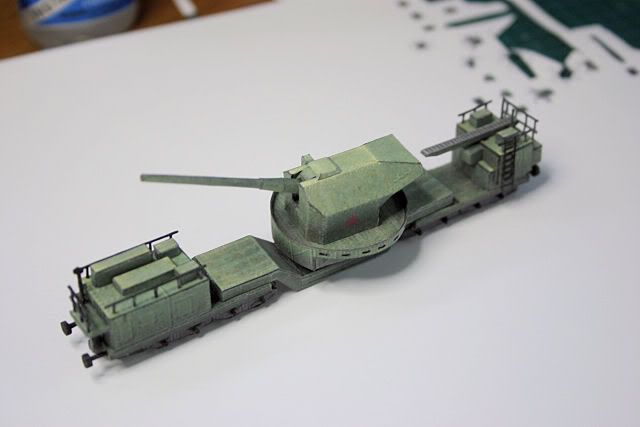
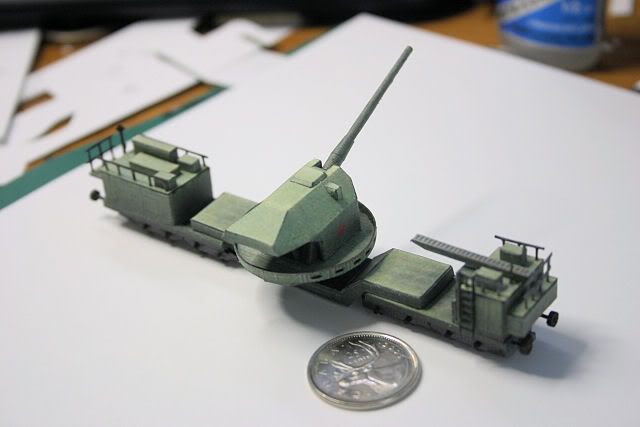
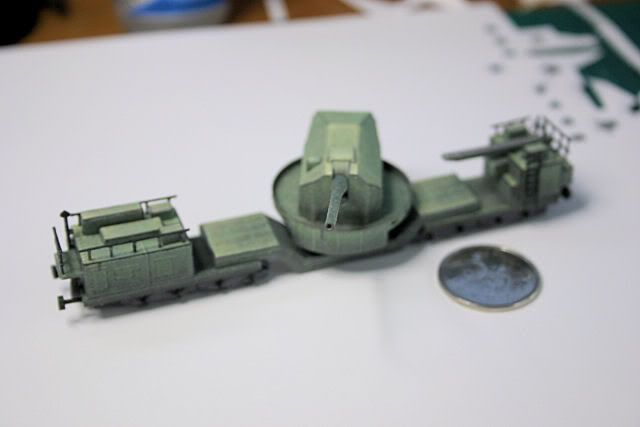
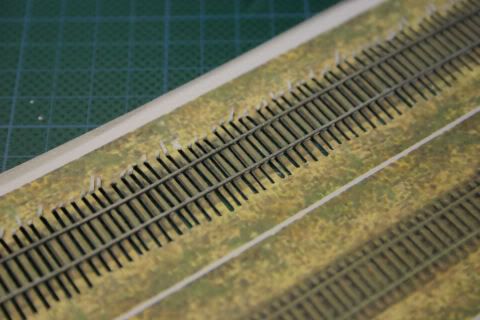
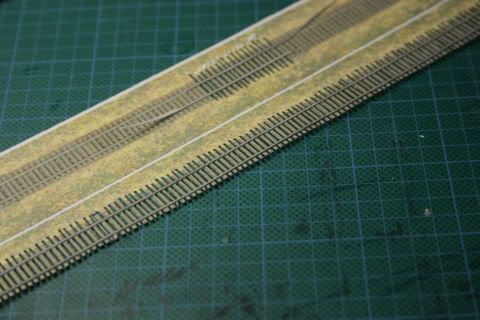
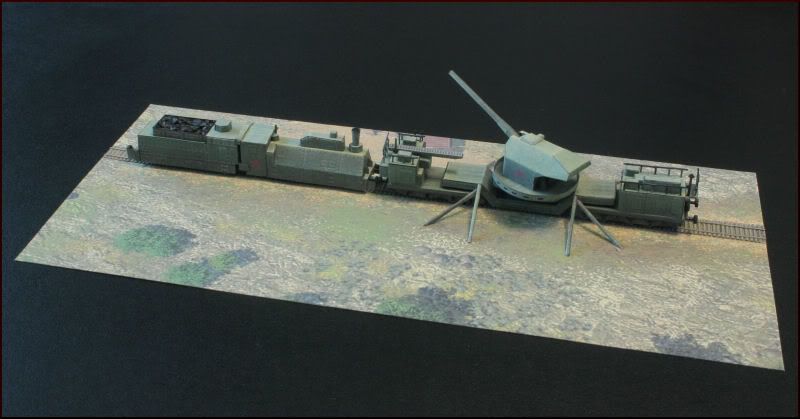
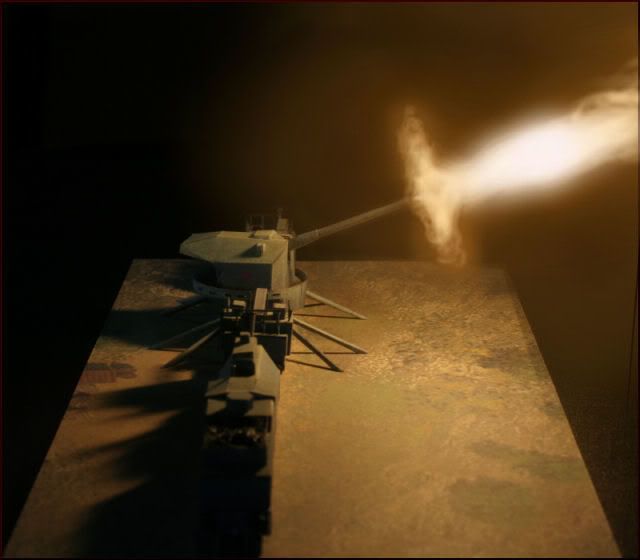
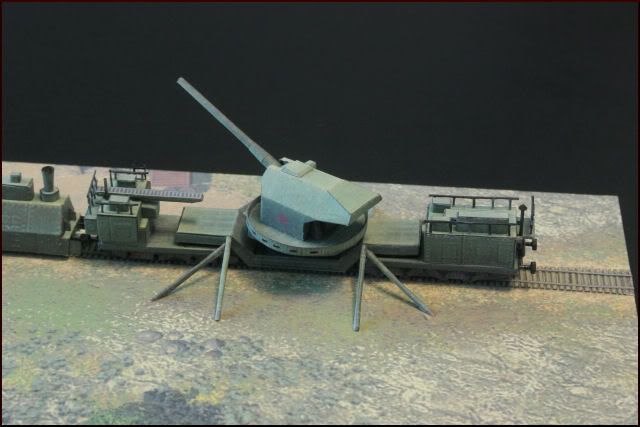
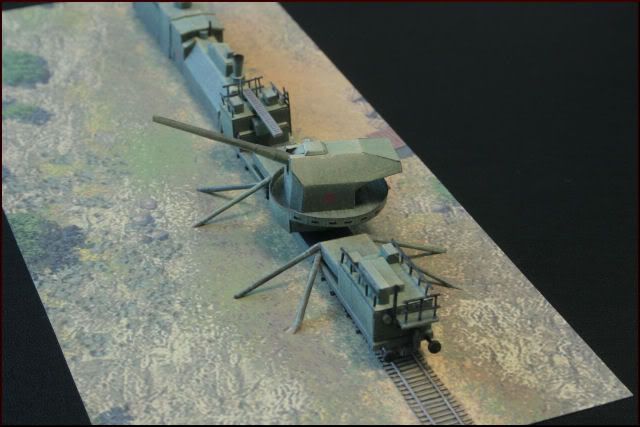
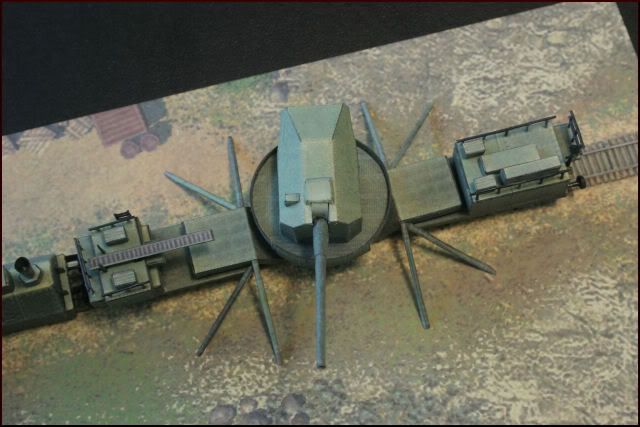
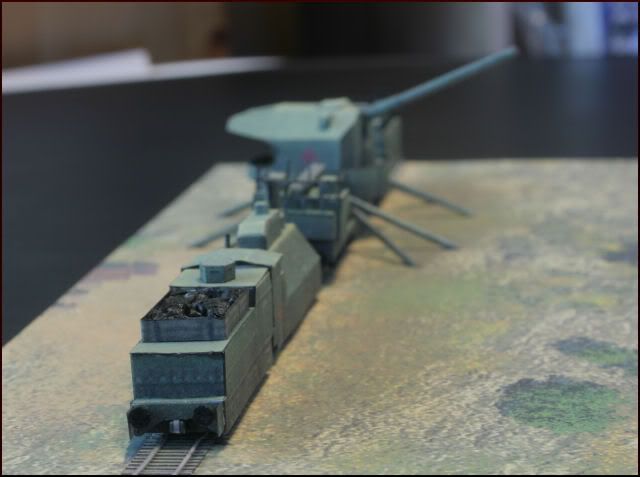
A ship guy at heart, I couldn’t pass up the opportunity (excuse?) to build some armour. Two weeks is pretty short notice though, and there was a bunch of paid work that had to come first… So, small and tidy, and hopefully something a little different – how about a Russian TM-1-180 rail mount naval gun in 1/144?
Somewhere in the depths of my hard drive I have an install of an older real-time-strategy genre WWII computer game called “Blitzkrieg” developed by Nival in Russia. The game has a relatively strong following online and is quite open to “modding” – the modification of the original game by the users to extend/enhance gameplay. Nival supports this, and has released several free tools and resource packs. For us, this means that we have open access to the unit models used in the game – 327 of them!
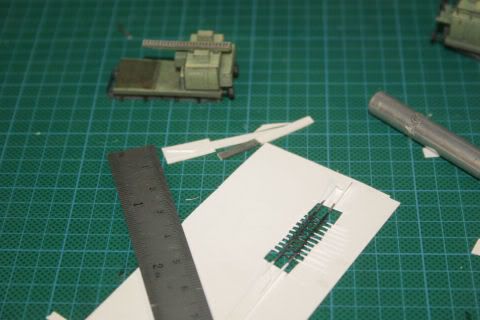
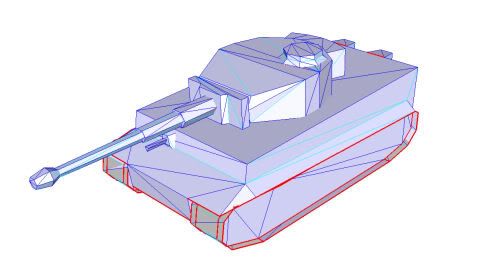
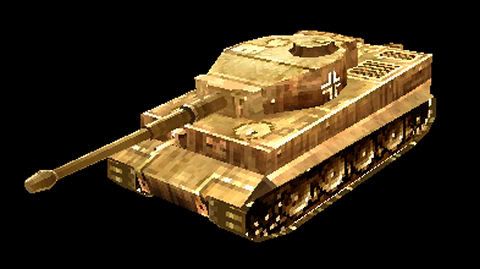
The models tend to be relatively low polygon count, ideal for 1/72 and smaller paper versions, which I suppose makes them ideal for gaming, through I find the size attractive for a 1 or 2 evening project, and it’s fun to have a handful of “vroomable” models kicking around the desk! The textures supplied are very low res, at 256 square maximum. They do looks pretty nice printed out though, and are easy candidates for a simple repaint. Here are a few examples, each one showing that I’ve picked up another trick with Pepakura (check out the heavy dotted fold lines on the Sherman! - ignore the messy desk):

The resource pack containing the files is available at Blitzkrieg Portal - “Blitzkrieg Resource Kit”. Be warned that it’s a big download at 316 MB and it unzips to a massive ~5GB of which we can discard 99.5%.
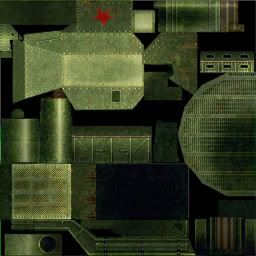
To open/view the files you’ll need “Tanks Version 2” available on the same page a little further down. The unit meshes and textures are stored in path “units/Technics” in the install directory. The textures in the kit are *.tga files, though if you are working from an original install of the game, you’ll need Nvidea’s DDS plugin for your graphics program to allow you to open the DDS format textures used there and save them as bitmaps.
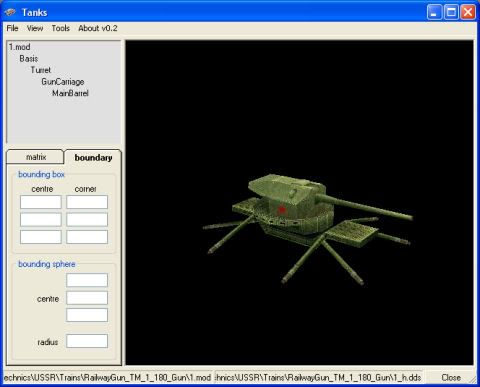
In Tanks, you’ll need to open both the mesh (*.mod file) and an associated texture. Most models have at least 4 textures covering summer and winter colours and damaged versions of the same. Some models also have alternate *.mods covering deployed positions, or minor variations. Export the mesh as a Wavefront *.obj file using the tools menu, making sure to select “combined meshes”
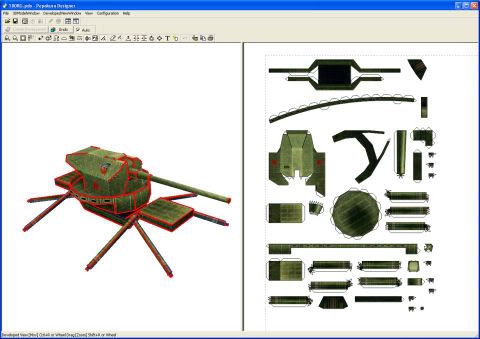
In Pepakura , open the *.obj you created. I’ve been opening the texture (*.dds on my system) in an editor and scaling it up to 512x512 to soften the pixilation a bit. Even if you skip that step, you’ll need to convert the *.tga files to *.bmp.
Apply the texture using Pepakura’s “3DModelWindow/Set Texture…” menu dropdown. Unfold the model and make any changes to the cutting points needed to clean up the build. I’ve taken to setting all lines as small as possible and only displaying those that are 90 degrees or sharper. Scale isn’t perfect, but 0.068 seems like a good starting point for 1/72 once printed.
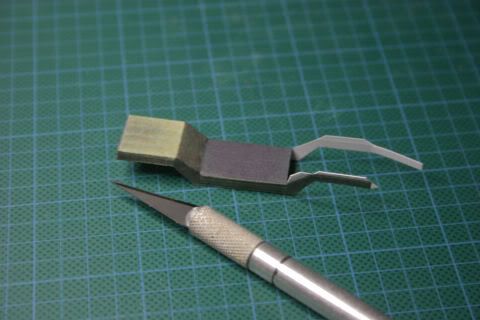
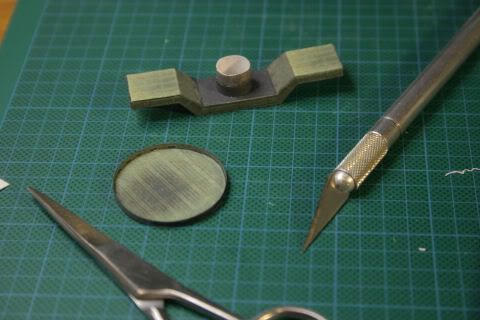
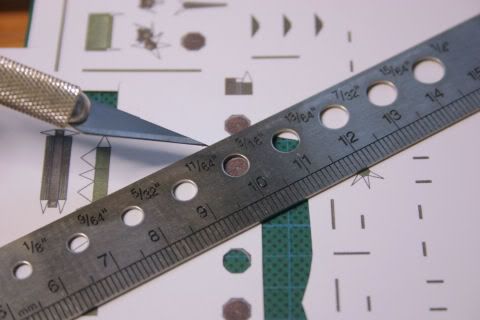
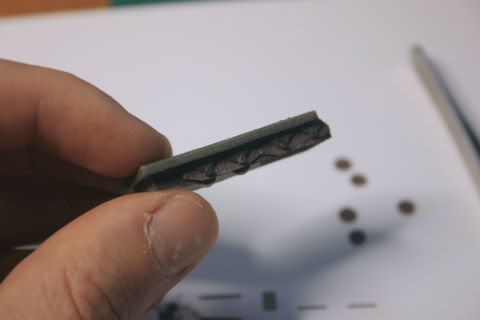
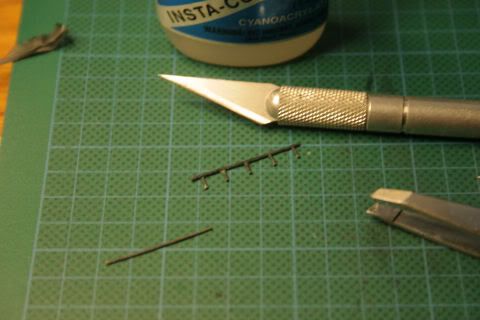
Build photos to follow…
Matthias
A ship guy at heart, I couldn’t pass up the opportunity (excuse?) to build some armour. Two weeks is pretty short notice though, and there was a bunch of paid work that had to come first… So, small and tidy, and hopefully something a little different – how about a Russian TM-1-180 rail mount naval gun in 1/144?
Somewhere in the depths of my hard drive I have an install of an older real-time-strategy genre WWII computer game called “Blitzkrieg” developed by Nival in Russia. The game has a relatively strong following online and is quite open to “modding” – the modification of the original game by the users to extend/enhance gameplay. Nival supports this, and has released several free tools and resource packs. For us, this means that we have open access to the unit models used in the game – 327 of them!
The models tend to be relatively low polygon count, ideal for 1/72 and smaller paper versions, which I suppose makes them ideal for gaming, through I find the size attractive for a 1 or 2 evening project, and it’s fun to have a handful of “vroomable” models kicking around the desk! The textures supplied are very low res, at 256 square maximum. They do looks pretty nice printed out though, and are easy candidates for a simple repaint. Here are a few examples, each one showing that I’ve picked up another trick with Pepakura (check out the heavy dotted fold lines on the Sherman! - ignore the messy desk):
The resource pack containing the files is available at Blitzkrieg Portal - “Blitzkrieg Resource Kit”. Be warned that it’s a big download at 316 MB and it unzips to a massive ~5GB of which we can discard 99.5%.
To open/view the files you’ll need “Tanks Version 2” available on the same page a little further down. The unit meshes and textures are stored in path “units/Technics” in the install directory. The textures in the kit are *.tga files, though if you are working from an original install of the game, you’ll need Nvidea’s DDS plugin for your graphics program to allow you to open the DDS format textures used there and save them as bitmaps.
In Tanks, you’ll need to open both the mesh (*.mod file) and an associated texture. Most models have at least 4 textures covering summer and winter colours and damaged versions of the same. Some models also have alternate *.mods covering deployed positions, or minor variations. Export the mesh as a Wavefront *.obj file using the tools menu, making sure to select “combined meshes”
In Pepakura , open the *.obj you created. I’ve been opening the texture (*.dds on my system) in an editor and scaling it up to 512x512 to soften the pixilation a bit. Even if you skip that step, you’ll need to convert the *.tga files to *.bmp.
Apply the texture using Pepakura’s “3DModelWindow/Set Texture…” menu dropdown. Unfold the model and make any changes to the cutting points needed to clean up the build. I’ve taken to setting all lines as small as possible and only displaying those that are 90 degrees or sharper. Scale isn’t perfect, but 0.068 seems like a good starting point for 1/72 once printed.
Build photos to follow…
Matthias