Alright, here we go!
 The basics:
Bitmaps are all files which are available as images. They come in different file types / formats: jpg, gif, png, bmp etc. Some of them are lossless (png, bmp), others are lossy and degrade image quality with each saving (jpg, gif). They are defined by their size and their resolution. The size is the "physical" height and width of the canvas which you may check directly in the explorer. The resolution tells the printer how big the image is printed on the paper.
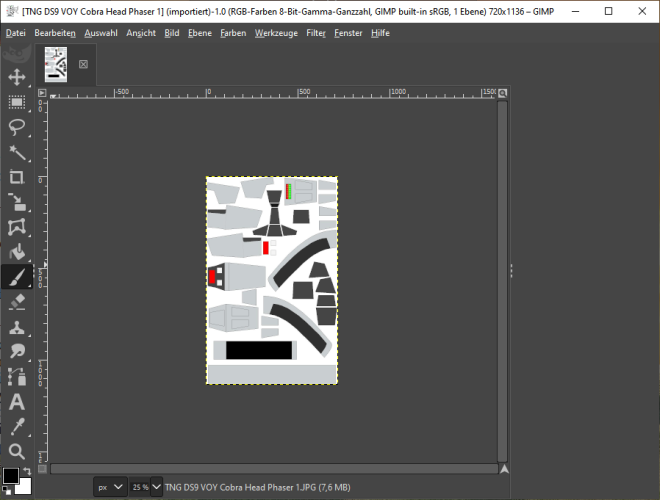
View attachment 221878
example image
View attachment 221881
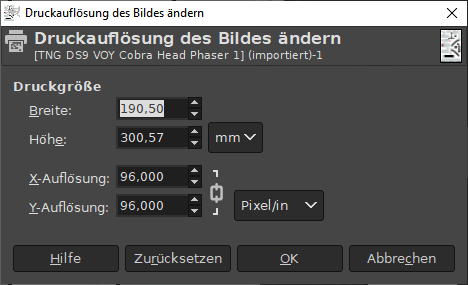
original resolution: 96dpi > printing size: 190x300mm
There are two ways to rescale a bitmap pattern:
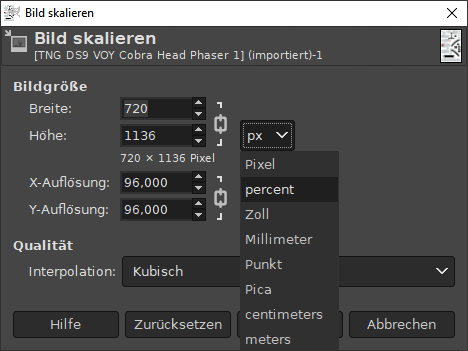
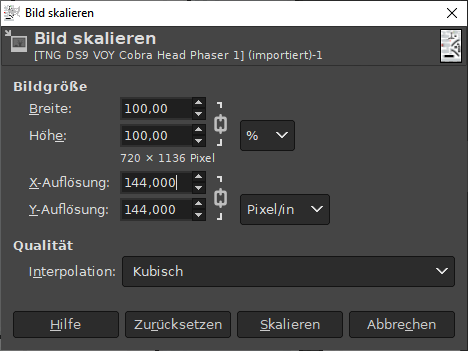
A) Resize the image which means make it smaller or bigger by changing height and width. The operation is calculated this way:
Target scale / actual scale * height (width) = target height (width)
By checking the "keep proportion" box you will need only one value, your graphic program will calculate the other for you. You can also enter a specific percentage.
View attachment 221879
View attachment 221880
This operation increases or decreases the size of the pixels of the picture.
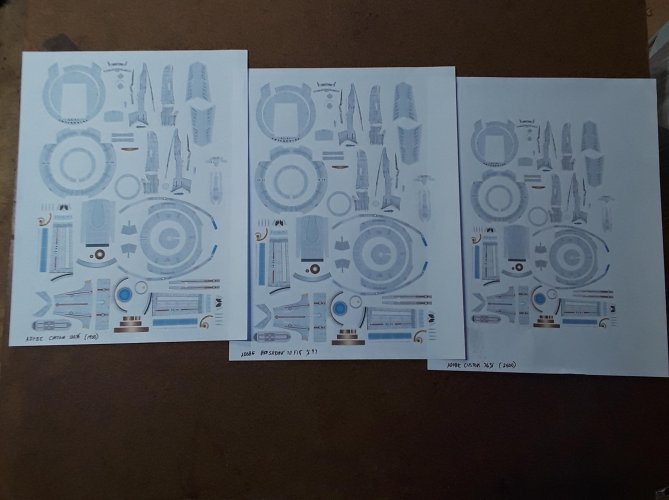
Enlarging may require a new layout to make sure that no part exceeds the border of the page, so select and move the parts around till everything fits. If you need to spread out the parts over several images make sure that all images have the same resolution. Some programs use default settings and switch to monitor resolution (96dpi) which throws everything off. The easiest way is to create a canvas in your desired printing size (in this case: A4). Use the physical dimensions of height and width and enter the resolution of the original image. Then add all parts on separate layers onto the canvas and move them around till everything fits. Export the final result in a lossless format. I prefer *.png because it compresses losslessly and keeps transparency (if needed).
Pros:
The operation is fairly simple and straightforward. You can immediately see the smaller size by checking the dimensions of the image.
Cons:
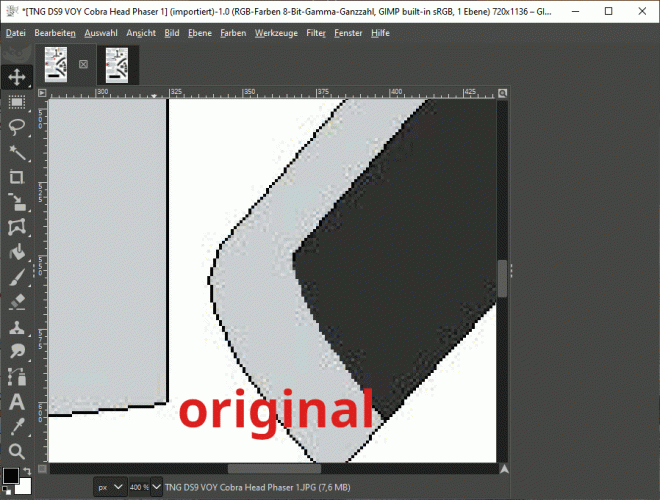
A downsized image loses resolution and quality. The smaller it gets the blurrier it is printed. Detail which is already small and washed out gets lost completely and cannot be retrieved later. This becomes especially apparent if your printer is able to print at a higher resolution than your image:
View attachment 221885
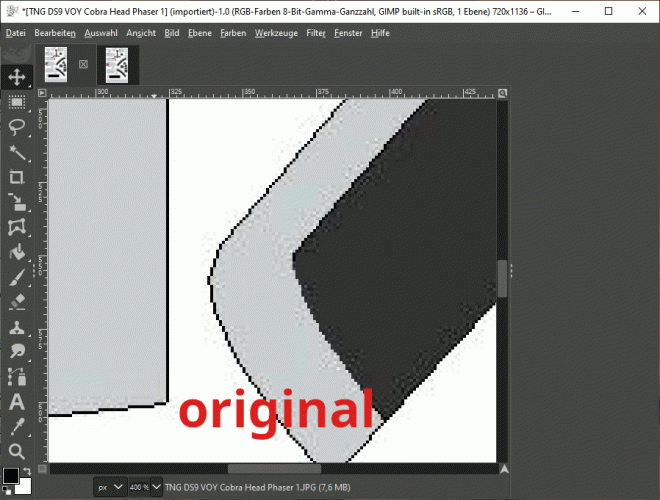
Upsized images become blurry and less sharp and compression artifacts get more prominent so a small amount of editing is recommended (applying an unsharpening mask, using AI upscaling):
View attachment 221886
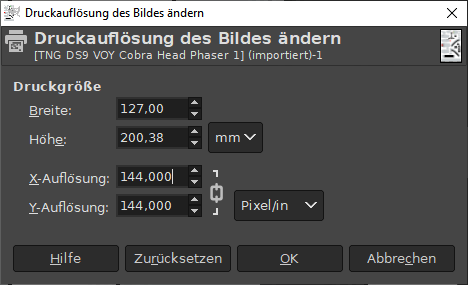
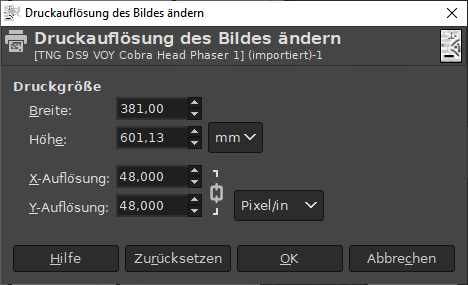
B) Adjust the resolution of the image so that it is printed smaller or larger. This will not change the original graphics at all and therefore is my favorite way when it is about scaling down.
This operation increases or decreases the number of pixels while keeping their size.
Let's imagine we have a crisp pattern at 1/18 scale and 300dpi. The pattern is supposed to be scaled down to 1/24 scale. Of course you could resize the image by a factor of 18/24=0,75 (75%) and be fine with it. But you will lose 25% of the image information. Since you keep the resolution of 300dpi the result should in fact be fine for your purpose. However, if you want to keep the crispness of the original and your printer is able to put fine detail on paper do not change the size of the image, change the resolution of the image instead. So to make the image print smaller increase the resolution, to make it bigger reduce the resolution. I recommend reducing only for patterns which come in 300+ dpi. If you already have low resolution images the picture quality will degrade even further if you scale it down, so in this case avoid that. Use what you have and keep it intact: If you increase the resolution the image is printed smaller but without losing any more detail. This is a handy trick to increase sharpness even if the original is not all that sharp in the first place.
Imagine your original image comes in 96dpi (monitor resolution) and in 1/32 scale. If you want to build the model in 1/48 scale all you have to do is to change the resolution to 48/32*96dpi=144dpi. This happens totally unnoticed, the graphics and even the image size (height and width) stay the same. But if you print the image it gets smaller and a tad sharper because the change in resolution brings it closer to the recommended professional printing resolution of 300dpi which makes the blurriness less noticable. If you choose to resize the image and make it physically smaller by keeping the original 96dpi it will look even more washed out and blurry because you remove image information.
View attachment 221881
original resolution: 96dpi
View attachment 221882
higher resolution: 144dpi > print gets smaller
View attachment 221883
lower resolution: 48dpi > print gets bigger
Pros:
No deterioration of the original image. The graphics stay the same. Only the printing size is changed. Downsized images are printed crisper.
Cons:
Upscaled images need some tweaking. Care must be taken when you are working with multiple images which have an "exotic" resolution.
I hope this helps.

get.adobe.com


