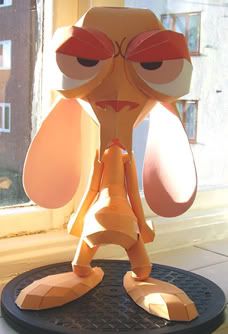
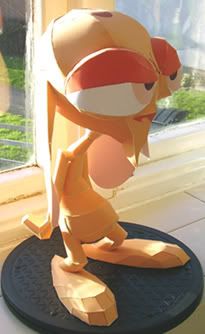
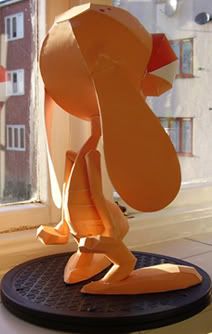
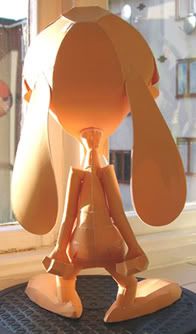
Build Process in a nutshell.
Hi Sneaker - as I said perviously, there are better guys on this forum for tips etc. but here in a nutshell is my current build process
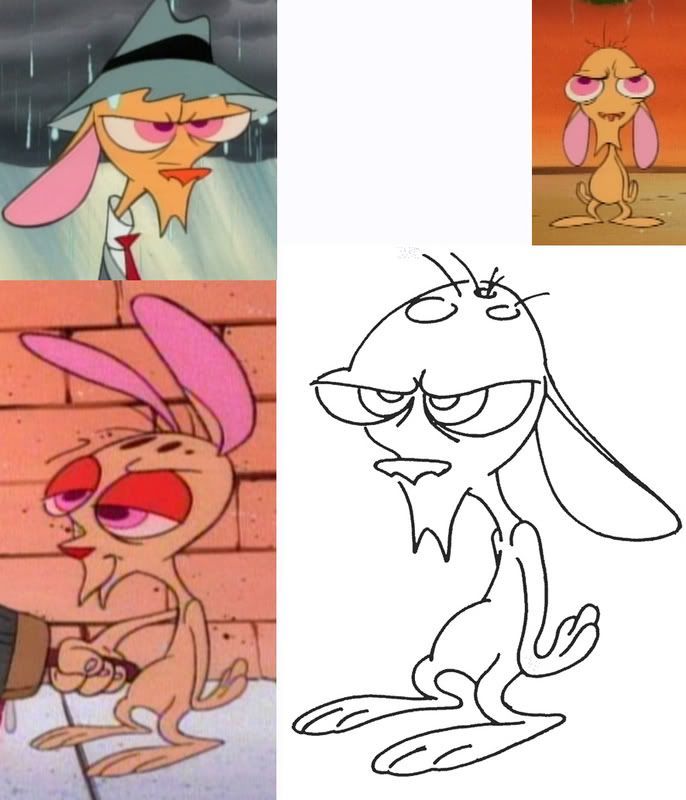
 Step 1 - Get the right image.
For cartoon characters you're going to want to get 'the' classic pose to work from, while keeping in kind the limitations of paper. As readers of my first post will know - for Marvin I cheated, someone had already done the work in resin, and knowing that it would stand up I just copied the pose (m'I bad).
For Ren however it meant trawling through episodes to find that indifferent/peeved look that I was after and that I couldn't find in existing store bought models (with most of the existing models, if ren was coloured blue you'd be hard pressed to recognise him).
Finally I got the body and head that I wanted and created a composite drawing - the ears were later changed to the "front" style which looked more pathetic, and proved more paper friendly:roll:
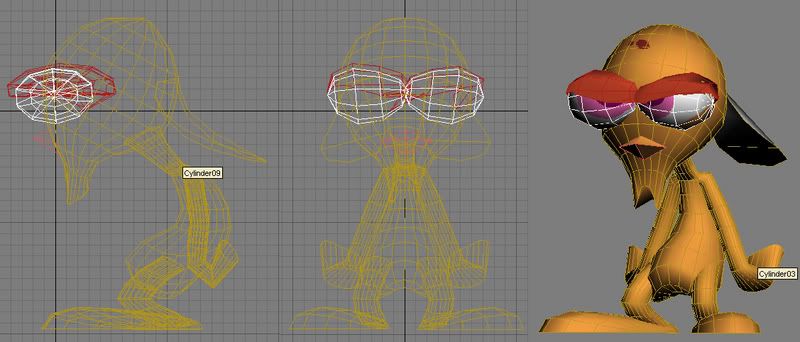
Step 2 - Create the 3D model.
My 3D skills are fairly limited, but usually by sheer will and determination I can scratch together something workable. The trick is to use cylinders wherever possible (this is a tip straight from the Webdude, who has a great tutorial on this - I'll have to see if he's got a link to it somewhere). Once you've got the basic structure you can then tweak it here and there with the FFD tools (Free-form Deform?), these usually have a certain number of points to play with 2x2x2, 3x3x3, and 4x4x4.
For most of the model this turned out fine, but for the head I wasn't quite sure of the best way to unfold it while doing the 3D model. For this I knew it would be a case of pusihing it throught Pepakura 'as-is' and building it in horizontal cylinders before playing with the design manually.
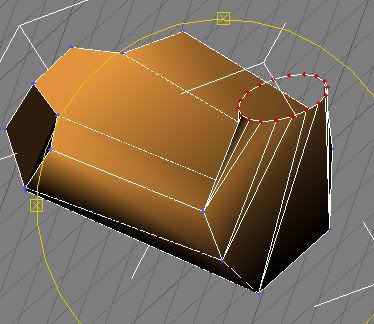
For any small fiddly parts you need to get it right in 3D, as any manual adjustments afterwards can be painful. If your as cr@ppy as me at 3D this can be a slow process, but worth the effort when it goes straight through from Pepakura to Corel without any eyeball alterations required. The hands were a case in point. For this it was a case of slicing the planes at the tip of the hands, extruding the polys to different heights, and then deleting edges, tweaking points, and generally buggering about until I was happy with it.
Step 3 - export to CorelDraw via Pepakura
Once the 3D models are done I usually export them as Wavefront objects, and import them into Pepakura (sometimes have trouble with 3DS files - not sure why). I then twiddle around with the folds/tabs and export them as wmf files, which then are imported into CorelDraw.
Once the model is in corel I change the outline colours, and colour in the shapes using a find and replace, before arranging the patterns and printing them out.
Step 4 - Peeball around for a week or three
Then it pretty much comes down to eyeball engineering - deciding the best way to get the thing to sit together. This is the most painful bit for me. At this stage I try camouflage cuts/creases as much as possible e.g. with the eyes, I have tried to build it using cuts around the components of the eyes i.e. the iris, eyelids etc. This meant getting the eye spheres and sketching on the design I wanted, and cutting out the parts manually before re-scanning. And no, much like the head - this didn't work first time

ops:
As I said before the head needed a re-think to simplify it for building. This was a case of cutting up the original 'cylinder' head and then scanning in and tracing the peices in Corel. Printing it out again - rinsing and repeating as necessary :razz:
Hope this is of some use to folks, and hopefully each model will get easier with experience.
Best regards
Paul.
P.S. I think it's great that you're going to design your first model Sneaker - any clues on who it's going to be?
