N
niebla de fuego
A friend recently gave me a huge surprise when he sent me some
printed paper models. It almost felt like having several Christmas+birthday celebrations on April.
I like to use the gifts I receive. And the same as I would not store
a shirt a friend gives me. I feel I cannot leave this models
stored and uncut.
My opinion is that the best way to honour the friend, and the gift,
is to use it.
So here's my building thread of Martinez Casalta's RAF Se5a,
one of the kits I received.
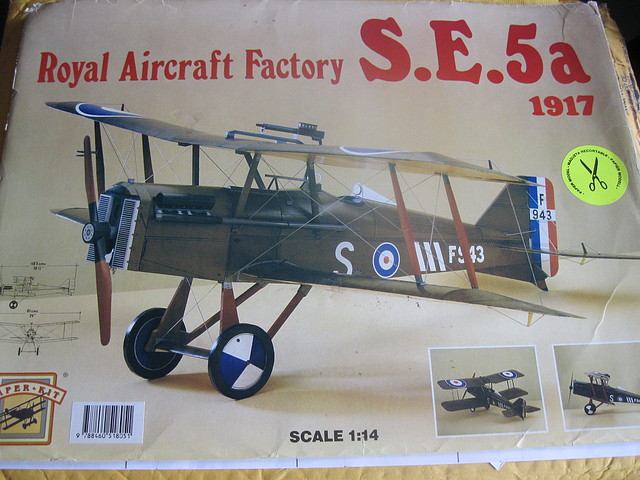
Editorial Martinez Casalta was a Barcelona-based print that produced
several paper model kits during the 1990s. They were released under
the commercial name "Paper kit". They published classic cars, a couple
of airplanes (the beloved Fokker Dr.1, and this Se5a), and even a Mikado loco.
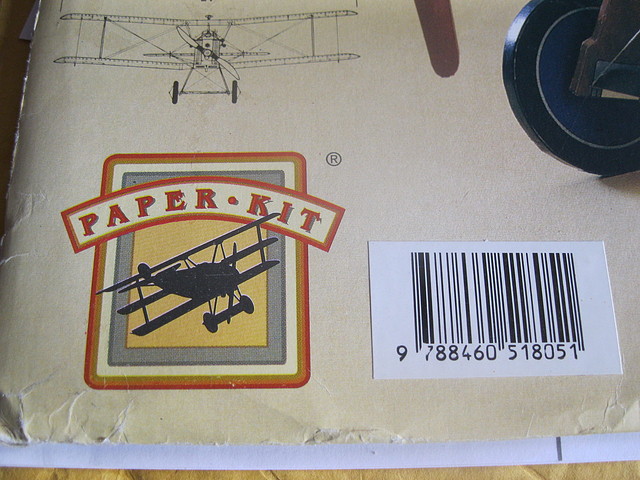

Martinez Casalta is not on business anymore, and the kits they
released are now hard to find.
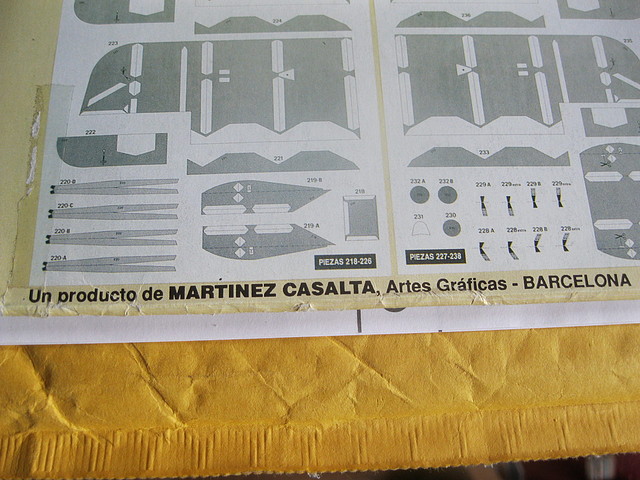
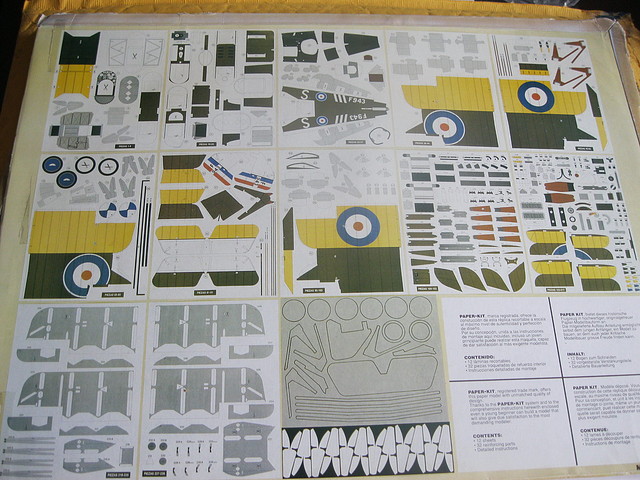
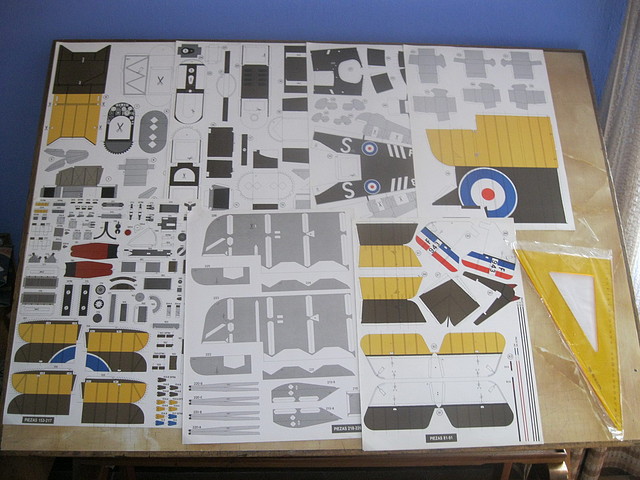
The kit comes in a big envelope, containing 10 pages of printed parts
plus 2 pages of reinforcement parts and a sheet of pre-cut cardboard
parts. The content can be seen on the back of the envelope.
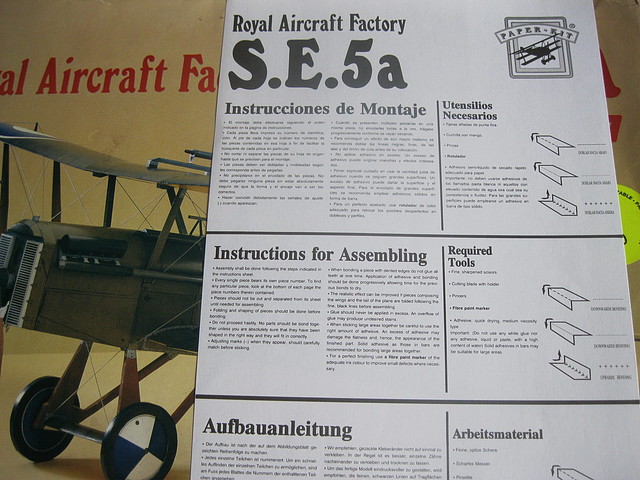
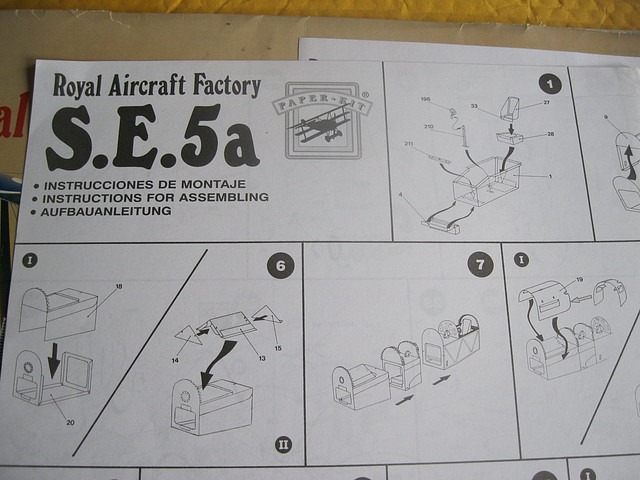
It also contains a page of very general instructions in three languages
(Spanish, English, and German). And a big page with assembly diagrams.
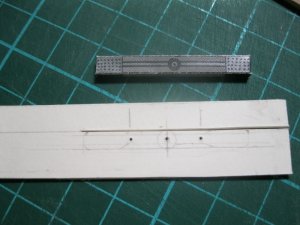
I include a photo of some of the pages. For size reference, the orange
plastic triangle on the bottom right corner is a 32cms (12in) triangle.
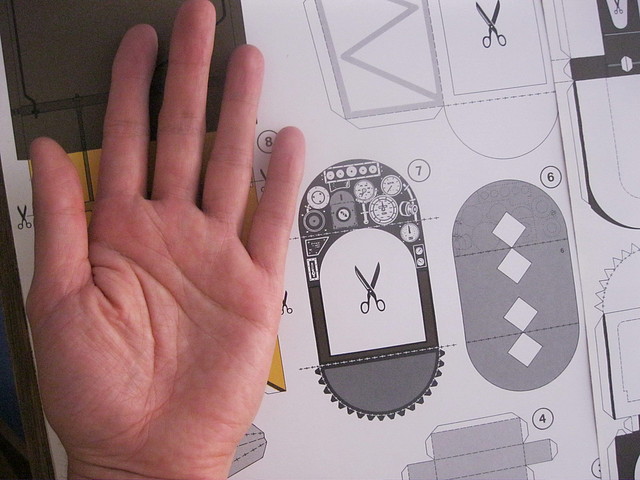
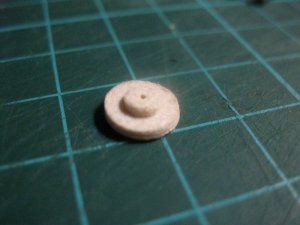
And also a photo of my left hand next to some of the cockpit parts.
Assembly will be interesting. Diagrams are very clear and easy to understand.
But for some strange reason, parts have a very weird numbering order,
as you can see in the very first diagram.
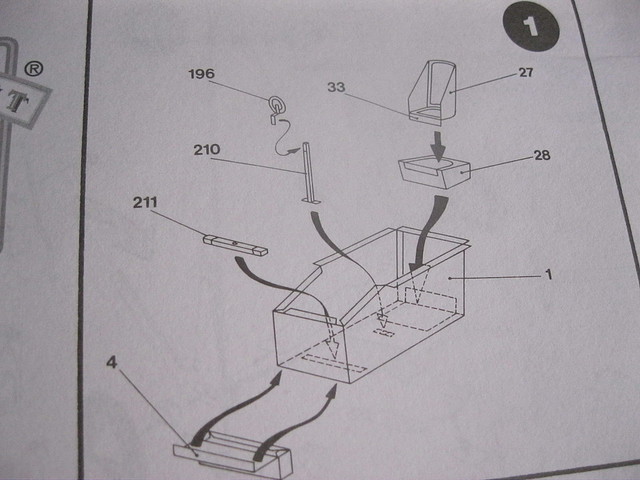

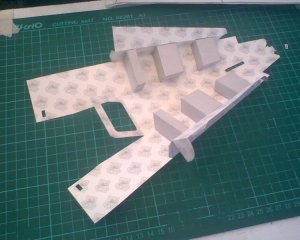
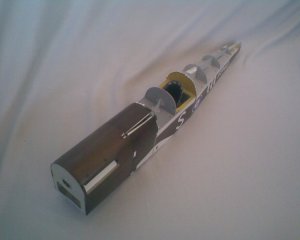
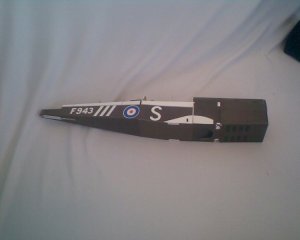
Part 1 looks easy. After 1 hour of work, this is how the cockpit looks like.
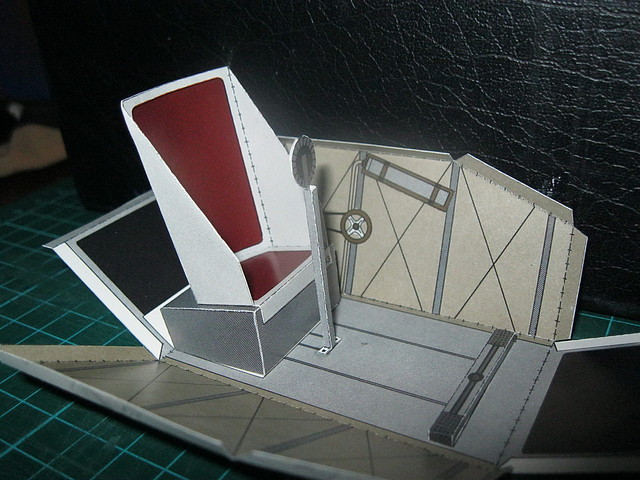
At this size there are one or two things that can be added to improve detail. This will be a good opportunity to learn new skills
I've been looking for a decent cutaway of the plane, But haven't found any. Just small images. I will have to use the pics on Vintage aviator for reference. http://thevintageaviator.co.nz/projects/se-5a-reproduction/se5a-walkaround
However, there are things that are not easily seen. Like the correct shape of the pilot seat. I feel the one from the kit is not completely accurate.
I definitely want to add some detail.
I can't stand this plane to look so simple. And it is huge. It deserves some extra treatment.
Will work on that cockpit soon.
Time worked today: 1 hour
Total time: 1 hour
printed paper models. It almost felt like having several Christmas+birthday celebrations on April.
I like to use the gifts I receive. And the same as I would not store
a shirt a friend gives me. I feel I cannot leave this models
stored and uncut.
My opinion is that the best way to honour the friend, and the gift,
is to use it.
So here's my building thread of Martinez Casalta's RAF Se5a,
one of the kits I received.
Editorial Martinez Casalta was a Barcelona-based print that produced
several paper model kits during the 1990s. They were released under
the commercial name "Paper kit". They published classic cars, a couple
of airplanes (the beloved Fokker Dr.1, and this Se5a), and even a Mikado loco.
Martinez Casalta is not on business anymore, and the kits they
released are now hard to find.
The kit comes in a big envelope, containing 10 pages of printed parts
plus 2 pages of reinforcement parts and a sheet of pre-cut cardboard
parts. The content can be seen on the back of the envelope.
It also contains a page of very general instructions in three languages
(Spanish, English, and German). And a big page with assembly diagrams.
I include a photo of some of the pages. For size reference, the orange
plastic triangle on the bottom right corner is a 32cms (12in) triangle.
And also a photo of my left hand next to some of the cockpit parts.
Assembly will be interesting. Diagrams are very clear and easy to understand.
But for some strange reason, parts have a very weird numbering order,
as you can see in the very first diagram.
Part 1 looks easy. After 1 hour of work, this is how the cockpit looks like.
At this size there are one or two things that can be added to improve detail. This will be a good opportunity to learn new skills
I've been looking for a decent cutaway of the plane, But haven't found any. Just small images. I will have to use the pics on Vintage aviator for reference. http://thevintageaviator.co.nz/projects/se-5a-reproduction/se5a-walkaround
However, there are things that are not easily seen. Like the correct shape of the pilot seat. I feel the one from the kit is not completely accurate.
I definitely want to add some detail.
I can't stand this plane to look so simple. And it is huge. It deserves some extra treatment.
Will work on that cockpit soon.
Time worked today: 1 hour
Total time: 1 hour

 . Almost all of them produce 1:32 / 1:33 or smaller (1:50) kits.