Pzkpfw. I Ausf. A, Orlik, 1:25

snake7

Well-Known Member
Dec 13, 2004
424
1,165
93
46
Israel
Hi to all.

Well, there is no surprise. I continue with tanks ;)
In a matter of fact, after Sherman i wanted to make some easy and fast stuff
and already printed TIE Interceptor by UHU02... but this kit was waiting so long!
So i decided to get back to my project to build 6 main german Panzers of WWII, from I to IV. Already completed II from Halinski and III from GPM and waited for decent Pzkpfw I.
I have Ausf. F from WAK, but this modification was not mainstream and only a few were produced. Ausf. A were some simple and old models.
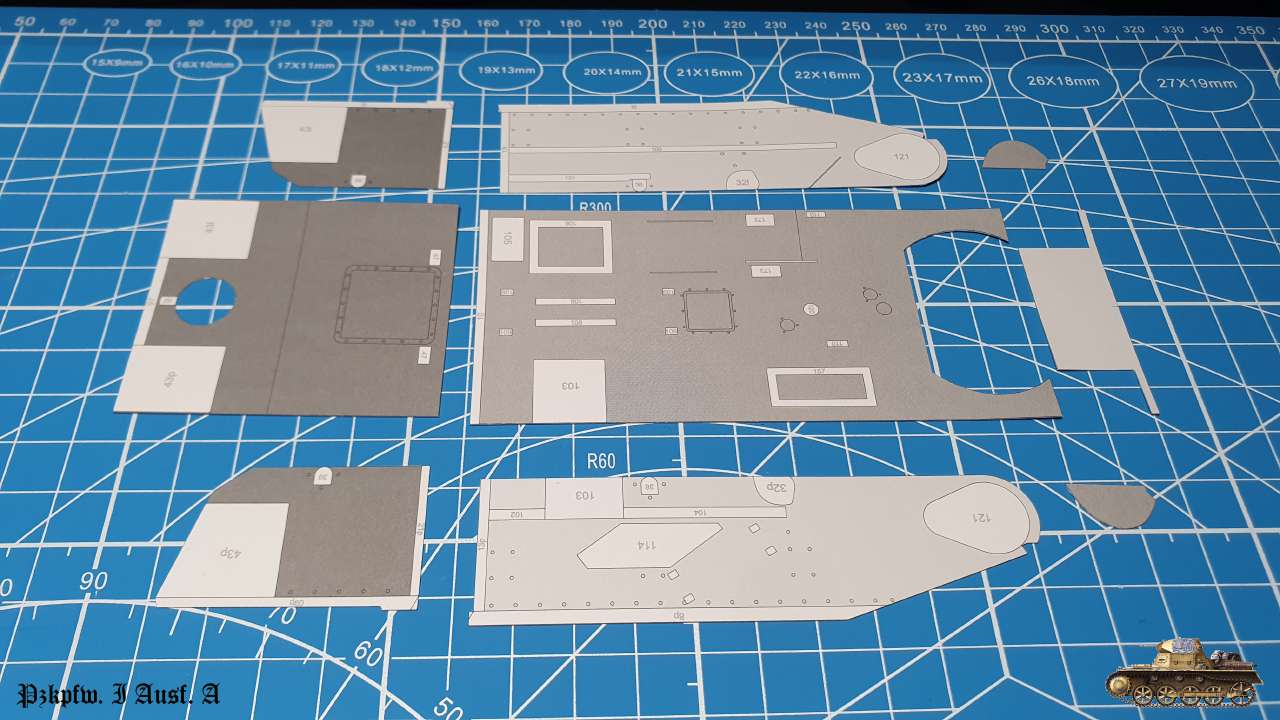
But Orlik published 2014 issue with new design and full interior and that what i decided to build.

Pzkpfw I was first tank in new line of armored warfare concept. They were super light and had only machine guns, but suited well for supporting infantry.
You can read all the info about the real tank here

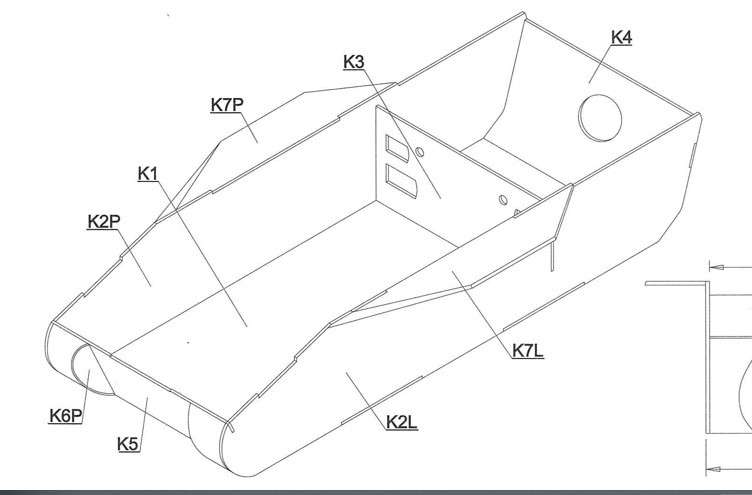
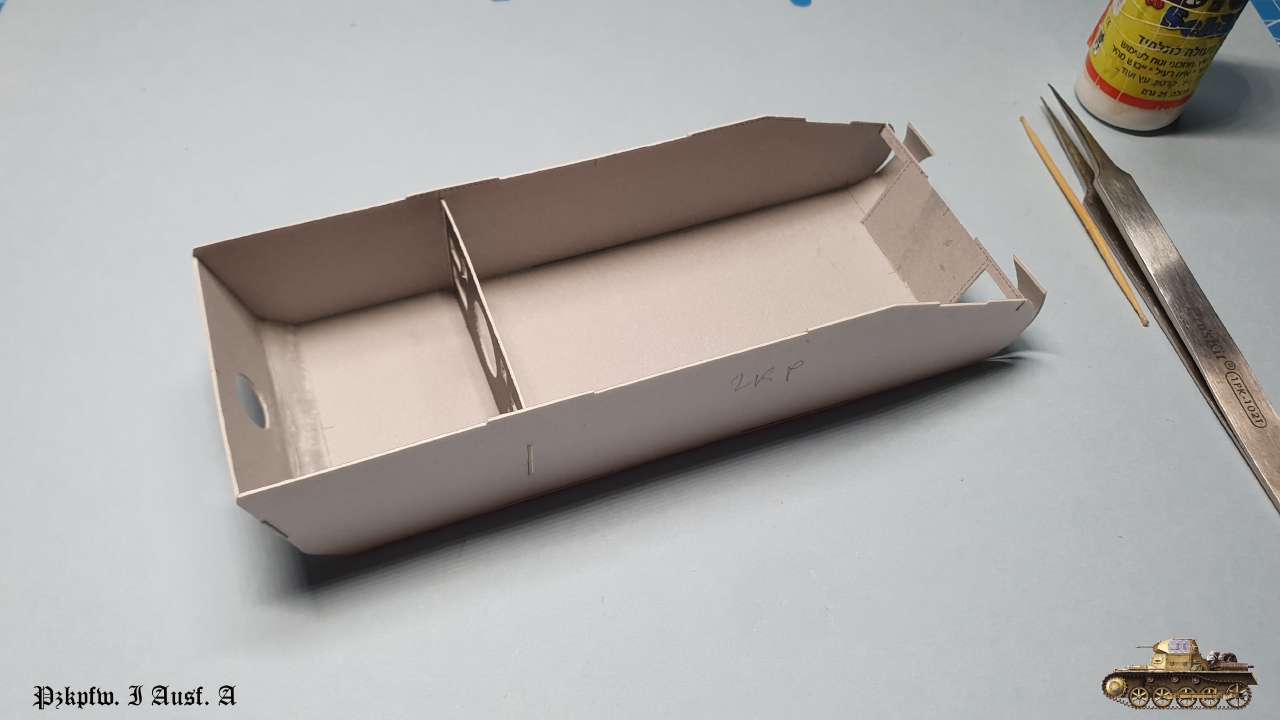
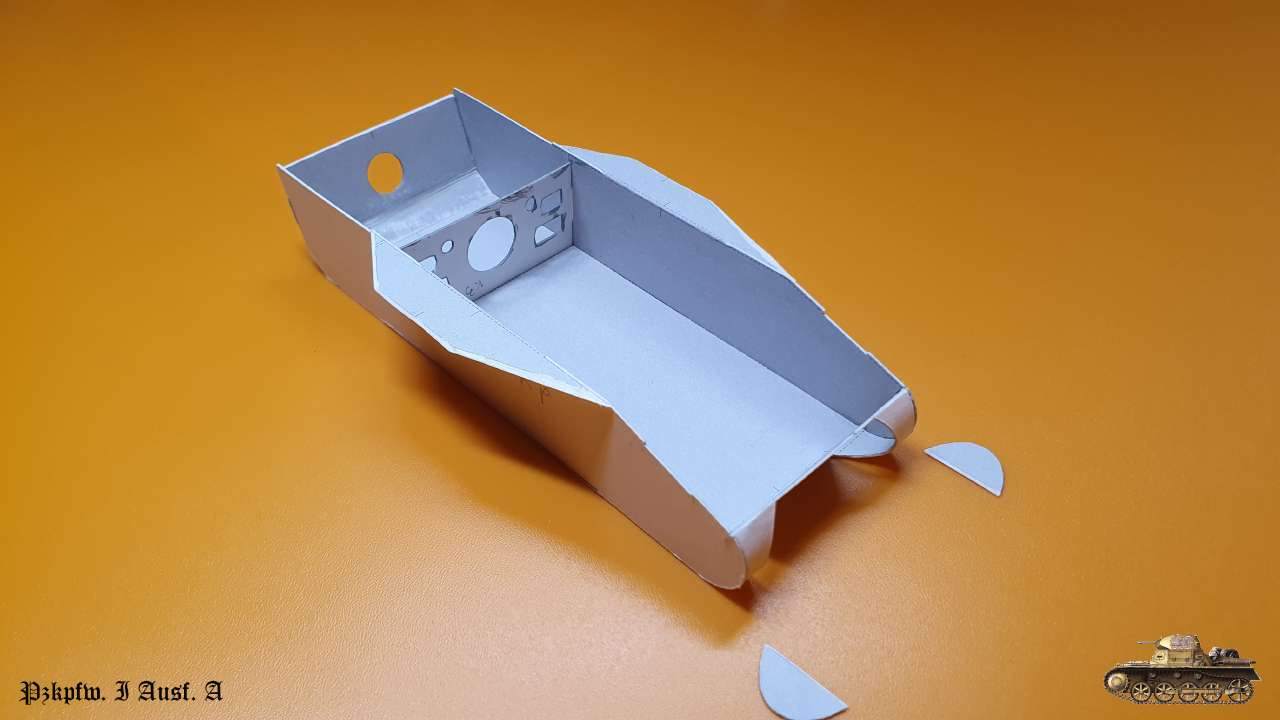
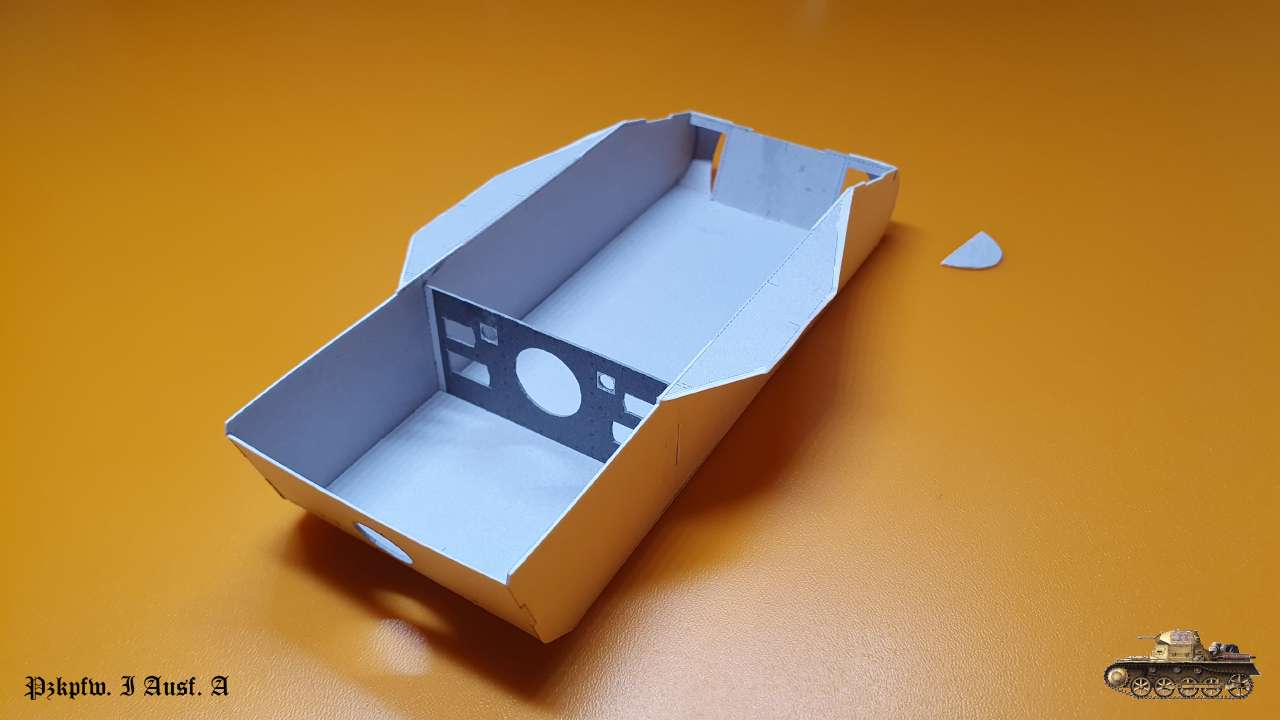
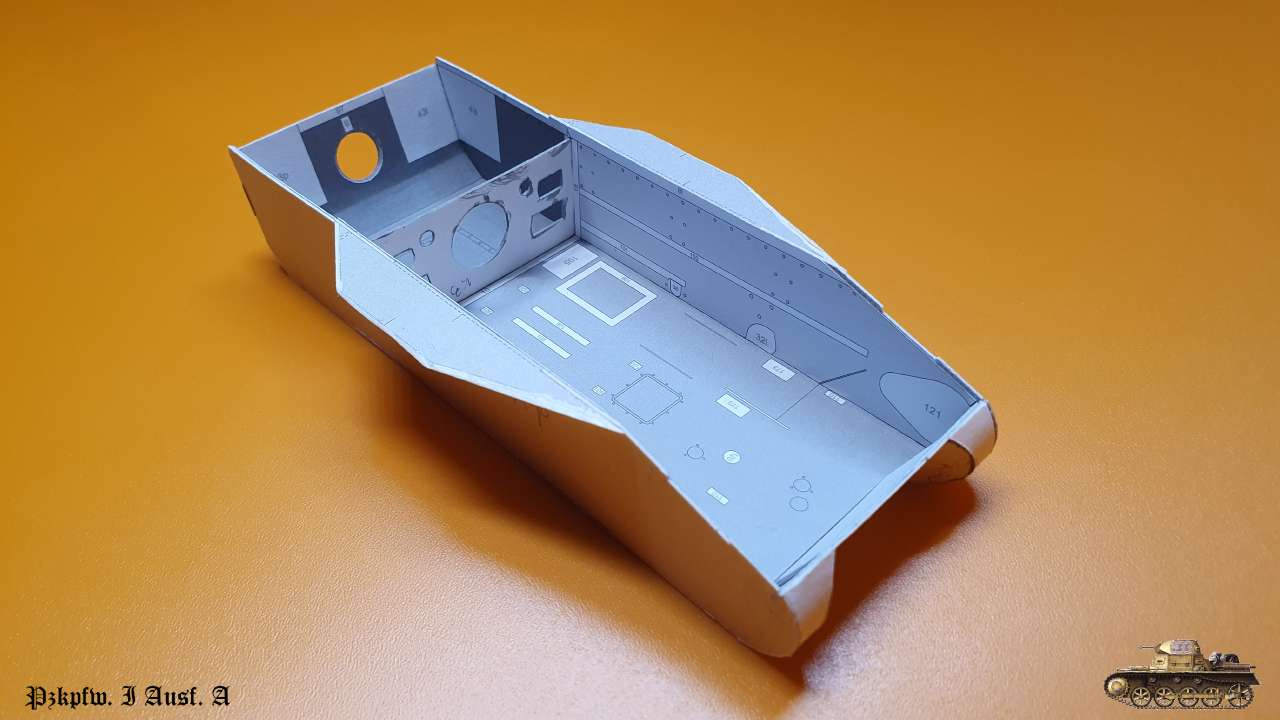
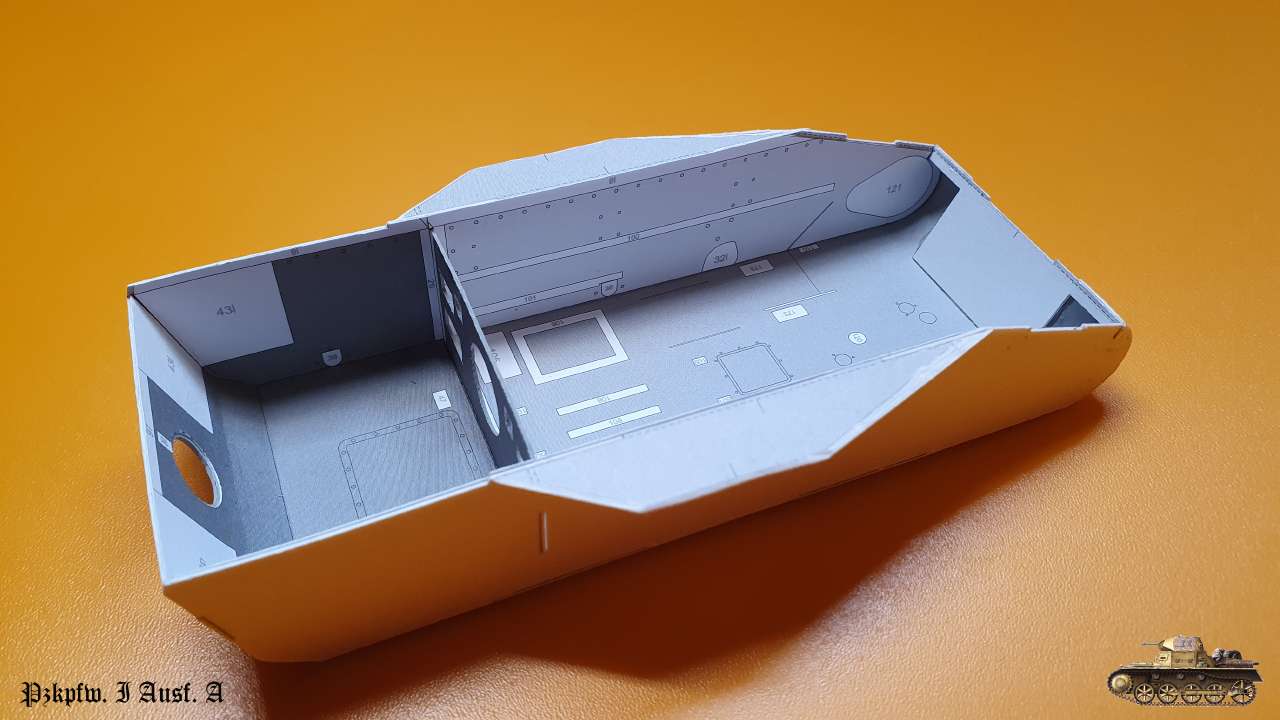
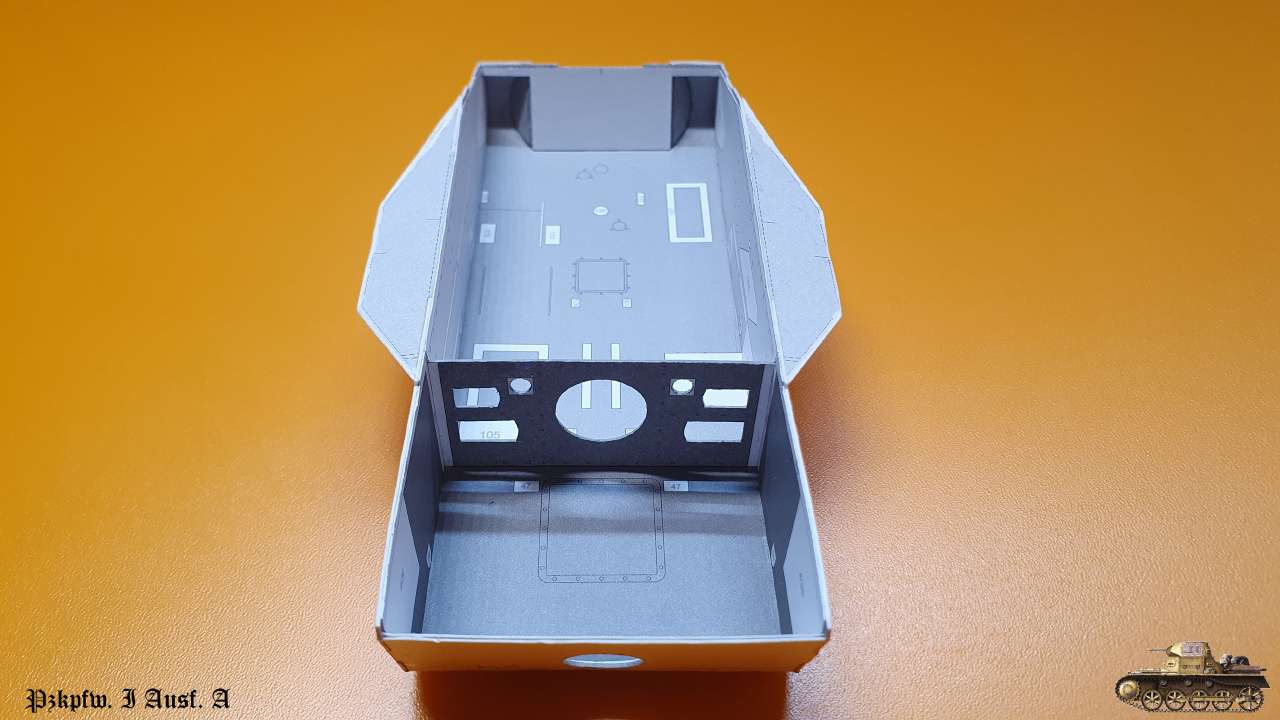
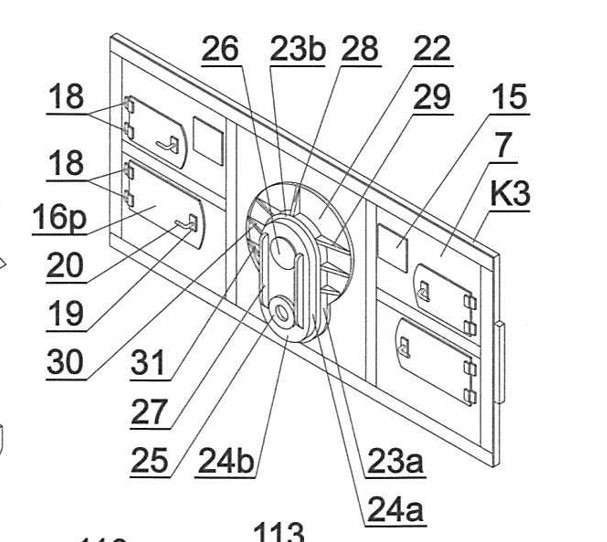
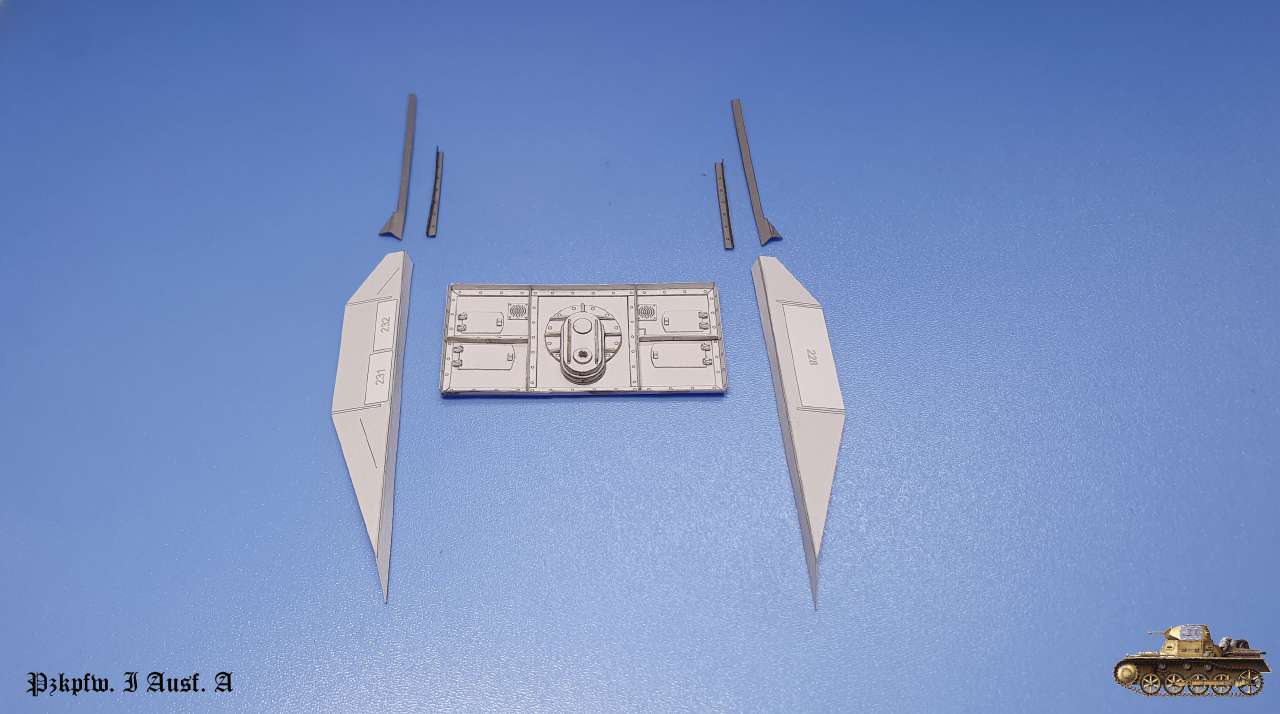
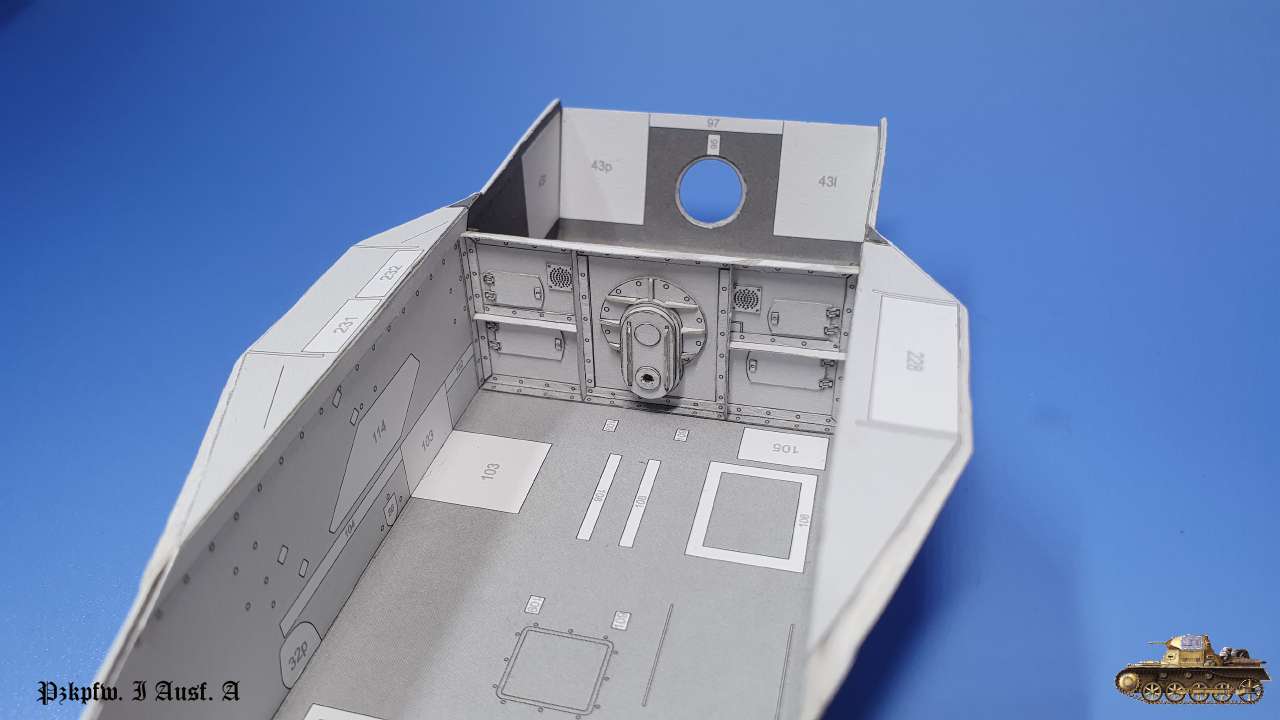
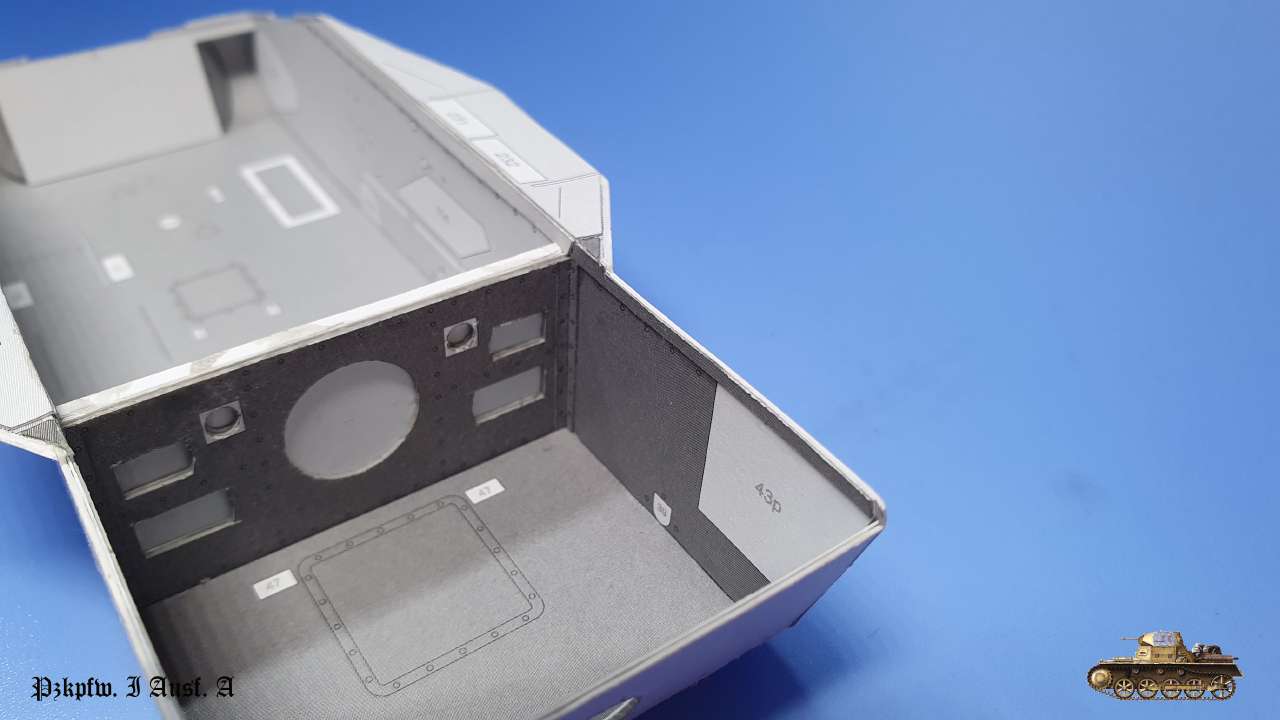
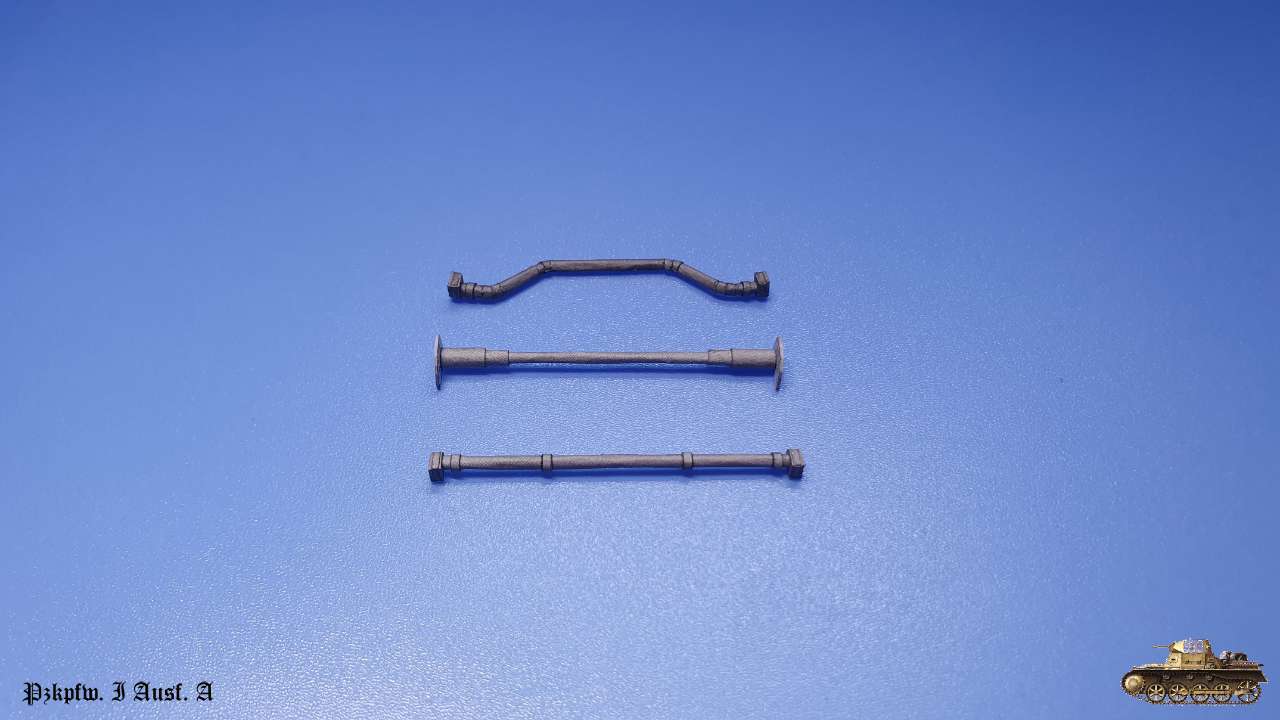
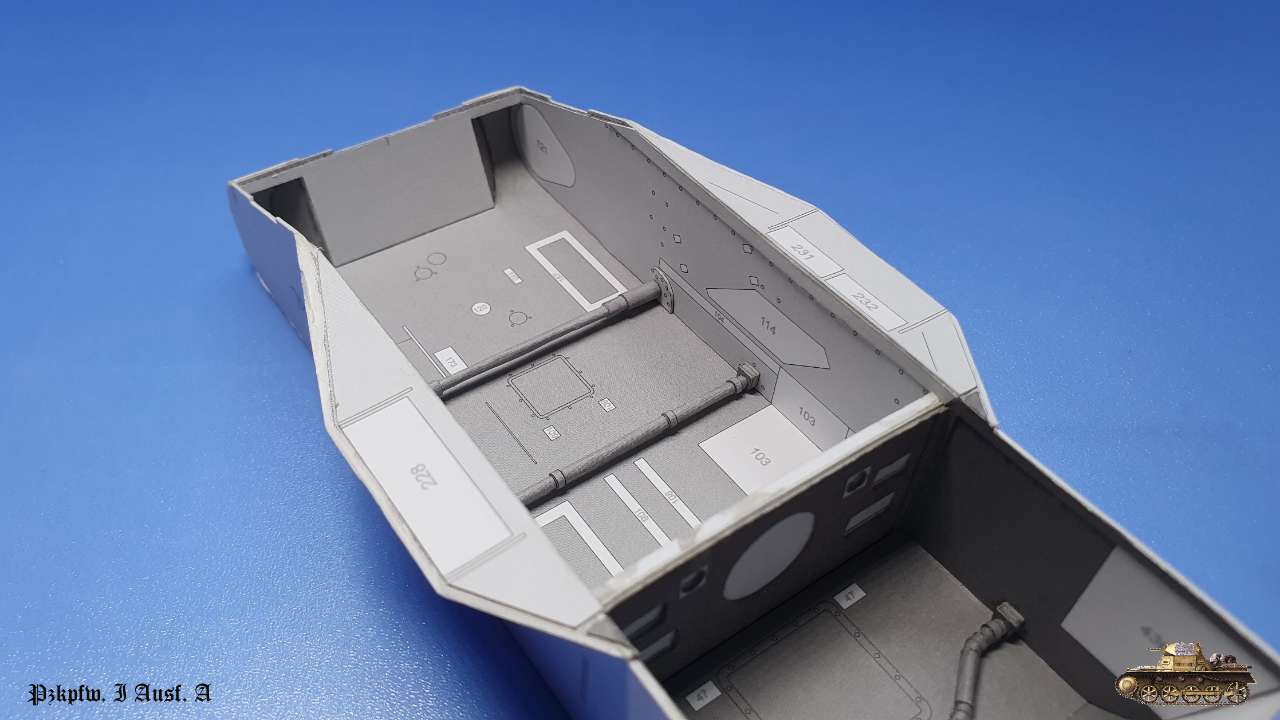
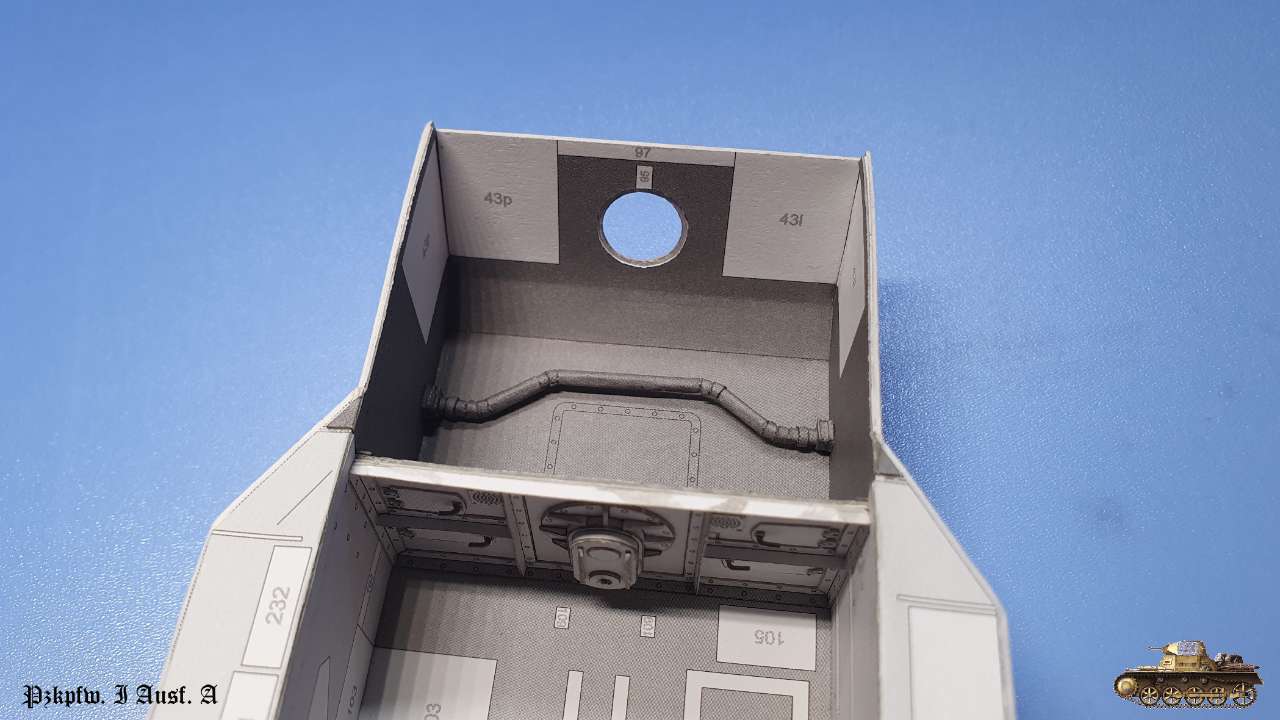
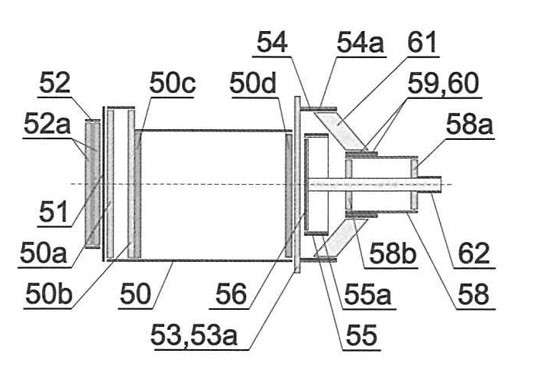
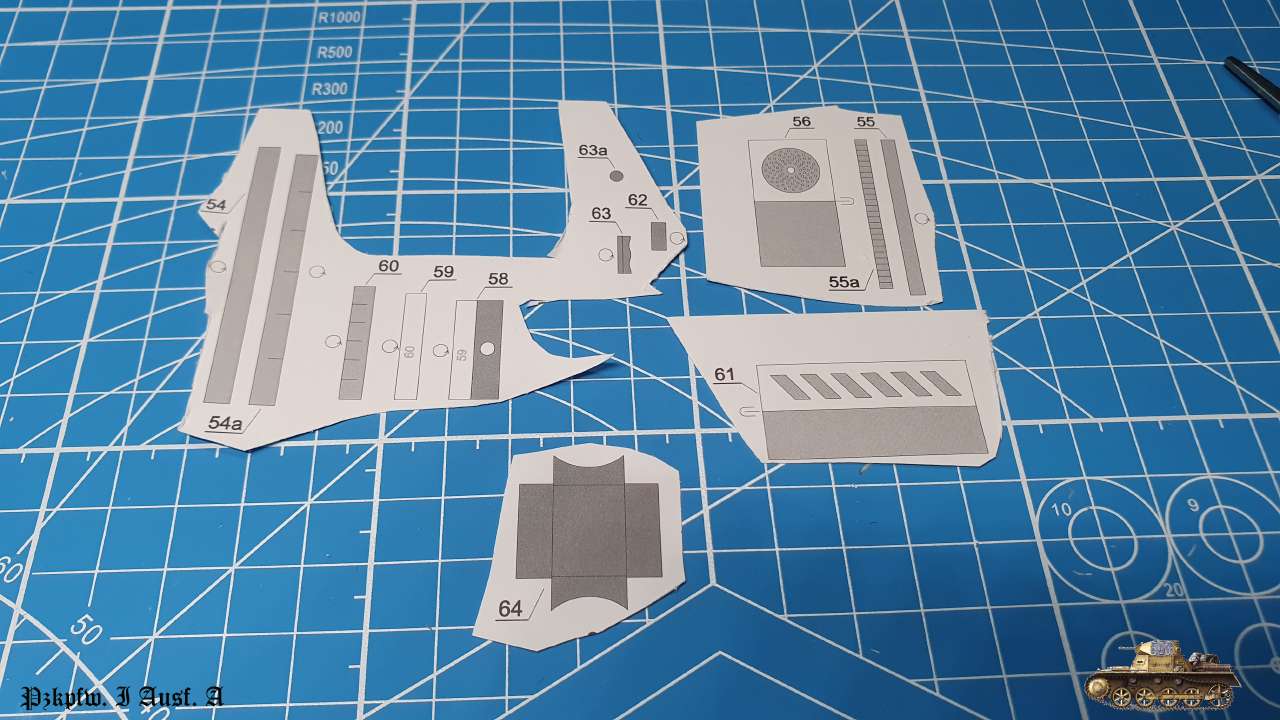
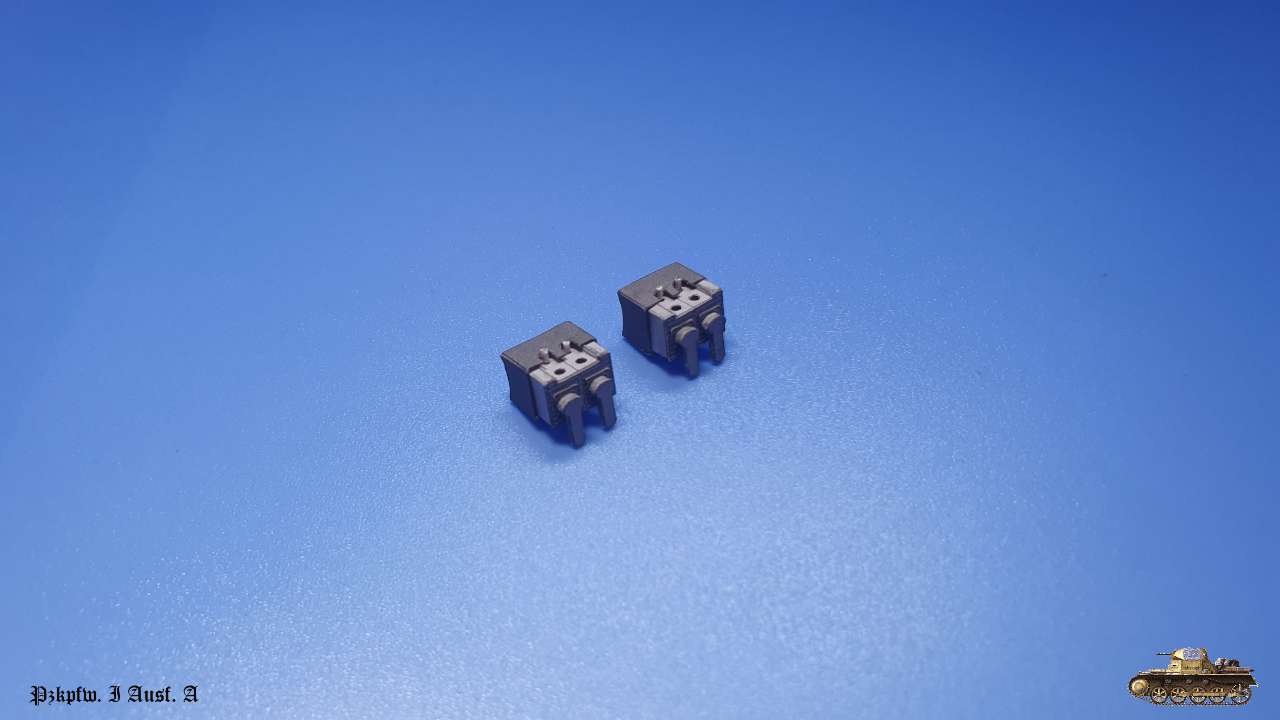
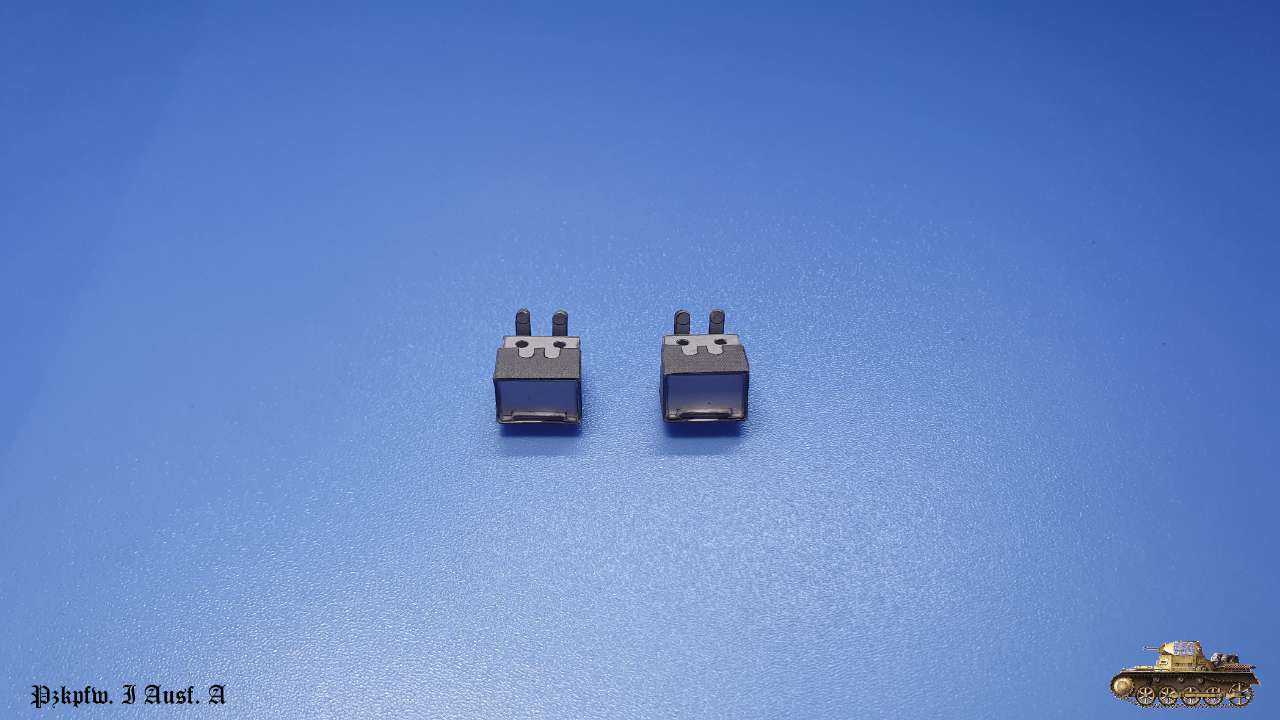
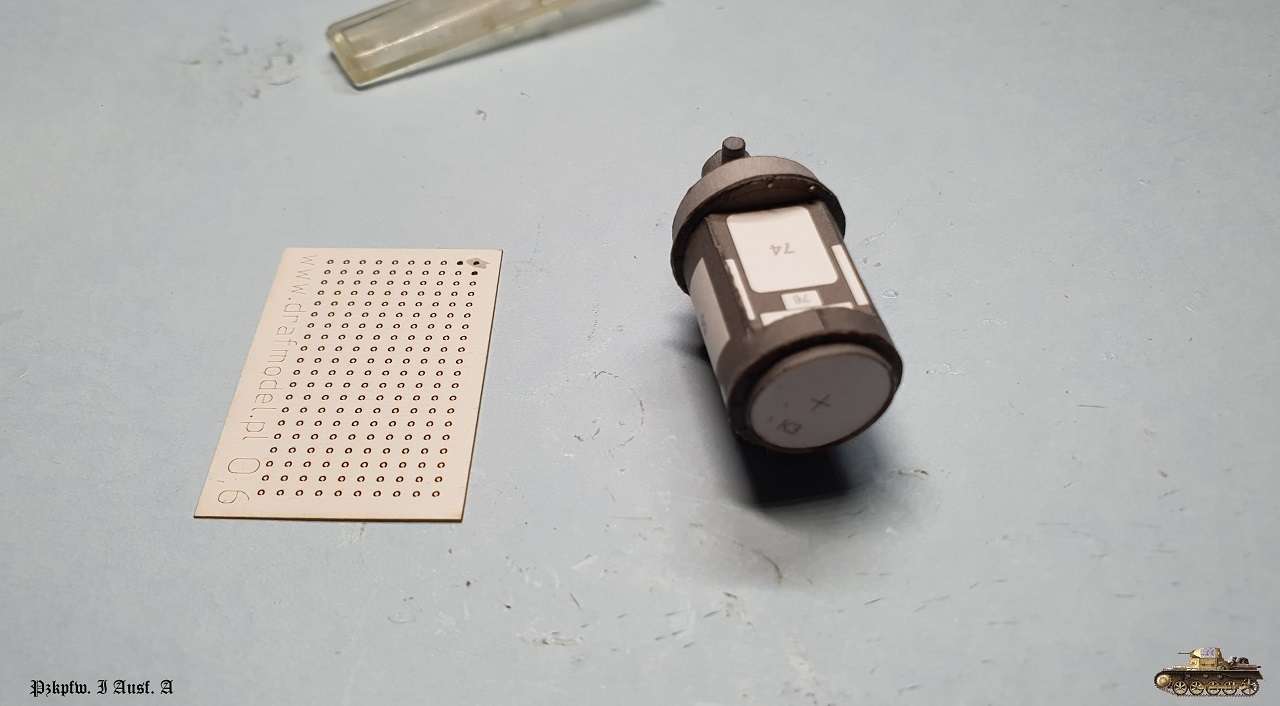
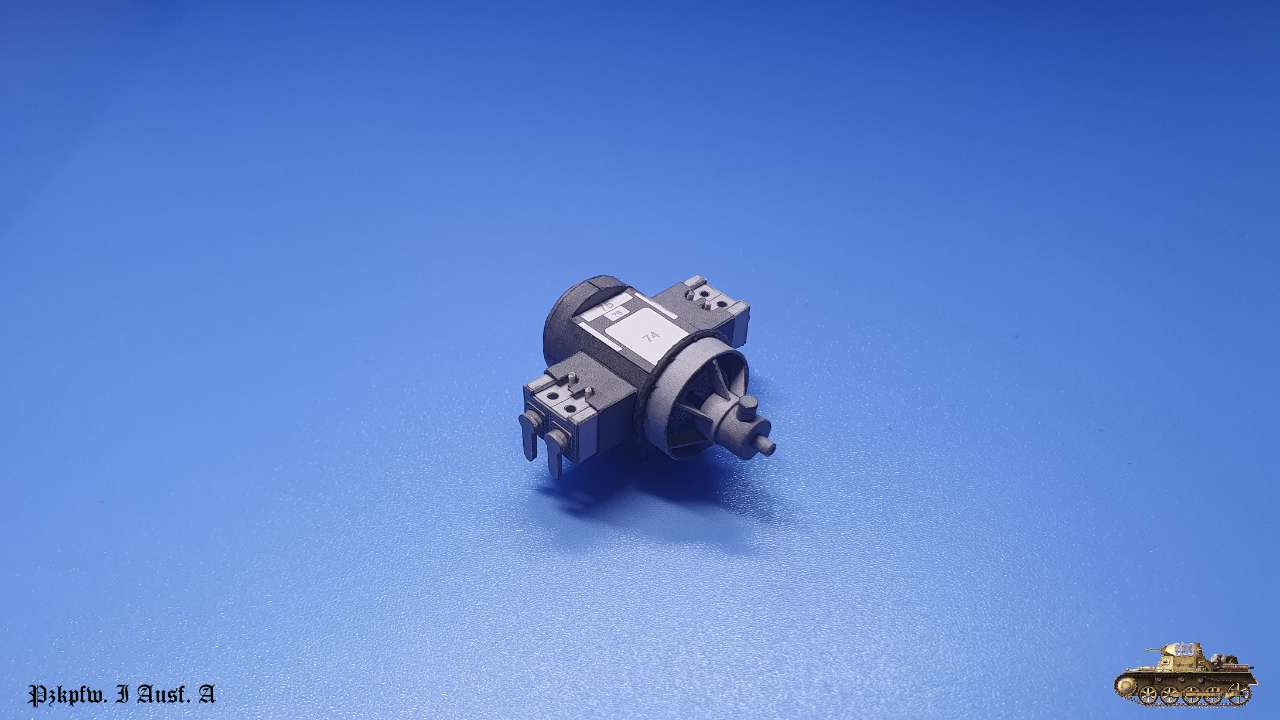
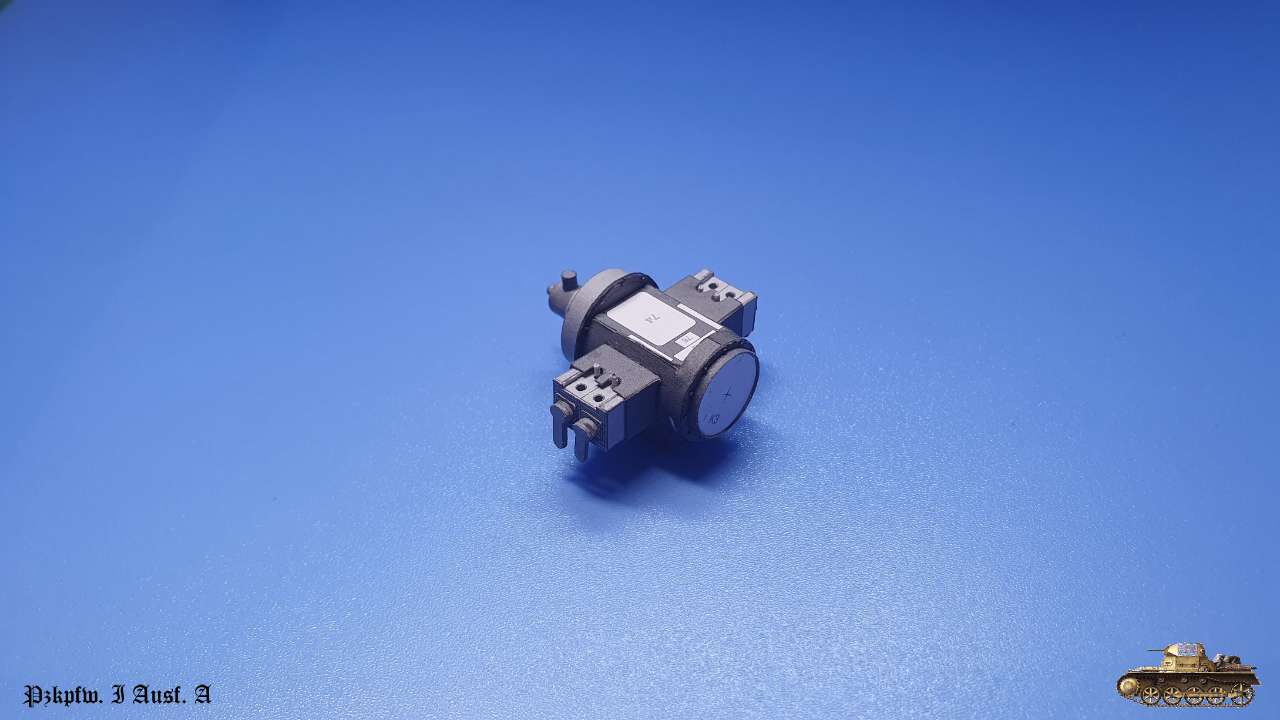
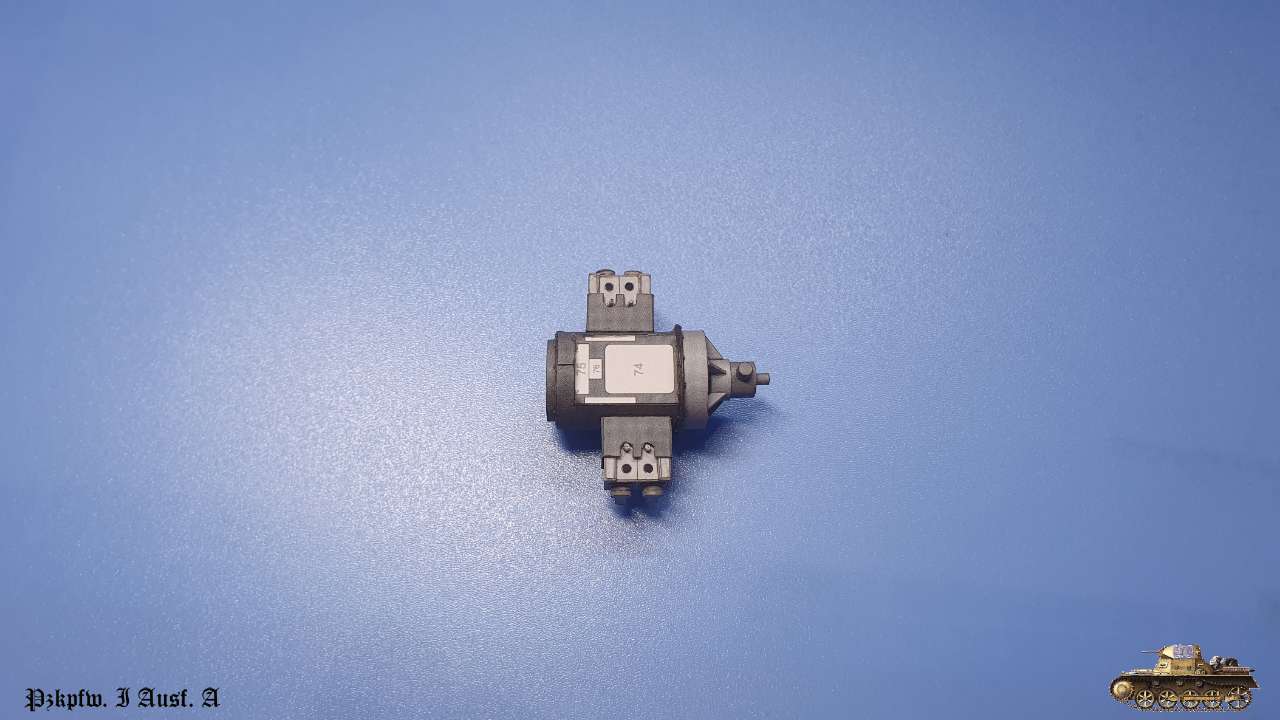
This model by Orlik is well designed and has a full interior and interesting detailed suspension. So this a soft landing after Sherman.
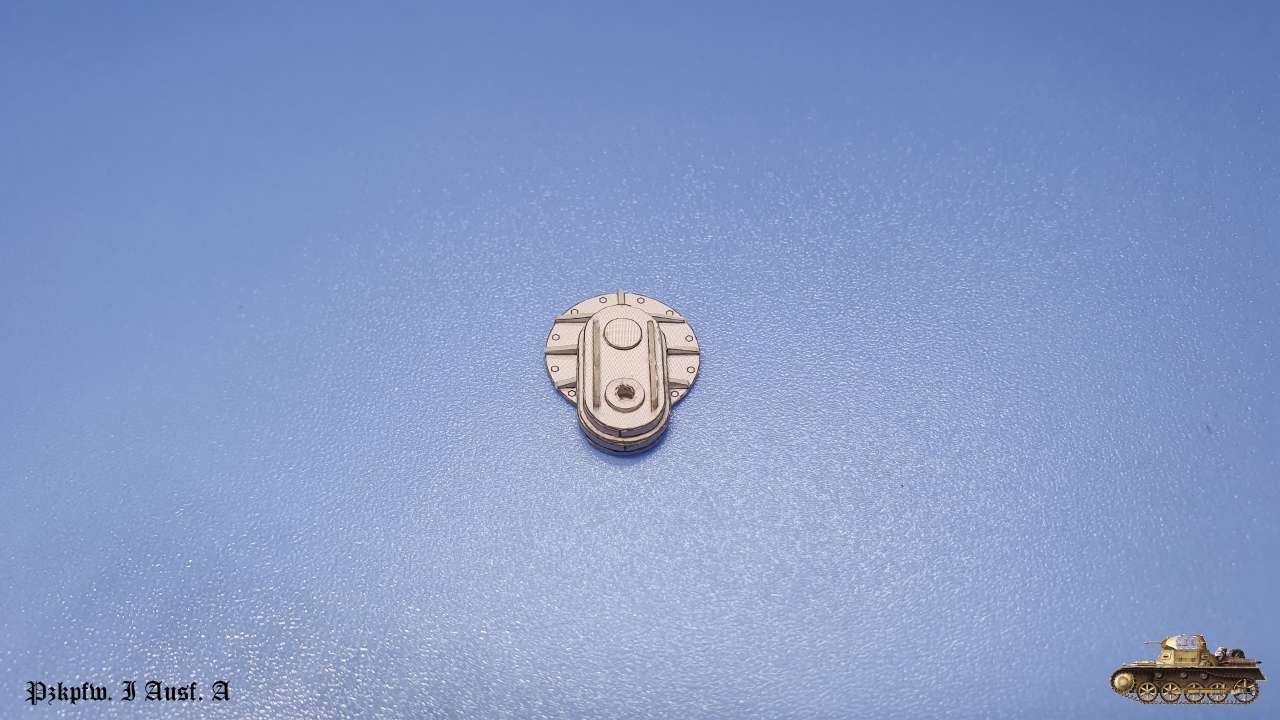
Tank is tiny :)

WzbguA.jpg


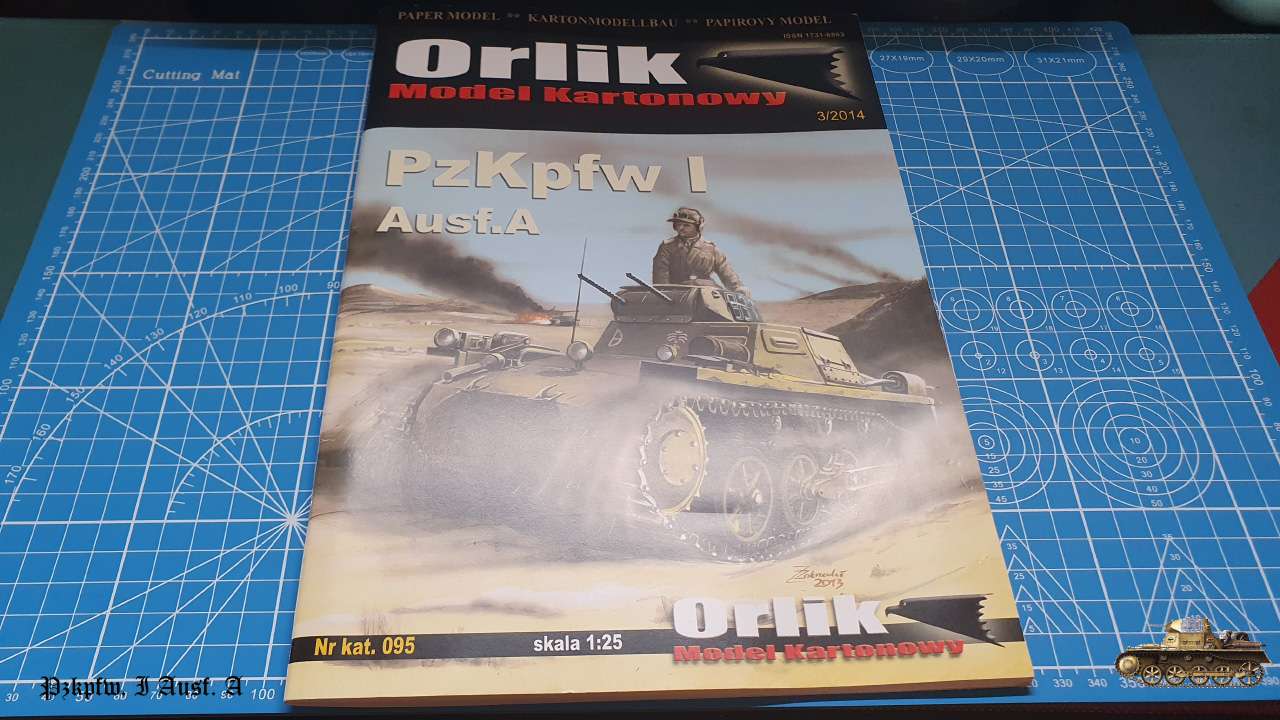
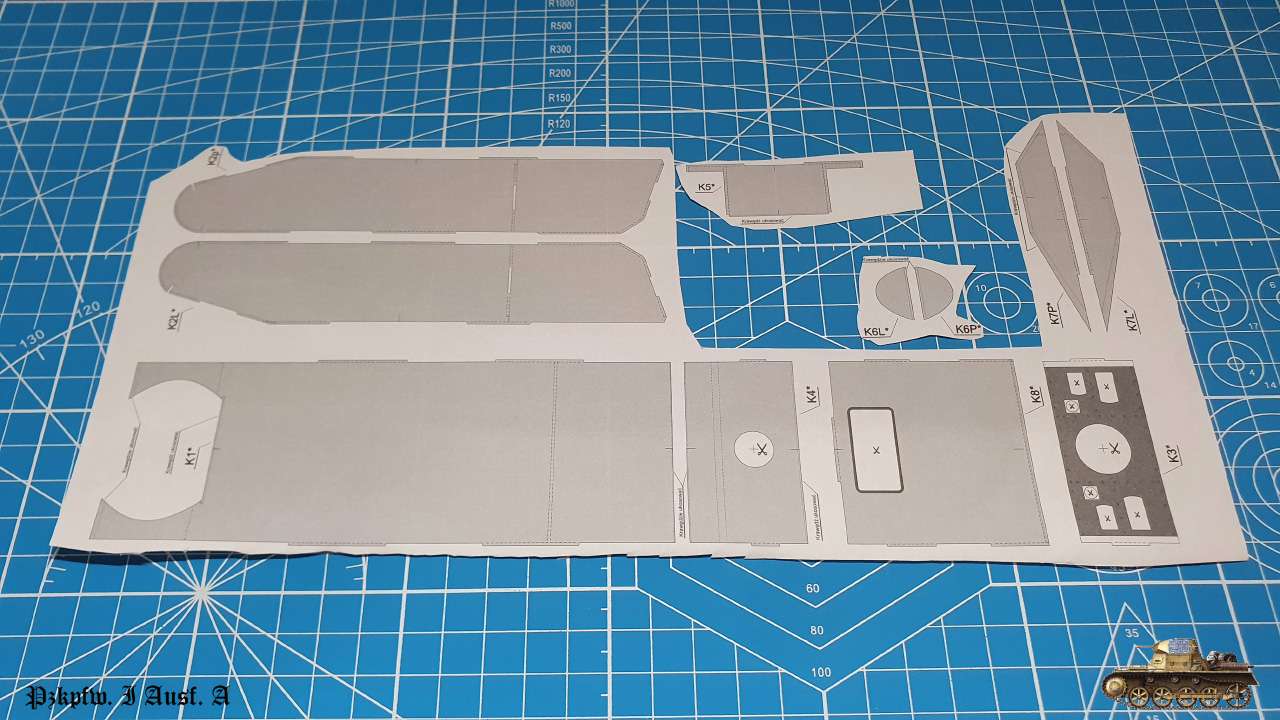
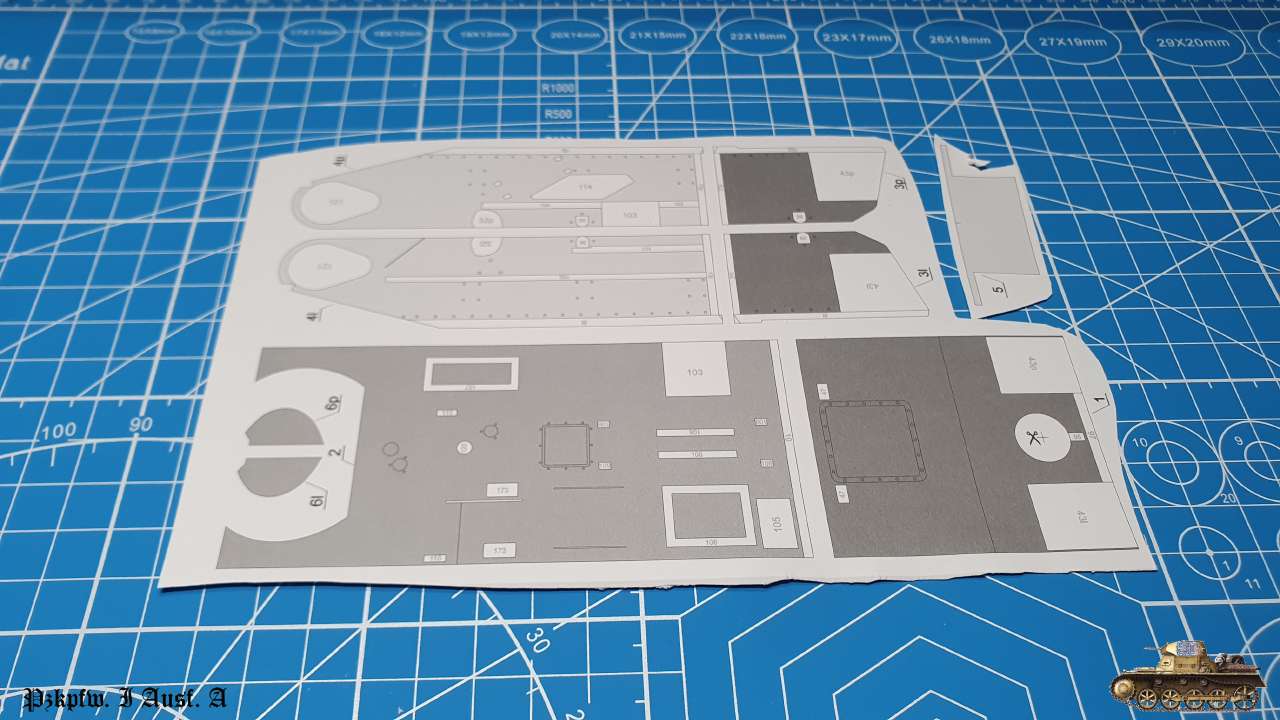
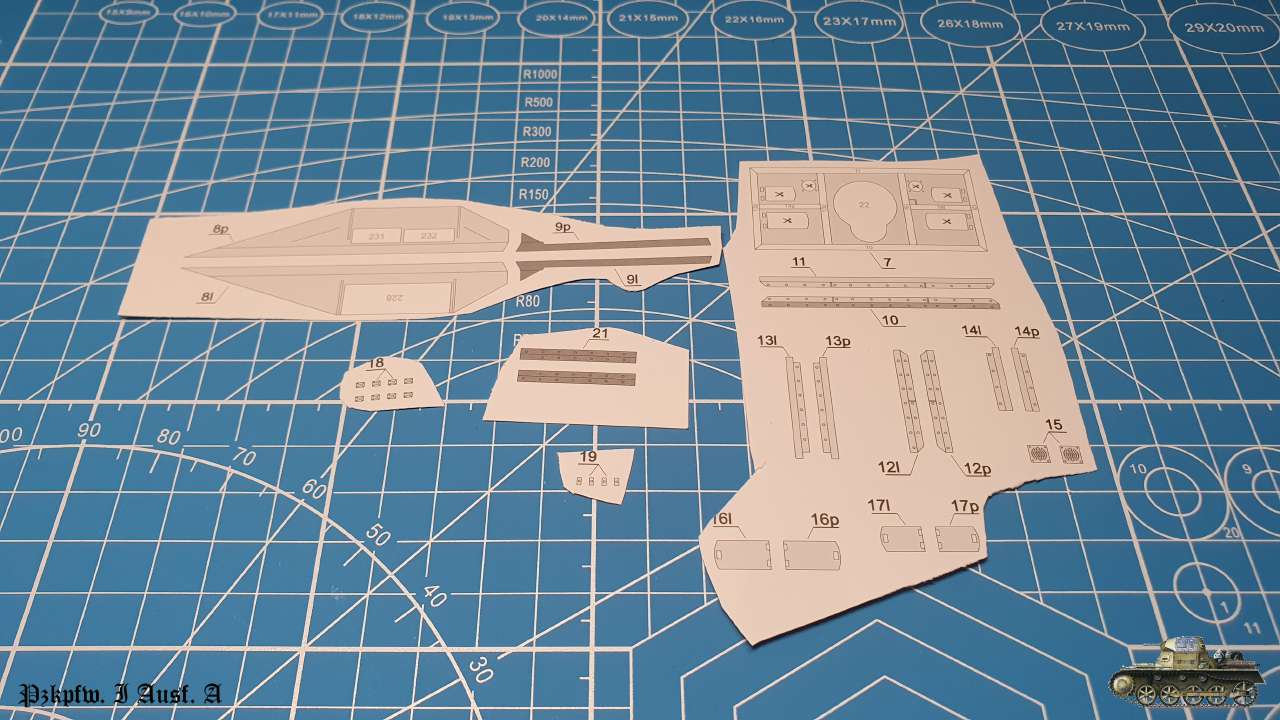
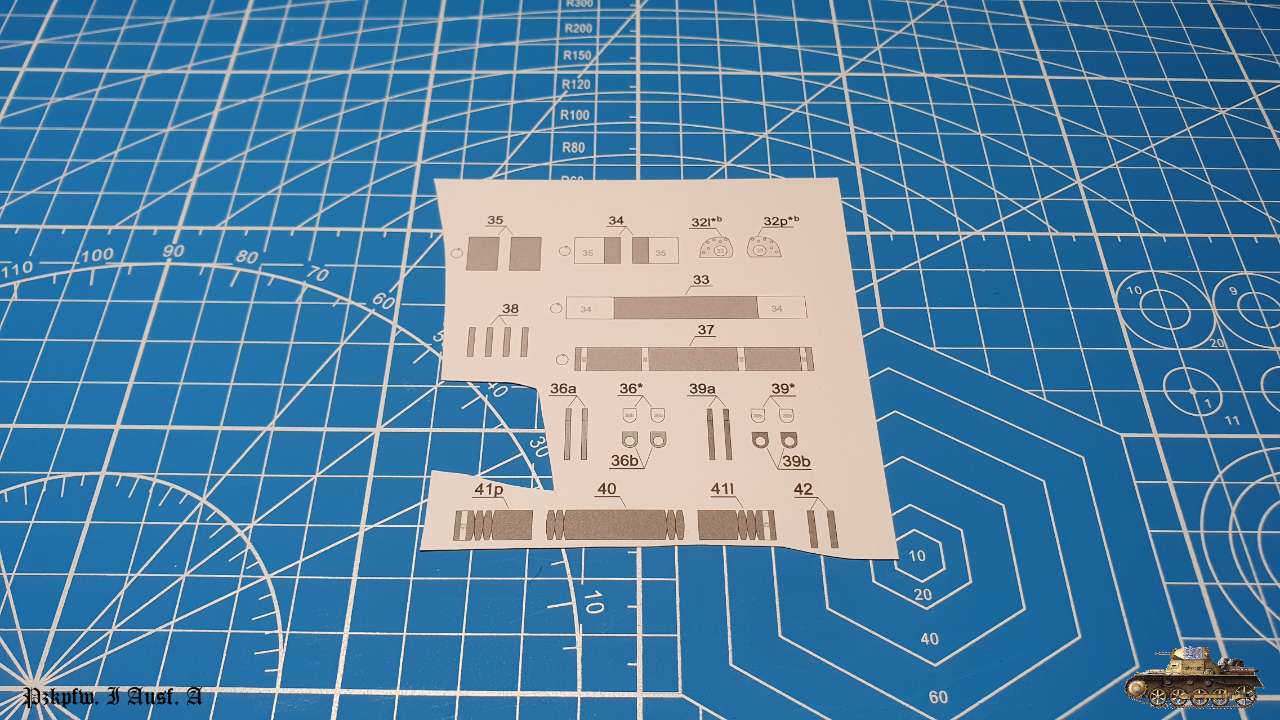
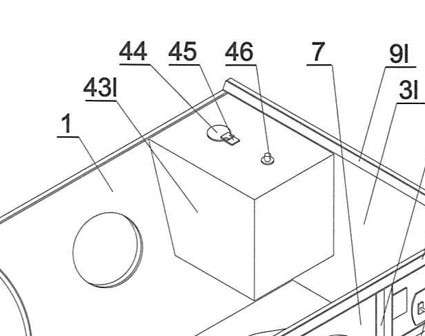
About the book - some parts printed double sided and it's a plus! Designer gave details for supporting structure to build tank dome with right angles and also alignment rack for suspension angles.
Model detailed on a decent level, not Sherman but ok (told you i will always compare now :))
Tracks will be made from book. I checked laser cut kit, but it is simple and not worth to add.
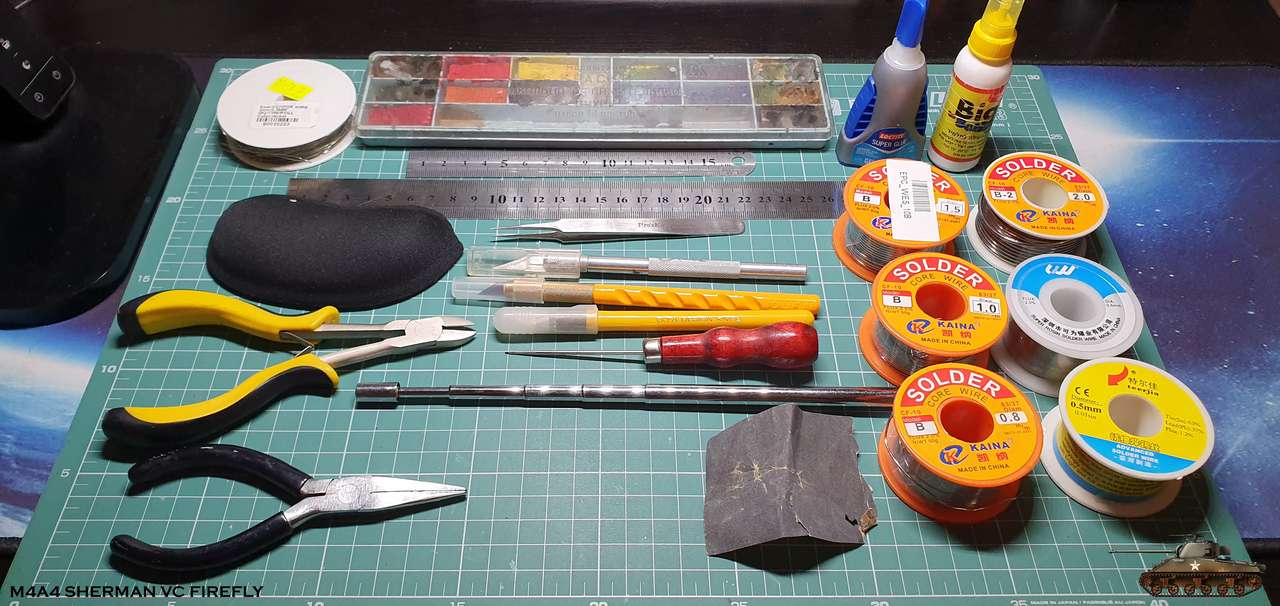
Will use same tools as before.
Still have my watercolor paints for any shade, but also ordered Tamiya Acrylic XF-59 Desert Yellow paint for exterior.

gsyHYM.jpg
 

snake7

Well-Known Member
Dec 13, 2004
424
1,165
93
46
Israel
Started unusually by the numbers and instruction and not with tracks.
They are simple, just three parts for each link, so i don't think i will stuck on them in later stage.
So first of all hull power frame.
If you want that interior and exterior skin will align perfectly, you need to
assemble frame very carefully and accurately. And this starts from gluing it on right cardboard 0.5 and cutting it exactly by lines.
Some partד need to be cut with angle.
First joint parts K1 and K2 and then by the order.
I skipped part K6, because its curvature popped out from frame curve at front and i decided to glue it later with interior skin.

qjqOwo.jpg


q9p8gO.jpg


9jn5aJ.jpg


x8hs3o.jpg


CWOUDx.jpg


QY9tjy.jpg


Frame is ready

vonCHF.jpg


cyv0Ad.jpg
 
Last edited:

snake7

Well-Known Member
Dec 13, 2004
424
1,165
93
46
Israel
Naturally next came interior skin.
Aligned perfectly by lines, so no mistake in frame assembling.
Only issue was with parts K6 - it was wrong shape and didn't attached
properly at front. I adjusted it and aligned inner skin part 6 accordingly and then glued to frame

Wo3mpF.jpg


L1z94L.jpg


w8R4H0.jpg


ITHfh7.jpg


rHaDox.jpg
 

zathros

*****SENIOR ADMINISTRATOR*****
Staff member
Administrator
Moderator
Apr 5, 2013
13,498
9,549
228
You made a very crisp and clear start with this model. Keep on posting these images.
That's all he knows how to do! So begins another masterpiece! :)
 
  • Like
Reactions: snake7

micahrogers

Moderator "Where am I, and how did I get here?"
Staff member
Moderator
Jul 12, 2012
3,772
4,639
113
Shannon GA
Captured my attention from the first, not my favorite Panzer, but I likes.
 
  • Like
Reactions: snake7

snake7

Well-Known Member
Dec 13, 2004
424
1,165
93
46
Israel
Thanks! :)
After little vacation, back to the work.

Firewall and some panels.
Firewall consists of wall itself and intermediate gear case

5hWjPJ.jpg


eqa6sO.jpg


M4gKrj.jpg


7Tsxw8.jpg


Wn16u5.jpg


AAJqDP.jpg


Glued in place. Didn't attach handles on doors for easy assembling.
Will put them in next step
Decided to picture on blue background, because on this one you true color doesn't distorted

Refh78.jpg


yykEJO.jpg


I see that by now there are some little issues here and there, so i will start error report list from now on

Errors:
part 12 wrong side, left must be right and right must be left
part 27 to short, or gluing spot is to long
 
Last edited:

snake7

Well-Known Member
Dec 13, 2004
424
1,165
93
46
Israel
Tension bars. Two in main hull and one in engine compartment
I bent long small diameter tubes with a help of wet paint brush.
Just go over the detail with it and bent on suitable road. This way it has
less cracks.
Just to mention - designer gives the option to make this bars from wire

cG0Os5.jpg


SzaBuu.jpg


X1SGzt.jpg


gUR5cX.jpg


Though i assembled power structure right and inner skin inserted exactly, for my surprise two of three bars where too short :confused:
Pay attention that engine compartment bar lies on a side. It is not clear from drawings

zDouZU.jpg


HAHVnB.jpg


opaGP4.jpg


Errors:
Part 37 to short. Extended it with additional 0.5 mm patch on part 36
Part 40-41 is to short. Extended it with additional 0.5 mm patch on part 39
Parts 36, 39 seem like must be glued on 1 mm cardboard and not 0.5 as signed. Edge strip is wider that the part.
 

snake7

Well-Known Member
Dec 13, 2004
424
1,165
93
46
Israel
Thanks (again) Boris. :biggrin:

Starting to fill engine compartment.
Fuel tanks, air filter tubes' rings and engine mounts

m0Ez9N.jpg


XRQUt0.jpg


mrNksJ.jpg


I didn't glue engine mounts in place. The reason is that there isn't any drawing that's show how to glue them. So i will wait for assembled engine to figure it out. I have a guess, though :)

wPPXqR.jpg


IWinXu.jpg


Errors:
None
 

Revell-Fan

Co-Administrator
Staff member
Administrator
Moderator
Aug 1, 2009
11,610
12,349
228
Vreden
Damn oh damn, it's so beautiful!!! I'm still in awe of your skills because there are no visible glue stains anywhere. I often cannot wait to take pics of the build steps that I don't give the glue a chance to cure, resulting in visible foggy areas on the parts. :)
 
  • Like
Reactions: snake7 and zathros

snake7

Well-Known Member
Dec 13, 2004
424
1,165
93
46
Israel
Thanks guys

Started to assemble engine - air-cooled 4-cylinder Krupp M305.
I think something similar was in Krupp Protze track.

rcBE8R.jpg


Engine block

znGT7V.jpg


Aep0uH.jpg


SDKmUo.jpg


Air fan and oil pan

HlMkgx.jpg


YHsjNW.jpg


Assembled together

foa2E7.jpg


M2wByM.jpg


Errors:
Part 57 to short. This is an axel on which the fan sits. Drawing given is to short and i just made it longer, so it would insert into engine block and centre everything
 
Last edited:

Revell-Fan

Co-Administrator
Staff member
Administrator
Moderator
Aug 1, 2009
11,610
12,349
228
Vreden
These parts look so clean and precise like they were machine-crafted. Hats off! :)
 
  • Like
Reactions: snake7

snake7

Well-Known Member
Dec 13, 2004
424
1,165
93
46
Israel
Thanks Revell-Fan

Continue with engine cylinders

j32QqT.jpg


PX98SC.jpg


Added spark plugs from scratch

7jtEaW.jpg


OUkGag.jpg


Also tried to work with 0.6 rivets.... to small.
I'm still choosing the order between paint, cut and glue.

Whole tank has more than 500 rivets. I hope i can keep up with that :rolleyes:

zsRXqe.jpg


Cylinders assembled on engine block

JpdpYI.jpg


w16xUq.jpg


Pay attention that both sides are asymmetrical

SItWVU.jpg


Errors:
None
 

zathros

*****SENIOR ADMINISTRATOR*****
Staff member
Administrator
Moderator
Apr 5, 2013
13,498
9,549
228
These sub assemblies are coming out perfect. :)
 
  • Like
Reactions: snake7