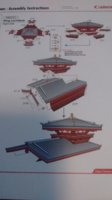
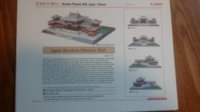
ok, so i thought i'd try to build a house once. was looking on the web and came across this and thought, why not??. i think it was made by a S. Umekawa. thats what is printed on the top of each page. it looks like a fun build and i just love the shape. so off we go again..
Phoenix Hall
- Thread starter lyter1958
- Start date
You are using an out of date browser. It may not display this or other websites correctly.
You should upgrade or use an alternative browser.
You should upgrade or use an alternative browser.


")
WOW, i have a following?? does that mean i'm doing something good??? that cant be right.. hahaha ..
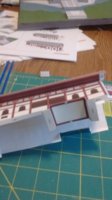
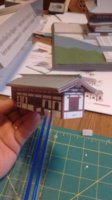
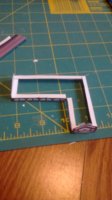
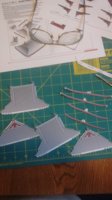
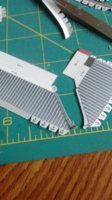
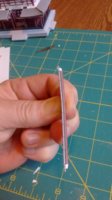
well, i'm getting a little further along with this one and it's starting to get harder. smaller bends and folds and i'm thinking i might have bitten of more that i can chew, maybe?? but i'm gonna keep at it. just got a new toy to help me see a lot better

tried it out today and it works great. cheaper than what some other places want for something like this.
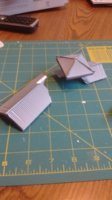
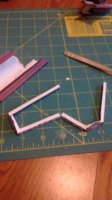
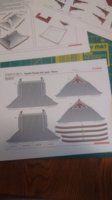
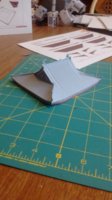
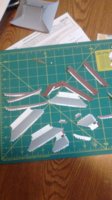
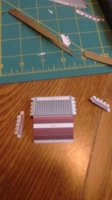
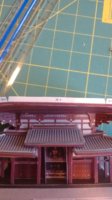
ok more pics. the roofs are the hardest things so far. so many angles and bends
well, i'm getting a little further along with this one and it's starting to get harder. smaller bends and folds and i'm thinking i might have bitten of more that i can chew, maybe?? but i'm gonna keep at it. just got a new toy to help me see a lot better
tried it out today and it works great. cheaper than what some other places want for something like this.
ok more pics. the roofs are the hardest things so far. so many angles and bends
Attachments

WOW, i have a following?? does that mean i'm doing something good??? that cant be right.. hahaha ..
well, i'm getting a little further along with this one and it's starting to get harder. smaller bends and folds and i'm thinking i might have bitten of more that i can chew, maybe?? but i'm gonna keep at it. just got a new toy to help me see a lot betterView attachment 150038View attachment 150038 View attachment 150039
tried it out today and it works great. cheaper than what some other places want for something like this.
ok more pics. the roofs are the hardest things so far. so many angles and bends
Yes, you have followers (I am one of them!!!) and yes you are doing something good alright. This is really looking GREAT!!!
I also like the visor that you are using! I am looking at getting one for myself as well.
KEEP UP THE GREAT WORK!!!
thanks Rhaven Blaack.. wow, i never had followers before. i'm the type to lead them astray...(insert evil laughter)... the visor was a good investment and at $33.00 shipped it's worth it.
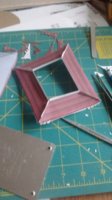
got more pic's but gotta wait for phone to charge to download em. i left it on too long. the overhangs were a real %$#ch to get into place. the directions are a bit hard to follow ( for me at least) but i'm plugging away at it
got more pic's but gotta wait for phone to charge to download em. i left it on too long. the overhangs were a real %$#ch to get into place. the directions are a bit hard to follow ( for me at least) but i'm plugging away at it
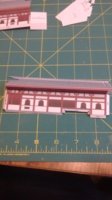
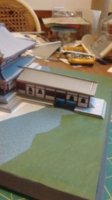
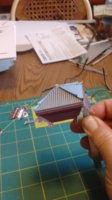
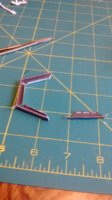
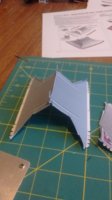
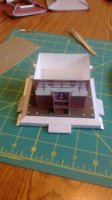
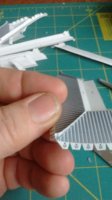
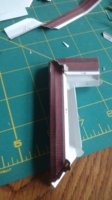
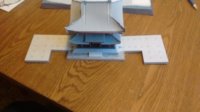
ok as promised, here are the pic's of what i got done so far here the overhangs started to bowup for some reason.heck of a time getting they to go level
here the overhangs started to bowup for some reason.heck of a time getting they to go levelAttachments

and more
Attachments
-
 house 2 007.jpg1.3 MB · Views: 4
 -
 house 2 009.jpg1.2 MB · Views: 6
 -
 house 2 010.jpg1.2 MB · Views: 4
 -
 house 2 011.jpg1.2 MB · Views: 4
 -
 house 2 012.jpg1.4 MB · Views: 4
 -
 house 2 013.jpg1.2 MB · Views: 5
 -
 house 2 014.jpg1.3 MB · Views: 4
 -
 house 2 015.jpg1.3 MB · Views: 6
 -
 house 2 016.jpg1.2 MB · Views: 5


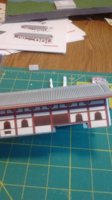
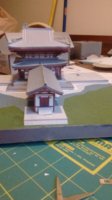
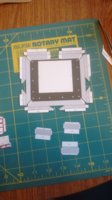
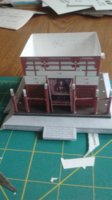
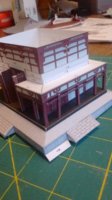
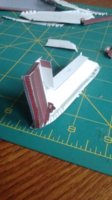
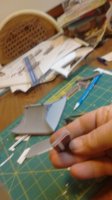
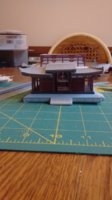
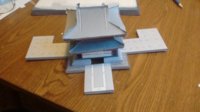
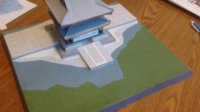
getting ready to attach house to base. the main roof was a bear to get it on. the lower part was bowed down a lot, but i did the best to attach it. wanted to gust grab-n-smash into a ball but i just kept working at it and glued it the best i could. don't know where i went wrong but what the hey.. if i had enlarged a little bit it might have worked better. like i said, the directions are a bit hard to see the parts and how they go. next onto the left and right out buildings
thanks for looking
thanks for looking
Attachments
- Apr 5, 2013
- 13,876
- 10,216
- 228
")
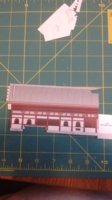
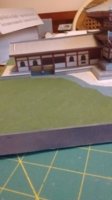
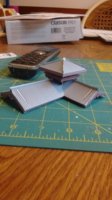
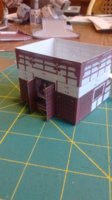
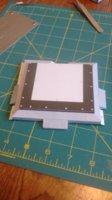
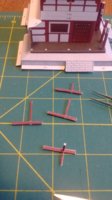
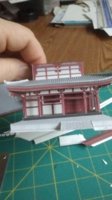
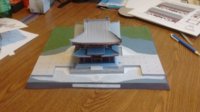
well, i found out what the problem was. i built the upper and lower roof sections BEFORE i got my visor. missed a few bending marks .. duhhhh.. no wonder it curved so bad. but its glued together now so i'll leave it alone. the other roof sections and fitting a lot better now that i can SEE the marks on where to score.live and learn they ( who ever they are) say. so here is what i got done so far.
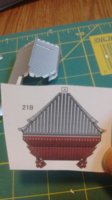
 this is the rear hall
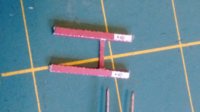
 roof should look like this..
the marks on where to score.live and learn they ( who ever they are) say. so here is what i got done so far.this is the rear hall roof should look like this..