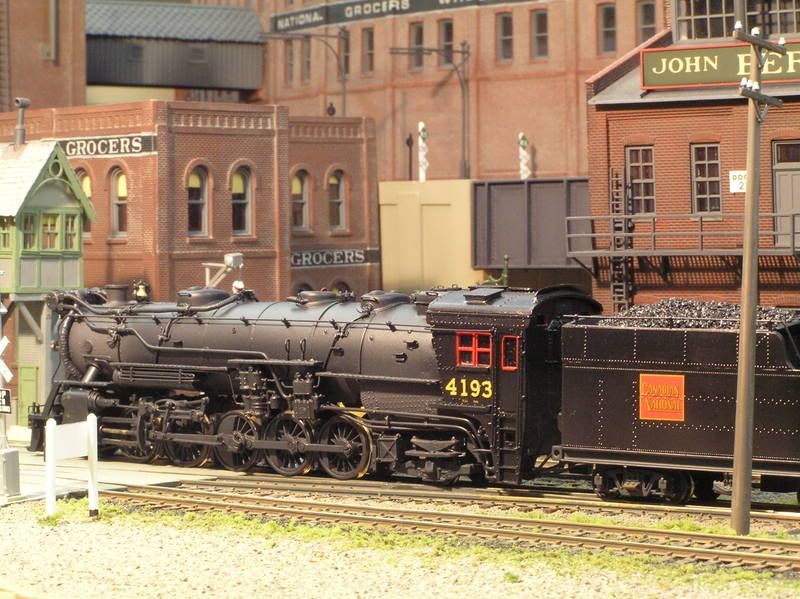
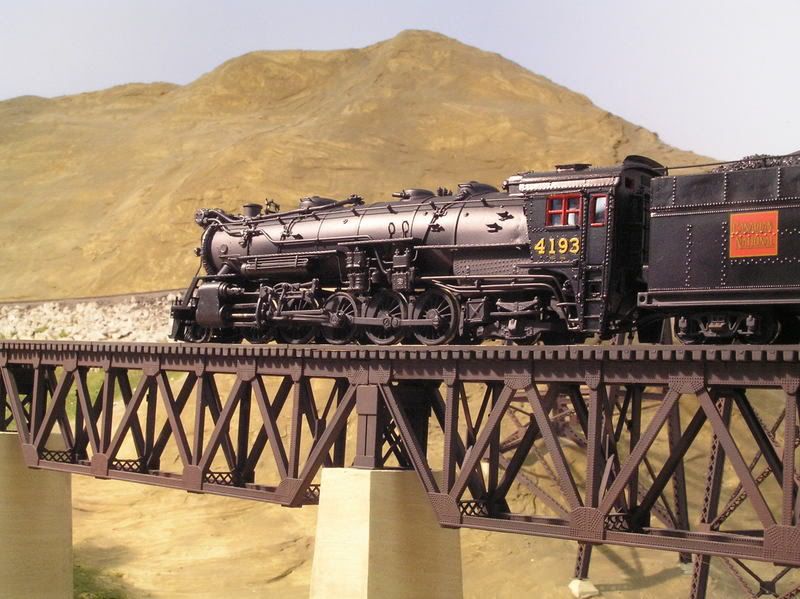
Whose model is the CN 2-10-2/ looks nice, great shots.
All of the locos shown belong to Mister Nutbar, as does the camera used for these pictures. Ownership of the particular finger pressing the shutter, however, is subject to speculation.
")
:-D
Grrrreat photos, as always. Thanks for sharing. :thumb::thumb::thumb:
I've asked before, but I'm asking again:
How did you do that fantastic flowing water effect?
Any chance of a howto thread on that?
Please?
Pretty please with sugar on? :mrgreen:
The water effects were my first try, and to be quite honest, I didn't really have time to shoot photos while I was learning.

:-D
The riverbed is 3/8" sheathing plywood, as seen in the photo below:

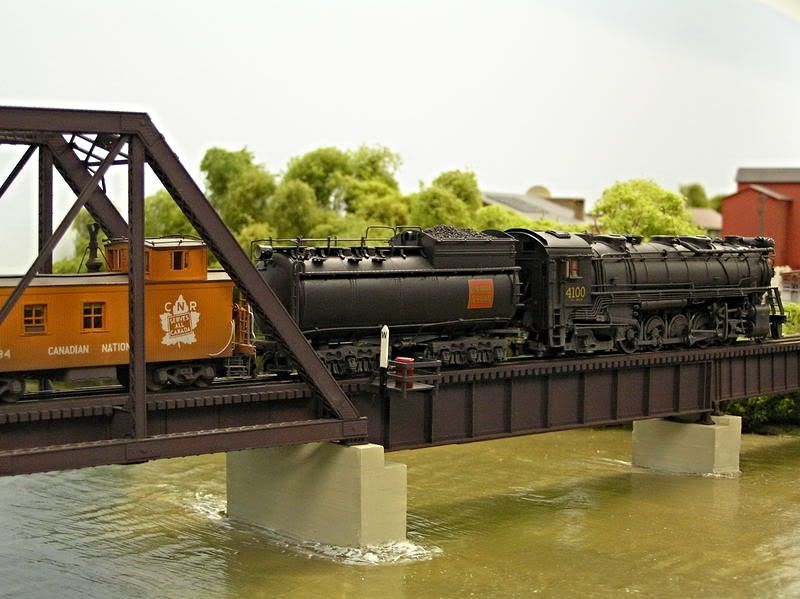
The plaster bridge piers are glued in place, but the bridge itself, like all bridges on my layout, is removeable as a single unit. To create the "water", the bridge was removed. I first sprayed the river bed with "wet" water (water to which a few drops of liquid dish detergent have been added) - this was to prevent the plywood from drawing water out of the plaster mix, which is the material used to make the "water". I use a product called Durabond 90, a patching plaster available from Canada Gypsum and also from U.S. Gypsum. This comes as a dry powder, in, I believe, 1, 2, and 5lb. boxes or in 33lb. bags. I use this stuff for all of my scenic landforms, so buy the bags. The "90" refers to the approximate setting time, in minutes, as the product contains a catalyst - it will set in the specified time regardless of the consistency to which it's mixed, whether stiff enough to stand on its own while still wet, or thin enough to pass through a sieve. It's also available in other setting times. I mixed mine by adding water until it attained a thick batter-like consistency, then dumped it into the river bed. I used a variety of drywall knives to spread it around, as it was too stiff to level itself. It helps to keep the knives wet, so that the mixture doesn't stick to them. Smaller ones were used to work the material around the piers and along the shoreline. When everything appeared reasonably level and even, I used the knives, not wet but merely damp, to "tease" the swirls and eddies up around the piers. A wide knife was dragged, wet, across the wider expanses in an attempt to further level the surface, holding the handle almost level with the surface, but the actual effect was merely to make it look like there was a strong current at work.


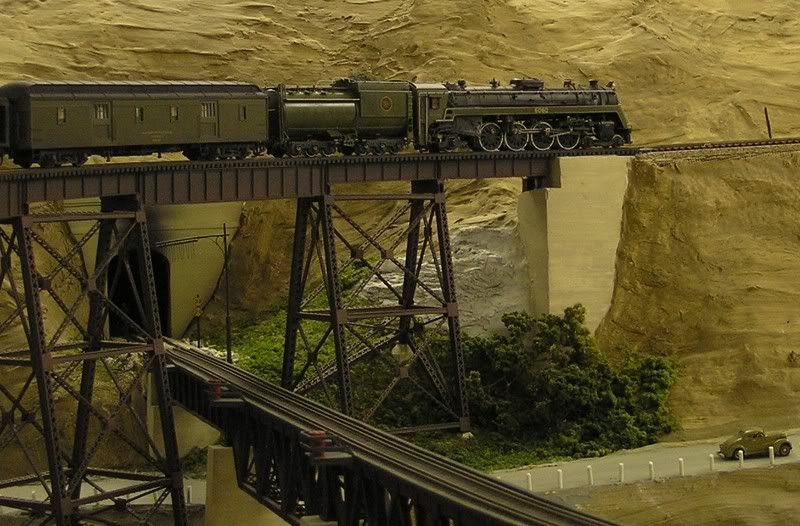
I did a couple of other water areas, too. In the third scene below, the technique used was similar, but I also dabbed at the wet surface of the levelled plaster with a damp sponge, raising little peaks of plaster
Before:
After:
From above, in the area mentioned:
A third area, meant to represent an inlet of Lake Erie, was also done, using similar techniques. The area had already been done as hardshell over screen, so in some areas here, the "water" is about 1" thick. The sponge was used to raise some waves, and a damp drywall knife was used to create a couple of low "breakers", with the knife being held with the handle close to the surface while the knife was drawn out (towards the backdrop), then the handle lifted while at the same time reversing direction.
This is the only photo that I can find of the area before the water was installed, seen at the bottom left corner:
And from a normal viewing angle:
And from overhead:
This type of plaster, after setting but before it's fully cured, is soft enough to allow you to knock off any unrealistically high spots. Once cured, though, it is extremely hard and stands up well to dusting and vacuuming. We often place the camera on blocks of wood placed atop the finished "water", and, so far, it's resisted scratching and breakage. The two rivers are only about 1/8" deep.
After the plaster has fully cured (I left if for a few days), I used flat latex interior house paint, applied with a 2" brush, to colour the river - the brown is the same one used as my basic terrain colour, while the dark grey/green is used on backgound trees and brush. When the paint had dried, I added "white water" effects with some PollyScale white on a 1/2" brush. After all of the paint was thoroughly dry, I brushed on three coats of water-based high-gloss clear urethane, following the manufacturer's instructions regarding times between coats.
Wayne