Wall Covers and Cool Tool #2
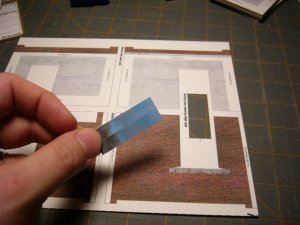
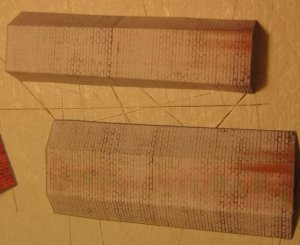
First, to make cutting the wall covers easier I trimmed out the little blue bit in between the doors on that sheet. I think those are door edge caps for the street level entry.
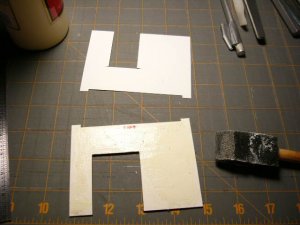
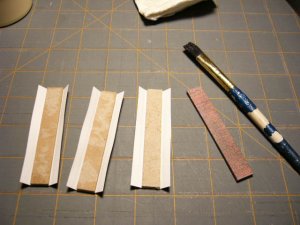
Next, I applied yellow glue to the cardstock piece, not the cover layer. Reason being, I didn't think the cover would hold up as well to brushing around the glue, and would probably curl up or warp on its own. I used a spongy brush here, but switched to a stiff bristle brush after that. Just a personal preference.
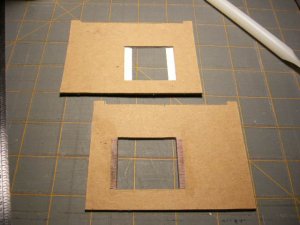
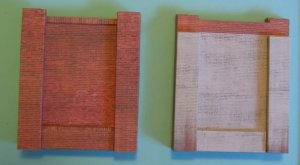
Here are two wall sections, the lower one with the doorway edges wrapped and glued. I just dribbled a little yellow glue on here and let it smush out as I folded the wrapped section around...messy.
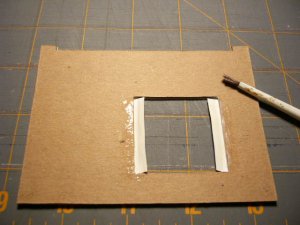
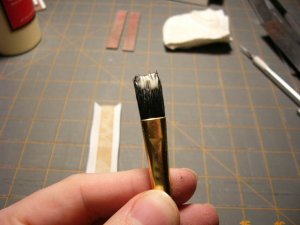
TIP #4: Use a little brush to apply the glue in these spots in a thin, even coat. Then when you fold the wrapped bit around the edge, it'll stick right away with very little mess. Some modeling is messy by nature. This doesn't need to be, IMO.
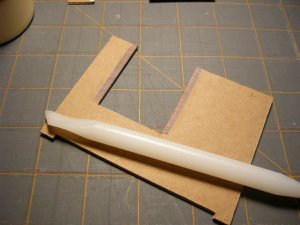
Finally, the second cool tool of the night - my Woodland Scenics dry transfer burnisher. This is made from some slick, dense vinyl or plastic. Excellent for its intended purpose, it is also quite adept here in this application.
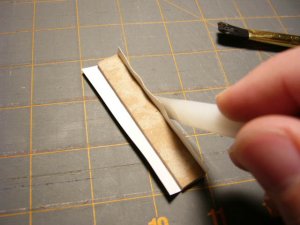
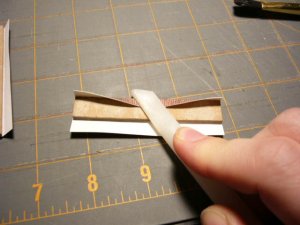
I found if I made the first wrap around bend with my finger gently, then laid it on the table face down and used the tool to crease it, I would get a very clean fold. Not exactly creased, but still very even. This is done dry, without any glue applied yet.
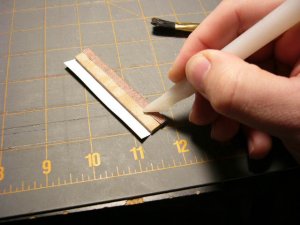
Then, using the flat edge/side of the tool, I made the second bend around to the back of the wall, working from the middle out to each edge. Once I had creased it down, I opened the fold and applied glue. Letting it sit for a second softened the paper ever so slightly.
Once the wrap was made I used the burnisher to push it firmly into place, running it up and down the inside edge of the opening as well as each side - front and back. This made the crease even cleaner as the softened paper shifted under the steady, gentle pressure of the tool.
TONIGHT - cutting the buttress layers. We'll see how far I get. It's been a long day and there's some good television I've DVR'd that I'd like to watch...and I'm not all that good at doing both. Thanks again for following along!

First, to make cutting the wall covers easier I trimmed out the little blue bit in between the doors on that sheet. I think those are door edge caps for the street level entry.

Next, I applied yellow glue to the cardstock piece, not the cover layer. Reason being, I didn't think the cover would hold up as well to brushing around the glue, and would probably curl up or warp on its own. I used a spongy brush here, but switched to a stiff bristle brush after that. Just a personal preference.

Here are two wall sections, the lower one with the doorway edges wrapped and glued. I just dribbled a little yellow glue on here and let it smush out as I folded the wrapped section around...messy.

TIP #4: Use a little brush to apply the glue in these spots in a thin, even coat. Then when you fold the wrapped bit around the edge, it'll stick right away with very little mess. Some modeling is messy by nature. This doesn't need to be, IMO.

Finally, the second cool tool of the night - my Woodland Scenics dry transfer burnisher. This is made from some slick, dense vinyl or plastic. Excellent for its intended purpose, it is also quite adept here in this application.
I found if I made the first wrap around bend with my finger gently, then laid it on the table face down and used the tool to crease it, I would get a very clean fold. Not exactly creased, but still very even. This is done dry, without any glue applied yet.
Then, using the flat edge/side of the tool, I made the second bend around to the back of the wall, working from the middle out to each edge. Once I had creased it down, I opened the fold and applied glue. Letting it sit for a second softened the paper ever so slightly.
Once the wrap was made I used the burnisher to push it firmly into place, running it up and down the inside edge of the opening as well as each side - front and back. This made the crease even cleaner as the softened paper shifted under the steady, gentle pressure of the tool.
TONIGHT - cutting the buttress layers. We'll see how far I get. It's been a long day and there's some good television I've DVR'd that I'd like to watch...and I'm not all that good at doing both. Thanks again for following along!


