I am building the FREE download freight house from Scalescenes.com - Download and print realistic model railway buildings in HO scale, and decided to take some pictures to share my progress. I'll also be sharing any tips or techniques I learn along the way. Without further ado, let's get started!
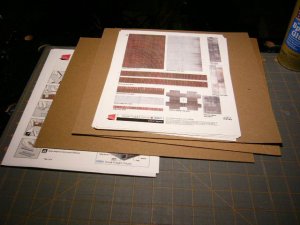
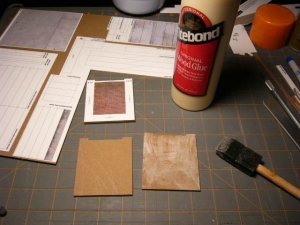
These are the materials. The printouts I made on a heavyweight paper using my HP inkjet printer. It took forever to download this from the website, but that's due to my blazing slow 26.4 dialup connection. The cardstock is from packs of scrapbooking papers my wife has purchased and I saved for that 'someday' project. Well, that day is today! (er, yesterday, actually)
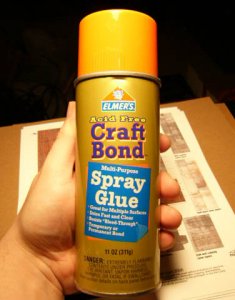
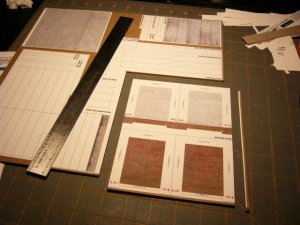
Here's the spray glue I used to adhere the printouts to the appropriate thickness of cardstock. I made 'thick' stock using two sheets of .040 card, medium stock from one sheet of .040 card, and thin stock from a cereal box. (perhaps Robin is up there smiling down on this?)
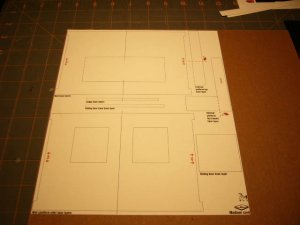
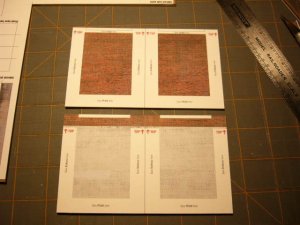
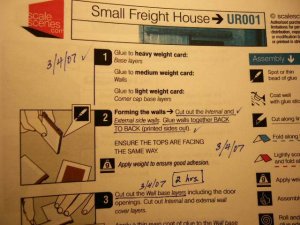
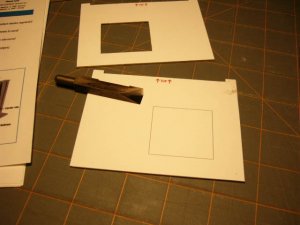
This is the sheet which has been glued to the 'medium' thickness card. The thicknesses are recommended in the instructions (9 pages and VERY thorough). I used a caliper to determine what card was what thickness. It's printed right on the sheet what size card it's to be glued to - very thoughtful.
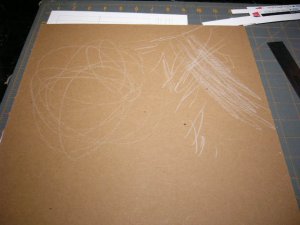
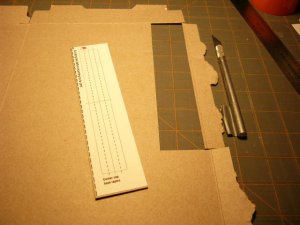
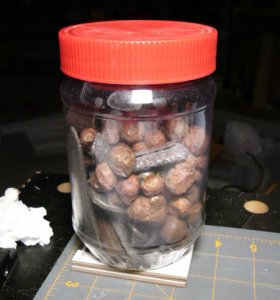
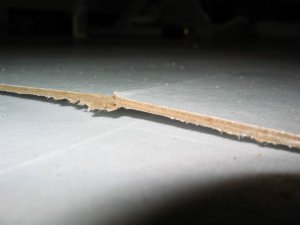
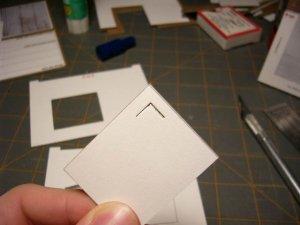
My 2 year old's contribution to daddy's project...it will be forever preserved in layers of card within this humble structure...sniff...of course, this is long before this cardstock was selected to fulfill its ultimate destiny as a structure.
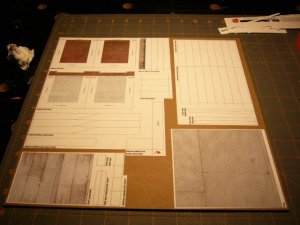
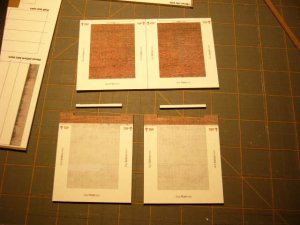
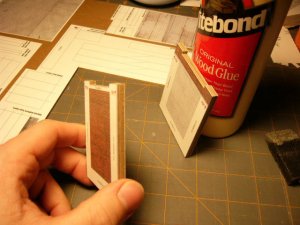
And finally the sections which were attached to the 'thick' .080 card. I cut these out of their master sheets in order to minimize the waste, and since I only had one 'sheet' of .080 stock after gluing the two .040 sheets together.

These are the materials. The printouts I made on a heavyweight paper using my HP inkjet printer. It took forever to download this from the website, but that's due to my blazing slow 26.4 dialup connection. The cardstock is from packs of scrapbooking papers my wife has purchased and I saved for that 'someday' project. Well, that day is today! (er, yesterday, actually)

Here's the spray glue I used to adhere the printouts to the appropriate thickness of cardstock. I made 'thick' stock using two sheets of .040 card, medium stock from one sheet of .040 card, and thin stock from a cereal box. (perhaps Robin is up there smiling down on this?)

This is the sheet which has been glued to the 'medium' thickness card. The thicknesses are recommended in the instructions (9 pages and VERY thorough). I used a caliper to determine what card was what thickness. It's printed right on the sheet what size card it's to be glued to - very thoughtful.

My 2 year old's contribution to daddy's project...it will be forever preserved in layers of card within this humble structure...sniff...of course, this is long before this cardstock was selected to fulfill its ultimate destiny as a structure.

And finally the sections which were attached to the 'thick' .080 card. I cut these out of their master sheets in order to minimize the waste, and since I only had one 'sheet' of .080 stock after gluing the two .040 sheets together.


