Next build: Steampunk :)
- Thread starter will69
- Start date
You are using an out of date browser. It may not display this or other websites correctly.
You should upgrade or use an alternative browser.
You should upgrade or use an alternative browser.
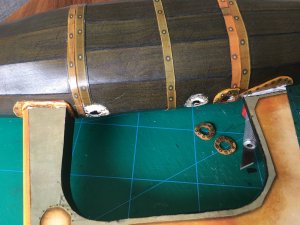
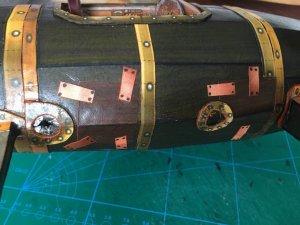
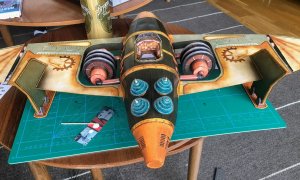
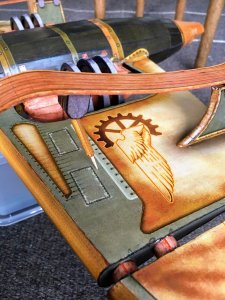
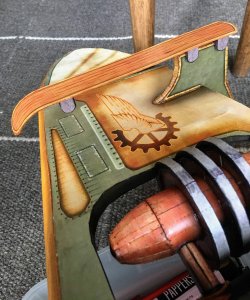
The wings are mounted. There was some missfitting and I had to reinforce the joints to get a good hold. I used spare parts ( the bands at the wingroots, last picture) to cover up the gaps that were reinforced.
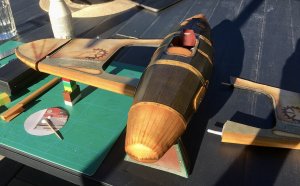
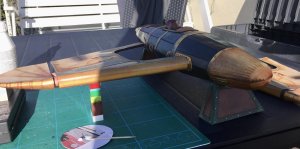
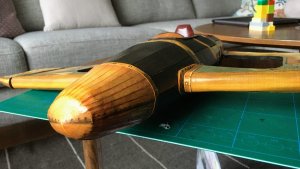
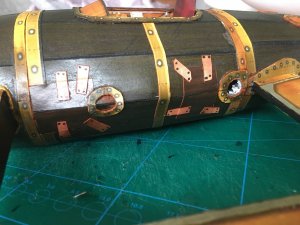
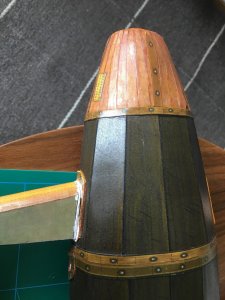
As I said before, the nosecone also had fittingproblems. I had to cut of some petals on the underside. I covered up the gap with a spare part ( the band,) You can also see the reinforment done on the wing.
/ Wilhelm


As I said before, the nosecone also had fittingproblems. I had to cut of some petals on the underside. I covered up the gap with a spare part ( the band,) You can also see the reinforment done on the wing.

/ Wilhelm
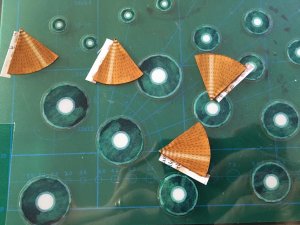
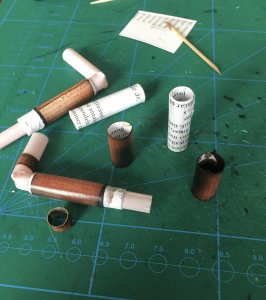
Some more engine-parts. I needed to strenghen the pipes that attache the engine to the body. I used rolled paper over a drinking-straw and then covered everything with the pipe-parts. I omitted the bends because they were to fiddely and teared easily
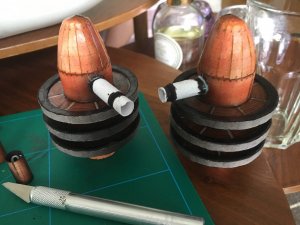
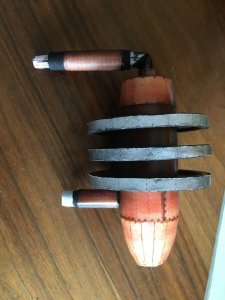
And here are the engines attached to the body

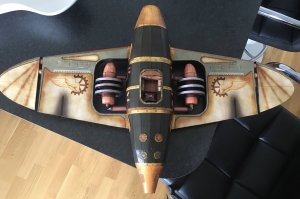
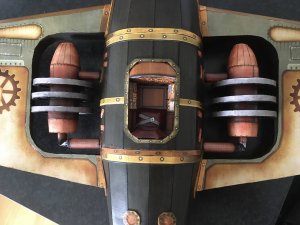
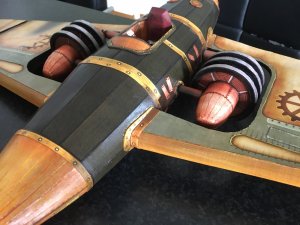
Hope you like it.....
/ Wilhelm


And here are the engines attached to the body


Hope you like it.....
/ Wilhelm
The tailplanes and windshield
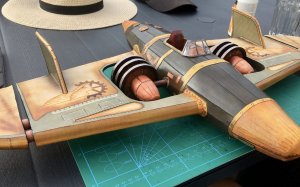
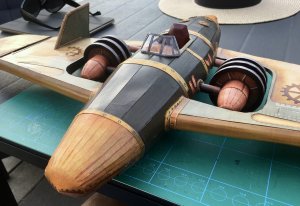
And the skids. I had to remake them because the sag. I laminated the skids with cardstock, total 3 mm. I made an extra leg in front of the skids, as you can see in the pictures
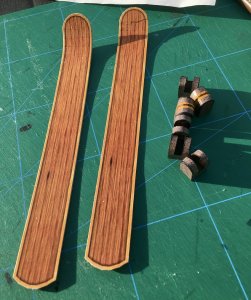
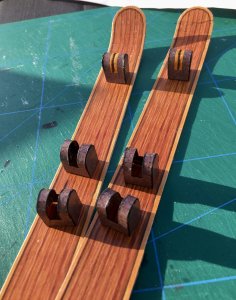
When I put the plane on the skids the body was to heavy and saged in the middle. So I made an extra skid.. thumbsup
/ Wilhelm


And the skids. I had to remake them because the sag. I laminated the skids with cardstock, total 3 mm. I made an extra leg in front of the skids, as you can see in the pictures


When I put the plane on the skids the body was to heavy and saged in the middle. So I made an extra skid.. thumbsup

/ Wilhelm
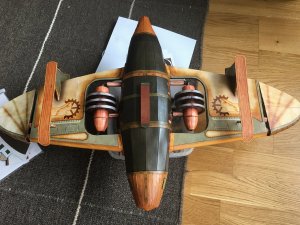
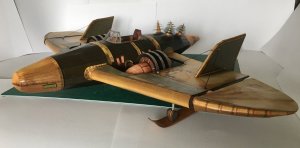
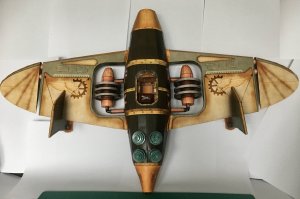
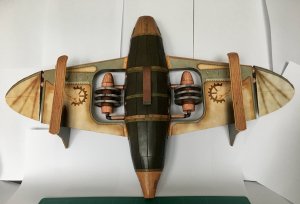
Here is the finished model.
Conclusion:
A model with a lot of missalignments, Not all parts fitted and needed corrected. It has no internal formers, that is a must for a model as big as this on, the wingspan is about 60 cm. But it is a nice model in the end. But you have to put at lot of work in to it. I use 3 copies of this model in the end . A word of advice: Dryfit the parts before glueing.
Now to the pictures:
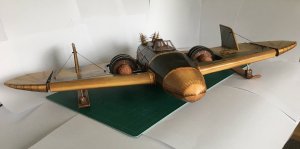
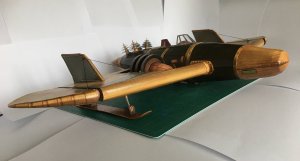
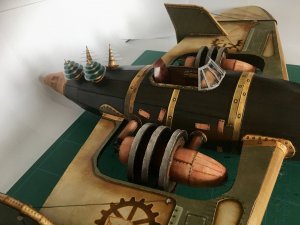
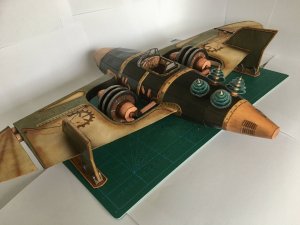
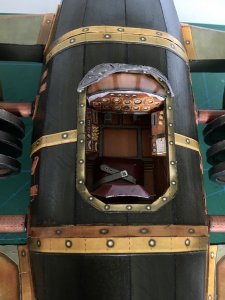

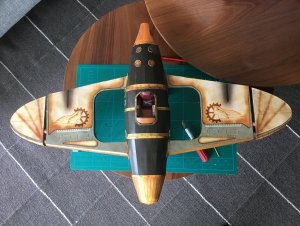
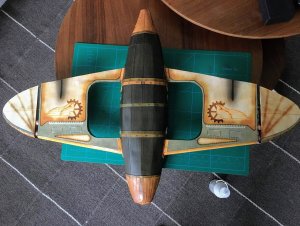
From above and the underside:
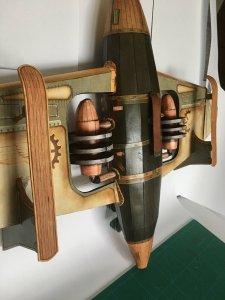
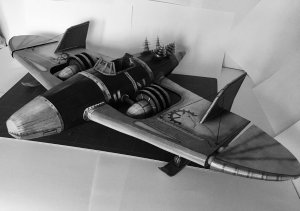
A black and white one...
Thank you for the encouring word and that you had the patients to follow this thread.
On to the next model....
/ Wilhelm
Conclusion:
A model with a lot of missalignments, Not all parts fitted and needed corrected. It has no internal formers, that is a must for a model as big as this on, the wingspan is about 60 cm. But it is a nice model in the end. But you have to put at lot of work in to it. I use 3 copies of this model in the end
 . A word of advice: Dryfit the parts before glueing.
Now to the pictures:


From above and the underside:


A black and white one...

Thank you for the encouring word and that you had the patients to follow this thread.
On to the next model....
/ Wilhelm


