N Gauger 2005 Challange
- Thread starter N Gauger
- Start date
You are using an out of date browser. It may not display this or other websites correctly.
You should upgrade or use an alternative browser.
You should upgrade or use an alternative browser.
- Status
- Not open for further replies.
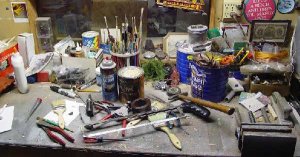
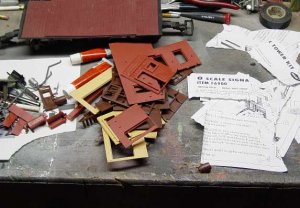
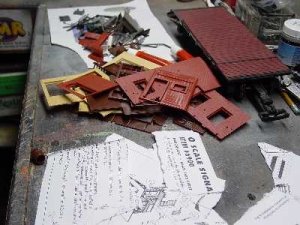
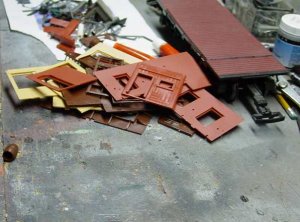
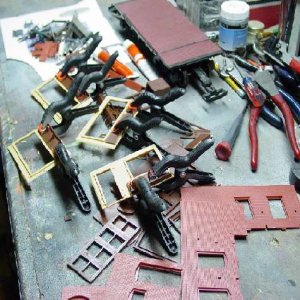
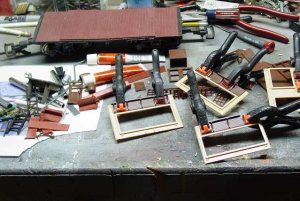
If you look at everything in the pics....you'll figure out what it will be 

If you still don't have it by tomorrow, When I put the "walls " together - you'll see what it will be & I'll also reveal the entire scope of the errr project


If you still don't have it by tomorrow, When I put the "walls " together - you'll see what it will be & I'll also reveal the entire scope of the errr project
Yup - The Model & the Glue & a Garden Railway - Exactly what I set out forausien said:Mikey, did you only, buy, what you went to the lhs to buy?? did ya?
Looks like the thread wasn't the only thing you cleaned up......
You're among friends Mikey ....You can tell the truth.
  .Thats not all you came home with...isn't it?

Looks like you got a good start.
You're among friends Mikey
Looks like you got a good start.
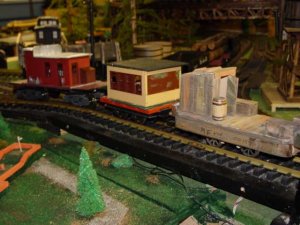
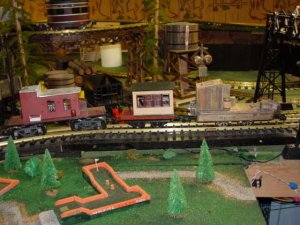
I decided that I would take the signal tower and compliment the "wreck train" with a MOW car or 2 - The Signal and MOW repair train. Scratchbuilt with the O gauge Signal Tower 
Step 5:
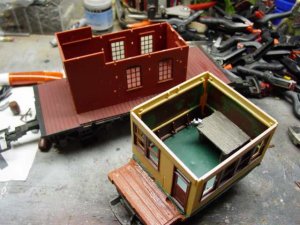
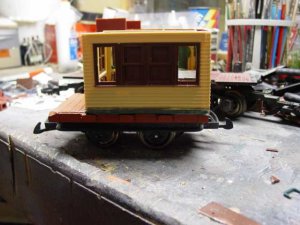
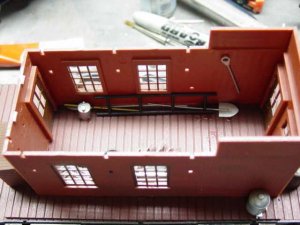
The building itself.... You have to put the windows in and the doors, then glue everything in. and glue the walls together.
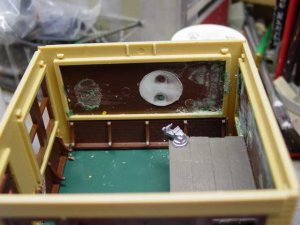
At the bottom you can see the yellow (Second floor) is now a workroom, which has a bench (taken from a G gauge model somewhere). The brown sections at the bottom of the walls, are pieces of the roof capping from teh signal tower.
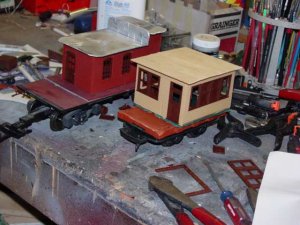
The red car (top) will be the storage room.
Attachments
Step 6 Roofs
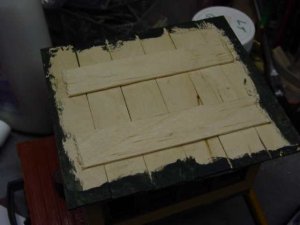
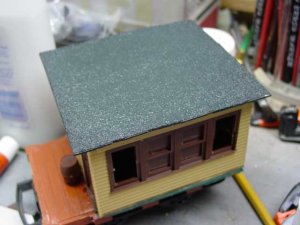
I could not use the "real roof" that came with the kit, so I improvised, I thought a metal roof would be neat - and I made a wooden one too
I included a few extra pics showing that I used tongue depressors put a few pieces of anti-skid tape to the top for a rough finish and then after it dried, I painted it with "Wroght Iron Green" paint
I used pieces of aluminum for the other roof, cutting them to size with the hacksaw and then a bench grinder to round the corner. Double sided tape sticks them to the top of the walls.
Attachments
Step 7
The rules say:
You must base your kitbash on the ATLAS tower........ You DO NOT have to use it for a tower,but you must use most of if not all of the kit in your bash.
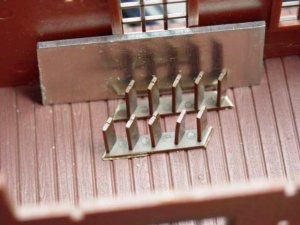
So, Now the difficult part, where to use those left over parts.... Well, a warehouse that moves will have to have some kind of "rack" to store stuff.... Those atairs make a great floor rack. I cut the stairway down, lined them up and..........
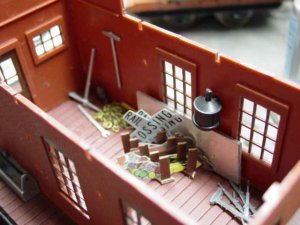
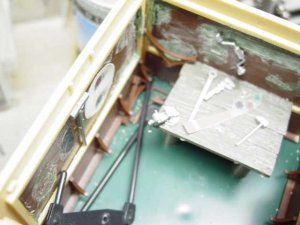
The first shows the racks... and since this is a signal repair car - the signal "parts" are in the second pic.
Attachments
Also in that second pic is the signal tower switch handles, some extra chain, a brake cylinder (on wall) and a couple tools too 
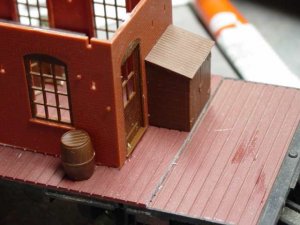
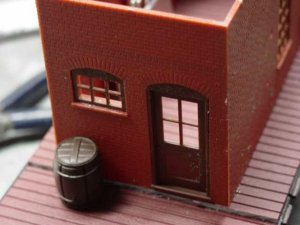
Some more extra stuff, We need a ladder to climb signals to repair them, some barrels ans a shed come with the model, I stuck them outside.  There were a bunch of G tools I had, so I included them too.
Attachments
Oh, we also could use some replacement signal faces  No - I didn't buy any just to break them, I printed pics of them & stuck them (hung them) on the walls, (used to be part of that floor)
  There is also more tools & a semaphore arm there on the bench. ALso to the left of the bench there are more "signal tower" brackets.
Attachments
Thanks60103 said:Mikey:
I suggest you enter that one in the "Thumbs" category at the NMRA convention next year.
- Status
- Not open for further replies.


