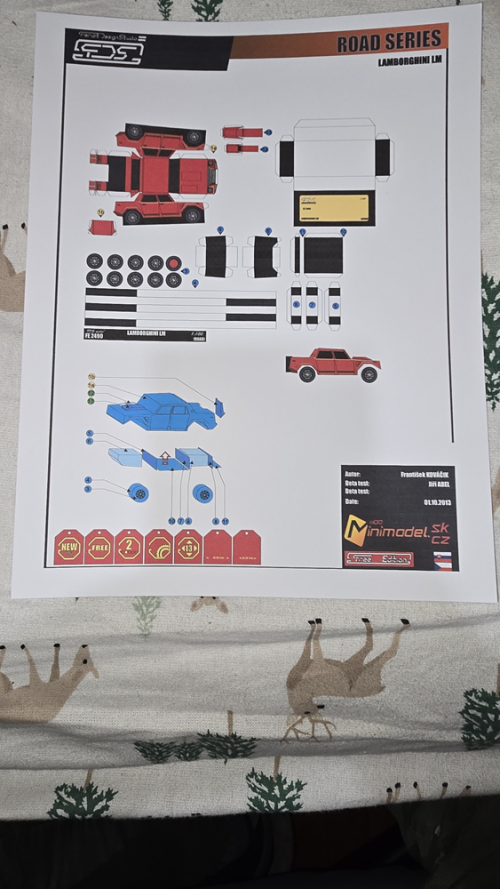
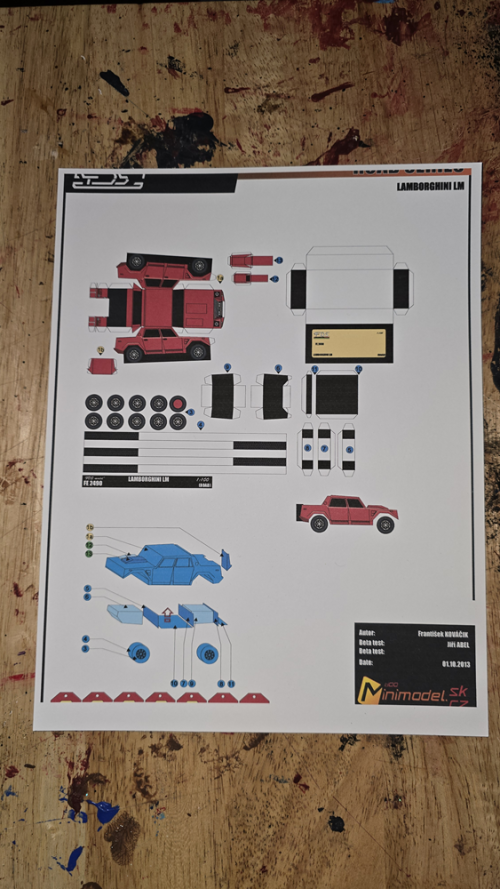
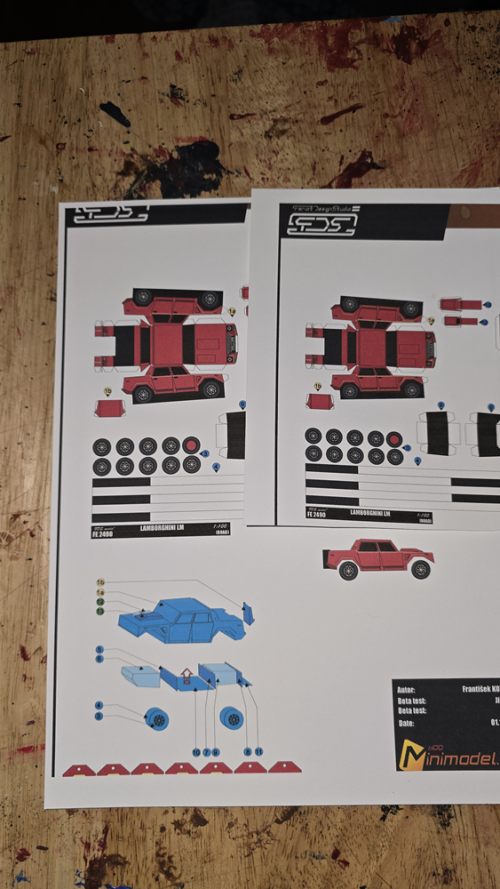
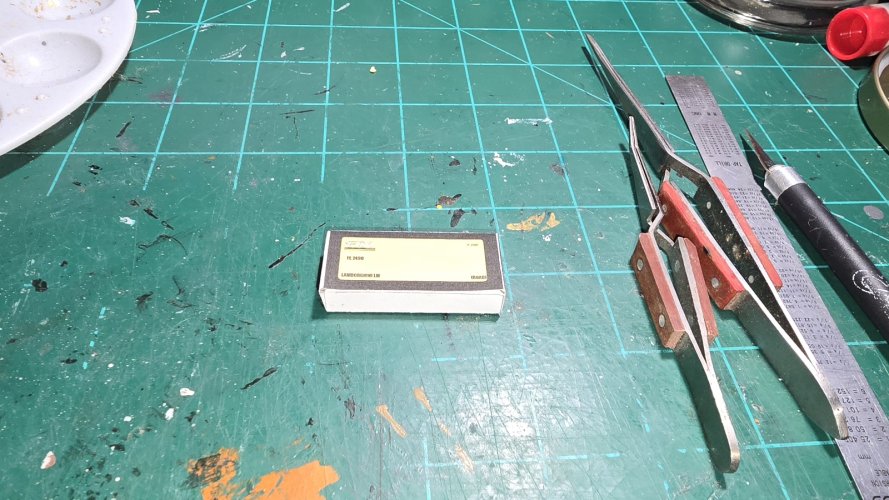
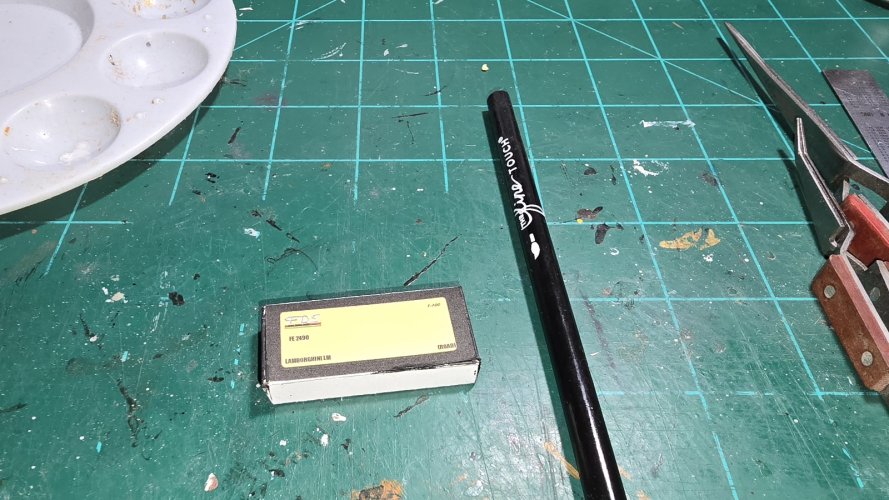
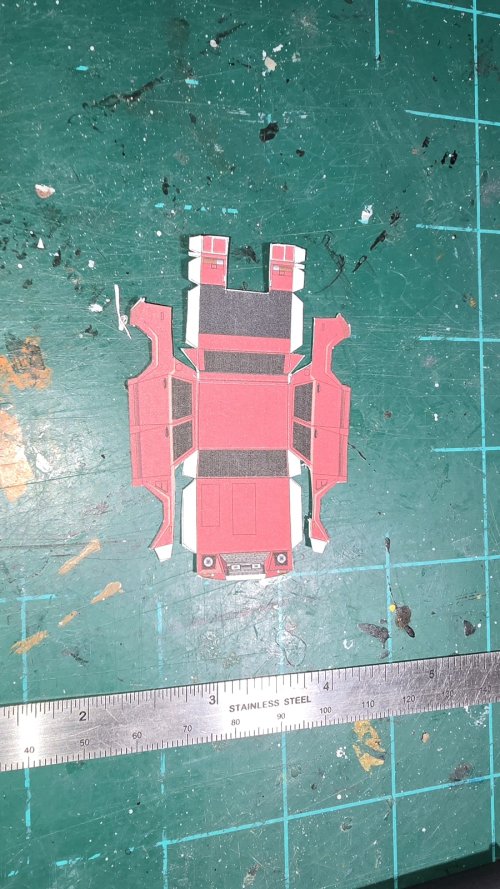
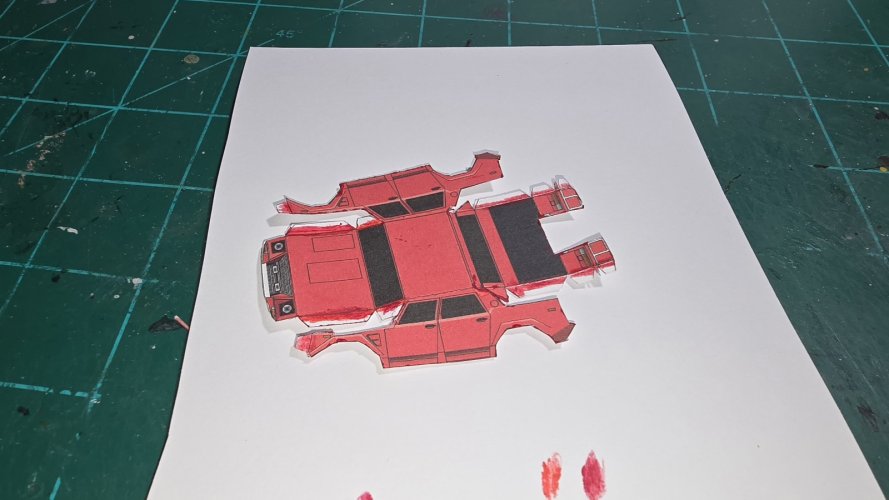
My try at a Tiny car model. Minimodel.sk Lamborghini LM
- Thread starter micahrogers
- Start date
You are using an out of date browser. It may not display this or other websites correctly.
You should upgrade or use an alternative browser.
You should upgrade or use an alternative browser.
Thanks.Good luck and realy looking forward to see your build.
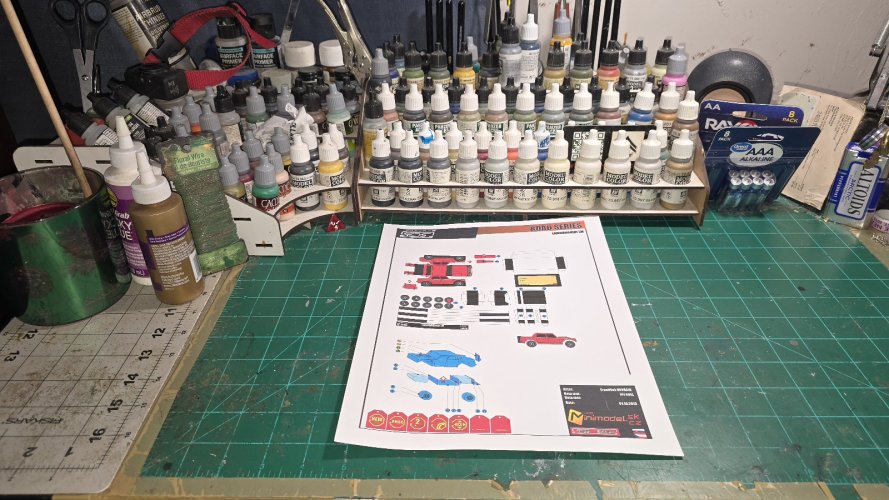
Now I just got to clean out a workspace.
- Apr 5, 2013
- 13,876
- 10,215
- 228
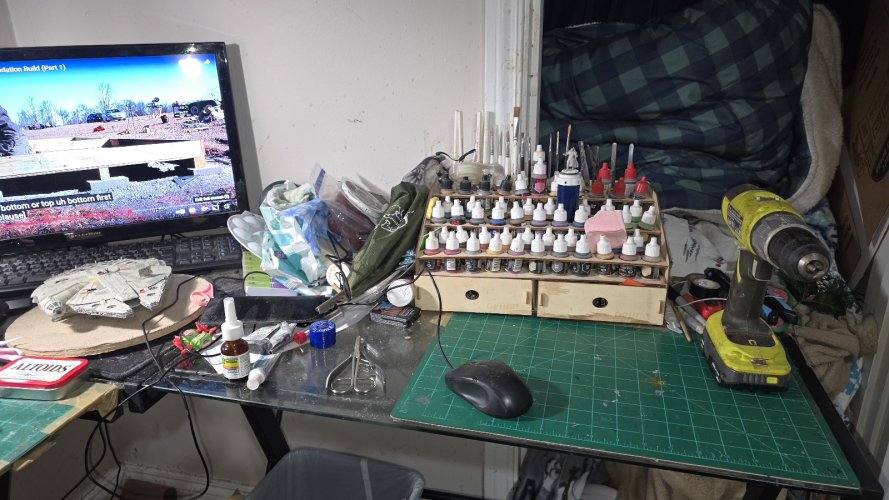
Thanks, I'm trying to get everything straightened out again so I cam build and paint.I like your work area.
My problem is space... Grrrr
My corner desk is my workspace, my dinner table, and my storage space, all in one. The house were in now has about 300 fewer sq ft than our last place.
You chose a nice mini model, I'm keeping my fingers crossed that the model is a success 
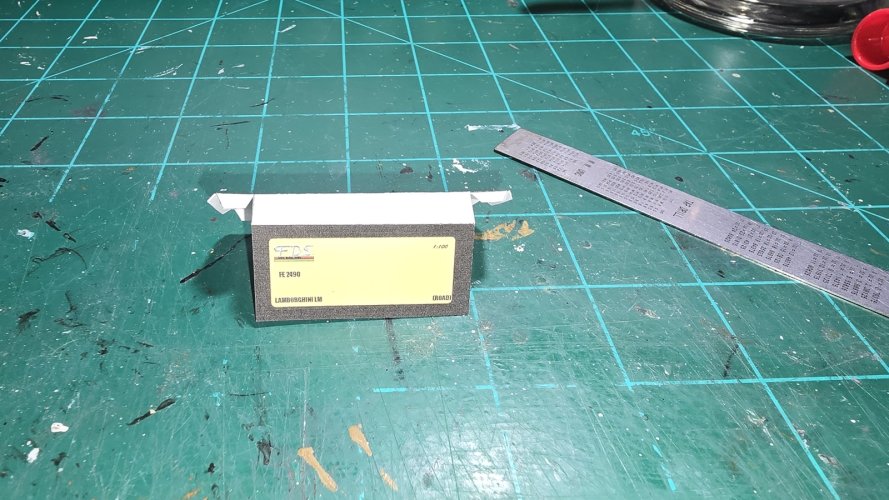
and edge colored with a water color pencil.
next I'll get to work on the structure of the beast.
Your off to a good start!
May I suggest trying to edge colour before assembly? I find it a lot quicker, you'll have more control and it's less messy this way.
Looking forward to seeing your 'mini beast' take shape!
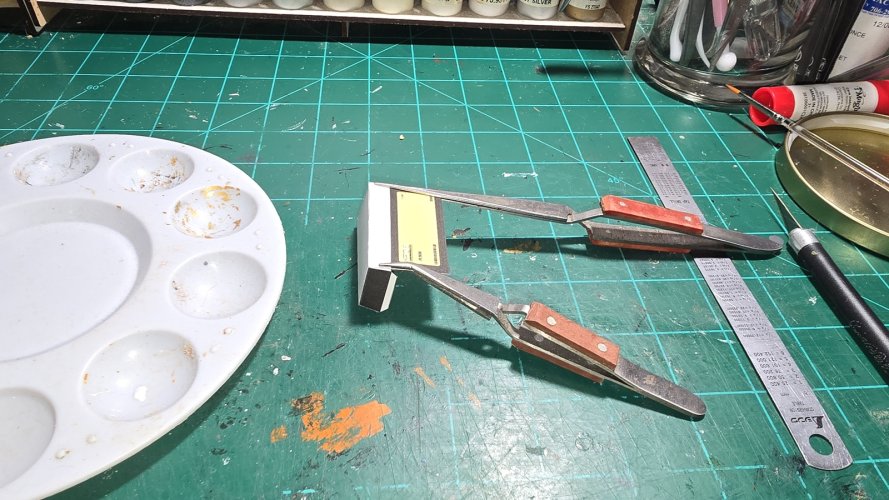
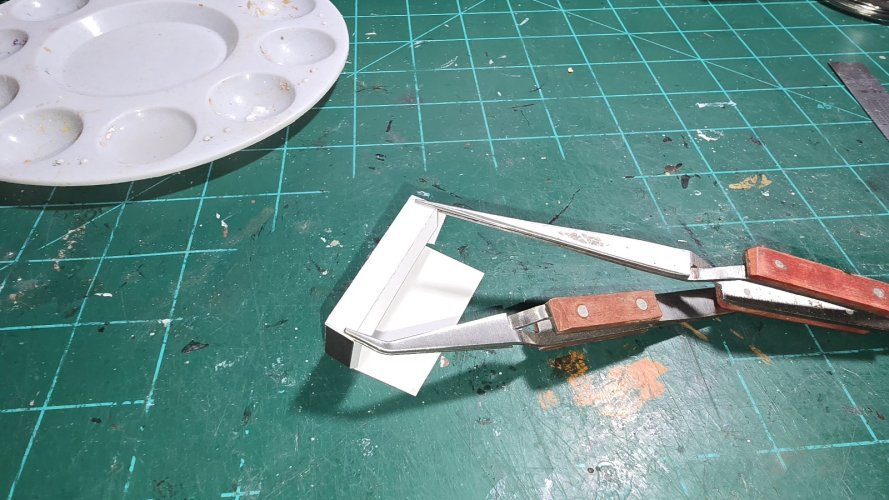
Next parts are the support structure and body, I'll try edge coloring before assembly on these.Your off to a good start!
May I suggest trying to edge colour before assembly? I find it a lot quicker, you'll have more control and it's less messy this way.
Looking forward to seeing your 'mini beast' take shape!
nice to be working on anything.Great start and nice to see you working on this model.
Cool!! The way the tweezers are arranged make them look like power cables to start the engine. 
I am glad to see you building again. You are off to a good start with this project. I am looking forward to seeing how this turns out.
- Apr 5, 2013
- 13,876
- 10,215
- 228
If you are going to cut out the windows, I'd cut them out before cutting the template any further. 
Leaving them blacked out... This model is proving difficult for me due to the size. I don't think I could do an interior if I wanted too.If you are going to cut out the windows, I'd cut them out before cutting the template any further.
glueing up starts with the left side front
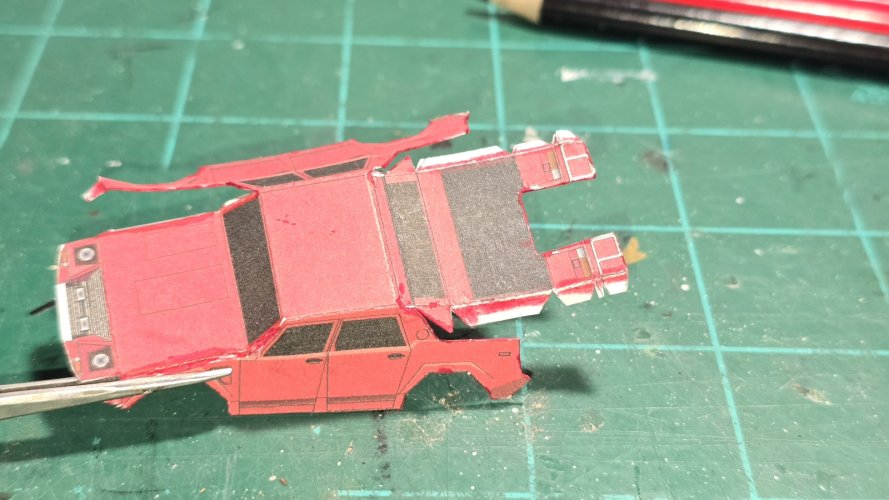
Then the right
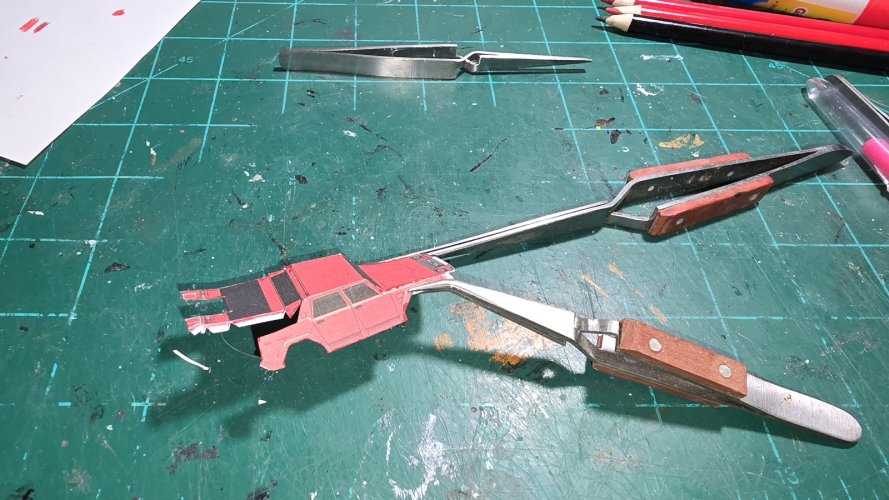
and the I left the nose loose till the sides are affixed
There are little 'wings' at the rear that make a sunken area around the back glass which drove me bonkers... Grrrr.
But both sides are affixed.
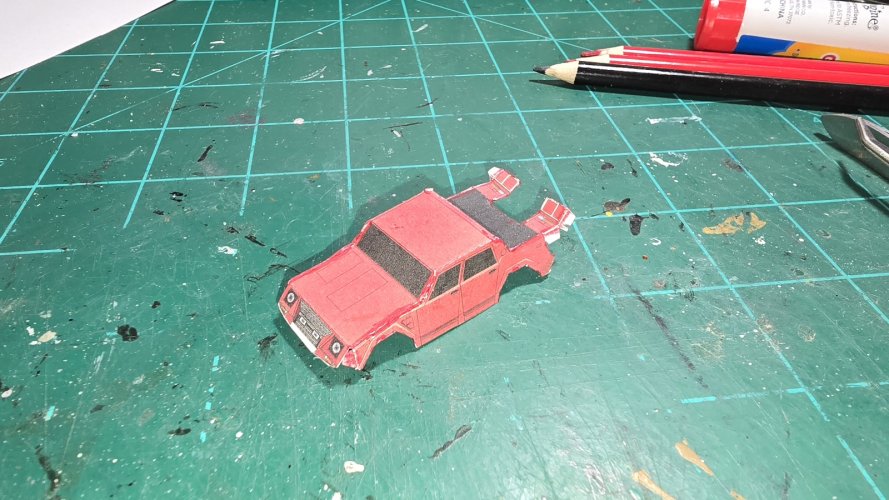
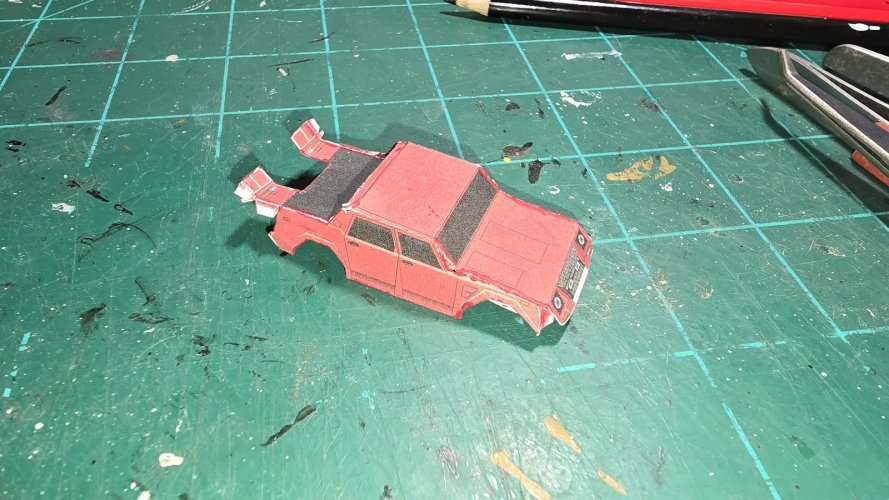
Then the front end is glued...
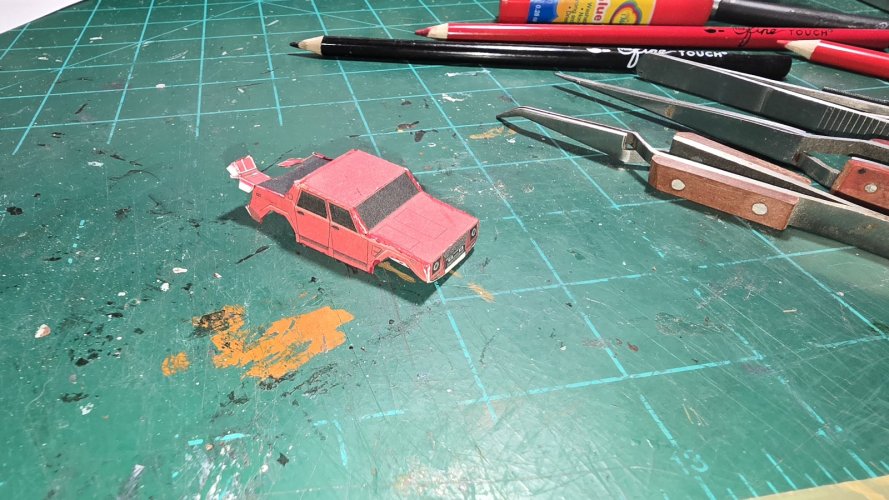
There is a little white shape under the front that was lined to be left on the model, but does it belong there?
Then the tail light sections are glued down. These almost made me crush the whole thing and retire from this build... Tiny little mountain and valley combination folds, made my hands go numb, but I got them
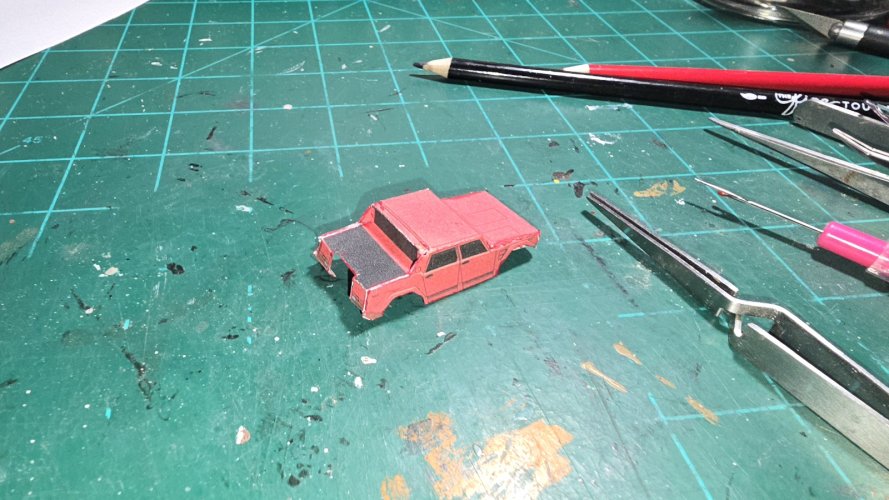
here you can see that sunken area, the red wings wanted to go over the side, not into it.
next are the little body detail pieces.

Then the right

and the I left the nose loose till the sides are affixed
There are little 'wings' at the rear that make a sunken area around the back glass which drove me bonkers... Grrrr.
But both sides are affixed.


Then the front end is glued...

There is a little white shape under the front that was lined to be left on the model, but does it belong there?
Then the tail light sections are glued down. These almost made me crush the whole thing and retire from this build... Tiny little mountain and valley combination folds, made my hands go numb, but I got them

here you can see that sunken area, the red wings wanted to go over the side, not into it.
next are the little body detail pieces.


