

My new RR room is ready at long last.
- Thread starter interurban
- Start date
You are using an out of date browser. It may not display this or other websites correctly.
You should upgrade or use an alternative browser.
You should upgrade or use an alternative browser.

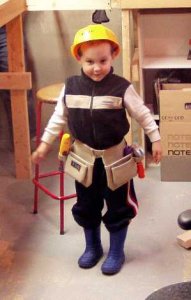
My son in Law and Grandson William are building an N SCALE RR in my old room.
here is William the builder "can we fix it?? YES WE CAN!!!!"
:thumb: :thumb: :thumb: :thumb:
here is William the builder "can we fix it?? YES WE CAN!!!!"
:thumb: :thumb: :thumb: :thumb:
Attachments


That's great Chris!!! Now the real fun begins. 
That little construction dude sure looks ready to go too!!!!
Val
That little construction dude sure looks ready to go too!!!!
Val
Wow, two layouts in one house. But then look at the great help you are getting Chris. William looks right at home.
I am off for two weeks .
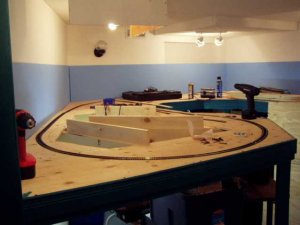
So the track is going in for the 2/10/4 Steamer , the two loops are in and tested as this beast is needs 25" radius and she has IT!!
Now I can work around her Special needs and plan the TRACTION .
Pics to follow
So the track is going in for the 2/10/4 Steamer , the two loops are in and tested as this beast is needs 25" radius and she has IT!!
Now I can work around her Special needs and plan the TRACTION .
Pics to follow
Hey Chris, there is a LOT of work waiting for you! But it's always great when you have a chance for a new start. I wish you also a LOT of fun...
And I like your construction assistant. He really looks professional! :thumb: And I think he has just the right size for doing the wiring job below the layout table.
Ron
And I like your construction assistant. He really looks professional! :thumb: And I think he has just the right size for doing the wiring job below the layout table.
Ron
Yep William is a big help.
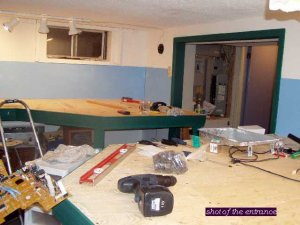
Here a the first shots.
I have started the elevation and will post them pics tomorrow.
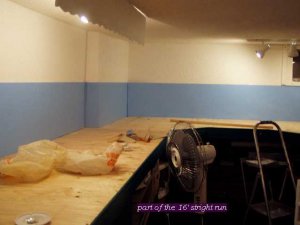
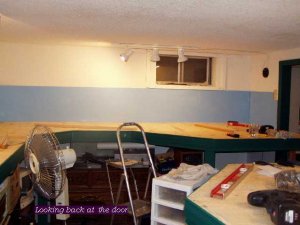
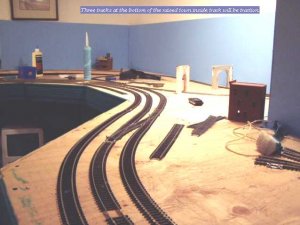
The first shot , I had to have access to the window, also me reaching days are over so all out of reach areas get covered
I have a chair on wheels that I use to scoot under to reach ares that need track cleaning and such.
Here a the first shots.
I have started the elevation and will post them pics tomorrow.
The first shot , I had to have access to the window, also me reaching days are over so all out of reach areas get covered
I have a chair on wheels that I use to scoot under to reach ares that need track cleaning and such.
Attachments
")
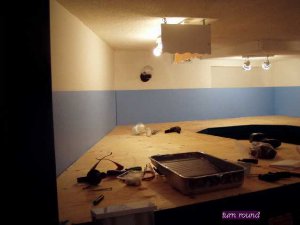
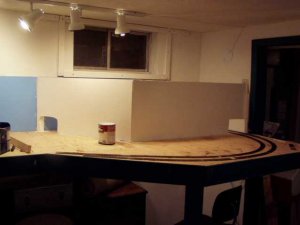
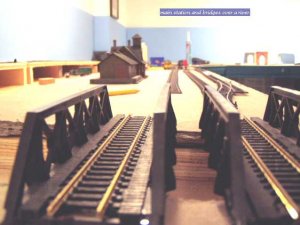
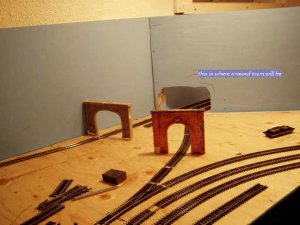
Some progress and wire up in a small section where I am going to put under a tunnel.
I will have to senic the cover soon as it will be hard to get to once the town table top is in place.
I will have to senic the cover soon as it will be hard to get to once the town table top is in place.
Attachments


Robin, all he has to do is convert the tender to full water, add a pantograph over the cab, and use electric heating in the boiler.
David - your proposal already has been put to practice! However, this one wasn't exactly a big mainline steamer!
Hehe Chris, you surely remember this thread?
Your layout is coming along fine. A question: Will everything be under catenary? Or do you have a steam/diesel road beside an electrified line?
Ron
Hehe Chris, you surely remember this thread?
Your layout is coming along fine. A question: Will everything be under catenary? Or do you have a steam/diesel road beside an electrified line?
Ron
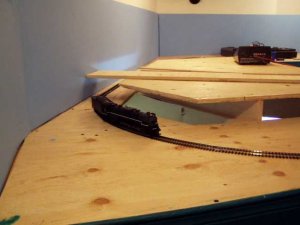
Chris it looks like great progress is starting to be made. I was wondering how did you cut the start of that incline after the plywood was already installed? Also in the second group of pictures you have a scenic divider installed will you access this area with some kind of cutout ? Thanks Pat
Hi Guys,
Ron I do remember that thread a fine elec/steam loco :thumb:
There will be a steam/diesel line and a Traction line getting the two to "gel" is the trick with the space avalible Problems are there to be solved , I hope
Hi Pat Yes I have access behind that section as i was out of reach , also the window can be used now.
I am about to go down to the railway 6am!! as I think I will do the same on the other side . Can not sleep till I go and look at it again.
I will :sleeping: later.
The incline , after marking out the area , I used a 1/2 inch hole cutter then used my trusty scroll saw . one side I placed a 3mm piece of wood underneath the raised section .on the other I screwed a piece of ply across the underneath with bit of ply screwed on that , both ways do the trick and gives you a gentle start to the elevation.
Ron I do remember that thread a fine elec/steam loco :thumb:
There will be a steam/diesel line and a Traction line getting the two to "gel" is the trick with the space avalible
Problems are there to be solved , I hope Hi Pat Yes I have access behind that section as i was out of reach , also the window can be used now.
I am about to go down to the railway 6am!! as I think I will do the same on the other side . Can not sleep till I go and look at it again.
I will :sleeping: later.
The incline , after marking out the area , I used a 1/2 inch hole cutter then used my trusty scroll saw . one side I placed a 3mm piece of wood underneath the raised section .on the other I screwed a piece of ply across the underneath with bit of ply screwed on that , both ways do the trick and gives you a gentle start to the elevation.
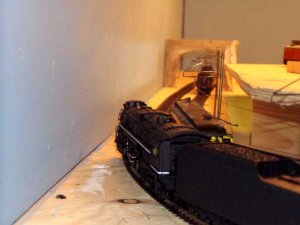
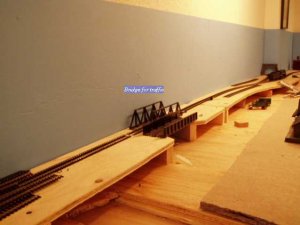
Today was a make your mind up day and get the saw out!!
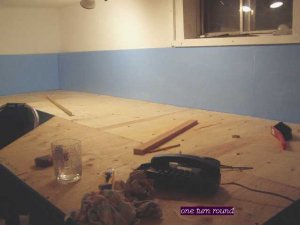
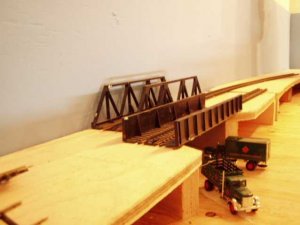
Here is the progress so far.
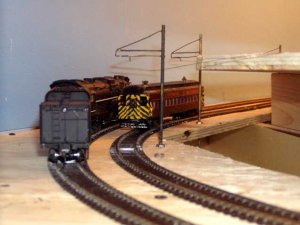
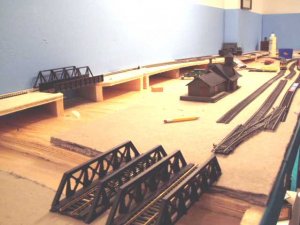
I am putting in two main lines one of course is traction.
I have it set in my thinking how it will pull together. the river is cut out and ready for cement, and the road bridge is in.")
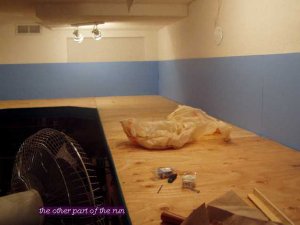
Here is the days work.
Here is the progress so far.
I am putting in two main lines one of course is traction.
I have it set in my thinking how it will pull together. the river is cut out and ready for cement, and the road bridge is in.
Here is the days work.
Attachments
This is looking good, Chris! :thumb:
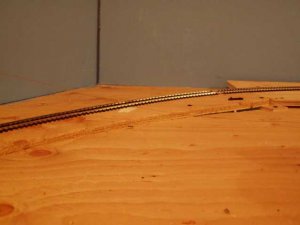
I love those sweeping curves in the third shot. I think I would choose it as my favorite railfanning spot for watching the trains go by.
Ron
I love those sweeping curves in the third shot. I think I would choose it as my favorite railfanning spot for watching the trains go by.
Ron