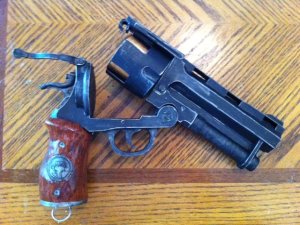
Just discovered this site while working on my current build and wanted to share it here. It is the samaritan pistol from Hellboy created by UHU02. I normally like to build my models from scratch but UHU02 model is excellent and only needed minor tweeks so I decided to use it as the base. Thanks to UHU02 for making it.
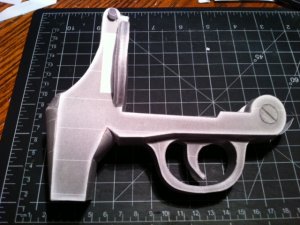
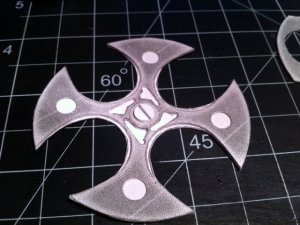
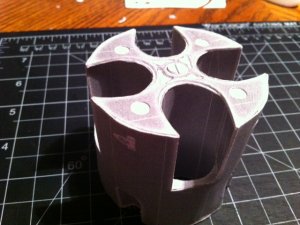
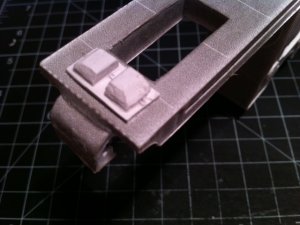
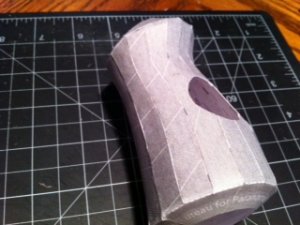
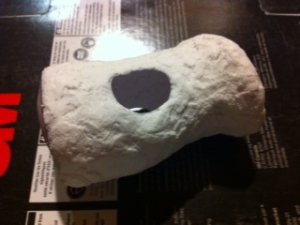
The first thing I did was print everything out on the 110pd cardstock. I am going to paint it later so grayscale and lowquality is fine. I started with the handle. This will be the hardest part of the build. I cut out and assembled the handle making sure to cut out the emblem in the center. I dont use tabs as they create a staircase-like surface. Instead i use small squares on the backside to keep everything flush. After assembling both halves I glued them together:

Next I coated the handle in wall spackle and let it dry.

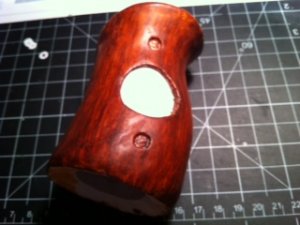
Saldy I dont have many pictures between the next step because I was trying out a new process. Basically I sanded the handle down and then sprayed with a a Primer and Filler car paint. Once dried I sanded again. This left some cracks but I thought they would add to the wood grain look. Once it was smooth I primed it white. The wood grain process consisted of two shades of brown acrylic paint. First a light brown. I dipped a frayed paint brush in the paint and then in water. As I applied it i used long straight strokes. You dont want the paint to be consistent. Instead you want the frayed edges to leave streaks. as the acrylic paint dries it will be easier to do this. It may look bad at first but once you are done repeat the process with the darker brown making sure to water down a little first. The result should look like this:

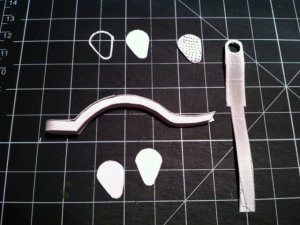
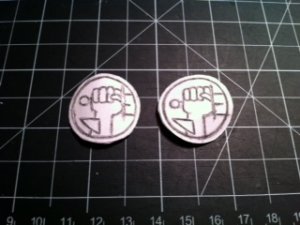
Next I cut small cirlces and drew the hand emblem on them. I etched over the lines with a metal mechanical pencil tip to give the lines depth:

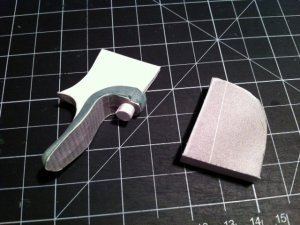
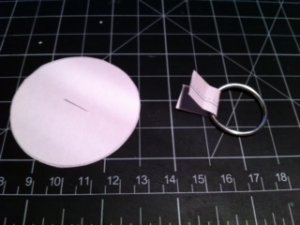
I cut a circle the size of the base of the handle and glued a 4mm strip to the edge. I cut a slit in this and attached a metal ring with a folded rectangle of paper. This wil serve as the butt plate:

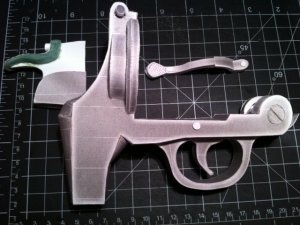
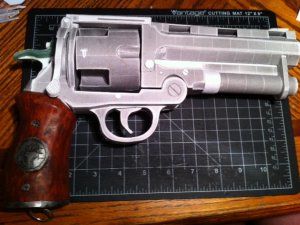
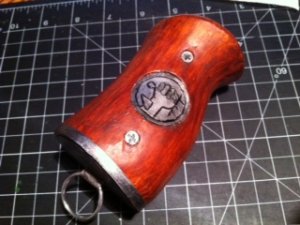
Next I painted the emblems, screws, and butt plate silver. Once dry I quickly brushed on lightly watered down black paint and rubbed it off. This gets the paint in the recesses and makes the silver look more real. I then glued everything together. The "screws" were made using the holes from a hole punch and cutting the plus shape into them:

The etched lines on the emblem were not dark enough so I used a dark grey watercolor marker to add color.
The first thing I did was print everything out on the 110pd cardstock. I am going to paint it later so grayscale and lowquality is fine. I started with the handle. This will be the hardest part of the build. I cut out and assembled the handle making sure to cut out the emblem in the center. I dont use tabs as they create a staircase-like surface. Instead i use small squares on the backside to keep everything flush. After assembling both halves I glued them together:
Next I coated the handle in wall spackle and let it dry.
Saldy I dont have many pictures between the next step because I was trying out a new process. Basically I sanded the handle down and then sprayed with a a Primer and Filler car paint. Once dried I sanded again. This left some cracks but I thought they would add to the wood grain look. Once it was smooth I primed it white. The wood grain process consisted of two shades of brown acrylic paint. First a light brown. I dipped a frayed paint brush in the paint and then in water. As I applied it i used long straight strokes. You dont want the paint to be consistent. Instead you want the frayed edges to leave streaks. as the acrylic paint dries it will be easier to do this. It may look bad at first but once you are done repeat the process with the darker brown making sure to water down a little first. The result should look like this:
Next I cut small cirlces and drew the hand emblem on them. I etched over the lines with a metal mechanical pencil tip to give the lines depth:
I cut a circle the size of the base of the handle and glued a 4mm strip to the edge. I cut a slit in this and attached a metal ring with a folded rectangle of paper. This wil serve as the butt plate:
Next I painted the emblems, screws, and butt plate silver. Once dry I quickly brushed on lightly watered down black paint and rubbed it off. This gets the paint in the recesses and makes the silver look more real. I then glued everything together. The "screws" were made using the holes from a hole punch and cutting the plus shape into them:
The etched lines on the emblem were not dark enough so I used a dark grey watercolor marker to add color.
")