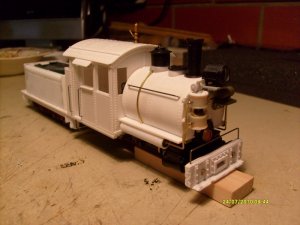
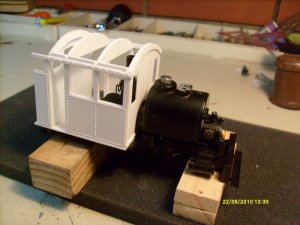
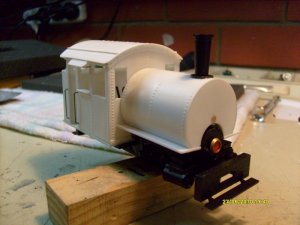
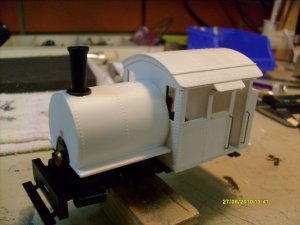
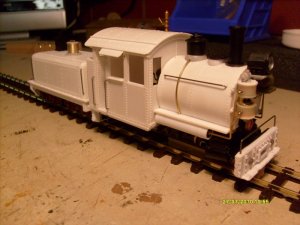
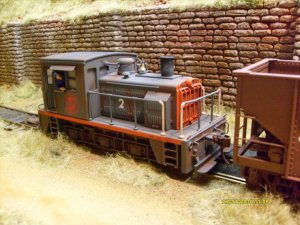
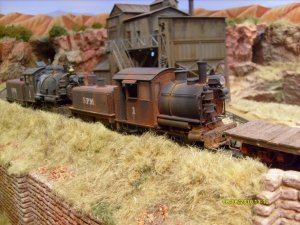
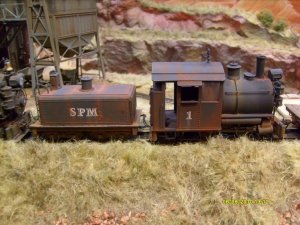
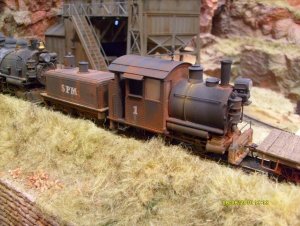
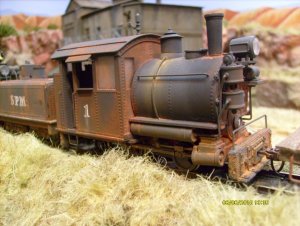
Sludge Pit Minerals needs another Steamer. :thumb::thumb:
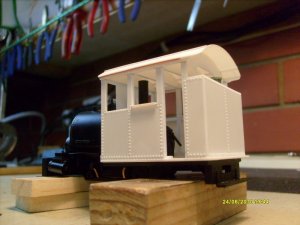
This one will have a motorized Tender bashed from a Piko Loco
I bought on e-bay for $25.00. for parts only.
The loco was brand new but was dropped destroying the loco body. wall1
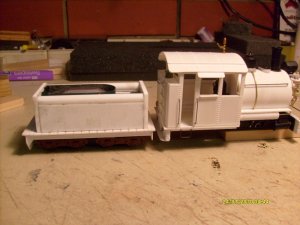
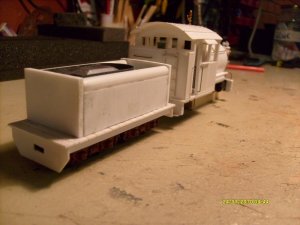
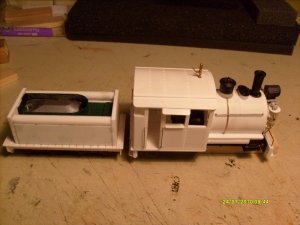
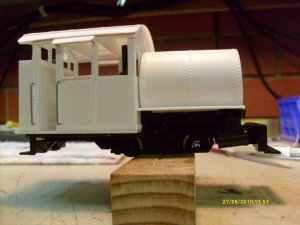
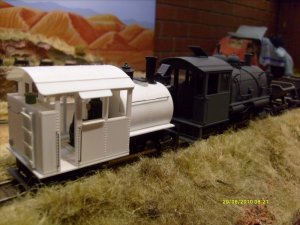
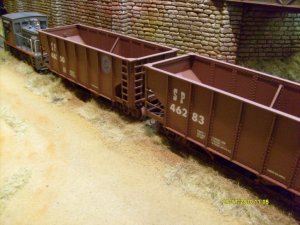
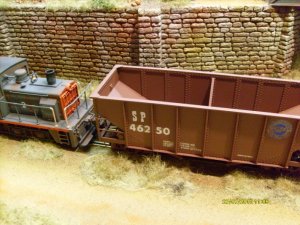
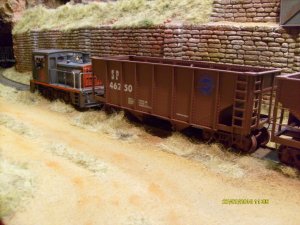
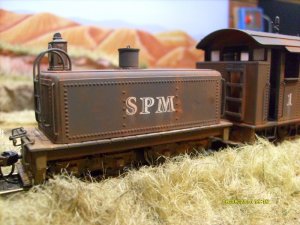
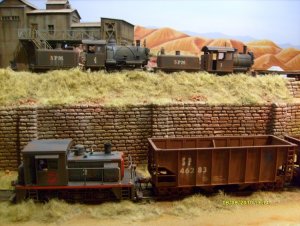
Looks very good behind the re-worked Porter.
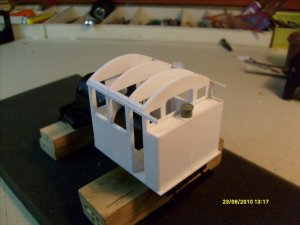
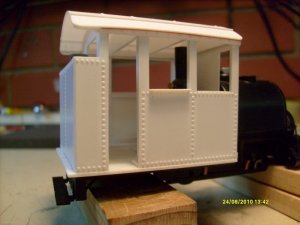
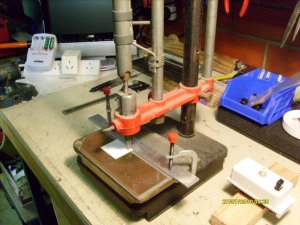
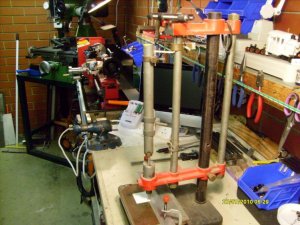
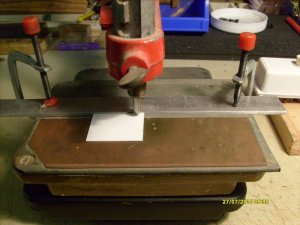
First piccies:
 Joe.
Joe.
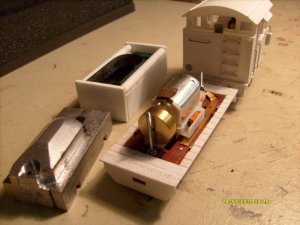
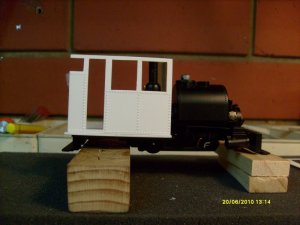
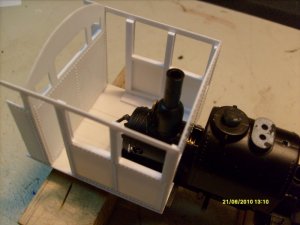
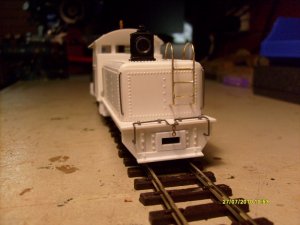
This one will have a motorized Tender bashed from a Piko Loco
I bought on e-bay for $25.00. for parts only.
The loco was brand new but was dropped destroying the loco body. wall1
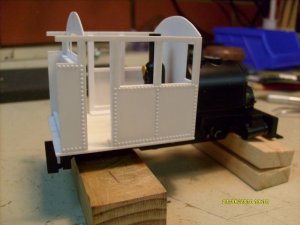
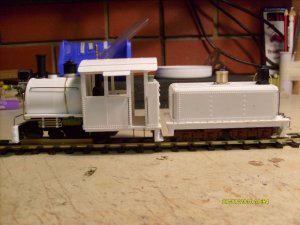
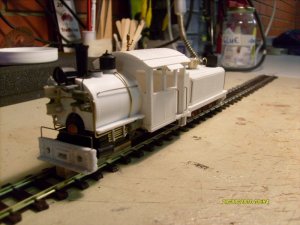
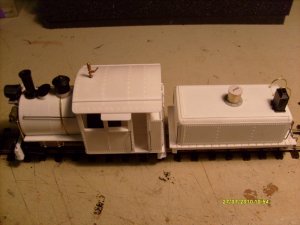
Looks very good behind the re-worked Porter.
First piccies:
Joe.