N
niebla de fuego
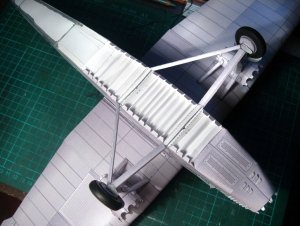
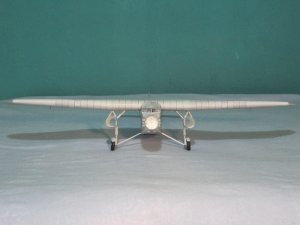
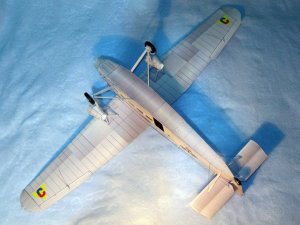
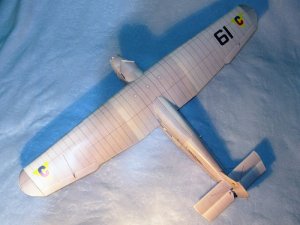
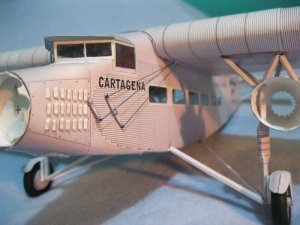
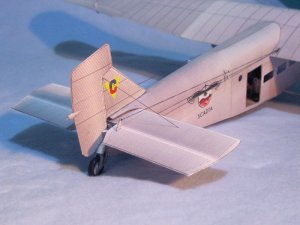
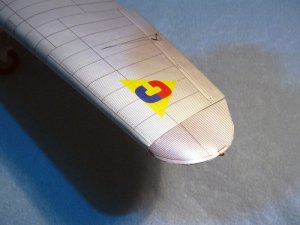
Thanks to all for your kind words. I believe that a good model is the result of a good design, and the modeler’s own relationship with the subject. In this case, the Tri-Motor kit by Peter Zorn is a really good kit. And I have a special interest in this SCADTA version, so I guess that’s why the result is coming out well 
Rbeach: almost there… but not yet. The circle will be closed when I can see the model finished
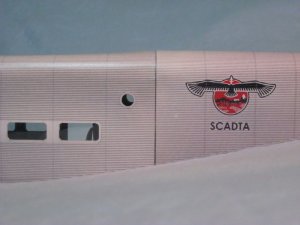
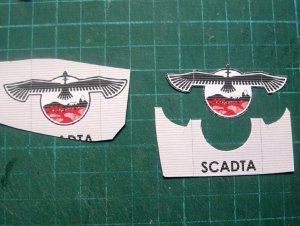
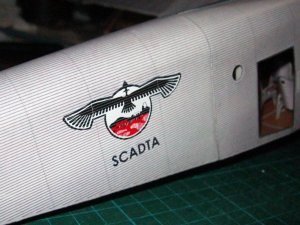
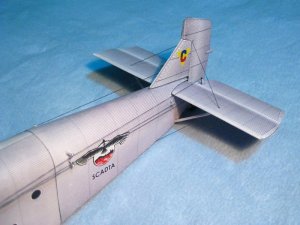
I’ve been absent these past weeks because I had to correct one little thing: the SCADTA logo on the fuselage. The logo is a stylized condor displayed over a landscape with a river and mountains.
I based my version of the logo on old timetables found at: http://www.timetableimages.com/ttimages/av2.htm
And I draw it with a full red background.
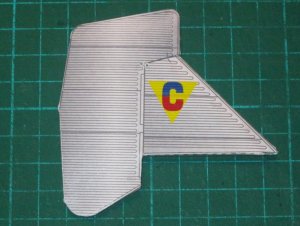
However, after an interview with a retired AVIANCA engineer who has a huge collection of SCADTA memorabilia and documentation, I found my version was wrong, and the correct logo used white color for the sky (not red). He assured me the colors were correct, except for the sky. Below you can see the difference. On the left my incorrect first version, and on the right the corrected version.
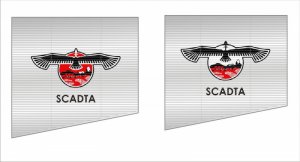
So I took the new file to the same copy shop where I printed the kit… only to find it had closed down. Too bad. So I went to other places to print the file… only to find that even laser printers differ a lot from each other, and at the end I got 3 different hues of grey from the same source file, not one even close to the original I had with the wrong logo.
Tired of that I just decided to come back home and use the original piece with wrongly colored logo. At least that way I preserve uniformity in the grey color of the aluminum skin. But it was “bye-bye accuracy”.
So let’s continue with the report, as close as possible to the original instructions.
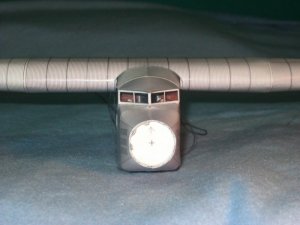
The cockpit is not difficult, but it must be done with care because of the folds and cut-outs of the windows. If you downloaded the kit, you’ll find that in the digital restoration I provided extra grey part to be used as backing, so that the back of the cardstock doesn’t look white when seen through the windows.
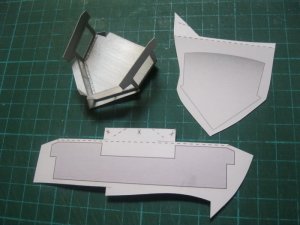
That is probably a good option if you use thin cardstock. However, if the cardstock you use is a bit thick this may cause you unnecessary problems when folding. I found it was my case, so I just opted for painting the back of the cardstock with silver ink.
The transparent windows were made with the template provided in the kit. I just used white PVA to glue them. The seem to have glued well, but time will tell.
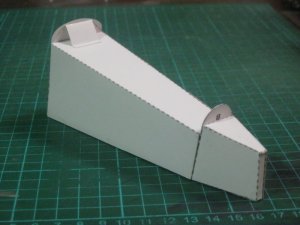
The cockpit is attached to the structures without problems. If you need to adjust something it will be very little.
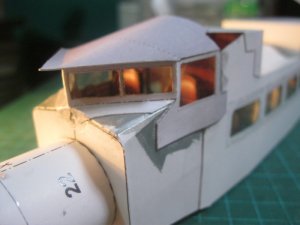
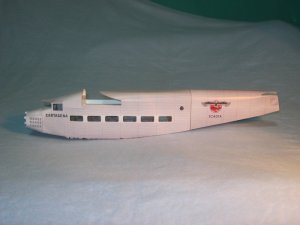
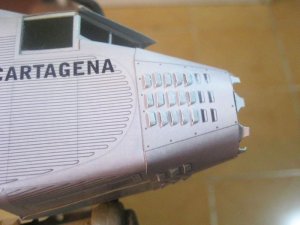
I cut the windows of the skin, and pre-shaped it before glueing it. Always dry-test it before glueing it. Since the cut-outs of the windows align perfectly it is very easy to get the skins glued properly (don’t forget to previously glue a piece of acetate to simulate the passenger windows).
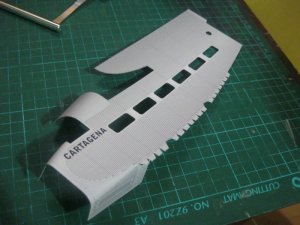
One small note: you may want to dry-test the fuselage skins *and* the cockpit before glueing, so that the cockpit side windows match better with the cutout of the fuselage skin. I did it, and used a pencil to trace the place where the cockpit should be, then glued it, and after dry I glued the skins.
Don’t pay attention to the silver paint. I brushed some to prevent any white part showing after the skins were attached, but in reality none of it showed.
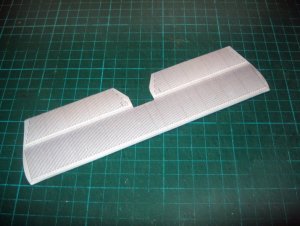
After glueing the skins, I had a mildly unpleasant surprise: the top of the roof where the side skins meet was a bit too short. You can see there is a gap of almost 1mm. I believe it could be for a number of reasons:
- Cardstock too thick.
- Parts drawn a bit smaller than the original.
- An accident when modifying the part to eliminate the round cockpit window to convert it to a 5-AT-D.
- Glueing the cabin arch roof *before* the sides of the cabin roof.
Or it could be a combination of some or all of the above.
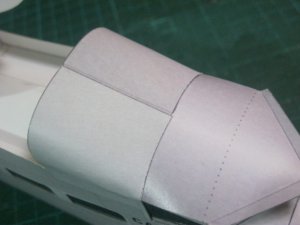
In any case that gap is now forever part of the model. Fortunately, it is a very forgiving model, and some mistakes can be made without affecting too much the appearance of the plane.
Rbeach: almost there… but not yet. The circle will be closed when I can see the model finished
I’ve been absent these past weeks because I had to correct one little thing: the SCADTA logo on the fuselage. The logo is a stylized condor displayed over a landscape with a river and mountains.
I based my version of the logo on old timetables found at: http://www.timetableimages.com/ttimages/av2.htm
And I draw it with a full red background.
However, after an interview with a retired AVIANCA engineer who has a huge collection of SCADTA memorabilia and documentation, I found my version was wrong, and the correct logo used white color for the sky (not red). He assured me the colors were correct, except for the sky. Below you can see the difference. On the left my incorrect first version, and on the right the corrected version.

So I took the new file to the same copy shop where I printed the kit… only to find it had closed down. Too bad. So I went to other places to print the file… only to find that even laser printers differ a lot from each other, and at the end I got 3 different hues of grey from the same source file, not one even close to the original I had with the wrong logo.
Tired of that I just decided to come back home and use the original piece with wrongly colored logo. At least that way I preserve uniformity in the grey color of the aluminum skin. But it was “bye-bye accuracy”.
So let’s continue with the report, as close as possible to the original instructions.
The cockpit is not difficult, but it must be done with care because of the folds and cut-outs of the windows. If you downloaded the kit, you’ll find that in the digital restoration I provided extra grey part to be used as backing, so that the back of the cardstock doesn’t look white when seen through the windows.

That is probably a good option if you use thin cardstock. However, if the cardstock you use is a bit thick this may cause you unnecessary problems when folding. I found it was my case, so I just opted for painting the back of the cardstock with silver ink.
The transparent windows were made with the template provided in the kit. I just used white PVA to glue them. The seem to have glued well, but time will tell.
The cockpit is attached to the structures without problems. If you need to adjust something it will be very little.

I cut the windows of the skin, and pre-shaped it before glueing it. Always dry-test it before glueing it. Since the cut-outs of the windows align perfectly it is very easy to get the skins glued properly (don’t forget to previously glue a piece of acetate to simulate the passenger windows).

One small note: you may want to dry-test the fuselage skins *and* the cockpit before glueing, so that the cockpit side windows match better with the cutout of the fuselage skin. I did it, and used a pencil to trace the place where the cockpit should be, then glued it, and after dry I glued the skins.
Don’t pay attention to the silver paint. I brushed some to prevent any white part showing after the skins were attached, but in reality none of it showed.
After glueing the skins, I had a mildly unpleasant surprise: the top of the roof where the side skins meet was a bit too short. You can see there is a gap of almost 1mm. I believe it could be for a number of reasons:
- Cardstock too thick.
- Parts drawn a bit smaller than the original.
- An accident when modifying the part to eliminate the round cockpit window to convert it to a 5-AT-D.
- Glueing the cabin arch roof *before* the sides of the cabin roof.
Or it could be a combination of some or all of the above.

In any case that gap is now forever part of the model. Fortunately, it is a very forgiving model, and some mistakes can be made without affecting too much the appearance of the plane.


