Okay, card in hand, lets get started.
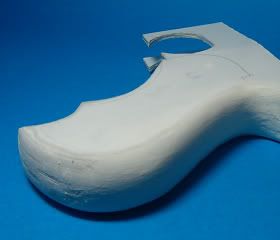
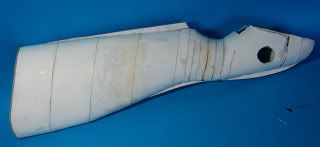
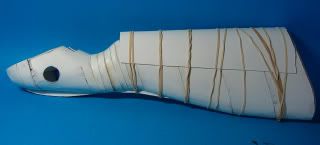
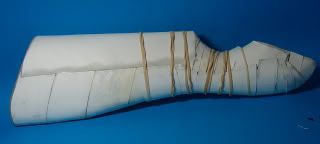
Now I'm going to treat this as a bit of tutorioral on how I reinforce a model, and subsequently sand and smooth until I have a part that looks like a 1 piece molding or casting. So pay ettention. :mrgreen:
Firstly, this process results in a VERY strong model, but it's not suited to all models. It's absolutly not appropriate for your gplinski krokian flopwopper biplane with all the beautiful printed textures. It is suited to models with a simpler format, models that will need to take alot of handling, or large shapes which need a smooth continual line. You WILL have to paint it. I guess you could use the technique to create really strong framework for a more conventional approach, but You'll have to be super careful not to change the dimensions with all the shaping and sanding that will take place.
Now, where was I?
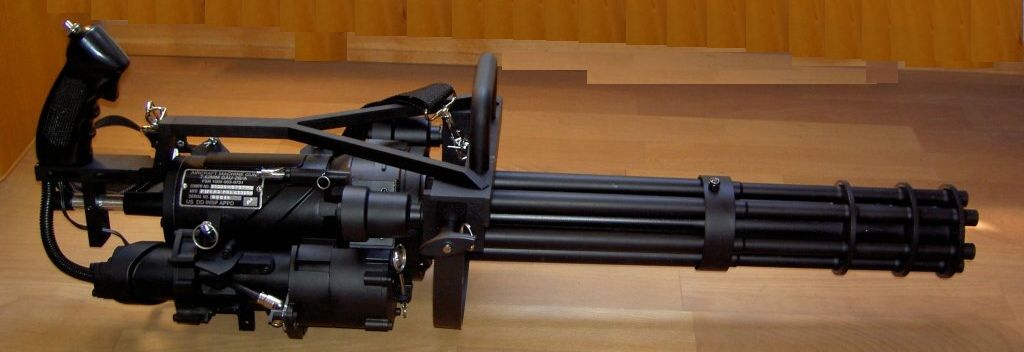
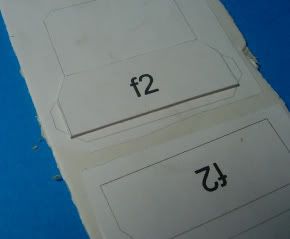
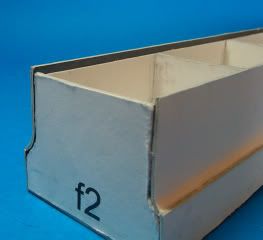
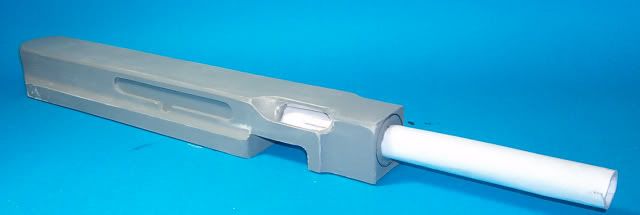
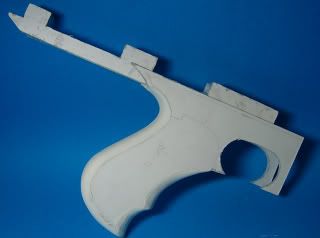
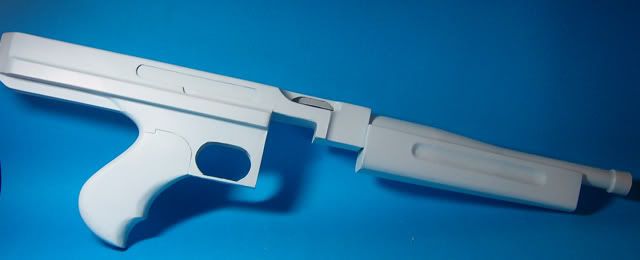
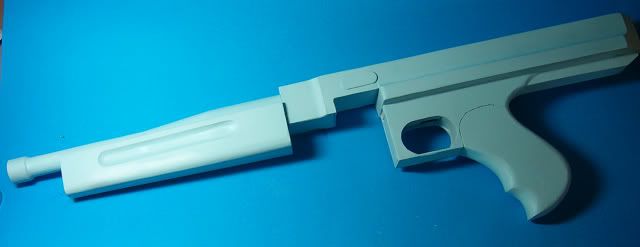
Ah. the Thompson. I'm going to build the receiver first, as this is central to the whole model. I began by laminating all the formers (parts F2) to 1mm card. This part confused me a bit at first, until I realised there are supposed to be tabs marked around the part, which arn't. F2 should be the same shape as part 7 (without the semi-circular cut-out).
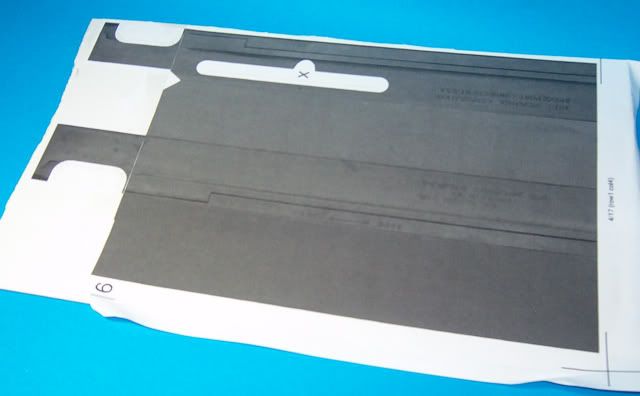
Now, as I'm going to paint this model, and virtually all parts will be laminated, I'm not going to waste ink or decent card on unessesarily pretty pieces, so all printing is done using the print text option, black ink only, on normal 80 GSM copy paper.
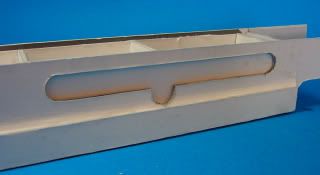
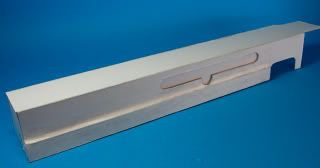
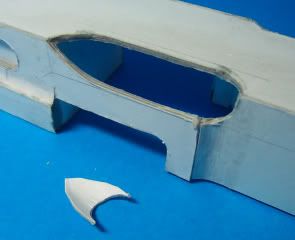
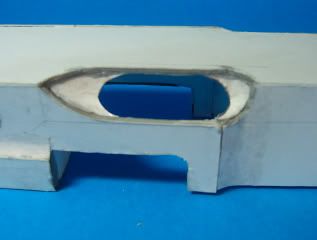
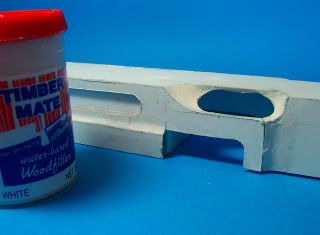
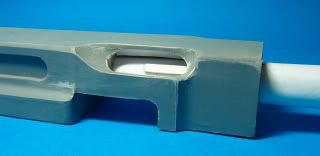
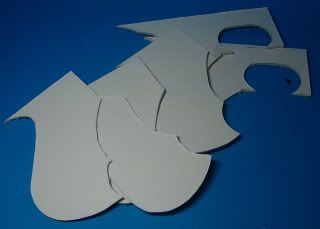
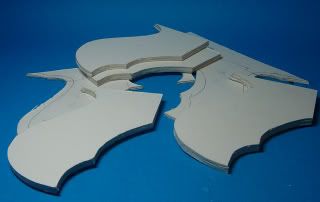
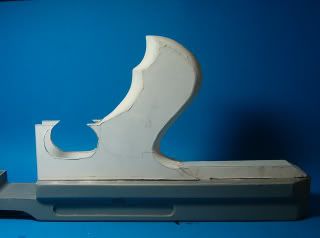
I then laminated the main receiver parts, cutting up and adding the magazine housing to the front so I could have a more continual part without the seam. I'll be modifying the ejection port later, so I'm not cutting it out at this point.
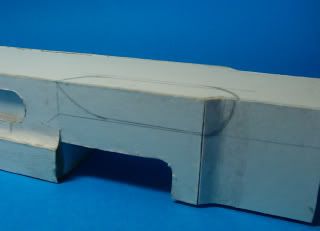
I'm going to have to do the top centre part again, as I havn't left enough space for the extension out the front.
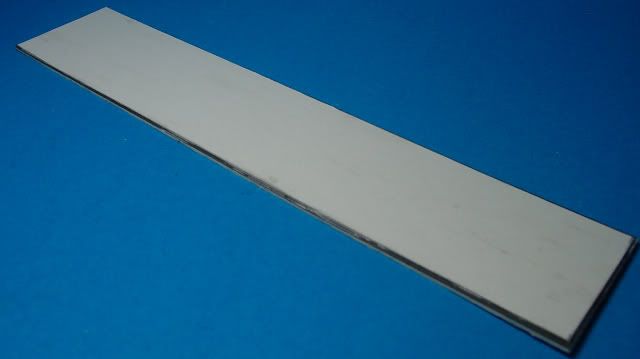
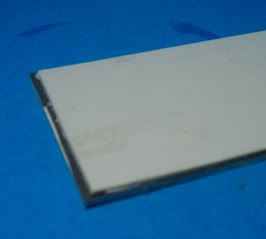
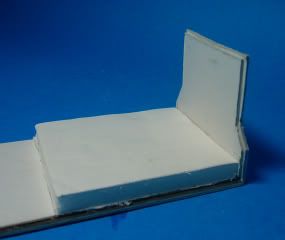
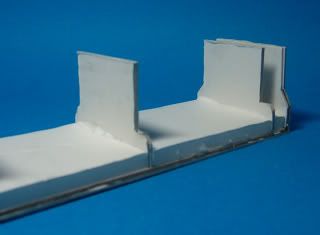
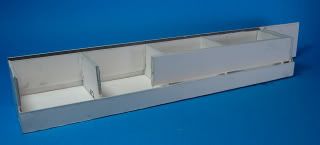
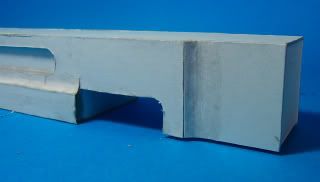
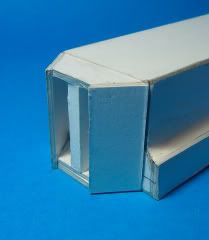
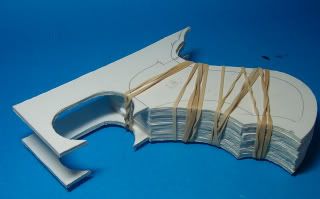
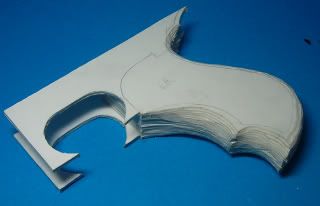
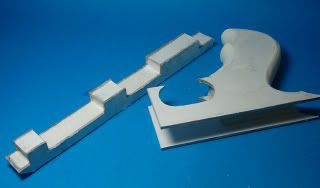
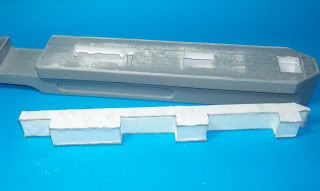
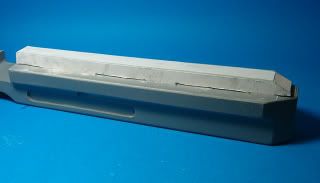
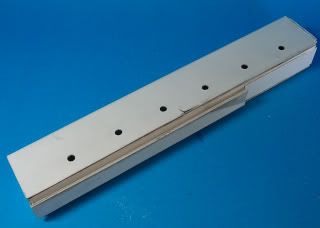
I'm going to start with the bottom piece, and work my way upwards. because all parts will be (at least) 1mm thick, I need to decide which edges will seat over other edges, and make allowances for the thickness of the card. In this case I've cut the pice full length, but two mm norrower than normal, as the will fit between the sides later. I cut a second piece 1mm smaller all round and glued it to the first. This creates a ledge for subsequent parts to adhere to, and a stronger bond.
Back to the formers. It could just be my sloppy cutting, but I think there has been some allowance made for the thickness of card you are going to use included in the formers, about 1/2 mm. Regardless, I managed to cut my first lot too small, and had to do over.
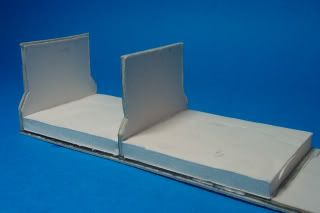
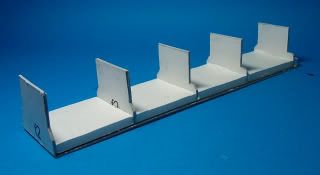
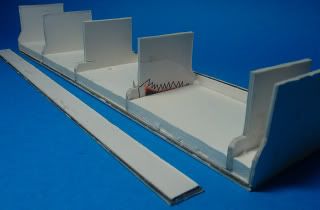
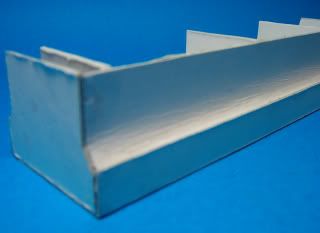
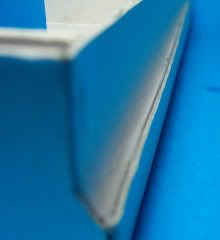
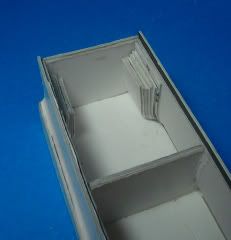
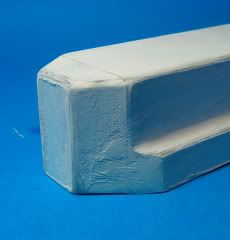
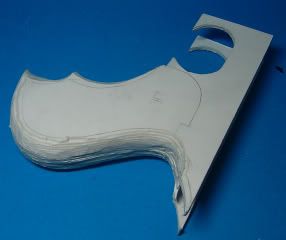
The end pieces have been cut 1mm smaller all round, with a second part cut 1mm smaller again laminted to the centre of that. The Central formers are cut 2mm smaller all round. rather than use the supplied short formers for behind the cocking slot, I've trimmed the side of three formers so the will still support the top.
I've glued a bit of scrap 5mm foamcore betwen the formers, just to help steady them while drying, but they're not really needed.
...back soon...


 ops:
ops: