Locomotiva gr.691 (Fabrizio Prudenziati)

ElMäx

Active Member
Nov 10, 2024
92
238
40
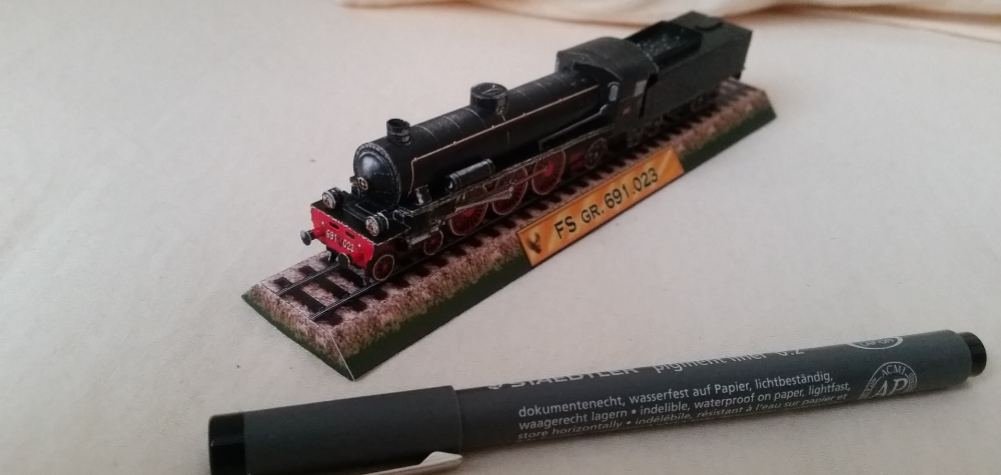
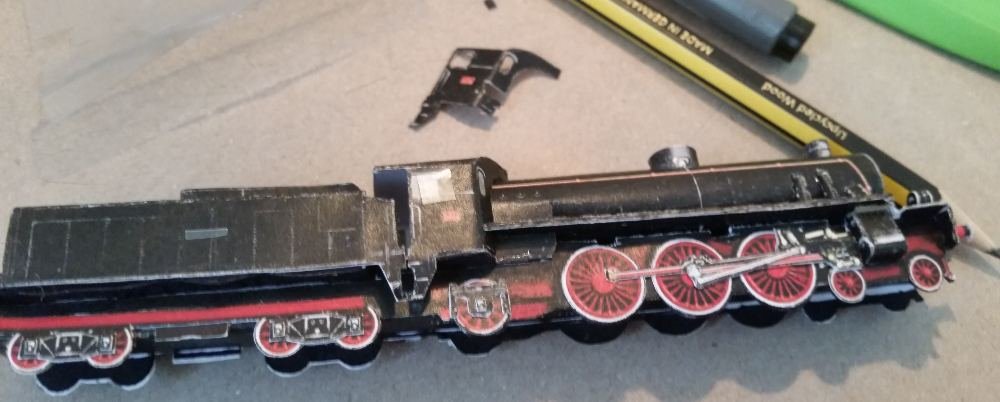
Here comes a christmas present for my mother in law. It is the "locomotiva gr. 691", another of Fabrizios models.
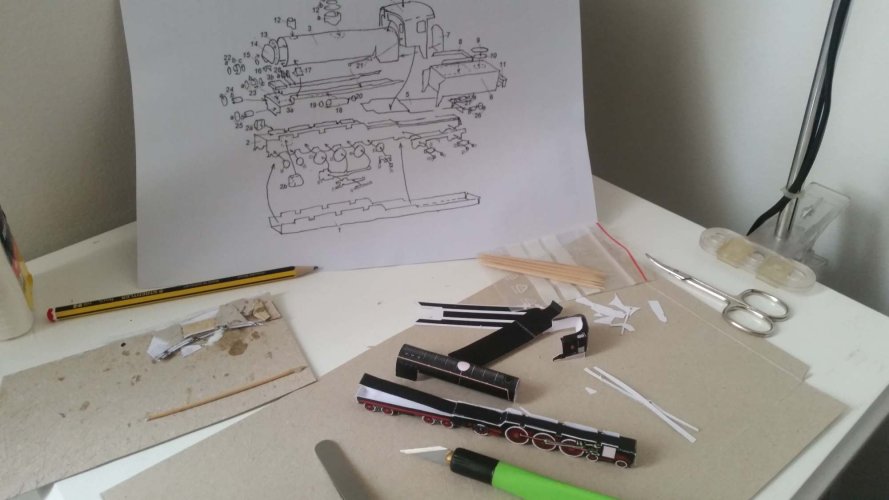
IMG_20241215_130942.jpg

This comes with no flaps for the glue so I have to apply the glue to the edges of the paper. I'm struggling a bit with that. Perhaps not the best glue. But can produce very clean egdes (not in my case^^)
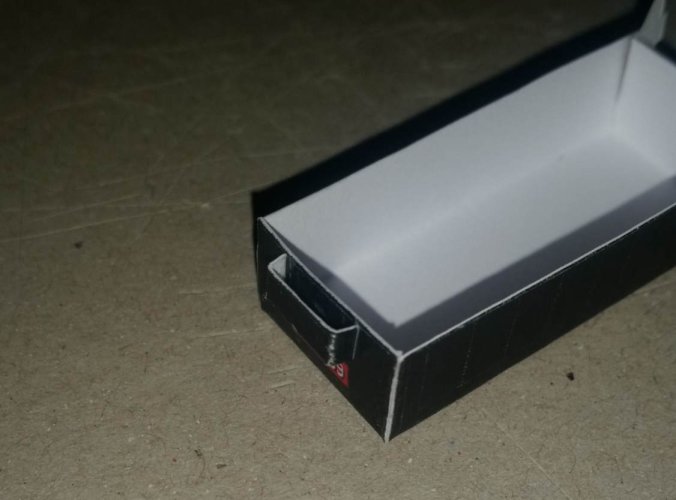
IMG_20241215_131059.jpg

The model also comes with some really small and nice greebling details. And it is worth it to print it one more time to let the details pop out a little bit more
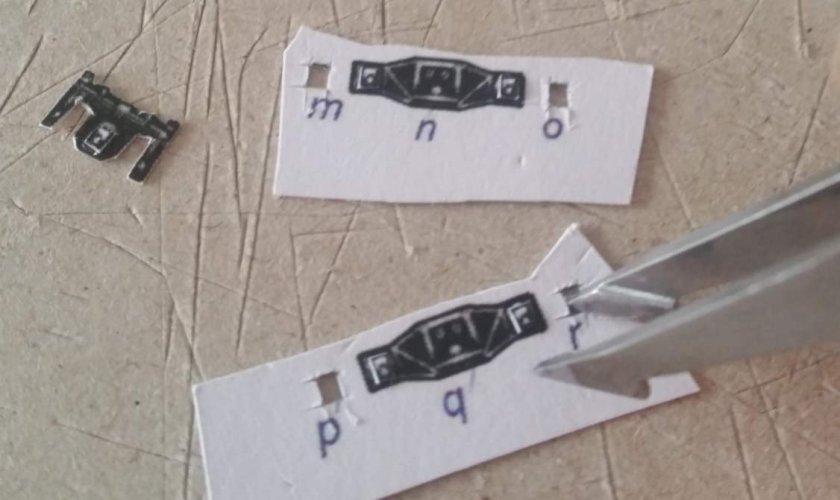
IMG_20241215_131829.jpg
 
Last edited:
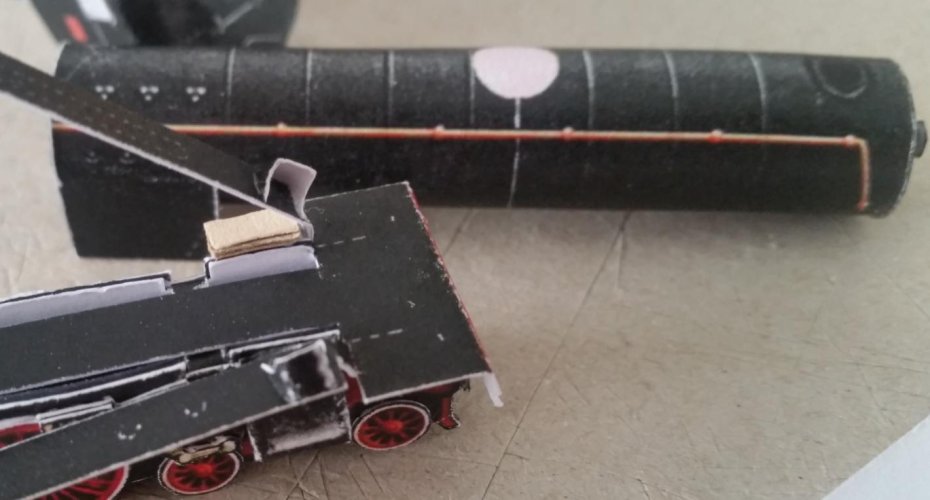
I had a problem with aligning the large cylindrical casing of the boiler with these long flat parts on the sides. These two created a gap that was too broad for the cylinder below the first quarter. So I tried spacers out of cardboard in the front to raise the two long parts, see picture below.
IMG_20241218_203104.jpg

It did not work out. I'm sure Fabrizio knew what he designed and I just made a small mistake. In the end every mm is important on such a small scale. As a last resort I cut the long pieces loose, laminated on 1mm gray board, glued a second print on the underside and put them back on the corrugated card spacers. Hope you can follow me. Now they are touching the cylinder on the sides and can support it. Just some millimeters which where missing.

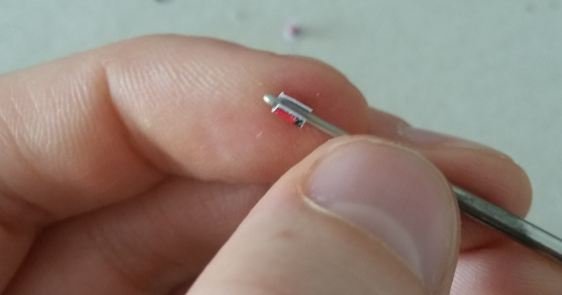
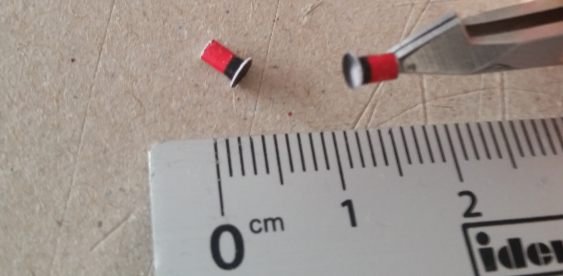
I think these buffers where the smallest things I build so far. I really need to find this shrinkray, everyone is talking aboutXD
IMG_20241218_222839.jpg
IMG_20241218_222930.jpg

And then it was finished...
IMG_20241218_223023.jpg
 
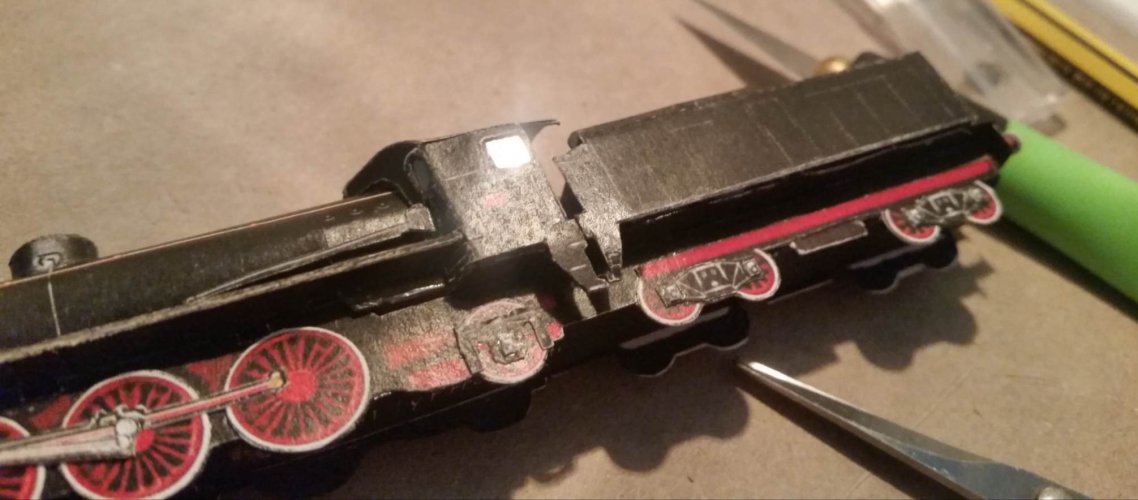
... but I thought, no it is a christmas present. Let's add windows at least. Here is some plastic packaging. I make a second layer for the cab
IMG_20241218_223117.jpg
IMG_20241218_223206.jpg

As you may can see in the pictures, I own a laser printer and the print can suffer a little when handled with sweaty fingers during assembly. Fortunately most of it I can treat with a black pen on this model^^
Still some days until christmas, I can greeble as I like but the most important things are done.
It is a nice model, fun to build, room for further details/greeblies.

I did not find a build thread for it here on zealot (or I missed it lol) so I thought might be a good thing to make this thread.
 
Last edited:
Excellent job! Thank you for the thread. This might inspire other builders to tackle one of Fabrizio's artworks. :)
 
  • Like
Reactions: ElMäx
Even though you are using a laser printer, this look really good!
I did not anticipated doing papermodels when I searched for a printer for us.:lolsign:
Was more like to print some documents from time to time. A printer that cane also rest for month without maintenance. So it became a "cheap" laser. But when zooming in into fotos I can clearly see the print patterns and stuff.

Perhabs when I will do a really special model I might go to a copy shop and pay the high prices for color print. But they also often do laser when it comes to A4 to A3 format
 
  • Like
Reactions: Rhaven Blaack
Excellent job! Thank you for the thread. This might inspire other builders to tackle one of Fabrizio's artworks. :)
He had really nice models on his site. I want to do his sloop "via cosi". Not the mini, I already did, but the bigger one. Already found an old russian build thread with fotos somewhere else which can help me. Cause otherwise there were no instructions and here also don't exist a thread to that boat I think.
 
I did not anticipated doing papermodels when I searched for a printer for us.:lolsign:
Was more like to print some documents from time to time. A printer that cane also rest for month without maintenance. So it became a "cheap" laser. But when zooming in into fotos I can clearly see the print patterns and stuff.

Perhabs when I will do a really special model I might go to a copy shop and pay the high prices for color print. But they also often do laser when it comes to A4 to A3 format

I have almost exclusively used laser printed templates for all my previous, and current builds.
I find the print quality is better than inkjet, but that is my opinion.
Your suggestion to go to a copy shop is probably your best bet. The commercial printers that they use in general, have a higher fuser-roll temperature than standard 'home type' laser printers and therefore the toner to paper bond is much stronger.

I also use a technique called water-shaping on some of my models. This involves wetting the paper part slightly, molding it in to another shape and letting it dry. Once dry it retains the molded shape.
Water does not affect the print of a laser printed part, whereas with inkjet ink it does, unless you use pigment ink.
So perhabs it does not matter so much if my fingers are sweaty from concentration or dry? The color gets scratched from the surface anyway?
 
Sometimes the color starts to peel off the paper. That's why most people use Pigment Ink printers for their serious work. It's (Pigment Ink), also archival, and can last 100 years. ;)
 
  • Like
Reactions: ElMäx
Thanks! I will probably dive deeper into the matter and search and ask for infos about print methods and especially conservation/protection. For now I'll stick to my cheap laser and learn to work the paper with caution.
If I dont need that long tinkering with parts, shape and glue them fast and precise, let the glue dry a bit beforehand, the print stays intact and undamaged. Thats my impression at least.