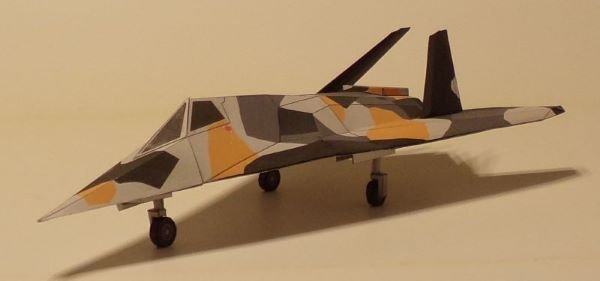
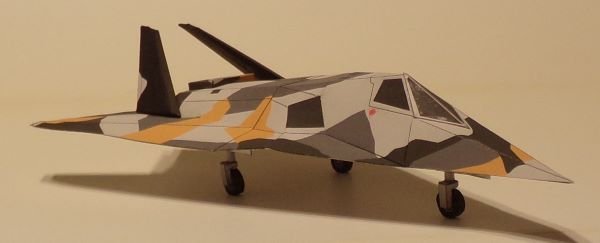
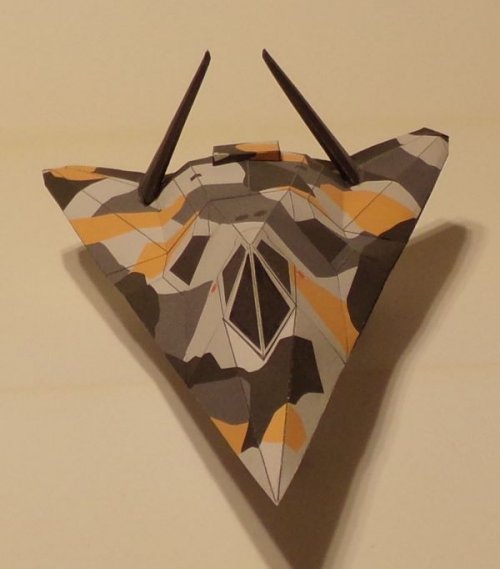
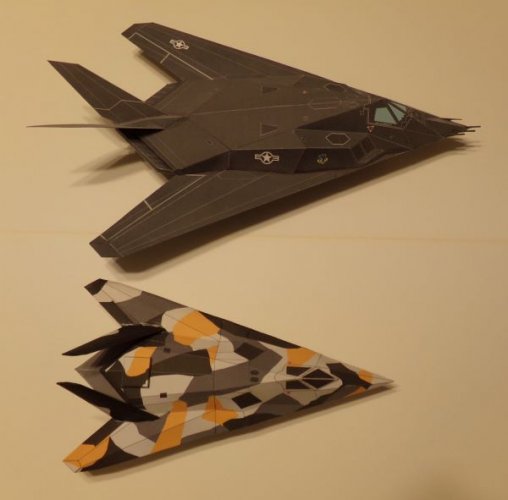
Lockheed Have Blue 1/50 scale

flpaperguy

Active Member
Nov 9, 2023
84
305
40
66
Central Florida, USA
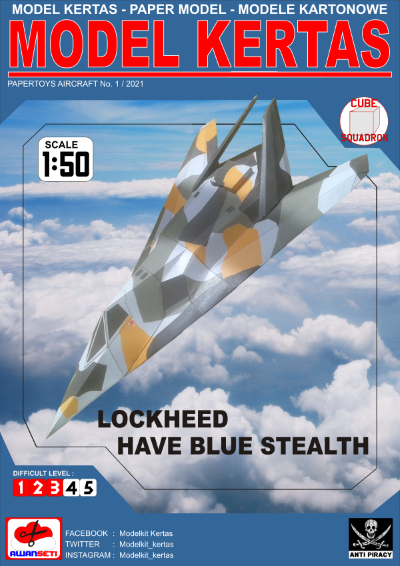
The Lockheed Have Blue was a technology demonstrator used to design the Lockheed F-117. I am a fan of stealth aircraft. So, when I saw this 1/50 scale model, I bought it immediately. As far as I know, this is the only 1/50 scale paper model of the Have Blue. This is a simple model that has 35 parts on 3 parts pages. 4 simple line drawings are the only instructions provided. It is available at ecardmodels.com for $2.95. A 1/33 scale version of this model is also sold.
hb-img1.png


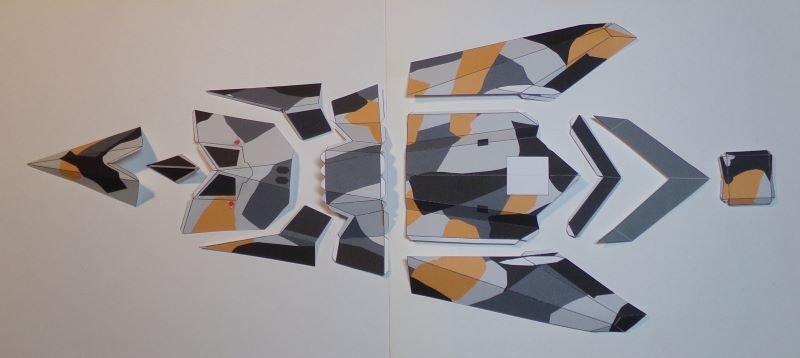
Parts 1-11 are used to build the top half of this model's fuselage (as shown inn the photo below).
hb-img2.jpg
 

micahrogers

Moderator "Where am I, and how did I get here?"
Staff member
Moderator
Jul 12, 2012
3,773
4,639
113
Shannon GA
I would love a template for the Boeing "Quiet Bird" Boeings first hand drawn stealth concept.
Both "Have Blue" and "Quiet Bird" are now on display at the National Museum of the United States Air Force outside Dayton Ohio.
 

flpaperguy

Active Member
Nov 9, 2023
84
305
40
66
Central Florida, USA
Is that a standard F-117 with a different paint job or is it a unique version?
The Have Blue was a unique aircraft. It was much smaller than an F-117, had a different tail configuration and had no bomb bay. Only 2 Have Blues were made. The first one had the camo paint job and the second had an all-gray paint job. The aircraft was built and flown purely for research and development.
 
Last edited:

flpaperguy

Active Member
Nov 9, 2023
84
305
40
66
Central Florida, USA
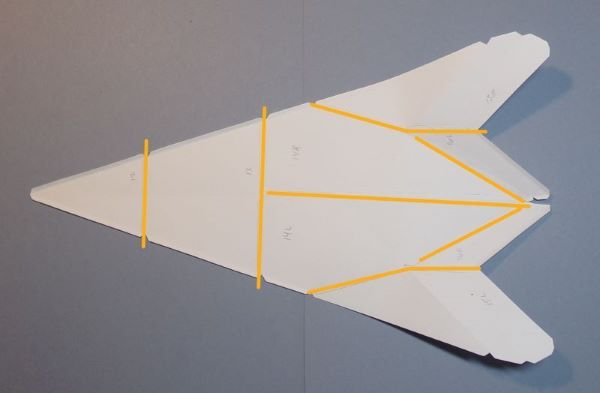
The top half of this model's fuselage consists of 8 parts (part nos. 12-16L). I forgot to take a photo before I joined them so I added yellow lines to show the boundaries of the parts.

hb-img3.jpg


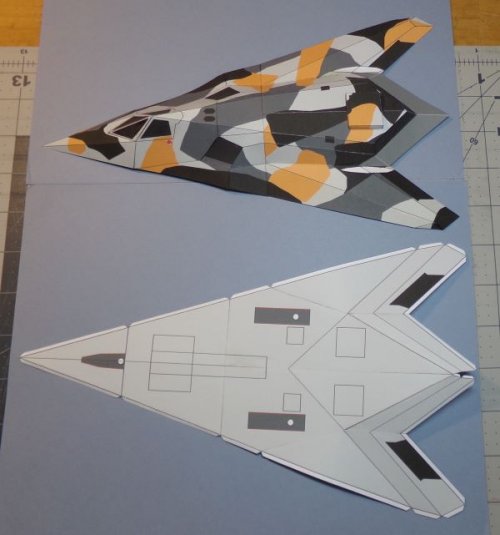
Here's what the printed side of the top and bottom of the fuselage looks like when assembled. There were dotted lines to indicate score lines, but there was nothing to show which way to fold on the lines (valley fold or mountain fold). I tried putting transparent plastic over the window, but the glue I had on hand (Aleene's Tacky Glue) didn't hold. The glue recommended by Zathros in another post (Zip Dry) isn't sold locally, so I am going to order it from Amazon.com for future projects.

hb-img4.jpg
 

micahrogers

Moderator "Where am I, and how did I get here?"
Staff member
Moderator
Jul 12, 2012
3,773
4,639
113
Shannon GA
I've used Zip Dry for this sort of thing, and Scotch brand double sided crafting tape. Great work so far.
 
  • Like
Reactions: flpaperguy

flpaperguy

Active Member
Nov 9, 2023
84
305
40
66
Central Florida, USA
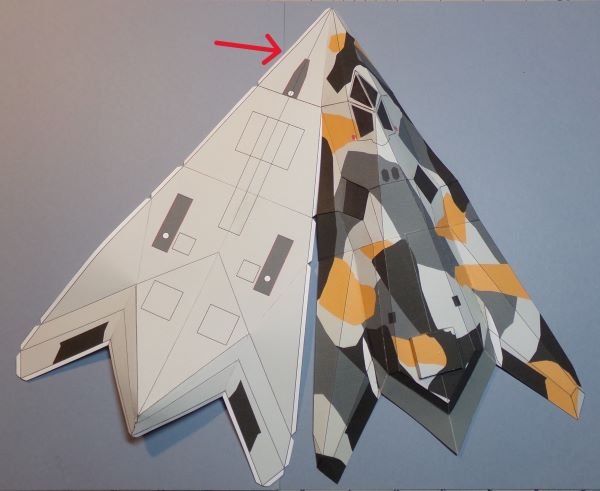
There are narrow (2 mm wide) glue tabs on the edges of the bottom half of the fuselage (see the red arrow) to mate the fuselage halves together. I placed them as shown in the photo and glued the left edges together. I started at the front and worked my way to the rear.

hb-img5.jpg


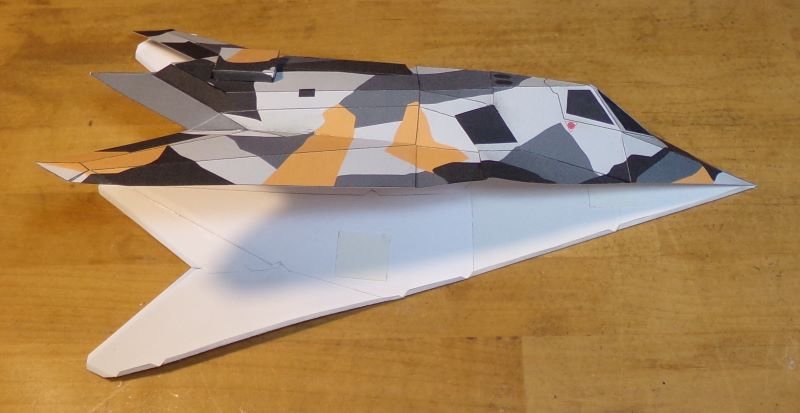
After the left edge was dry, I folded the fuselage halves together and glued the right edge.

hb-img6.jpg
 

flpaperguy

Active Member
Nov 9, 2023
84
305
40
66
Central Florida, USA
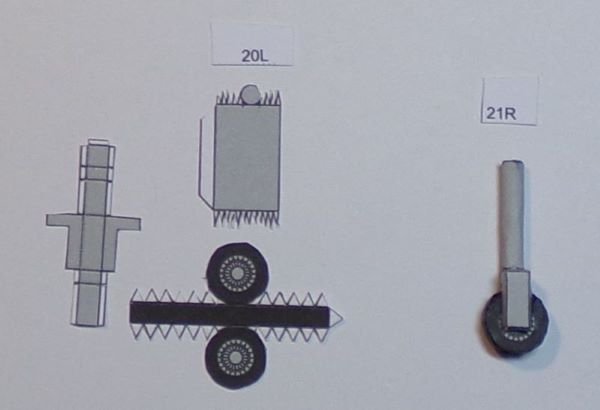
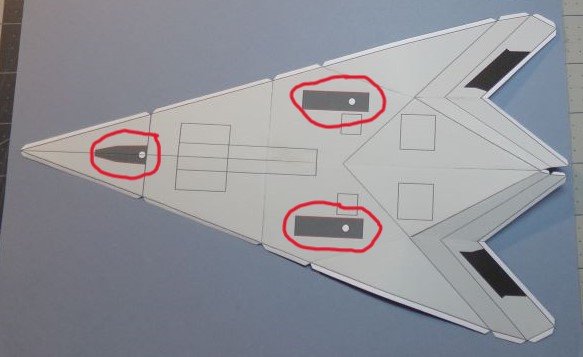
There was no guidance to aid in the installation of the landing gear. I assumed the 3 dark gray spots with white circles on the underside of the fuselage were locations for the landing gear (see the red circles).

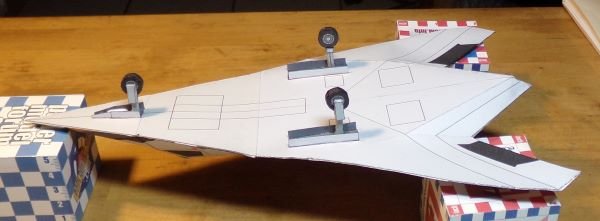
The dark gray areas defined the simulated landing gear wells and indicated where to put the well doors. But, I was unsure what the white circles symbolized. I decided to glue the landing gear on top of the circles. Once the gear was installed it was obvious the gear was too long. So, I think I should have cut out the white circles and inserted the gear into the holes. I decided to remove the landing gear, shorten them a 1/4 inch and glue them back in place.

hb-img8.jpg


Landing gear final installation. The bottom of the fuselage ended up with some high and low areas because the model had formers or stiffeners.

hb-img9.jpg
 

flpaperguy

Active Member
Nov 9, 2023
84
305
40
66
Central Florida, USA
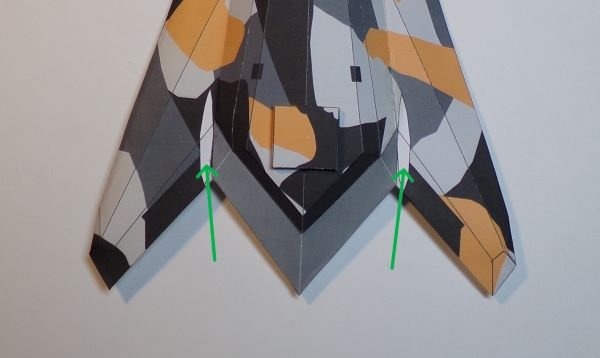
There are two white areas at the rear of the fuselage (see green arrows) to show where to place the stabilizers.

hb-img10.jpg


Once the stabilizers were installed the model became back heavy. I fixed this by gluing a piece of lead solder into between the doors of the front landing gear. If I had known this before closing the fuselage I would have glued a weight inside the nose of the model.

hb-img11.jpg

hb-img12.jpg

hb-img13.jpg
 

flpaperguy

Active Member
Nov 9, 2023
84
305
40
66
Central Florida, USA
These look GREAT!!!
The Have Blue kit reminded me of a Fiddlers Green airplane model. It is basically just fuselage and wing skins with simple landing gear. I managed to make the top of the model looked ok, but the bottom had odd high and low spots. The model could definitely use some internal formers and/or stiffeners. The ModelArt F-117 kit is far superior in all respects.
 
  • Like
Reactions: Revell-Fan