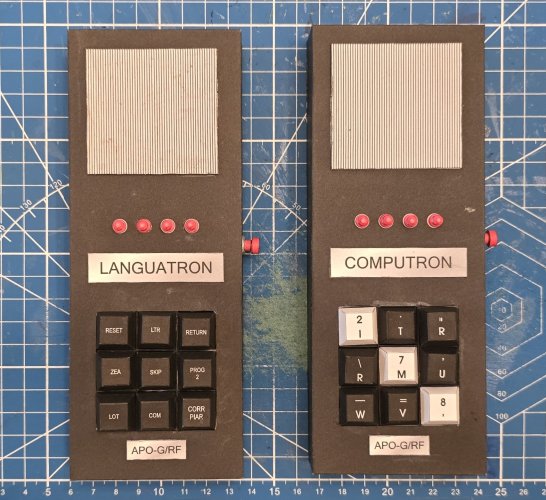
I would like to present to you the next project from the REVELL & RHAVEN RESEARCH AND DEVELOPMENT CENTER.
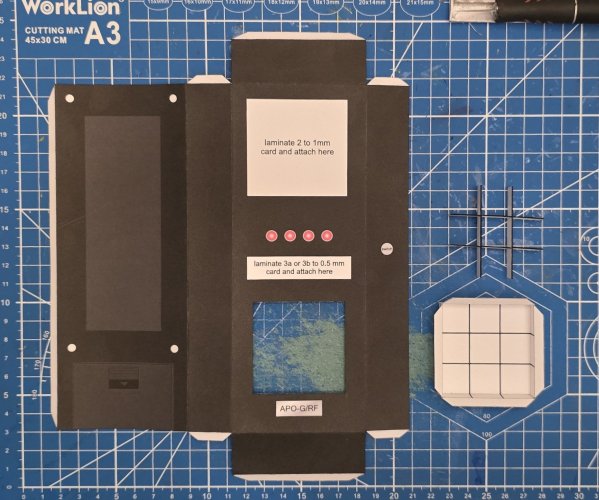
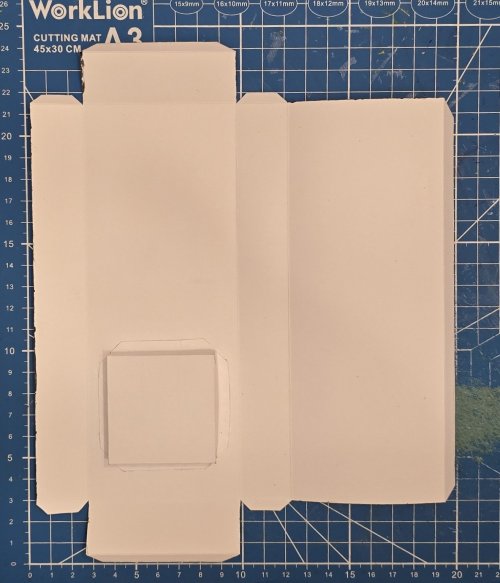
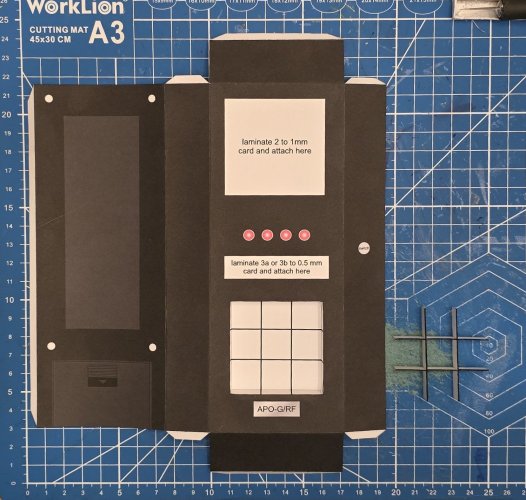
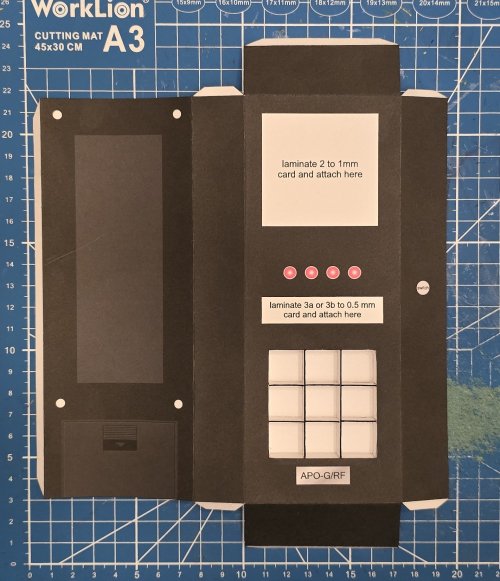
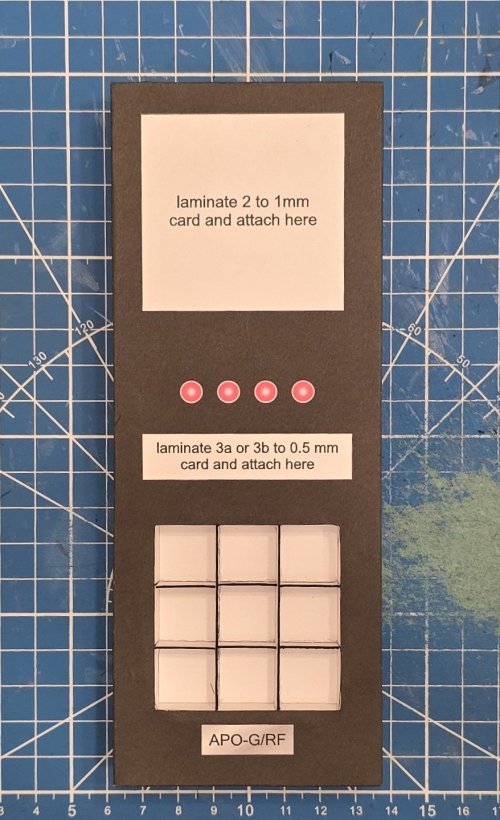
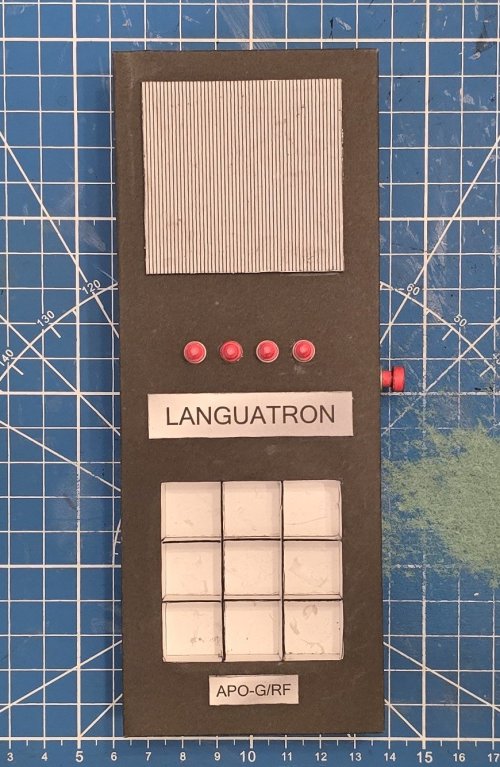
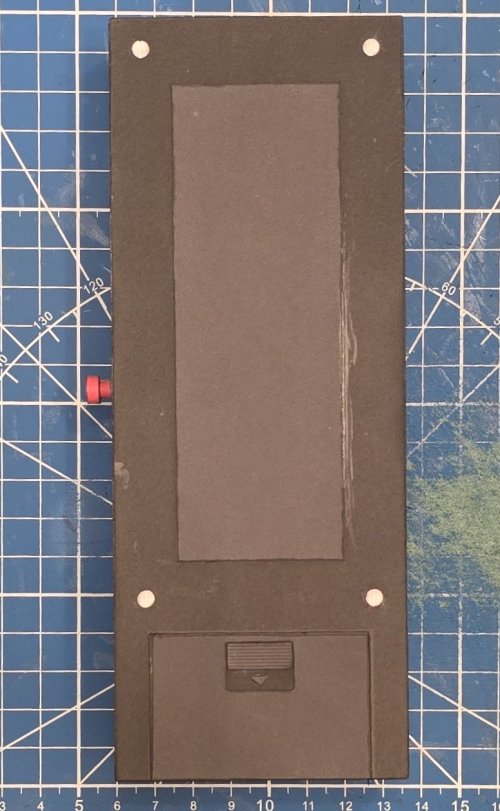
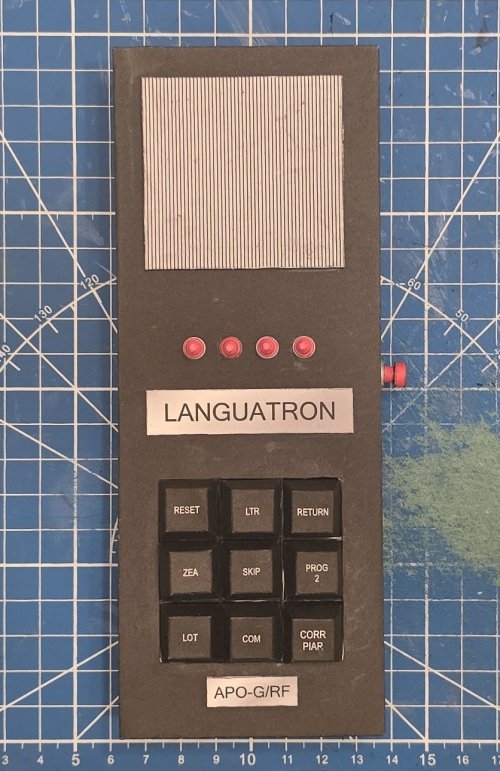
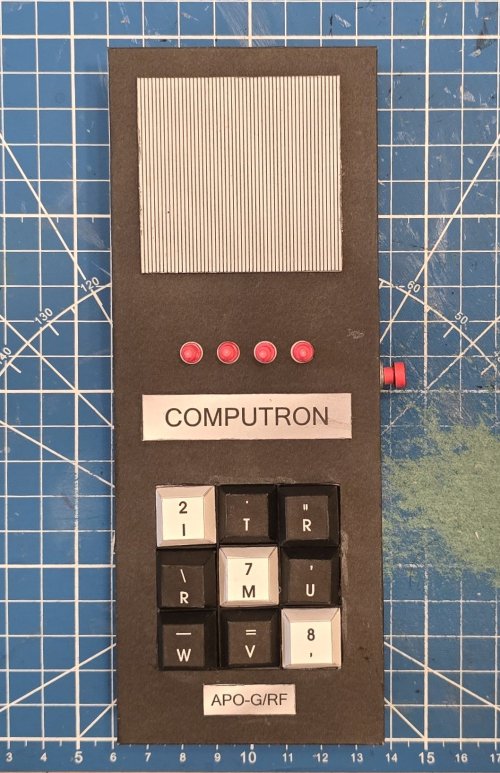
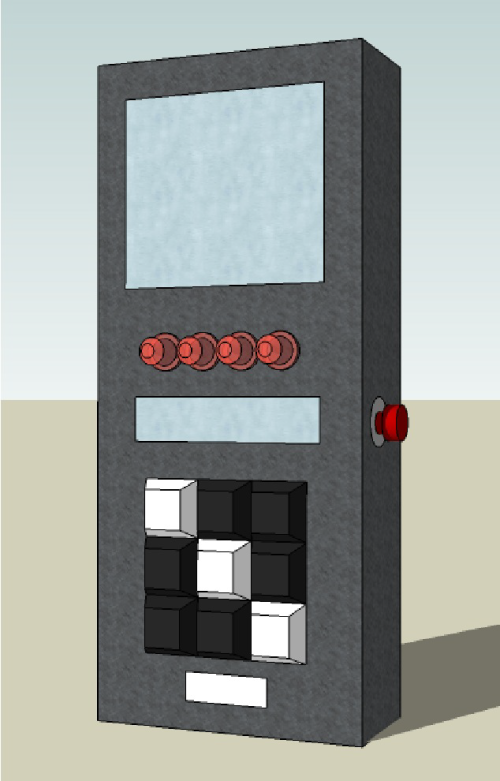
This is the LANGUATRON (and COMPUTRON) from Battlestar Galactica (and Buck Rogers in the 25th Century).
(*NOTE* Both the Languatron and Computron are (basically) the same device. However the only difference between the two devices is teh colour of the key buttons and the name plate).
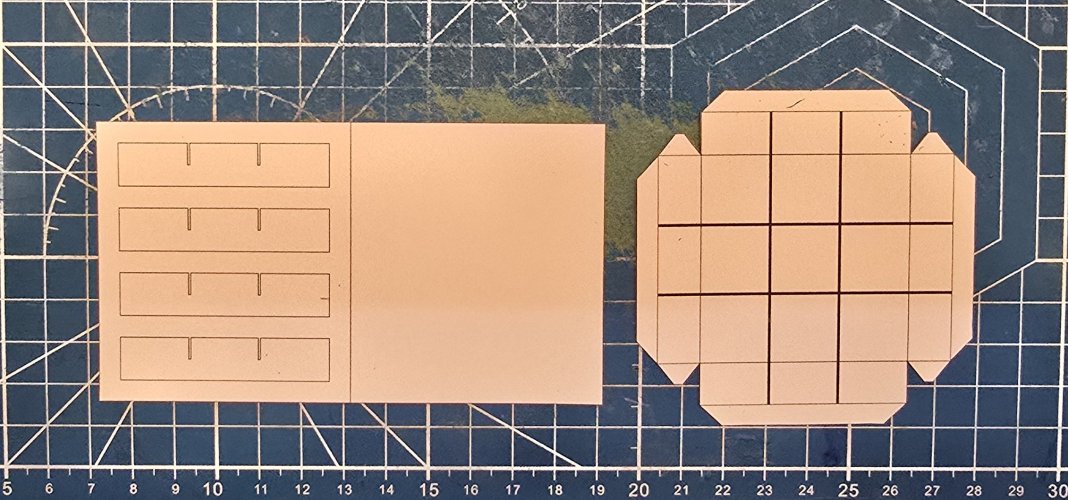
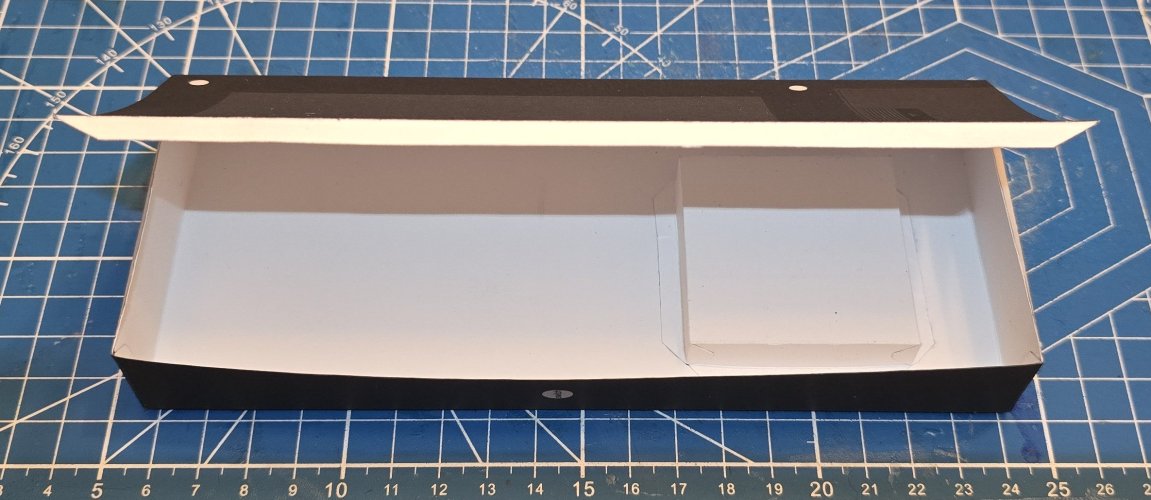
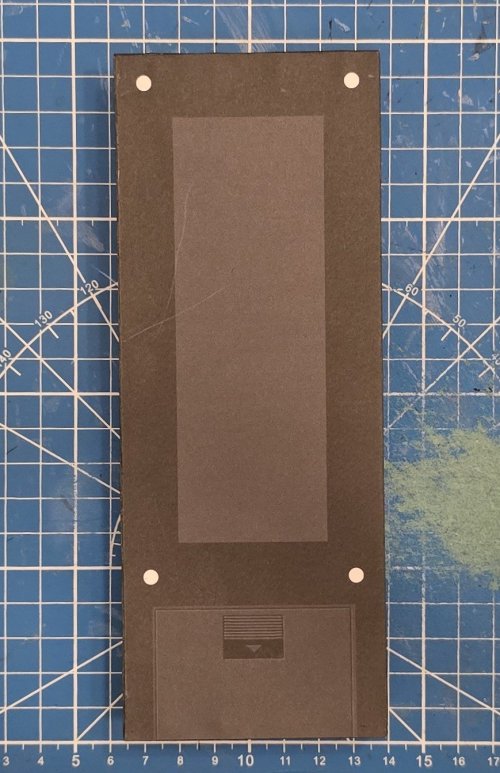
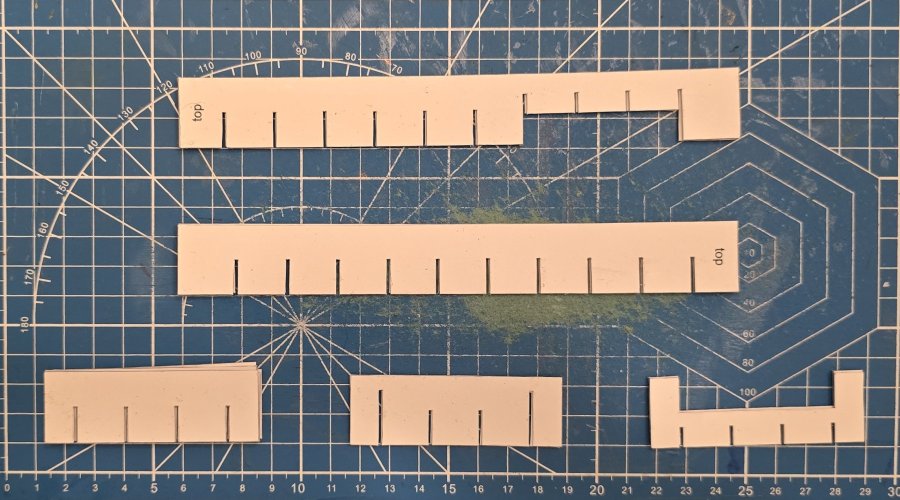
Here are the internal formers.
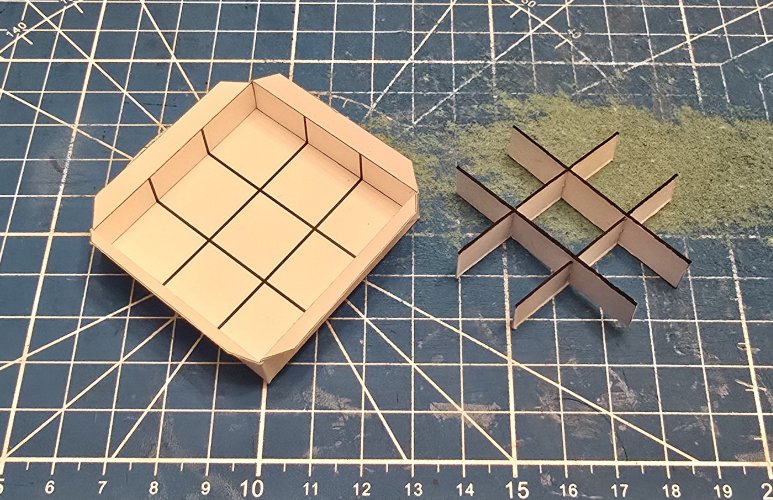
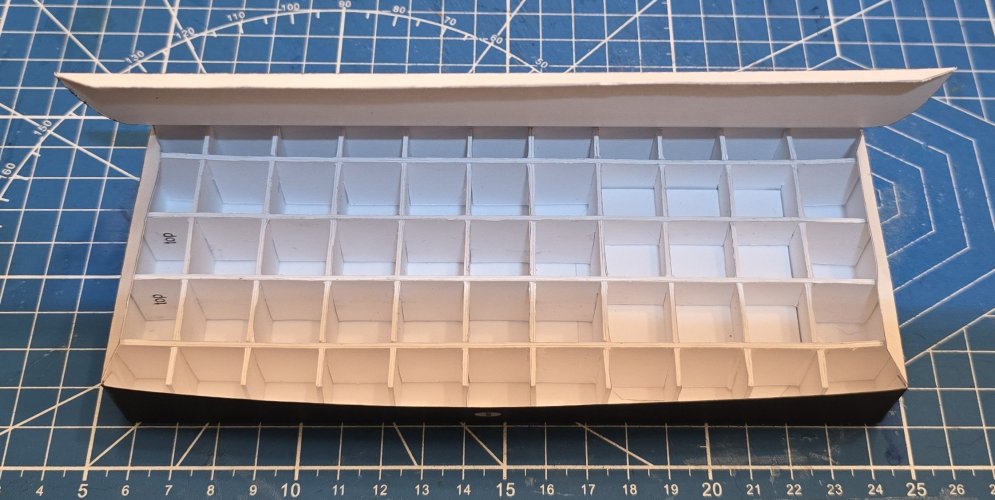
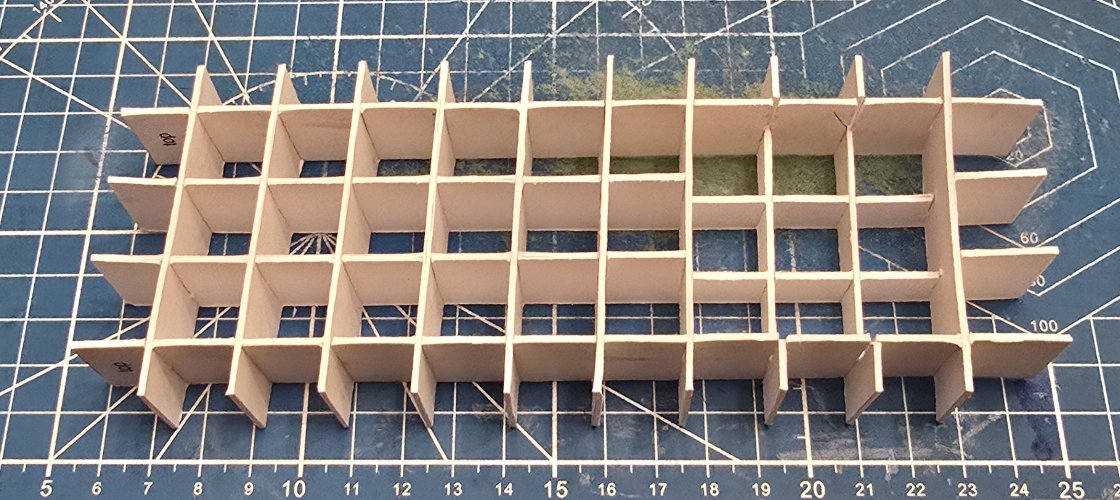
The formers are assembled.
(Yes, there are A LOT of formers. This is for strength, stability, and rigidity).
@Revell-Fan and I decided to attempt to make the key buttons "functional" by making "springs" from paper/cardstock to put inside the buttons.
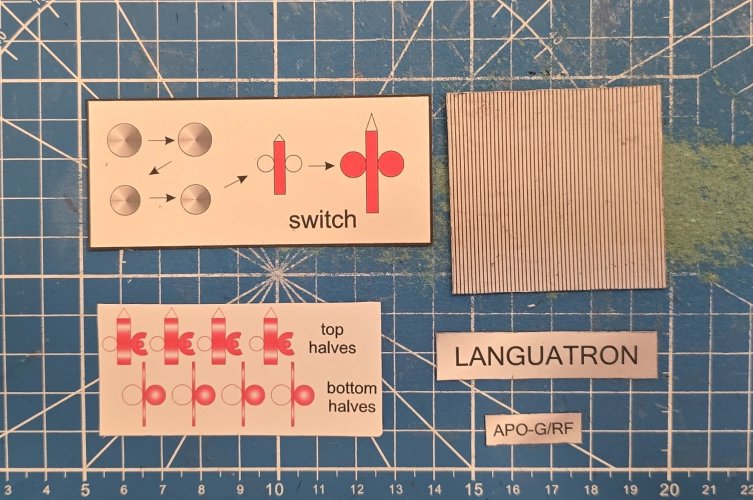
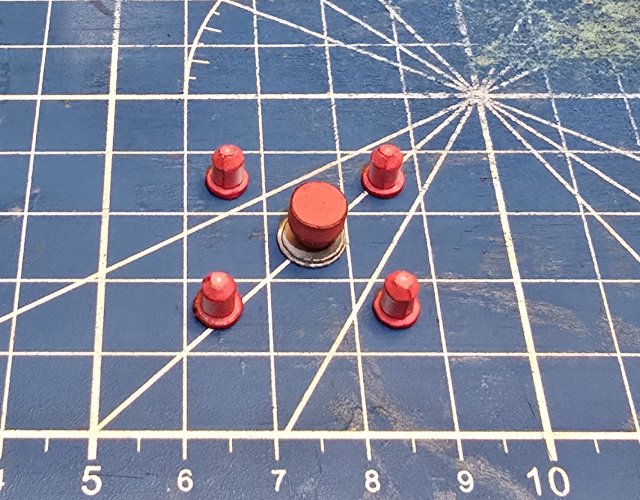
Here are the parts for the buttons and paper/carstock "springs".
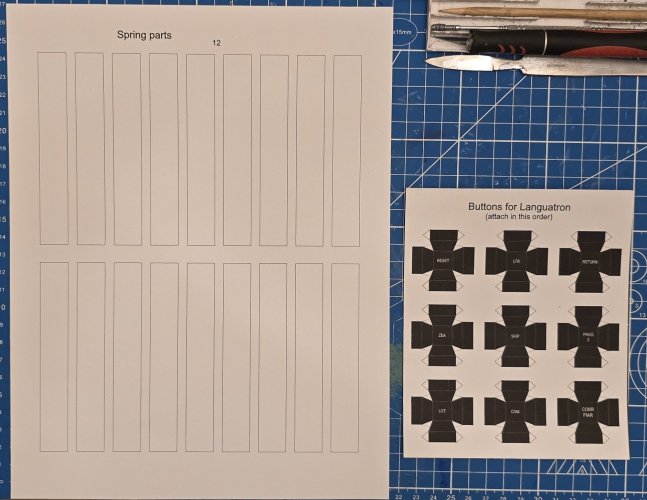
I started with the buttons.
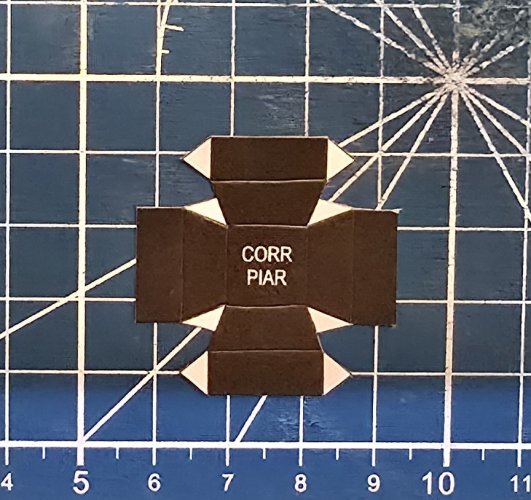
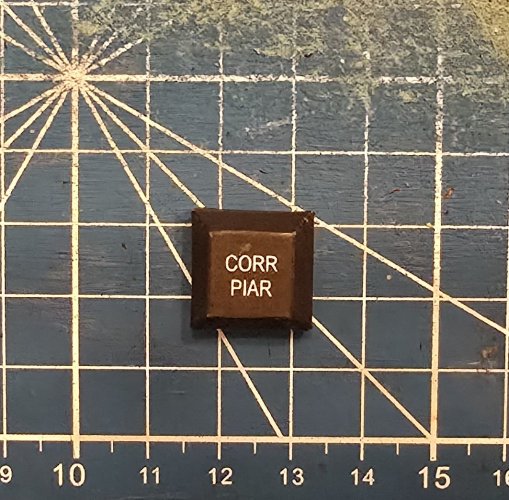
The first button is assembled.
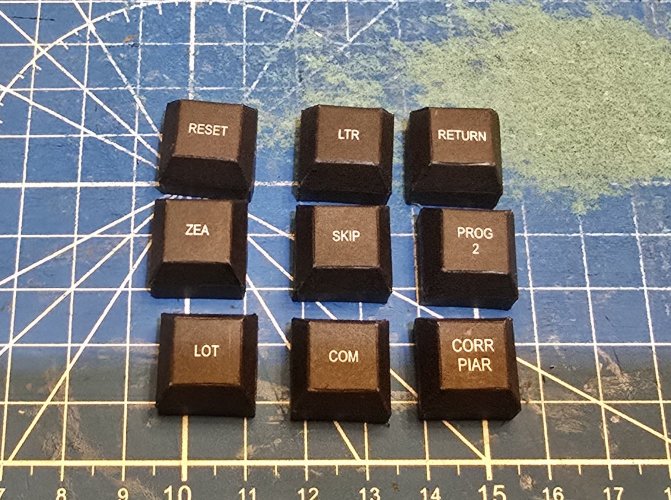
All of the btoons are assembled.
Starting with two strips of paepr/carstock.
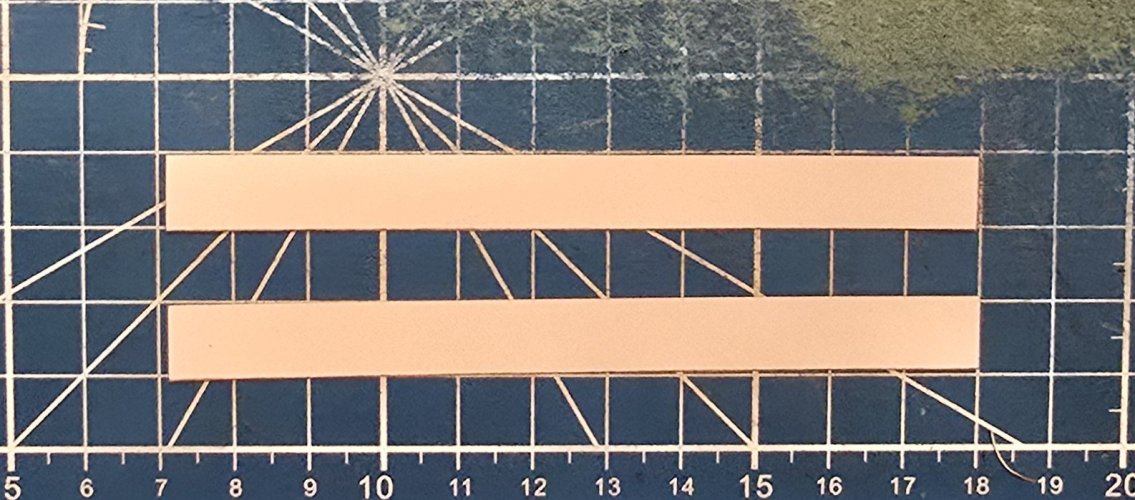
I start forming the "spring.
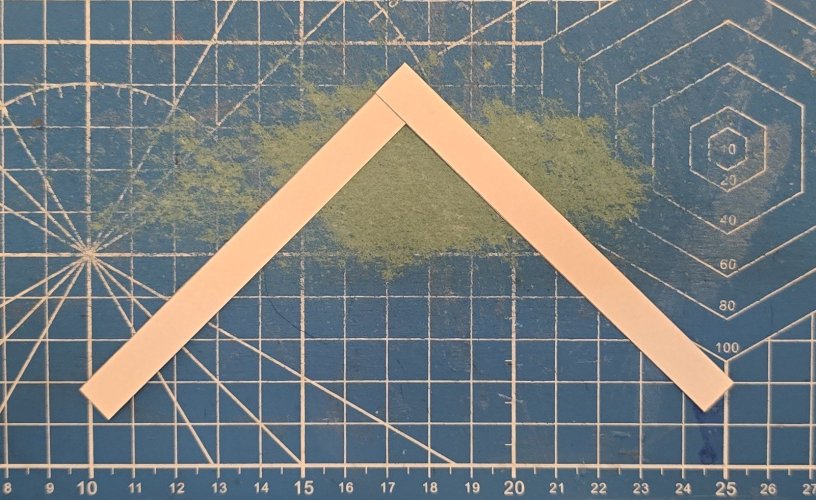
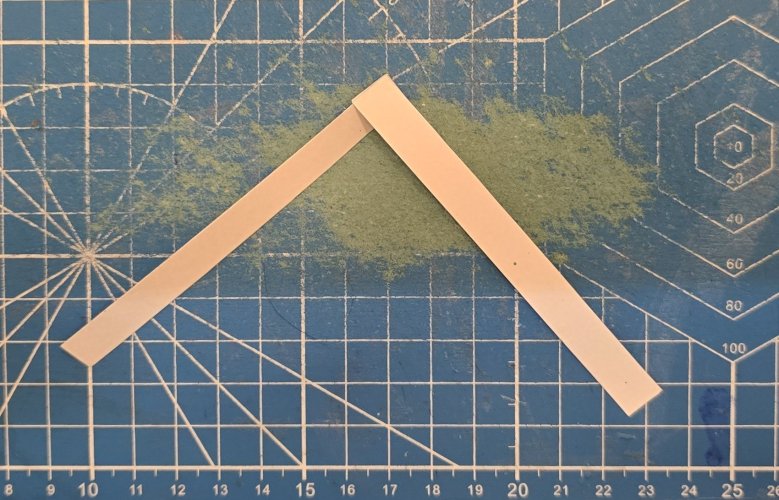
The "spring" is assembled.
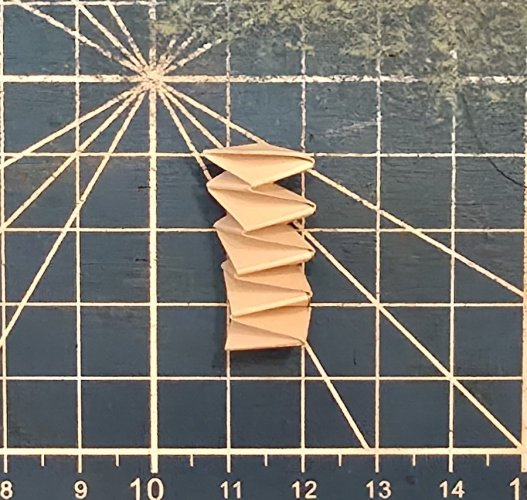
All nine "springs" are assembled.
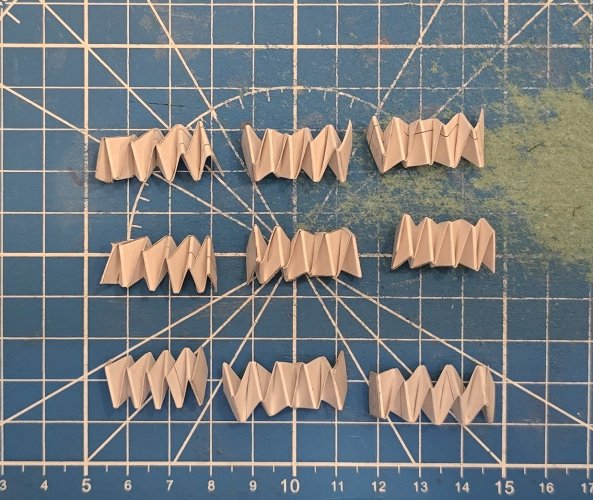
For those of you who do not know how to make paper/cardstock "springs", here is a YouTube video that shows exatcly how to make one:
The "spring" is inserted into the bottom of the button.
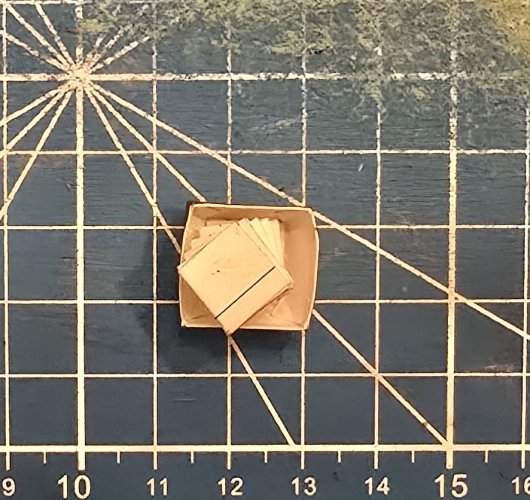
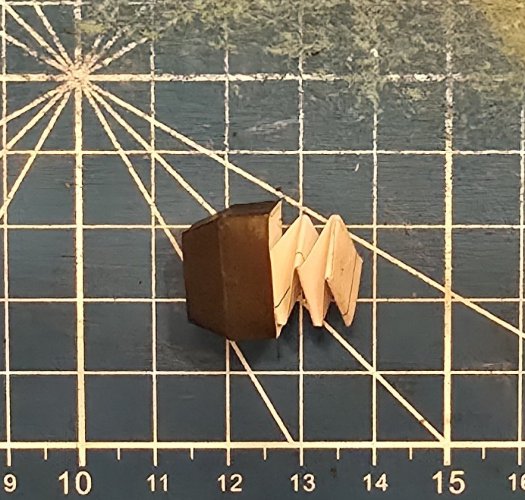
All nine buttons are fully assembled.
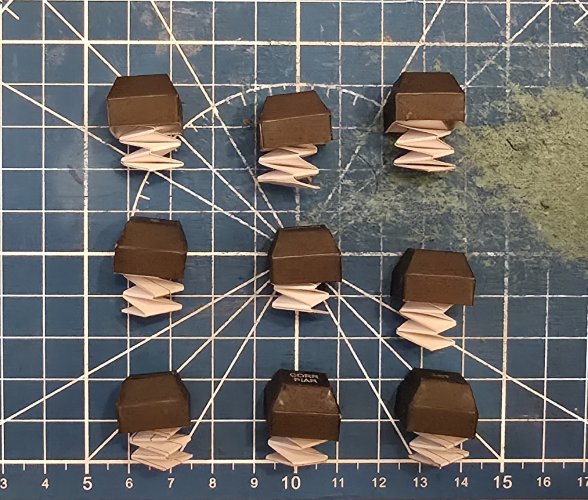
This is the LANGUATRON (and COMPUTRON) from Battlestar Galactica (and Buck Rogers in the 25th Century).
(*NOTE* Both the Languatron and Computron are (basically) the same device. However the only difference between the two devices is teh colour of the key buttons and the name plate).

Here are the internal formers.

The formers are assembled.
(Yes, there are A LOT of formers. This is for strength, stability, and rigidity).

@Revell-Fan and I decided to attempt to make the key buttons "functional" by making "springs" from paper/cardstock to put inside the buttons.
Here are the parts for the buttons and paper/carstock "springs".

I started with the buttons.

The first button is assembled.

All of the btoons are assembled.

Starting with two strips of paepr/carstock.

I start forming the "spring.


The "spring" is assembled.

All nine "springs" are assembled.

For those of you who do not know how to make paper/cardstock "springs", here is a YouTube video that shows exatcly how to make one:
The "spring" is inserted into the bottom of the button.


All nine buttons are fully assembled.


