Imperial Guard Centaur Project

Zergei619

Active Member
Hello guys long time no seen you

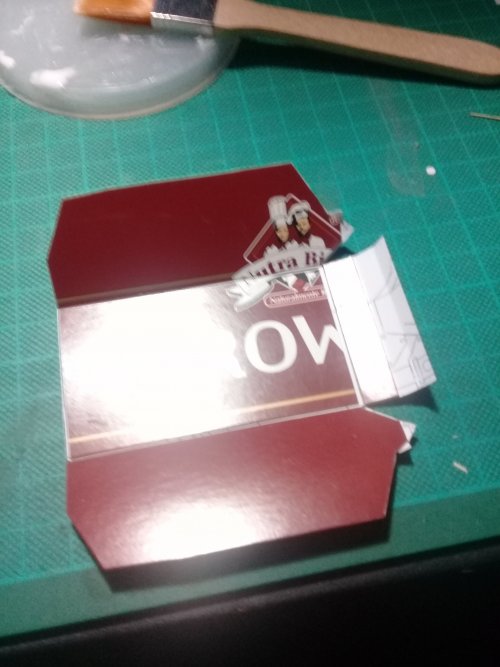
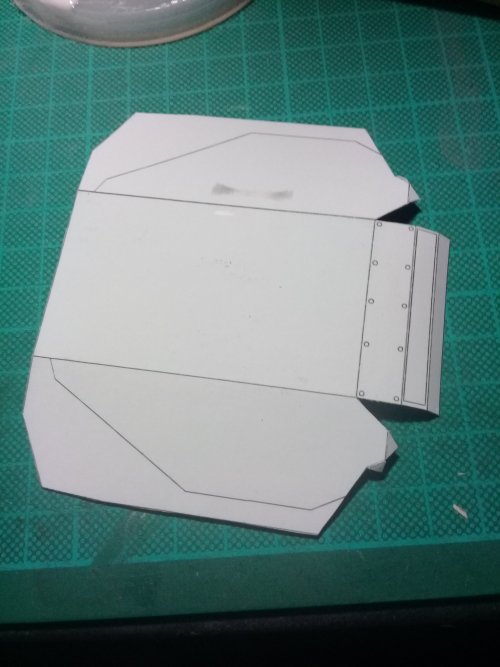
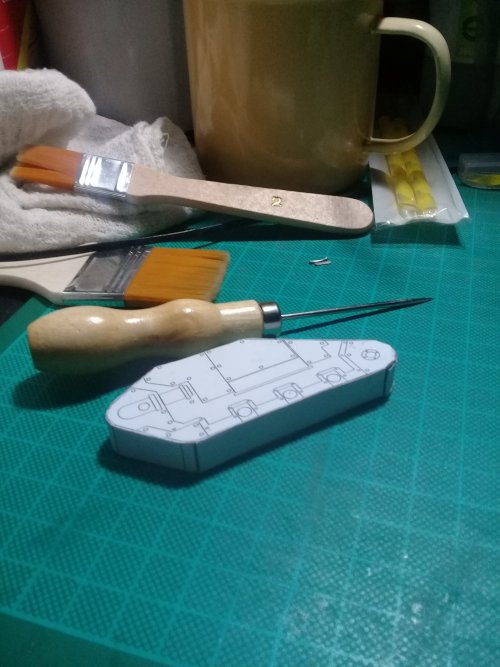
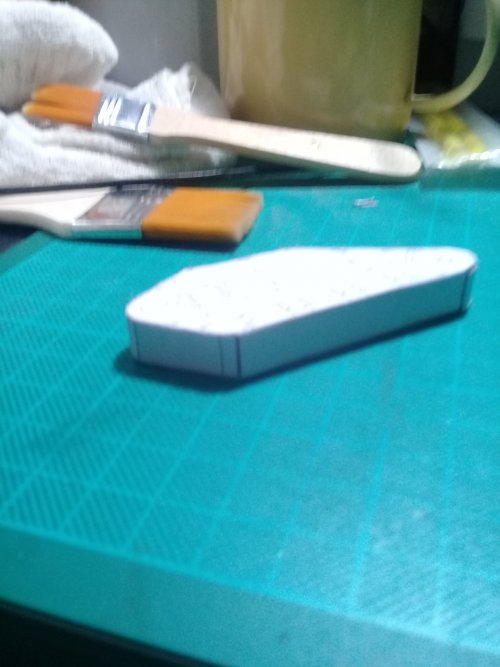
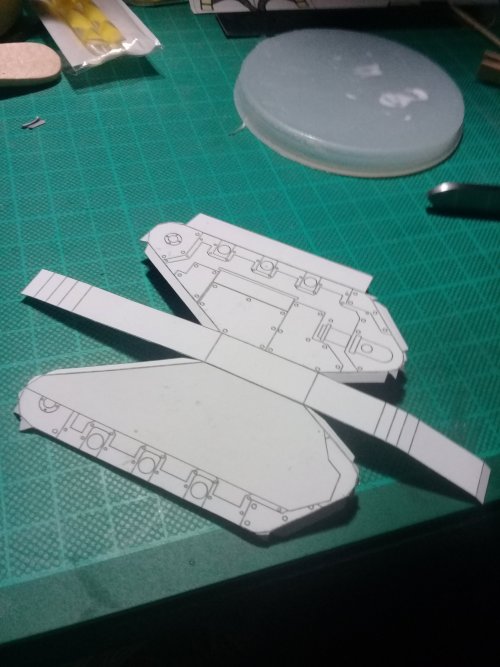
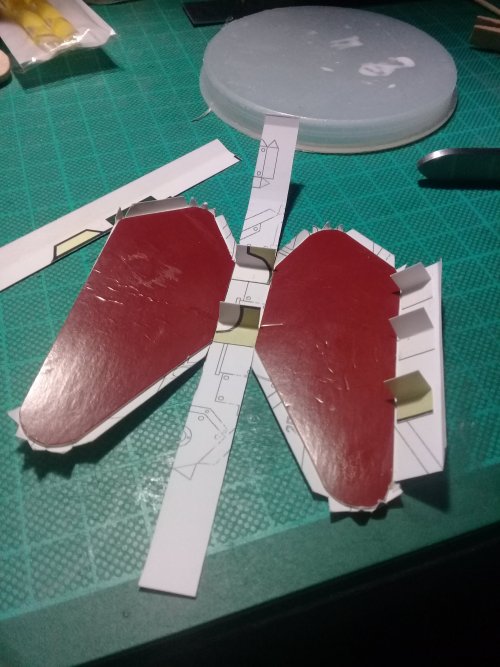
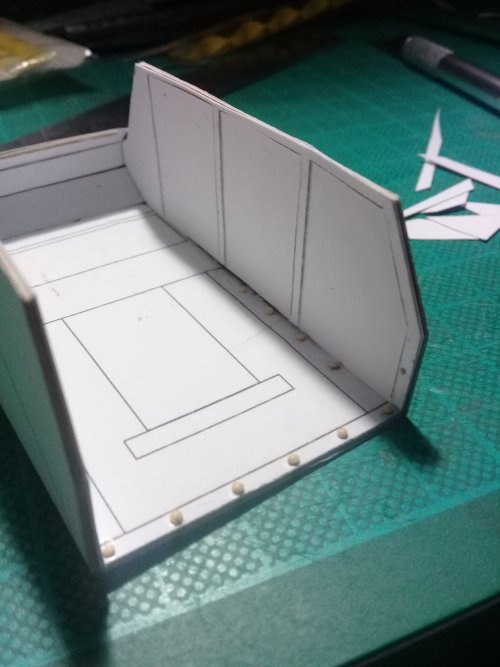
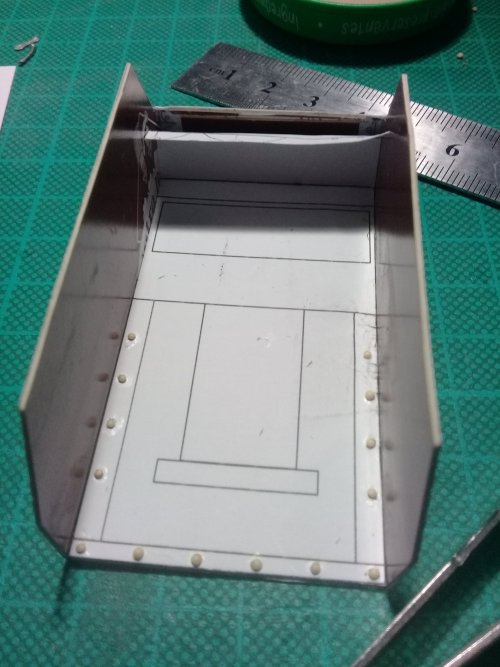
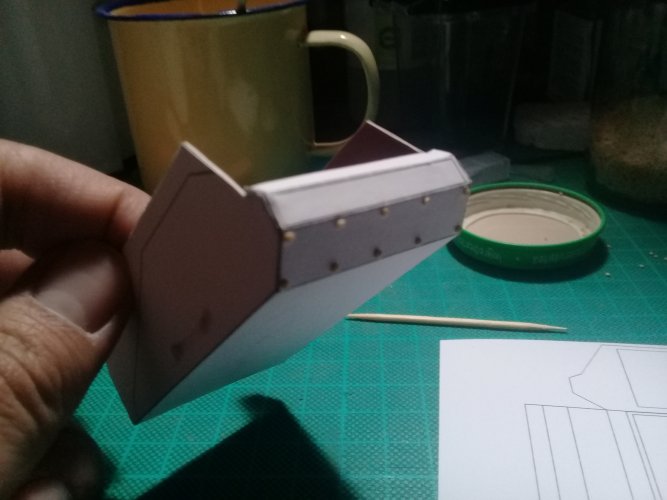
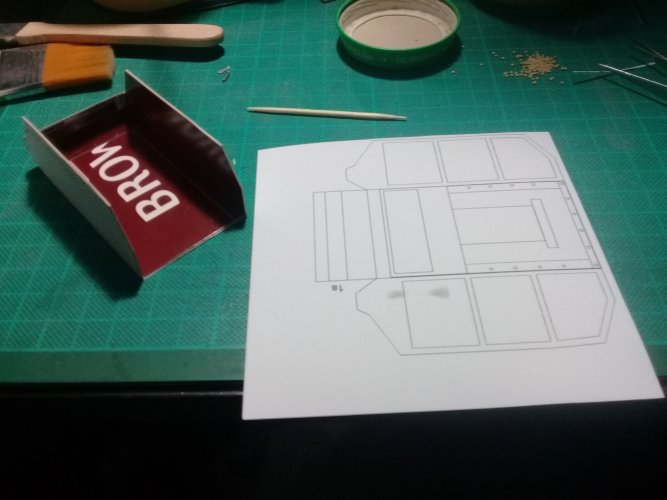
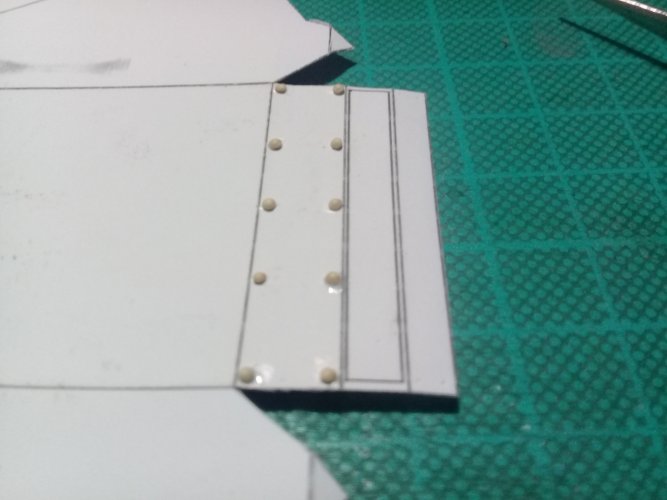
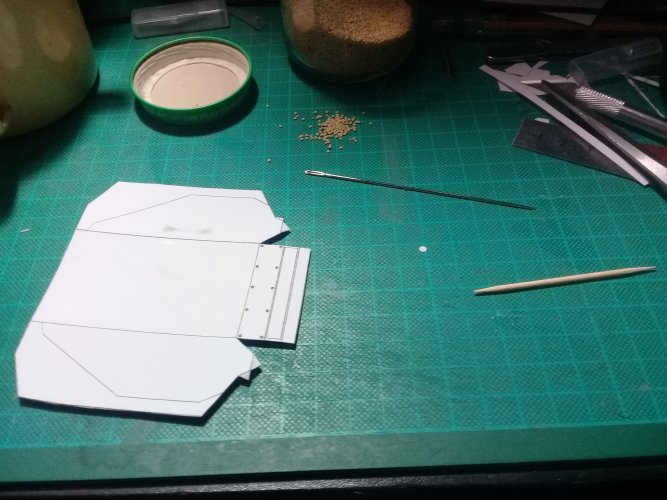
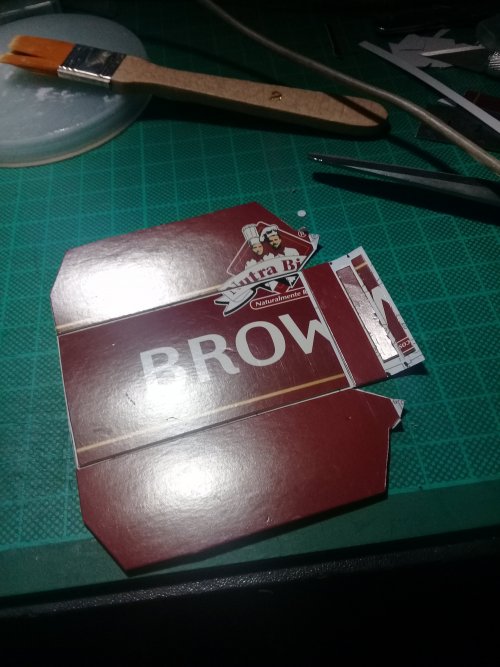
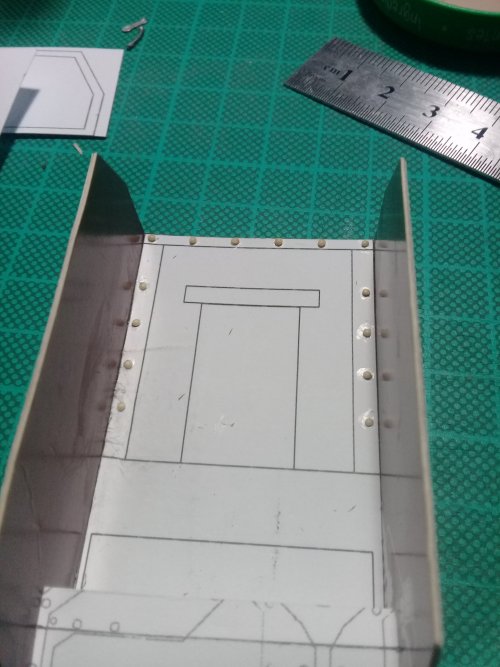
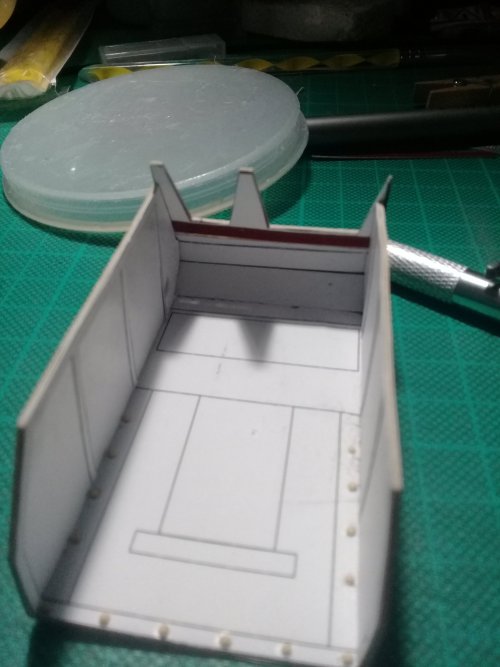
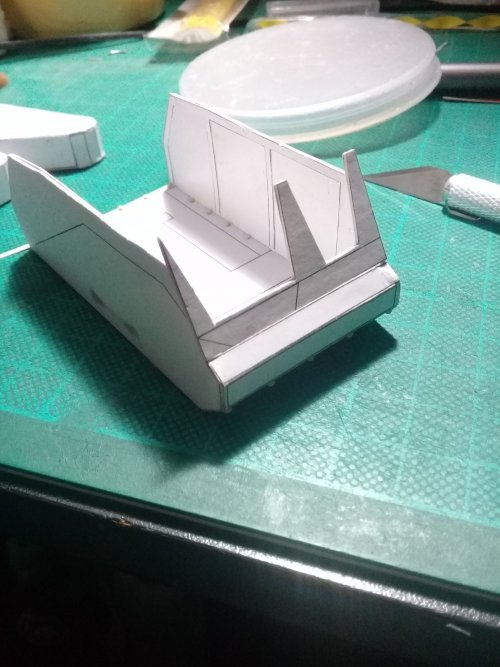
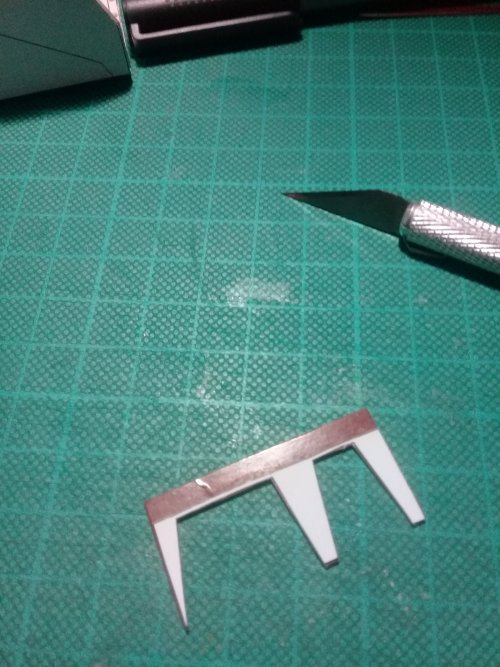
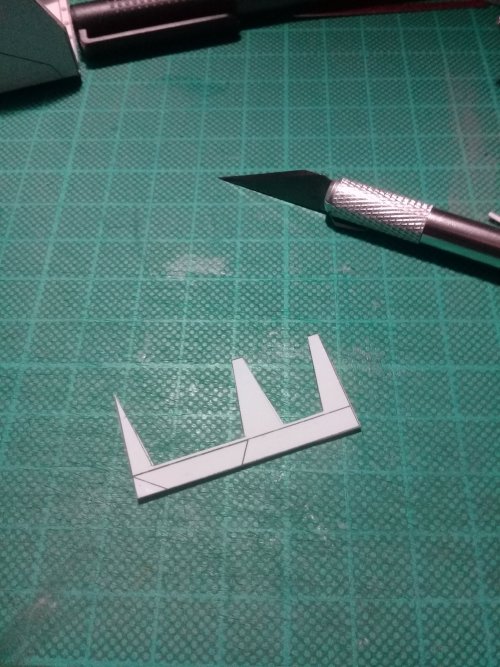
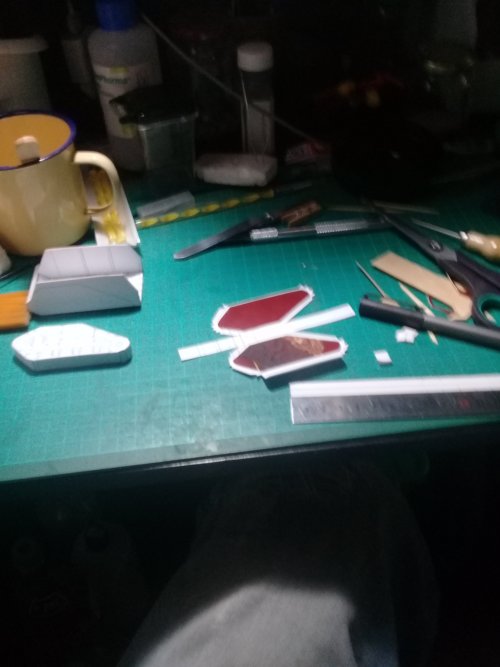
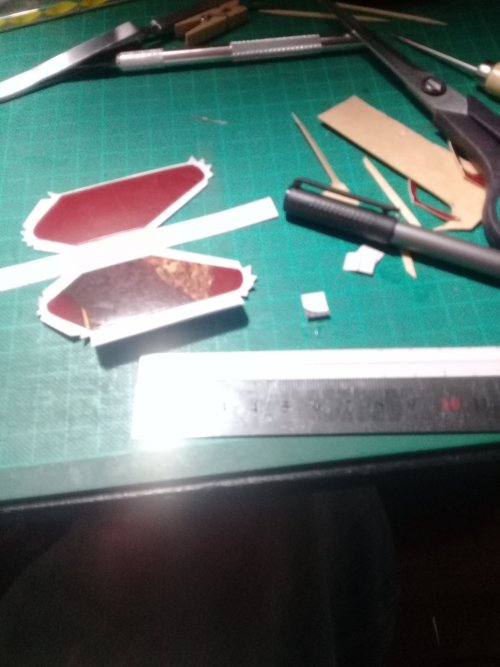
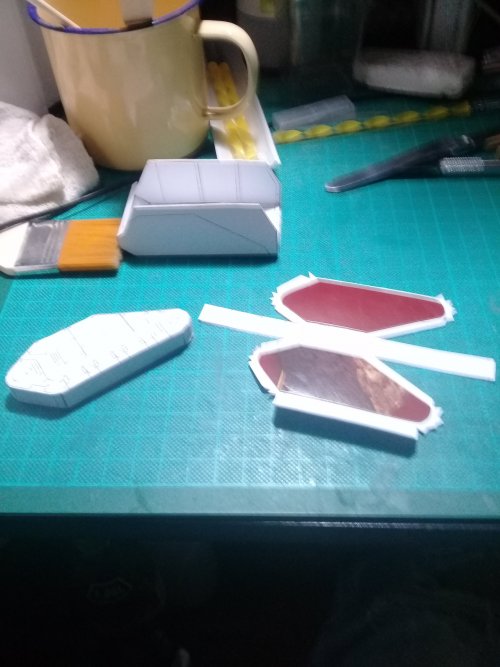
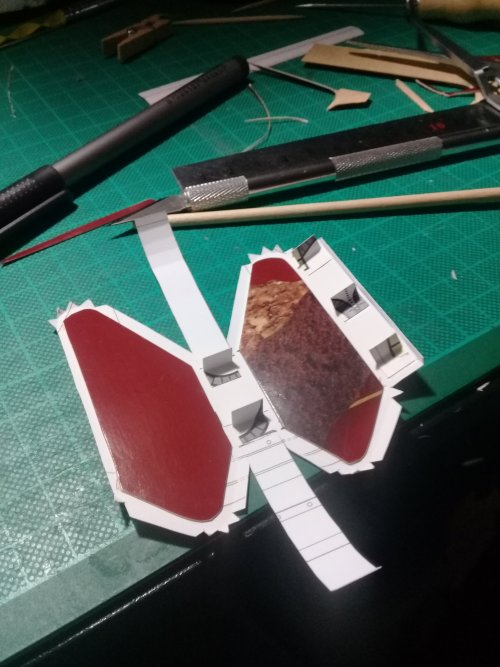
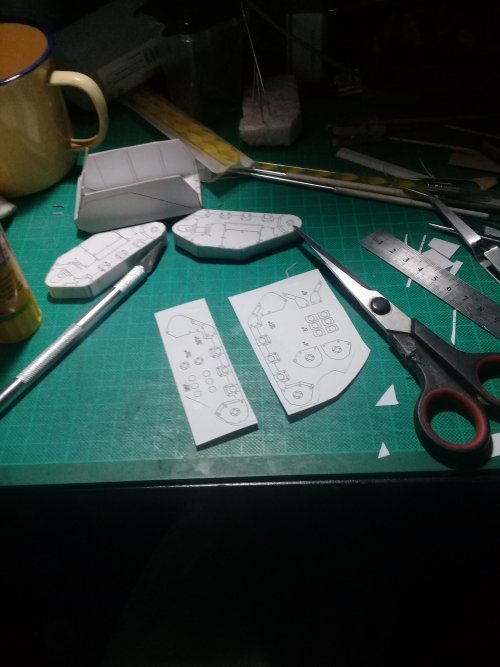
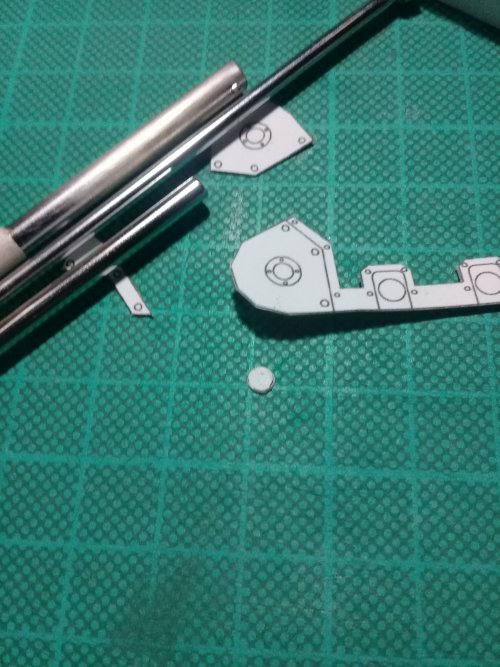
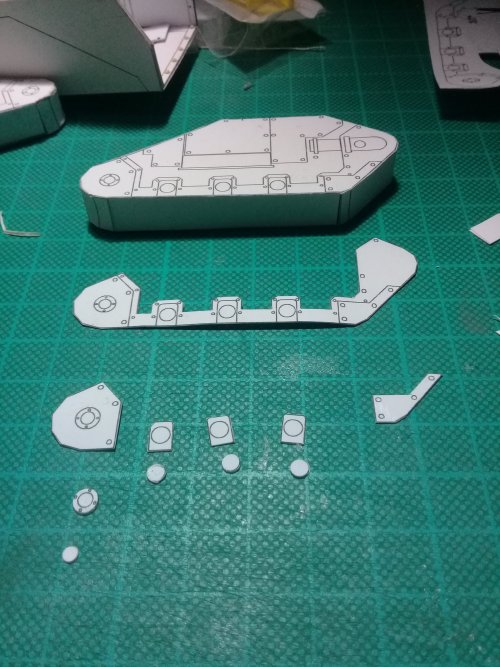
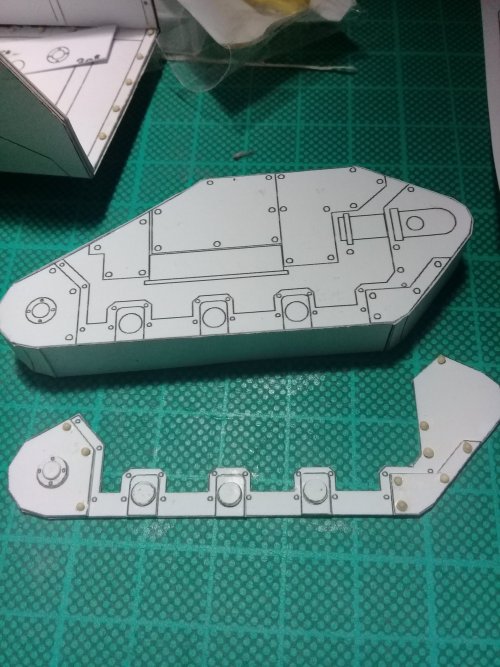
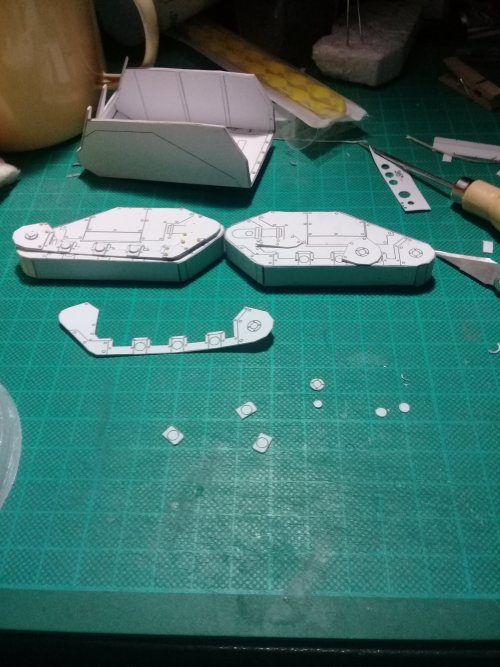
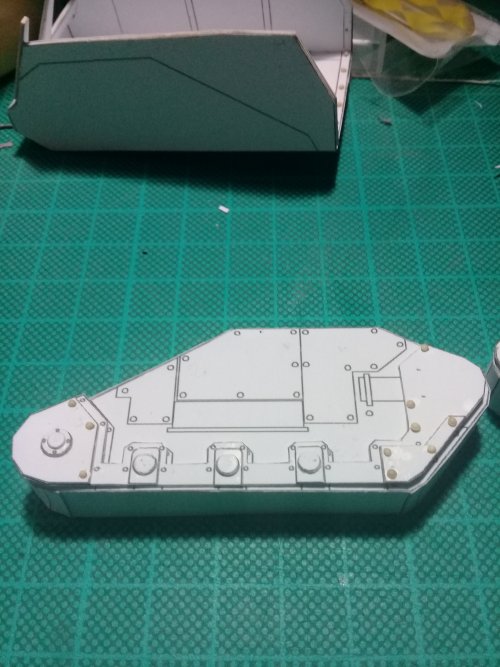
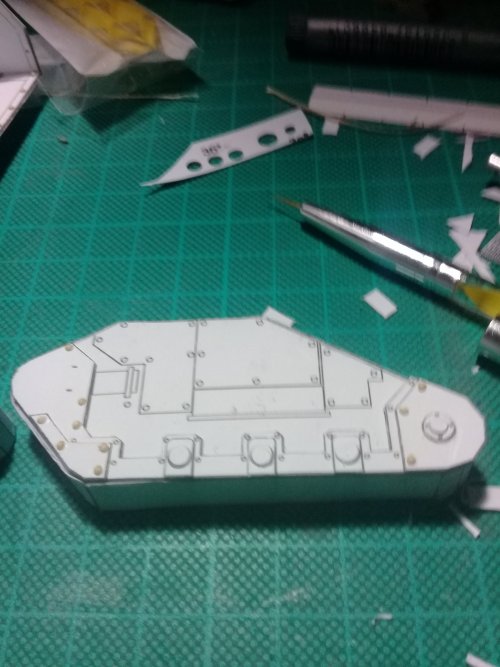
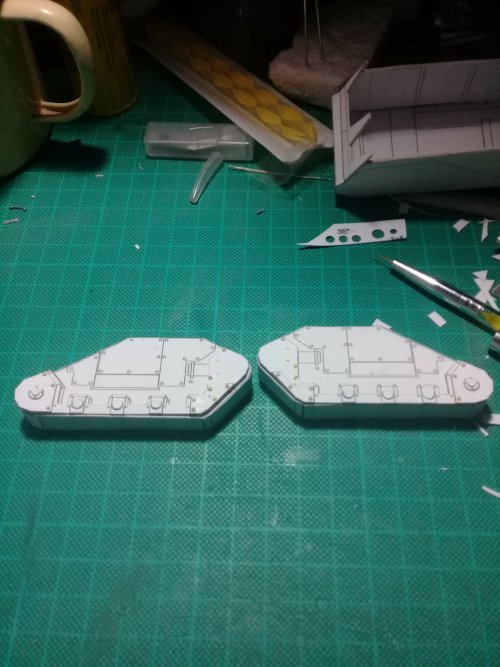
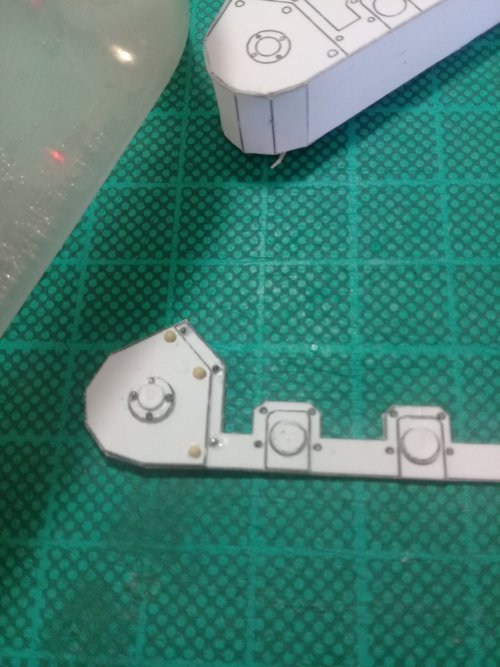
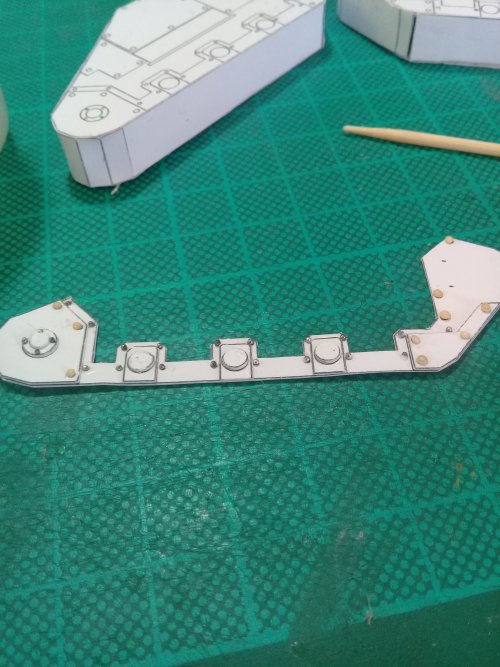
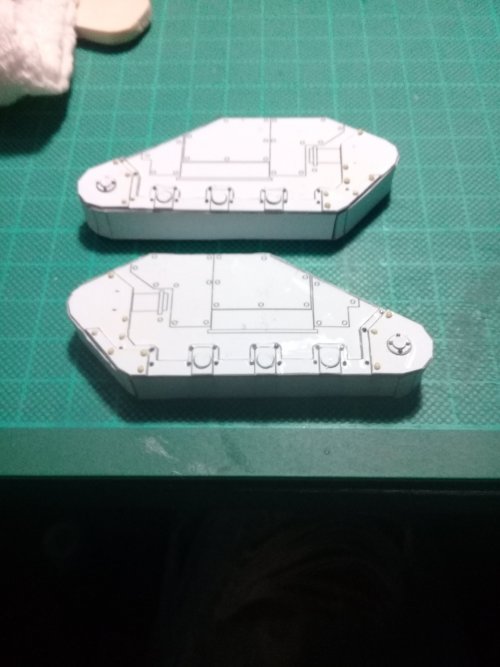
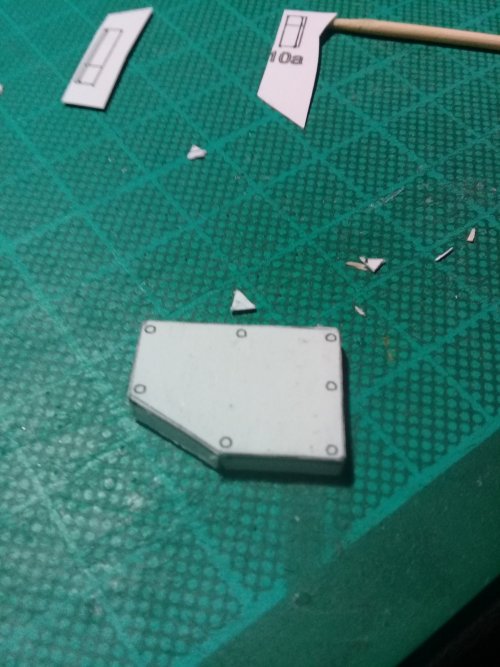
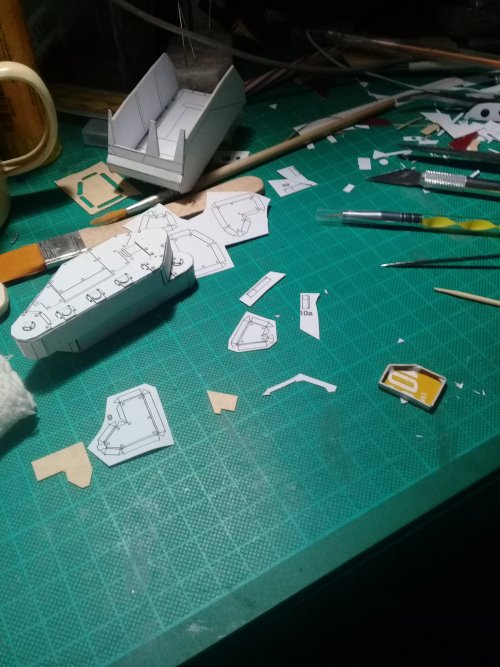
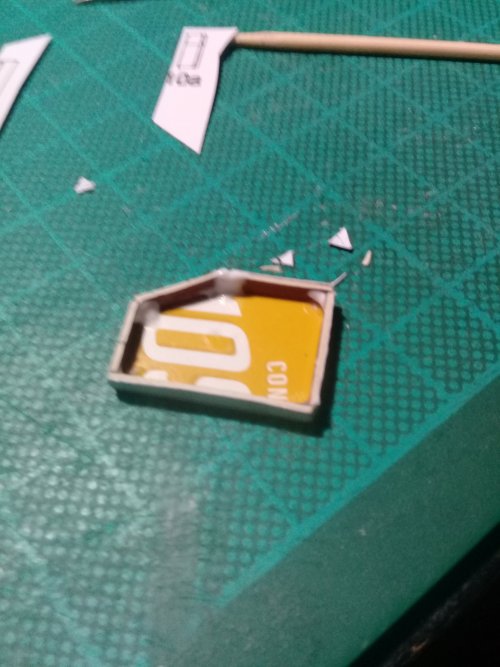
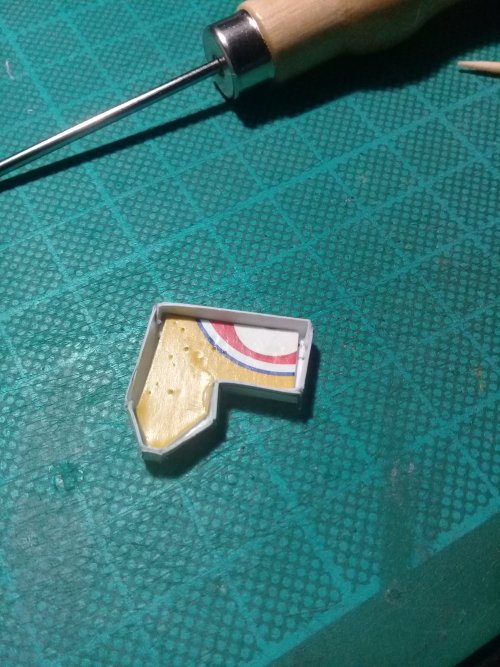
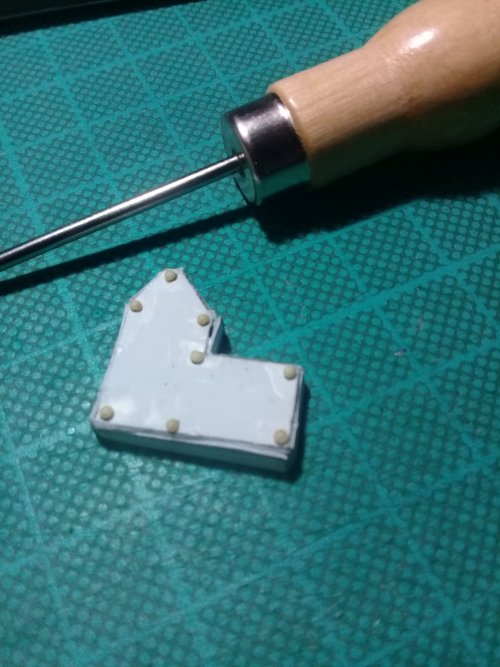
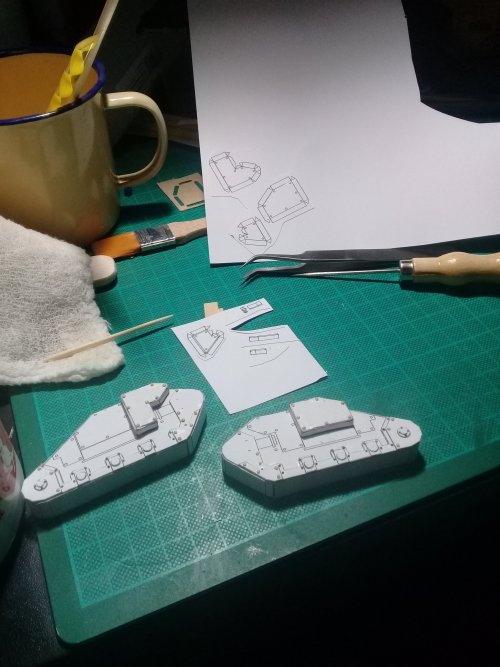
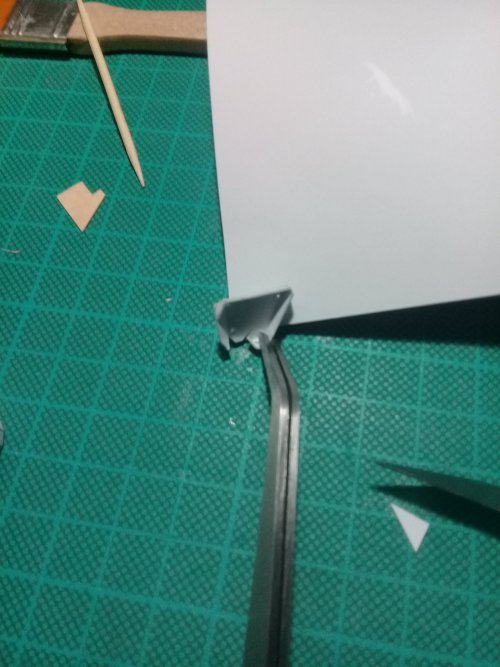
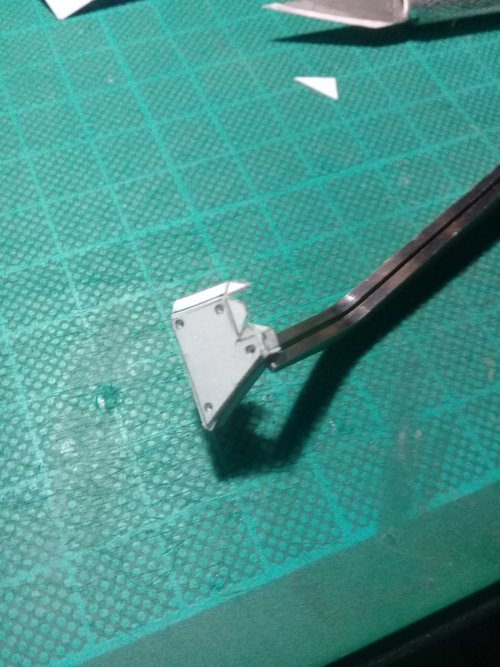
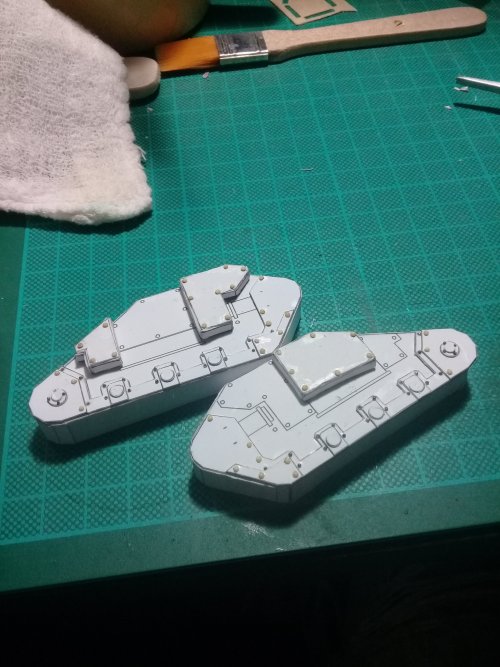
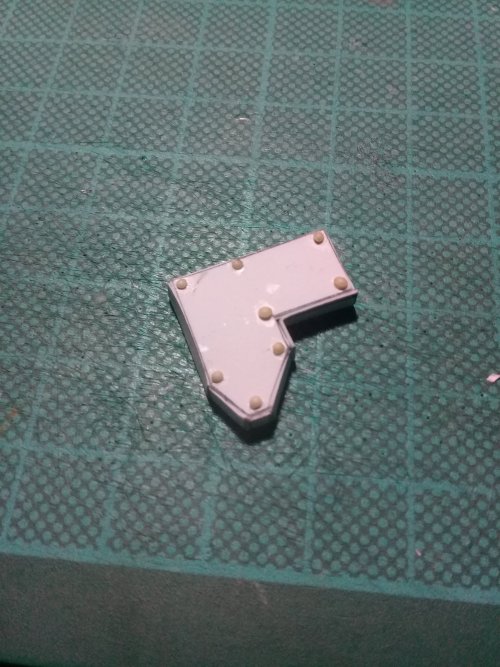
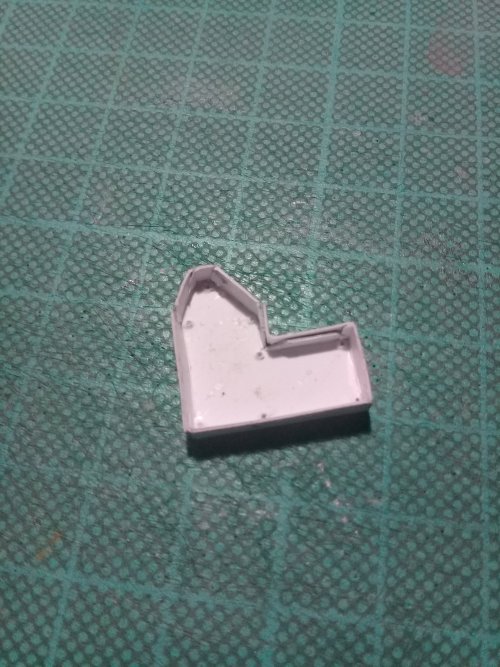
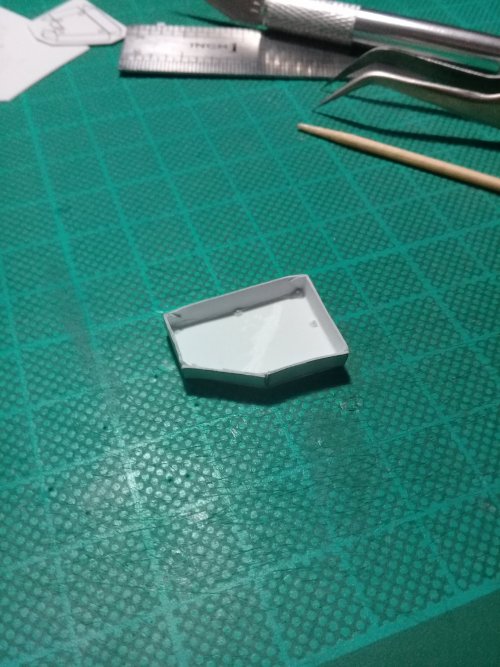
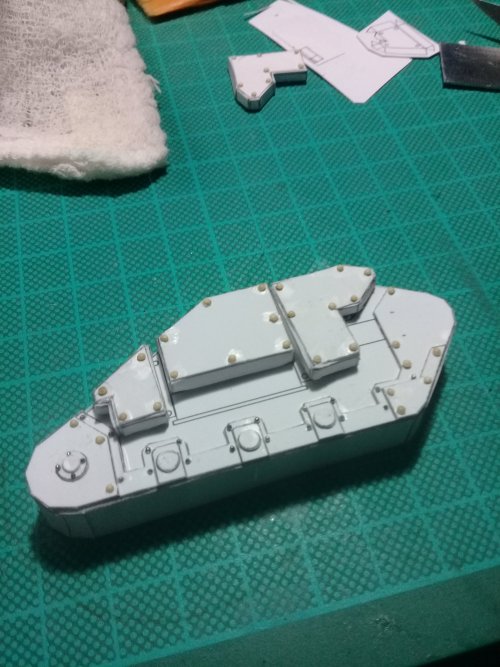
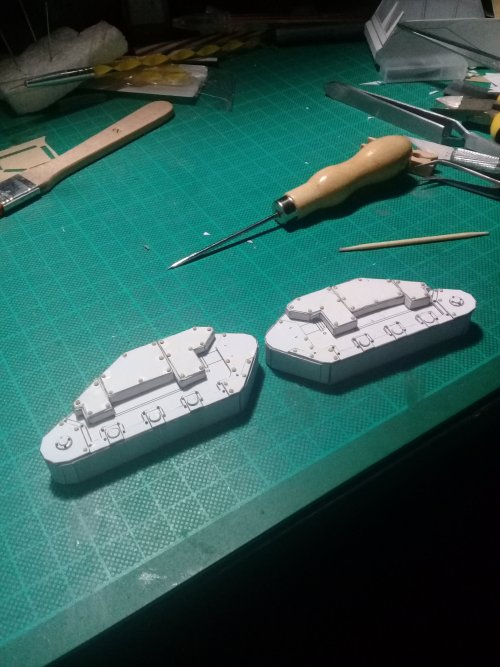
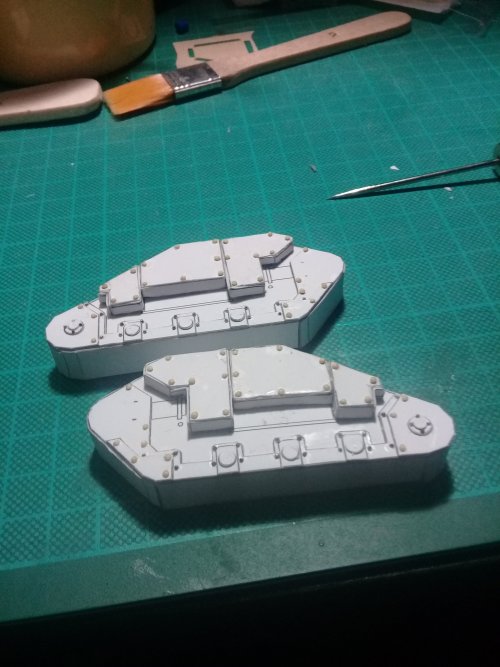
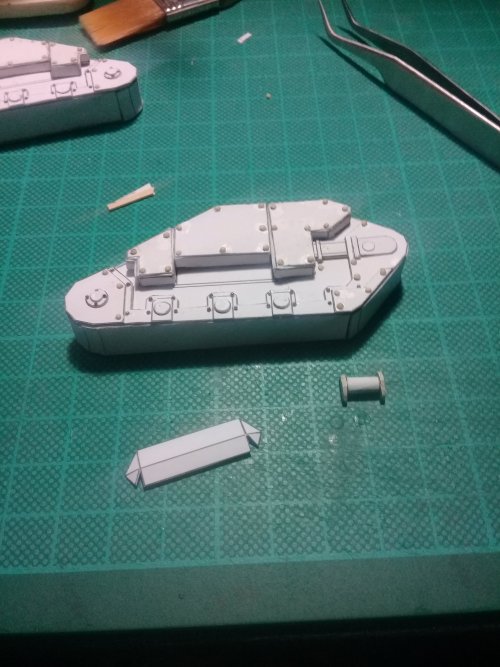
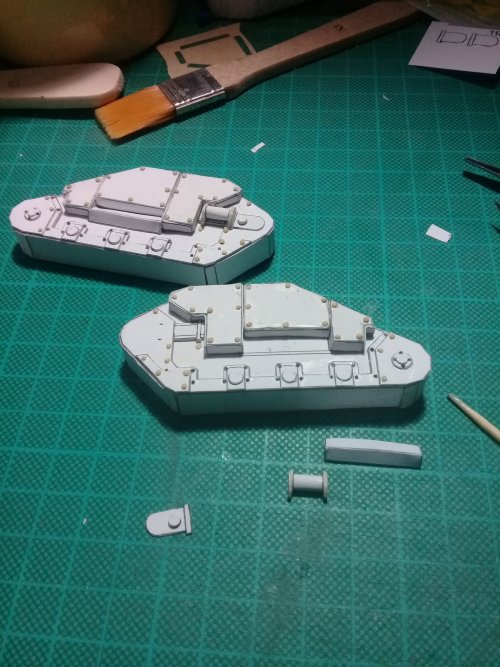
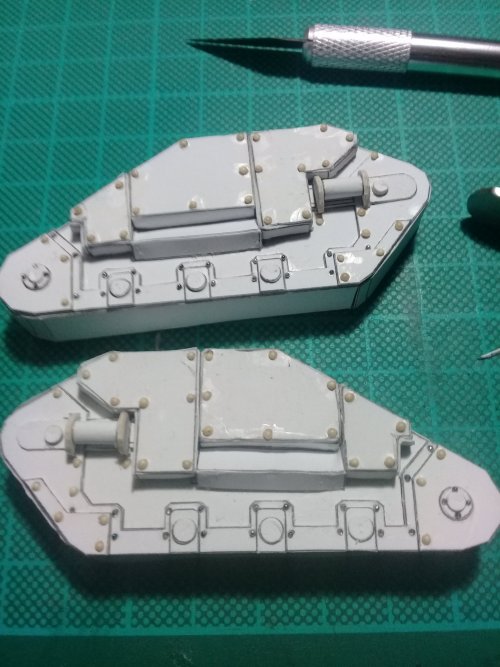
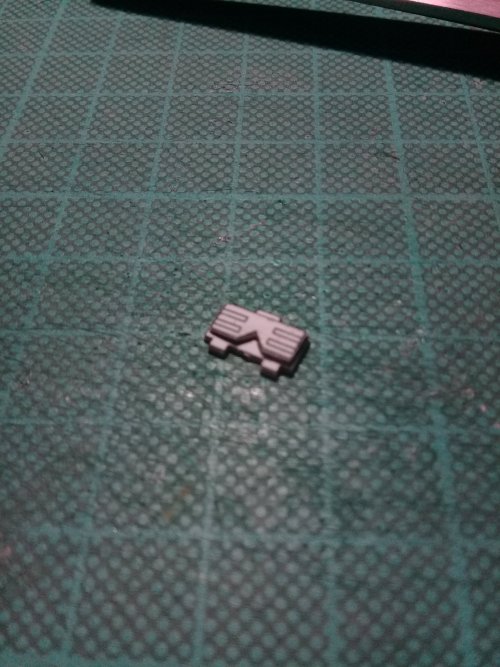
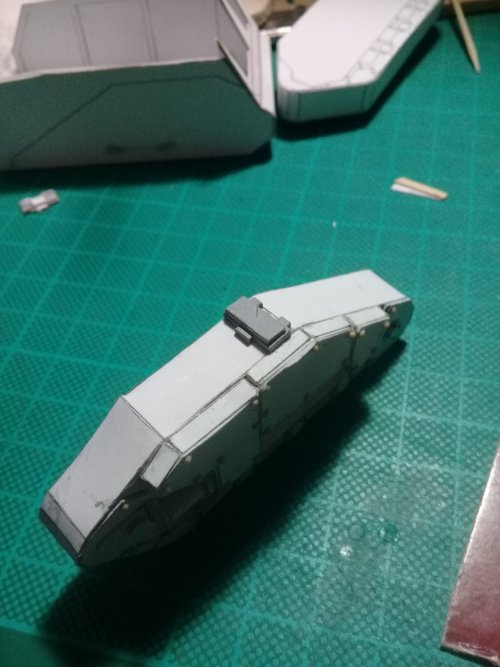
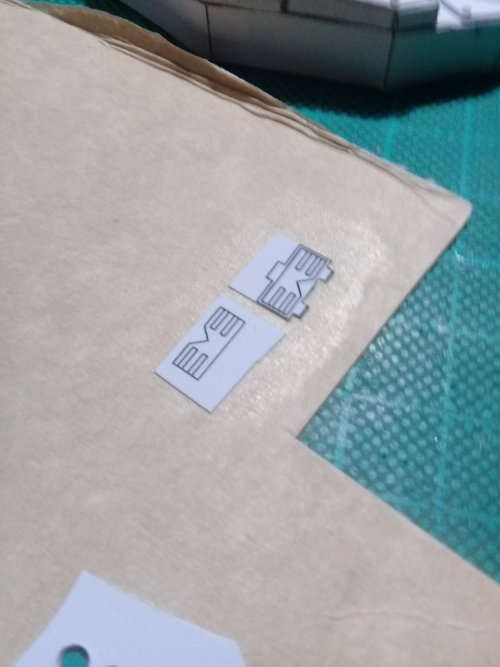
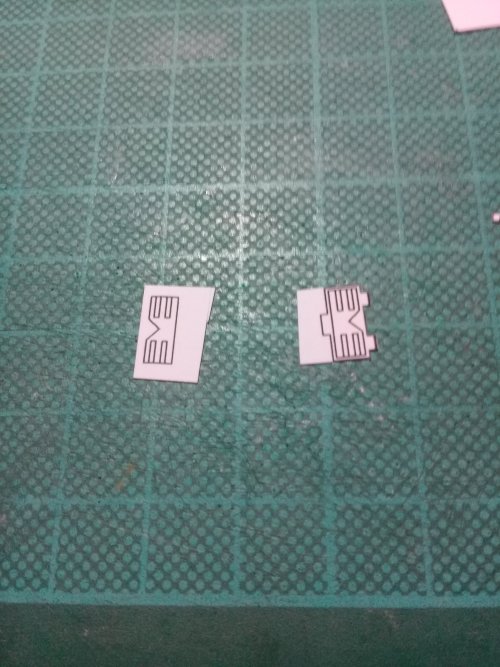
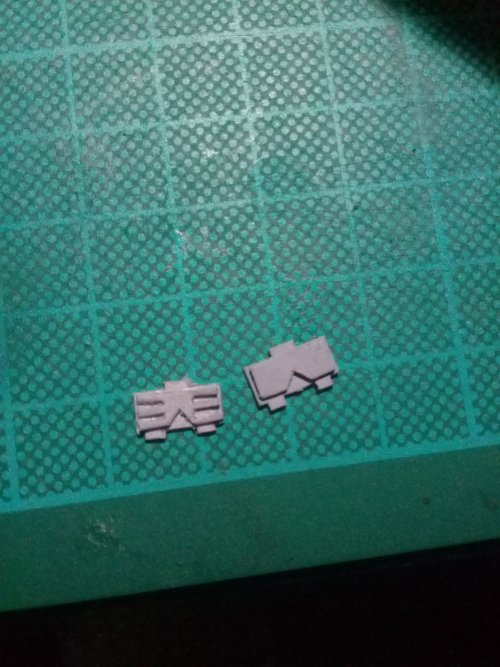
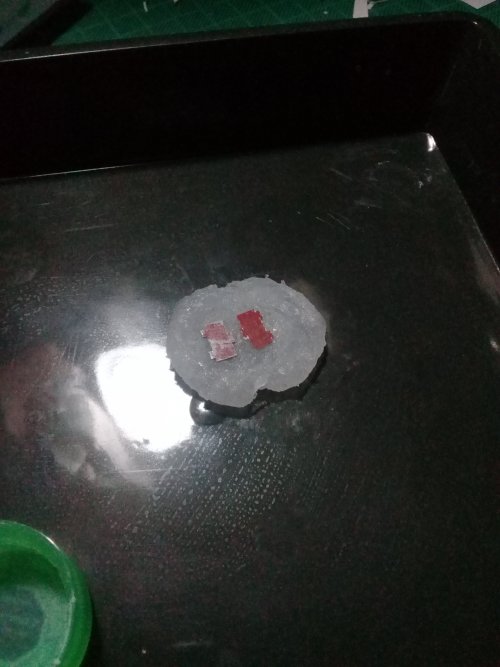
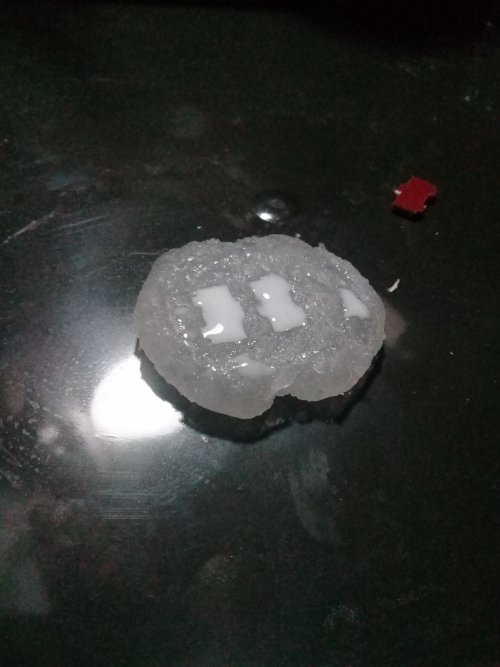
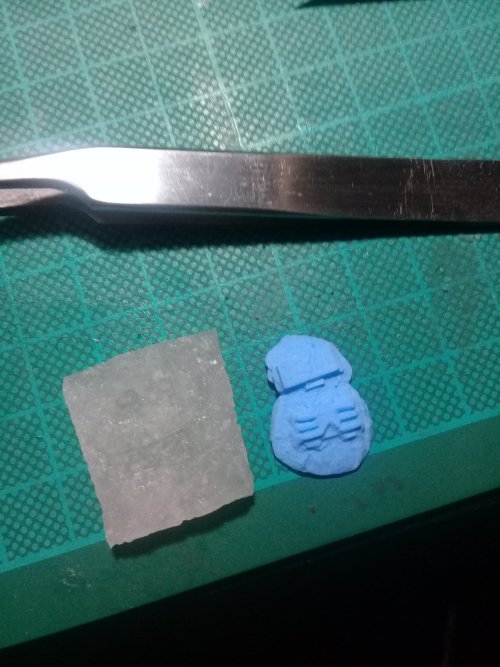
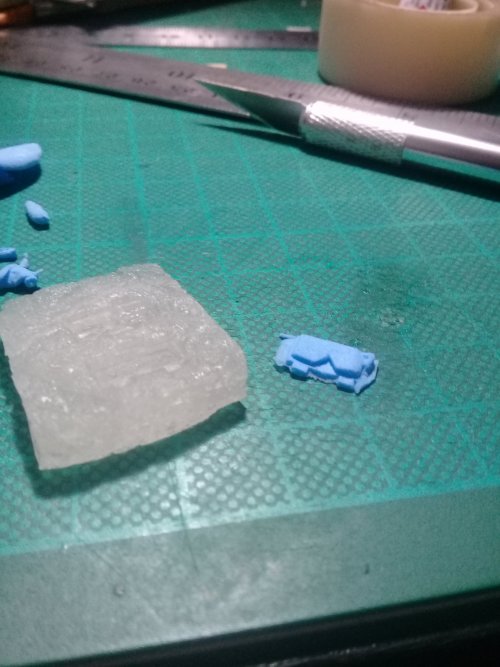
Today i bring a project im working its a Centaur from the Imperial Guard Faction this template was done by Patoroch right now im using carboard this time and using the blank template because im in plans of painting it like a plastic figure for now i leave the photos of my work and btw @Sudsy i need to talk to you about your sheet metal to paper method in all seriousness


Take care guys
 

Attachments

  • 20220412_010111.jpg
    20220412_010111.jpg
    756.5 KB · Views: 3
  • 20220412_010120.jpg
    20220412_010120.jpg
    762.7 KB · Views: 3
  • 20220412_010654.jpg
    20220412_010654.jpg
    961.8 KB · Views: 3
  • 20220412_011158.jpg
    20220412_011158.jpg
    1.7 MB · Views: 3
  • 20220412_011205.jpg
    20220412_011205.jpg
    1.9 MB · Views: 4
  • 20220412_011630.jpg
    20220412_011630.jpg
    1.6 MB · Views: 4
  • 20220412_013700.jpg
    20220412_013700.jpg
    1.7 MB · Views: 4
  • 20220412_013728.jpg
    20220412_013728.jpg
    1.8 MB · Views: 3
  • 20220412_033414.jpg
    20220412_033414.jpg
    896.4 KB · Views: 4
  • 20220412_033430.jpg
    20220412_033430.jpg
    896.6 KB · Views: 3
  • 20220412_212712.jpg
    20220412_212712.jpg
    748.9 KB · Views: 3
  • 20220412_212721.jpg
    20220412_212721.jpg
    691 KB · Views: 3
  • 20220413_011906.jpg
    20220413_011906.jpg
    952.8 KB · Views: 3
  • 20220413_011916.jpg
    20220413_011916.jpg
    836.8 KB · Views: 3
  • 20220413_012826.jpg
    20220413_012826.jpg
    752.1 KB · Views: 3
  • 20220413_012835.jpg
    20220413_012835.jpg
    909.7 KB · Views: 3

Zergei619

Active Member
a little bit of more progress. all this measure is hurting my head
 

Attachments

  • 20220413_230510.jpg
    20220413_230510.jpg
    906.3 KB · Views: 2
  • 20220413_230535.jpg
    20220413_230535.jpg
    780.8 KB · Views: 2
  • 20220413_230549.jpg
    20220413_230549.jpg
    658 KB · Views: 2
  • 20220413_231727.jpg
    20220413_231727.jpg
    889.2 KB · Views: 2
  • 20220414_003649.jpg
    20220414_003649.jpg
    1.2 MB · Views: 2
  • 20220414_003653.jpg
    20220414_003653.jpg
    1.1 MB · Views: 2
  • 20220414_004003.jpg
    20220414_004003.jpg
    931.5 KB · Views: 2
  • 20220414_004011.jpg
    20220414_004011.jpg
    701.4 KB · Views: 2

Zergei619

Active Member
more WIPs photos
 

Attachments

  • 20220414_192251.jpg
    20220414_192251.jpg
    756.9 KB · Views: 3
  • 20220414_204103.jpg
    20220414_204103.jpg
    1.1 MB · Views: 2
  • 20220414_232512.jpg
    20220414_232512.jpg
    1.2 MB · Views: 3
  • 20220414_233230.jpg
    20220414_233230.jpg
    1.2 MB · Views: 3
  • 20220414_234113.jpg
    20220414_234113.jpg
    1.1 MB · Views: 3
  • 20220415_013403.jpg
    20220415_013403.jpg
    1.1 MB · Views: 2
  • 20220415_014911.jpg
    20220415_014911.jpg
    986.6 KB · Views: 3
  • 20220415_014915.jpg
    20220415_014915.jpg
    861.2 KB · Views: 3
  • 20220415_014933.jpg
    20220415_014933.jpg
    1 MB · Views: 3

Zergei619

Active Member
More WIP i wasted 3 hours in doing that thing in the last 2 photos never doing that crap again NEVER!
 

Attachments

  • 20220415_145651.jpg
    20220415_145651.jpg
    872.5 KB · Views: 4
  • 20220415_145701.jpg
    20220415_145701.jpg
    938.7 KB · Views: 3
  • 20220415_152732.jpg
    20220415_152732.jpg
    1.1 MB · Views: 3
  • 20220415_195801.jpg
    20220415_195801.jpg
    715.2 KB · Views: 4
  • 20220416_033914.jpg
    20220416_033914.jpg
    922.8 KB · Views: 4
  • 20220416_033919.jpg
    20220416_033919.jpg
    967 KB · Views: 4
  • 20220416_034004.jpg
    20220416_034004.jpg
    1 MB · Views: 4

Sudsy

Well-Known Member
Looking good so far! If you have questions, send them! I can answer them here or in PM. Looks like the difficulty you are mentioning in Post #5 is using beads for rivets?
 

Zergei619

Active Member
Looking good so far! If you have questions, send them! I can answer them here or in PM. Looks like the difficulty you are mentioning in Post #5 is using beads for rivets?
its not about the beads for rivets (they are sesame seeds) and for the small ones i use nail beads but thats not my problems. my problems is making thiccness by using cardboard with paper is not a big isssue but cardboard is another story i have to meassure to avoid that parts collide with one another and we are not talking about cm's is mm's and thats is really tiresome
 

Attachments

  • 20220416_033914.jpg
    20220416_033914.jpg
    922.8 KB · Views: 2
  • 20220416_033919.jpg
    20220416_033919.jpg
    967 KB · Views: 2

Sudsy

Well-Known Member
its not about the beads for rivets (they are sesame seeds) and for the small ones i use nail beads but thats not my problems. my problems is making thiccness by using cardboard with paper is not a big isssue but cardboard is another story i have to meassure to avoid that parts collide with one another and we are not talking about cm's is mm's and thats is really tiresome
Yes, adding thicker card behind the thinner sheets used to print the model is tricky. I would build up the box, and leave it incomplete enough to work inside of it, before laminating thicker cardboard sheets to it. Measure in the inside distances inside the box-like structure, and trim up the card you are using as reinforcement.

Then there is always the 'angles' method of having a 6mm wide strip of cardstock with a 90 degree fold in the middle at 3mm to create an "L" shape, or sometimes others have ended up creating a 12mm wide strip with folds at 3mm to create triangular supports they cut to length and glue as needed inside the boxes.

Wherever you have a fold line on those boxes, you typically don't get warping, it's normally that middle surface further from the fold, and that is where you want your 'angles' or stiffer (thicker) card, even if those reinforcements don't go all the way to the folds (most of the time).
 

Sudsy

Well-Known Member
And then, sometimes, you have to flex with the model... My first few kits had a lot of issues I painted over to hide miscalculating how thick of card stock I used, or I had to rebuild more than a few gun barrels because my card stock was too thick... Great thing about these models, when you 'mess up' and 'goof' you can work around it; and it makes the kit something more of your own (as you can say the tech priests of Mars just welded bolted on a thicker plate there on planet Xylophon during the last Tyranid invasion or some such).
 

Zergei619

Active Member
small update on the centaur sorry this part is driving me insane cut by cut im slowly becoming a chaos creature
 

Attachments

  • 20220418_004825.jpg
    20220418_004825.jpg
    1.3 MB · Views: 4
  • 20220418_004830.jpg
    20220418_004830.jpg
    992 KB · Views: 4
  • 20220418_005349.jpg
    20220418_005349.jpg
    981.1 KB · Views: 4
  • 20220418_023716.jpg
    20220418_023716.jpg
    881.1 KB · Views: 3
  • 20220418_023725.jpg
    20220418_023725.jpg
    1.1 MB · Views: 2
  • 20220418_025737.jpg
    20220418_025737.jpg
    990.4 KB · Views: 2
  • 20220418_025755.jpg
    20220418_025755.jpg
    1.1 MB · Views: 2

mijob

Tie designer
Staff member
Moderator
You are doing a great job on this model. All your work is paying out.
 

Zergei619

Active Member
some updates slowly gotta be honest putting too much detail sometimes eats away at you
 

Attachments

  • 20220422_011042.jpg
    20220422_011042.jpg
    1 MB · Views: 4
  • 20220422_011056.jpg
    20220422_011056.jpg
    934.1 KB · Views: 3
  • 20220423_015058.jpg
    20220423_015058.jpg
    1 MB · Views: 2
  • 20220423_015433.jpg
    20220423_015433.jpg
    966.3 KB · Views: 2
  • 20220423_020627.jpg
    20220423_020627.jpg
    962.8 KB · Views: 2
  • 20220424_020816.jpg
    20220424_020816.jpg
    1.2 MB · Views: 3
  • 20220424_025430.jpg
    20220424_025430.jpg
    968.3 KB · Views: 4

Zergei619

Active Member

Attachments

  • 20220426_021940.jpg
    20220426_021940.jpg
    1 MB · Views: 3
  • 20220426_024928.jpg
    20220426_024928.jpg
    653.3 KB · Views: 1
  • 20220426_025725.jpg
    20220426_025725.jpg
    1.1 MB · Views: 2
  • 20220426_025740.jpg
    20220426_025740.jpg
    979.1 KB · Views: 2
  • 20220426_031347.jpg
    20220426_031347.jpg
    866.6 KB · Views: 3
  • 20220426_031645.jpg
    20220426_031645.jpg
    822.2 KB · Views: 3

Zergei619

Active Member
well tested and it works once i remake this one with more of the same track and found some plaster, dental stone or some material i can craft at my home and with cheap materials ill try to do more
 

Attachments

  • 20220427_235405.jpg
    20220427_235405.jpg
    980.1 KB · Views: 2
  • 20220428_020407.jpg
    20220428_020407.jpg
    896.8 KB · Views: 2

micahrogers

Moderator "Where am I, and how did I get here?"
Staff member
Moderator
You need some molding silicone, try MicroMark, or a local hobby store. I've even seen the silicone and resin in Hobby Lobby.
 

Zergei619

Active Member
You need some molding silicone, try MicroMark, or a local hobby store. I've even seen the silicone and resin in Hobby Lobby.
dont have those stuff at the reach of my hand also they are expensive as f*ck in here. i use construction transparent silicone and cold water with dishwasher to mold the silicone but ty for the advice

Use F*ck, it works better. ;).........................................Zathros
 
Last edited by a moderator:
Top