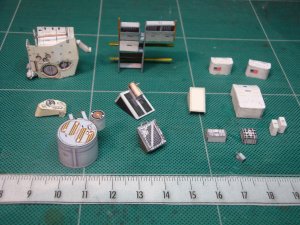
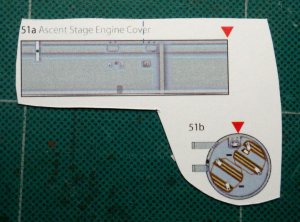
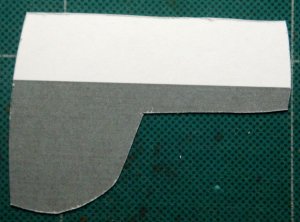
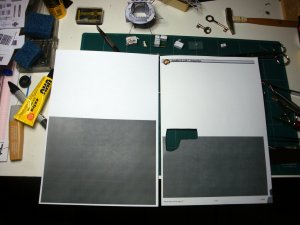
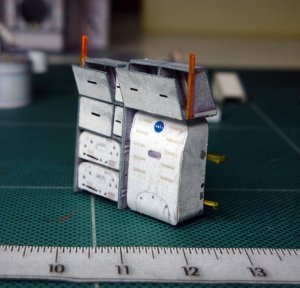
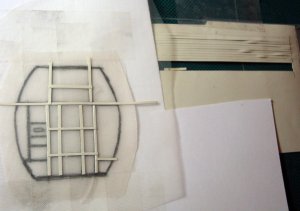
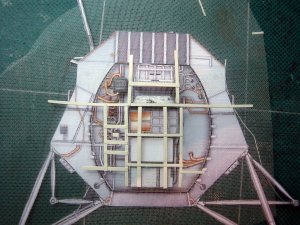
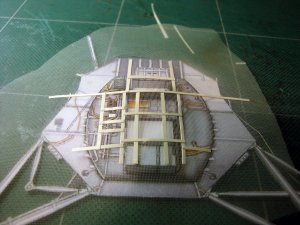
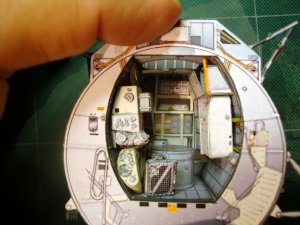
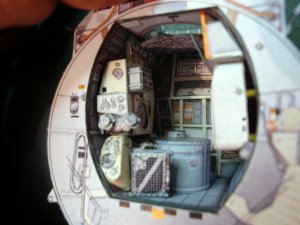
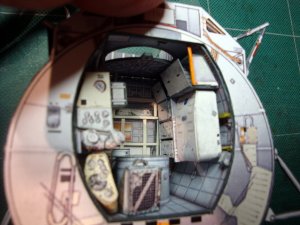
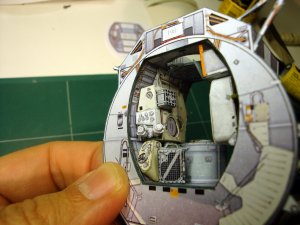
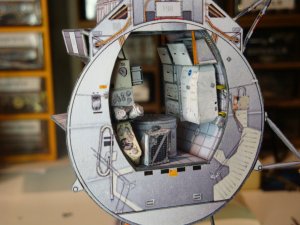
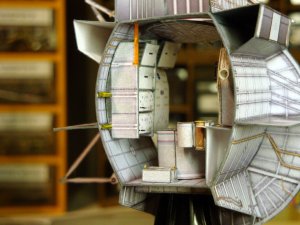
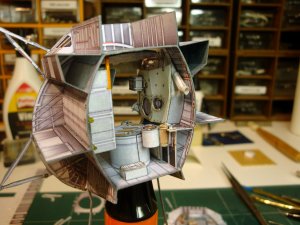
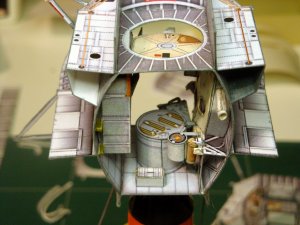
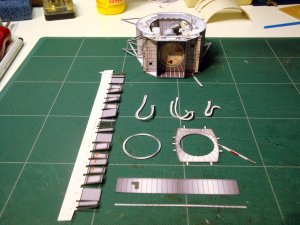
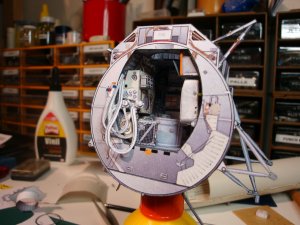
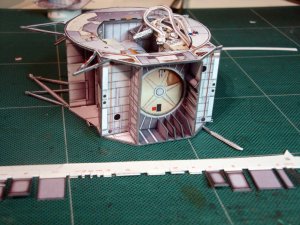
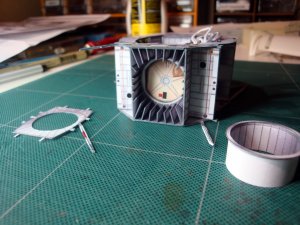
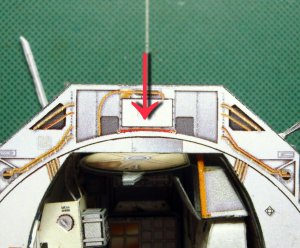
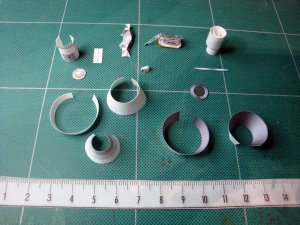
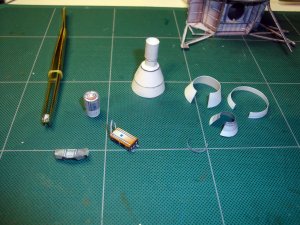
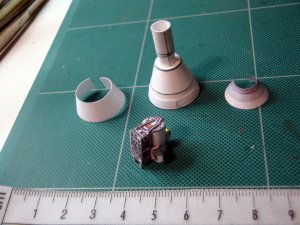
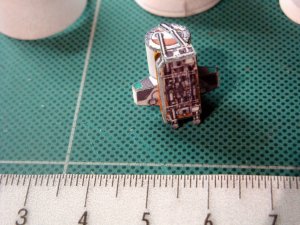
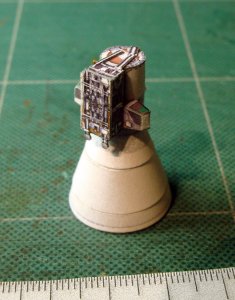
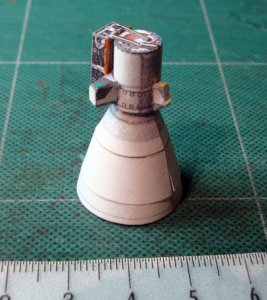
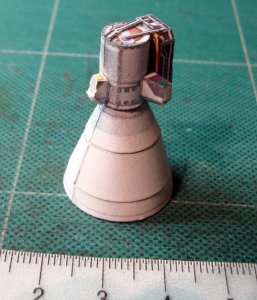
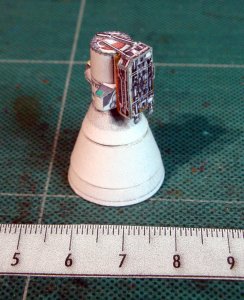
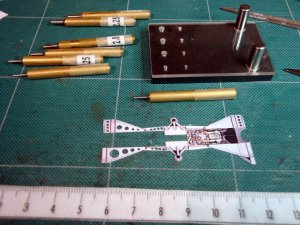
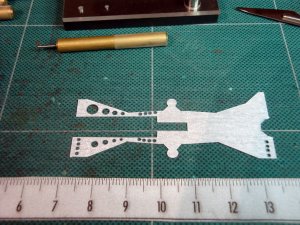
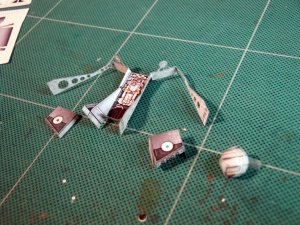
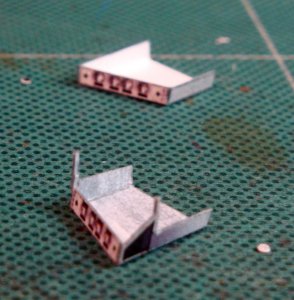
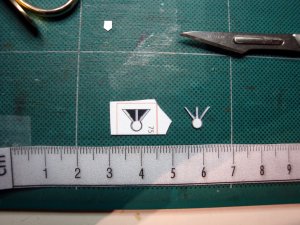
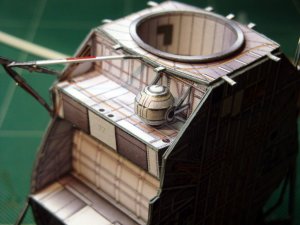
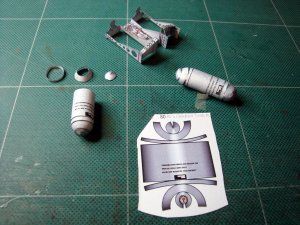
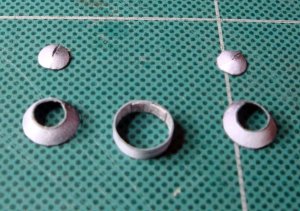
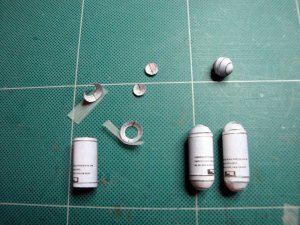
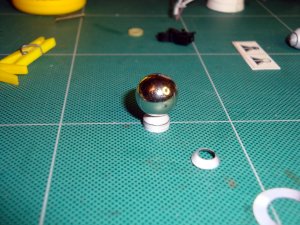
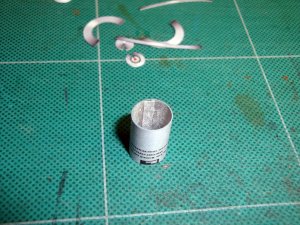
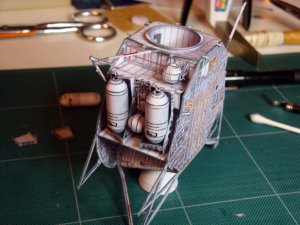
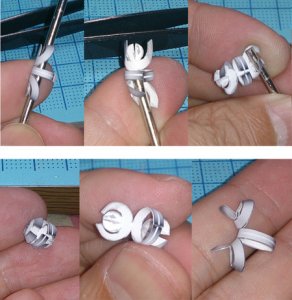
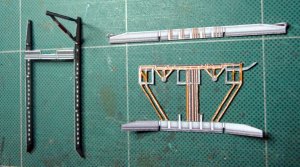
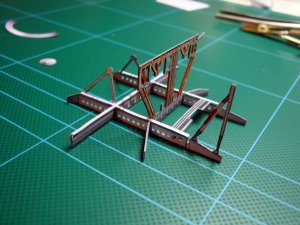
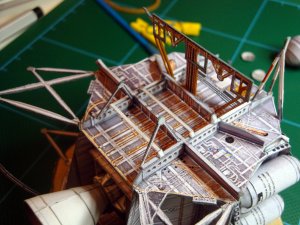
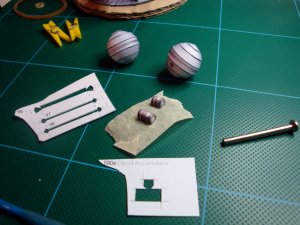
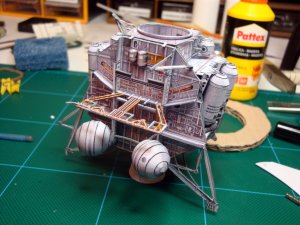
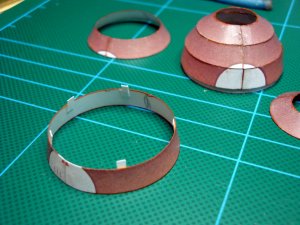
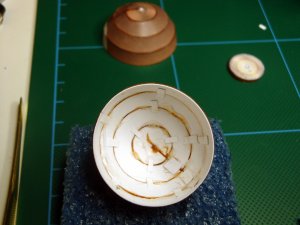
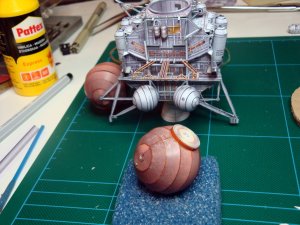
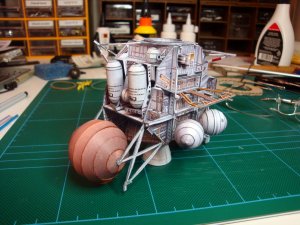
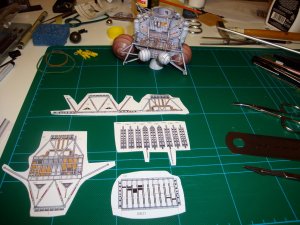
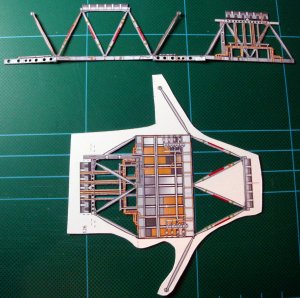
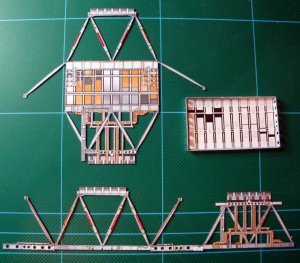
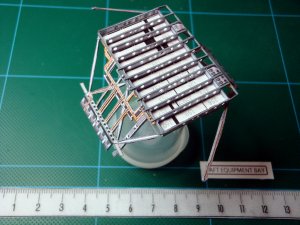
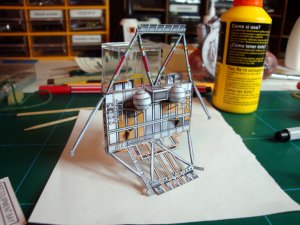
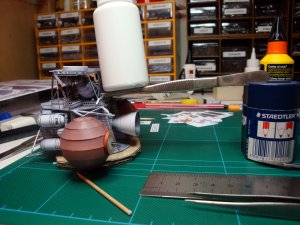
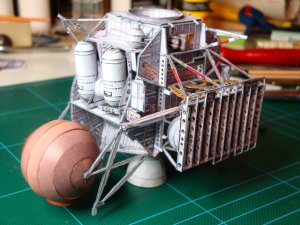
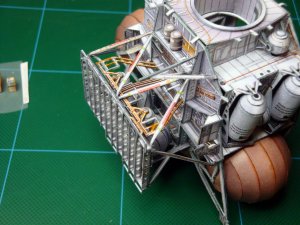
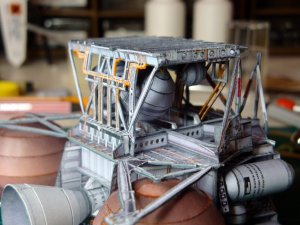
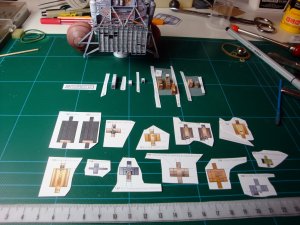
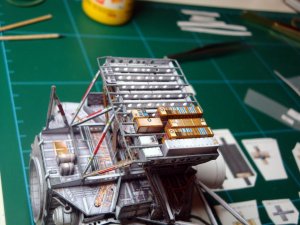
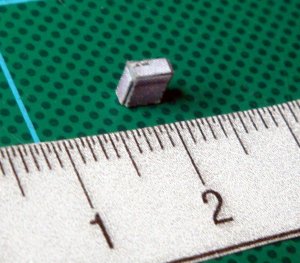
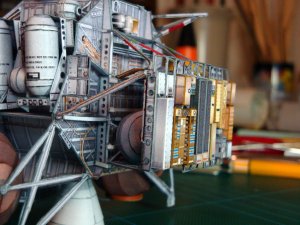
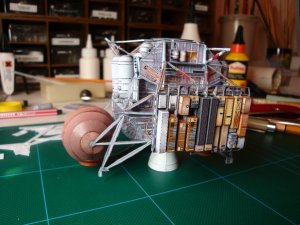
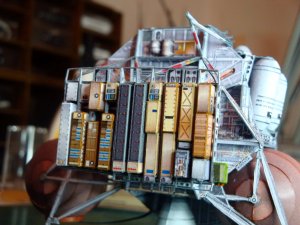
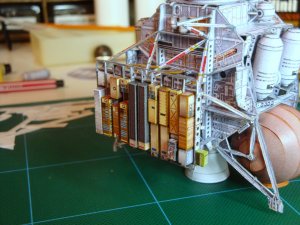
I don't believe that UHU intends people to build them as one piece. That is why the black line is so thick. It seems obvious this is to illustrate the positioning of the parts and serves as instruction, and part location all wrapped in one. This is why you do not see glue tabs triangles on any of his models. I believe he expects advanced modelers to cut the parts out and glue the without tabs, or tabs of the appropriate type. The proof is in the execution of his models. Also, if you cut the radii on that cover all the way to the ends, with the least amount of paper holding them, as you would need to have a circumference, you would then have to cut the ends of the square parts "square" to get rid of the left over radii pieces., otherwise they would be sticking up. If you build more of his models, you will see the logic of his thinking in the layout, and in the execution. I believe the picture on the right is your "interpretation" of the UHU method, while the one on the right is the intended UHU way.
These models are not for the faint of heart. Personally, I never build anything stuck together. Too much of a chance of accrued intolerance. In actuality, you just figured out UHU's intended method, though, in truth, if cut properly, and the parts were left together with .005" of an inch, it could work, though it would break apart.
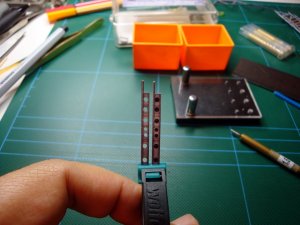
Also, I never put tape on the printed surface, I glue a strip on the inside, sometimes, the I cut out the same part, cut thinner and a wee bit shorter. This allows for perfect alignment, and strengthens the part, the seam, as long as it is not aligned with the outside seam, makes for a great bond, and the outside edge, the edge that shows, can be pressed hard down and together. It is the same for the holes you punched out, you took the model to a higher level. I believe this is what you see in UHU's model, a pathway, and you make the decision just how clear you wish to make it. UHU mapped it out.

