Howdydo all
After a bit of a break due to (health) technical difficulties over Christmas/new year im back to dip my toe back into the (allbeit chilly) waters of model making......of the card kind
 lol
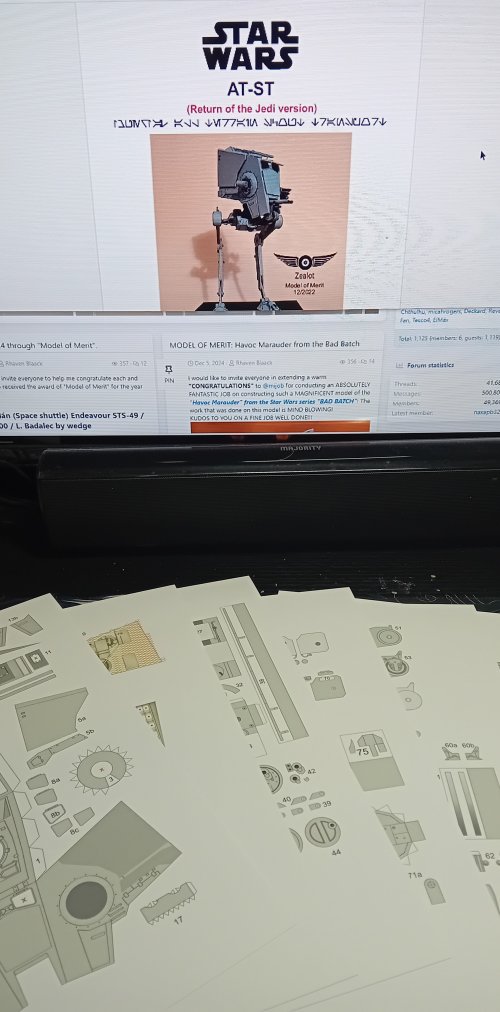
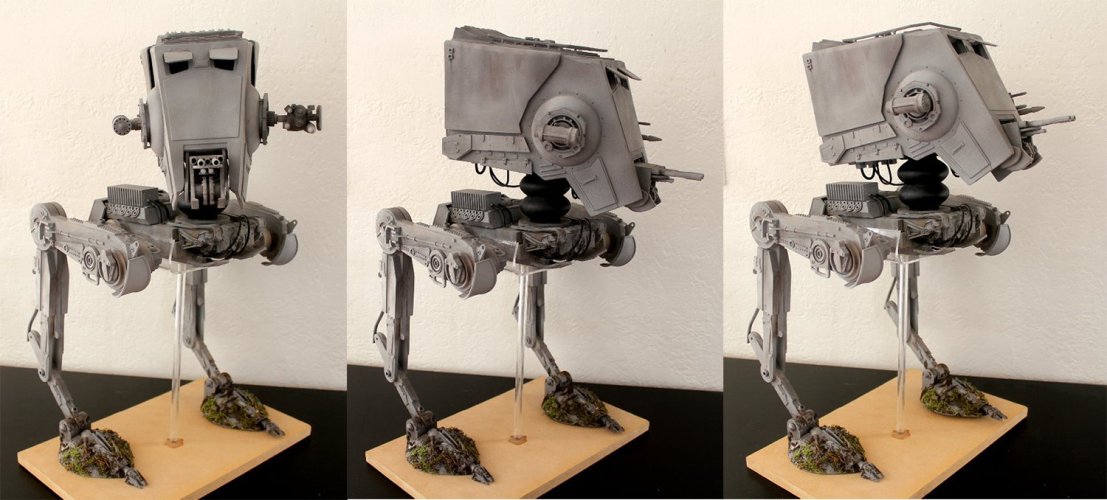
lolI hope everyone is well and recovered from new years fun and looking forward to this years chaos. Well before things get too nutty im going to start with something moderate that is the ROTJ AT ST by our very own Revell Fan (take a bow please
 ) For those of us that dont own a shrinkray (hint hint
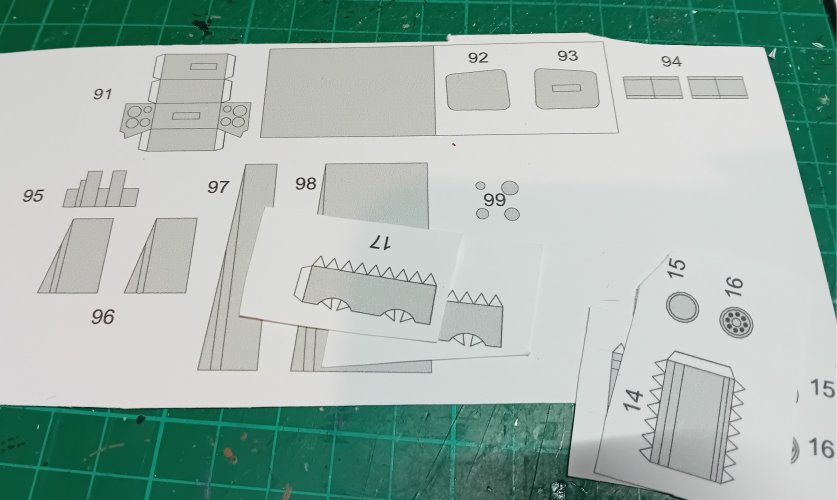
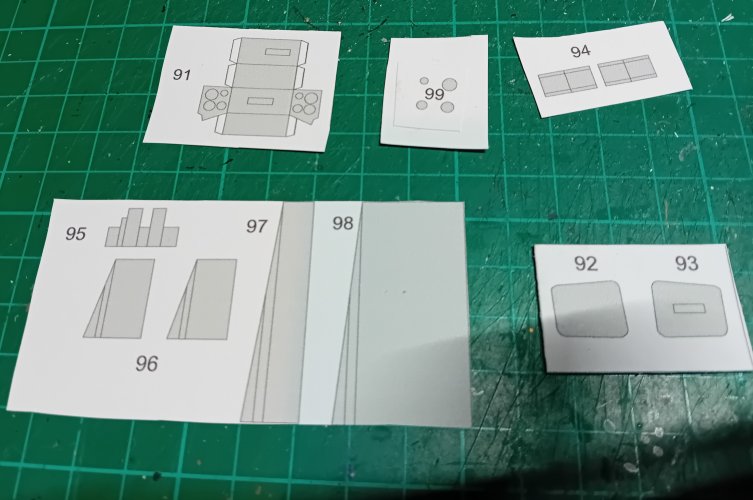
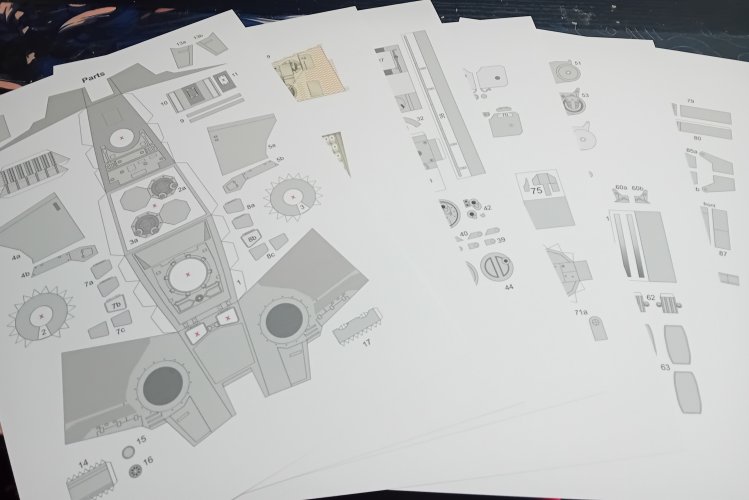
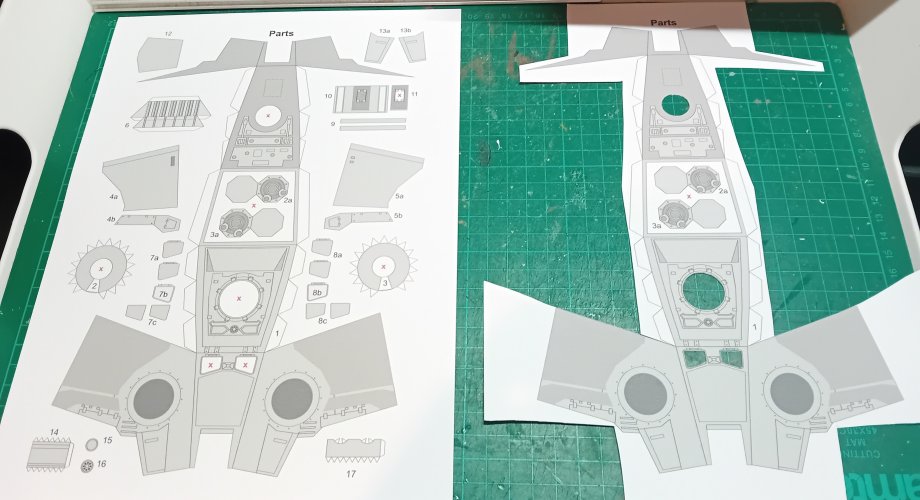
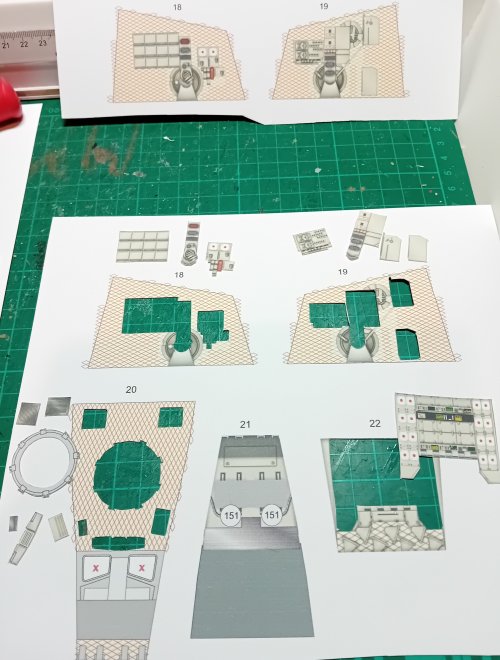
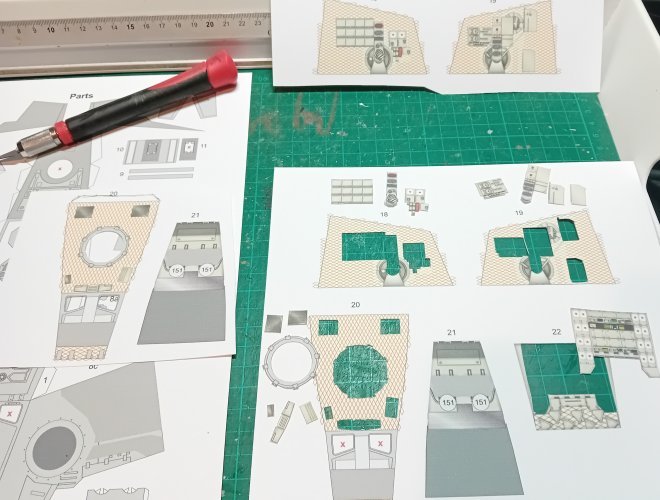
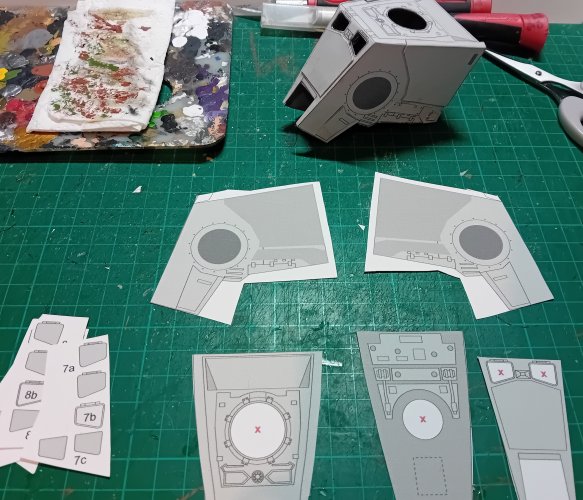
  ) Ive gone back to the traditional method of printing the seven pages of parts onto A4 (210gsm) card (heavy yes, but my standard (works for me lol) and will be starting this one shortly. I apologise in advance for any delays due to my health but ill try to persist as best as possible without too many interruptions lol
Right
Watch this space...more to follow
(and if anyone knows who had the shrinkray last.....i like REALLY need to borrow it)


")
")
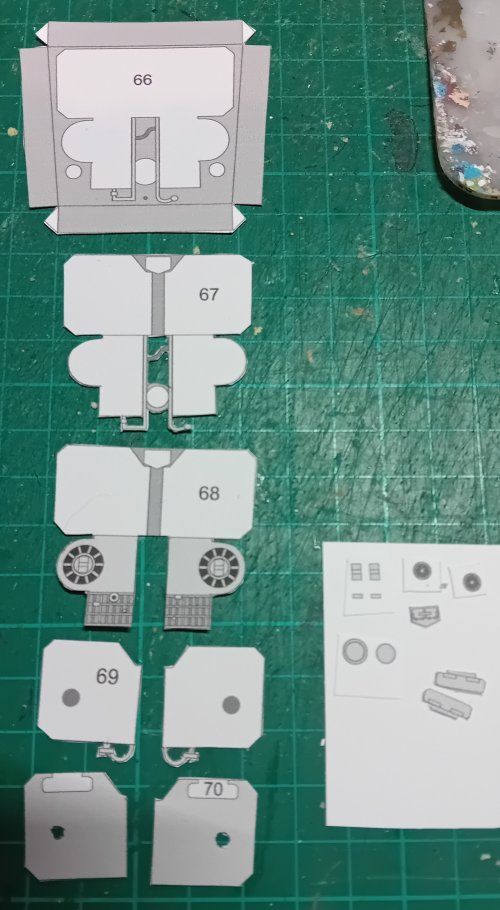
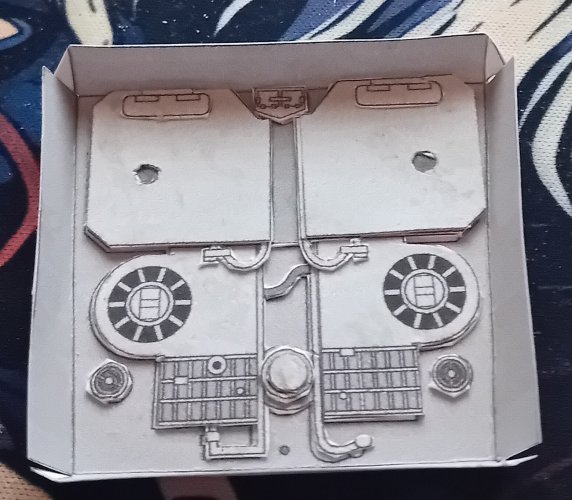
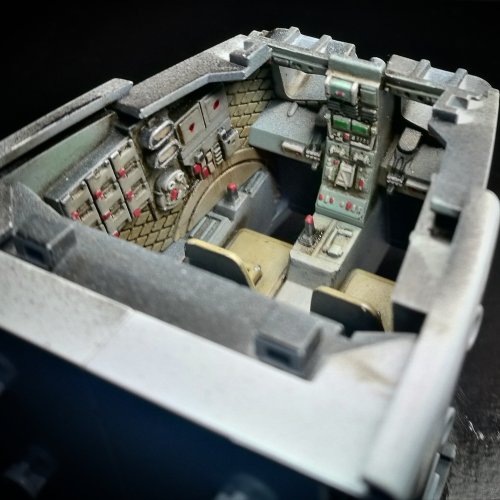
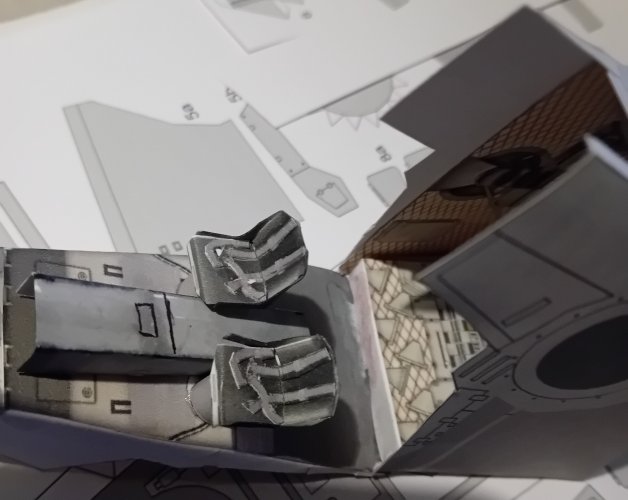
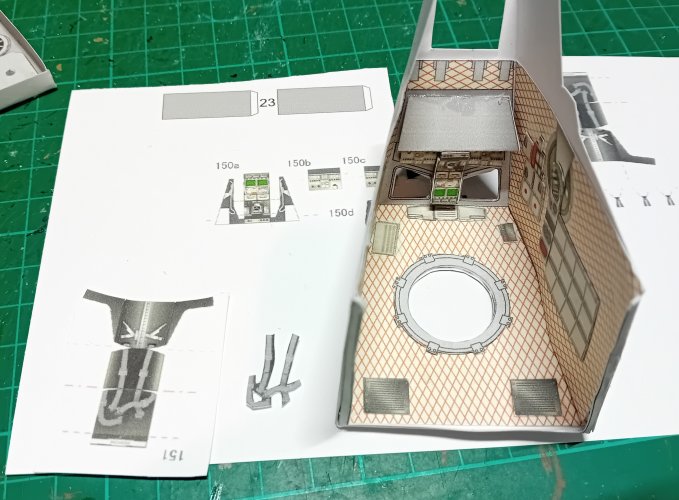
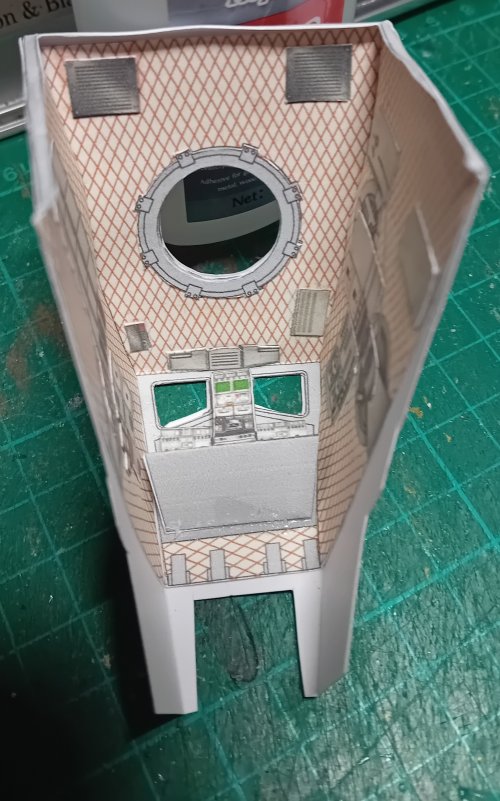

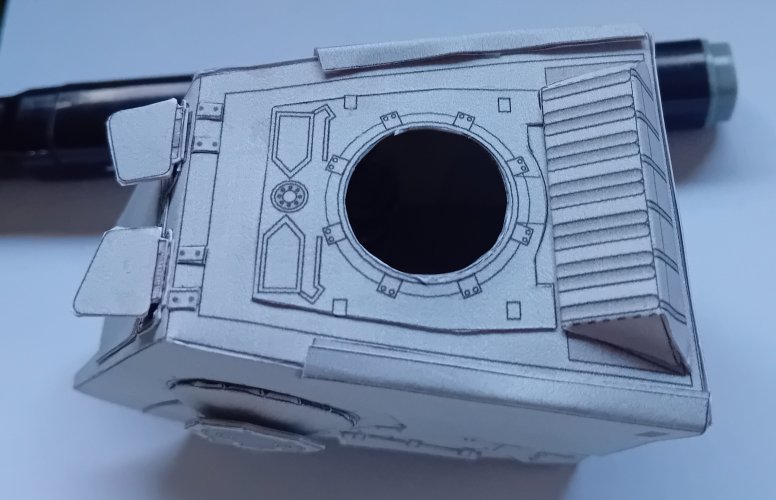
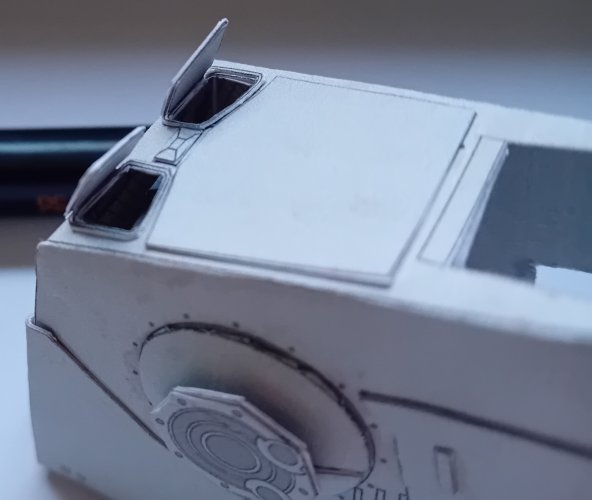
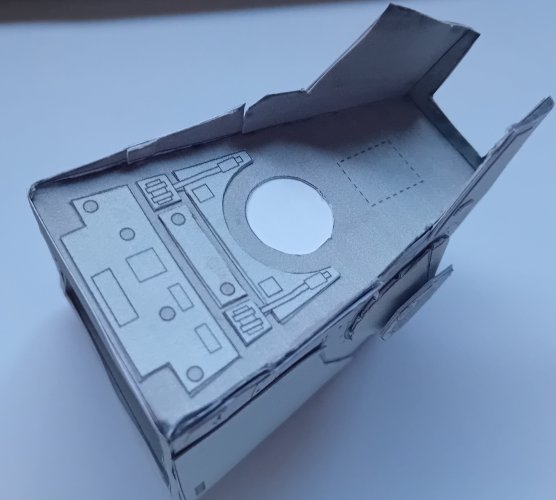
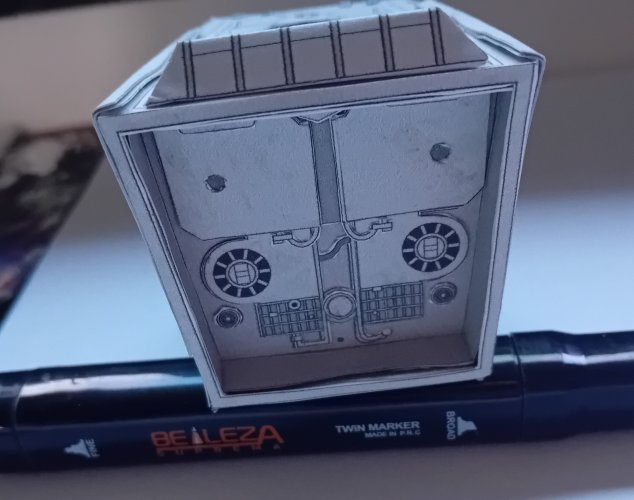
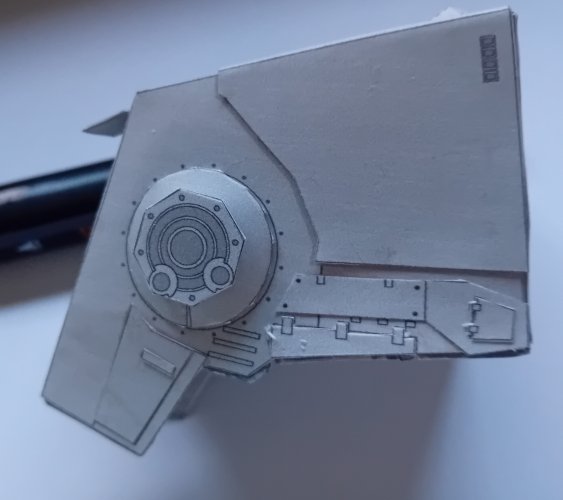
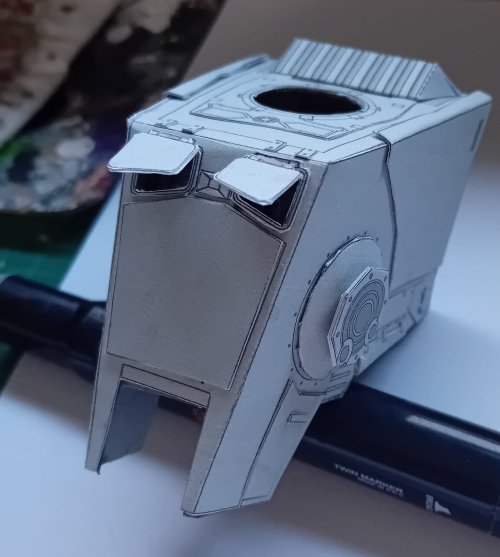
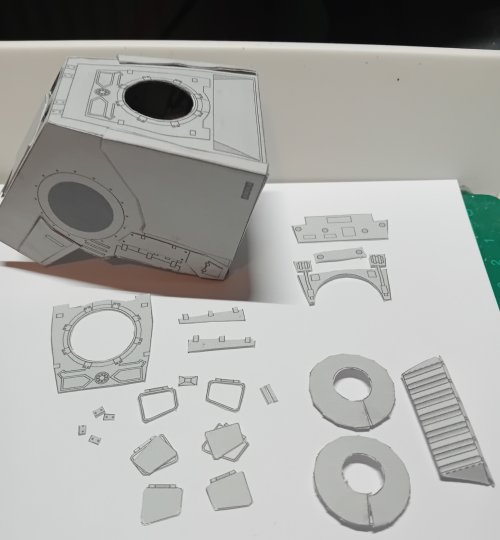
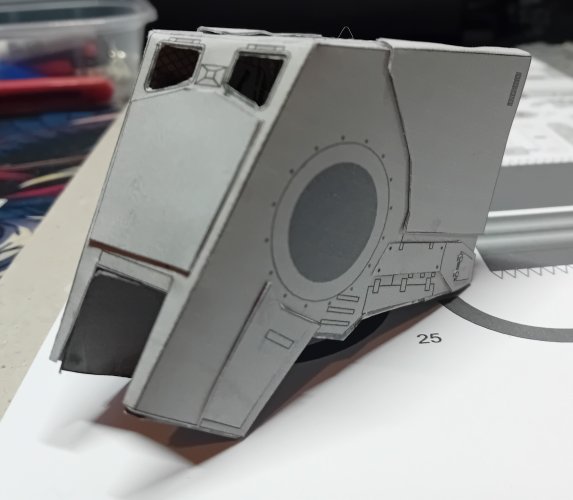
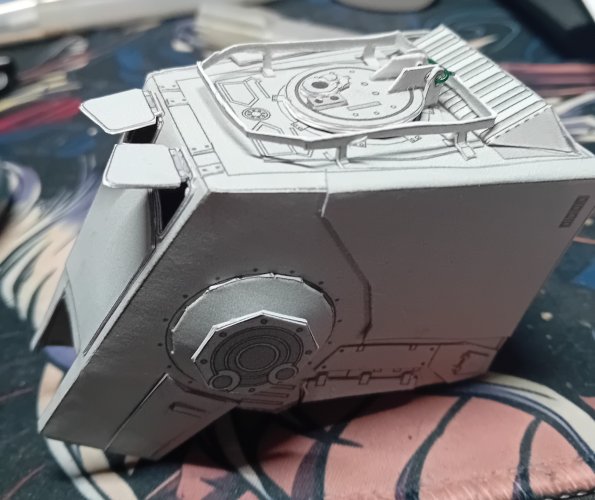
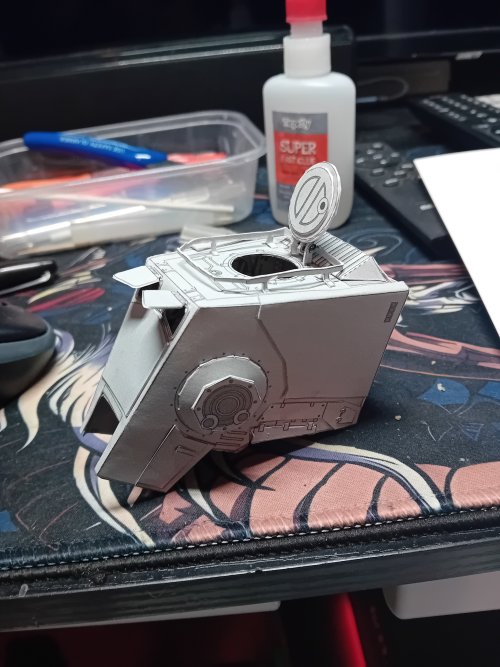
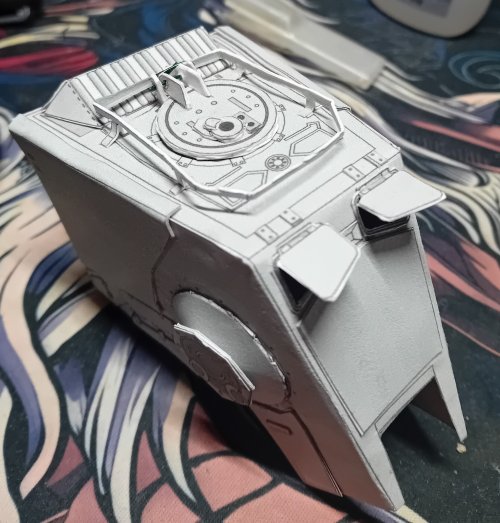
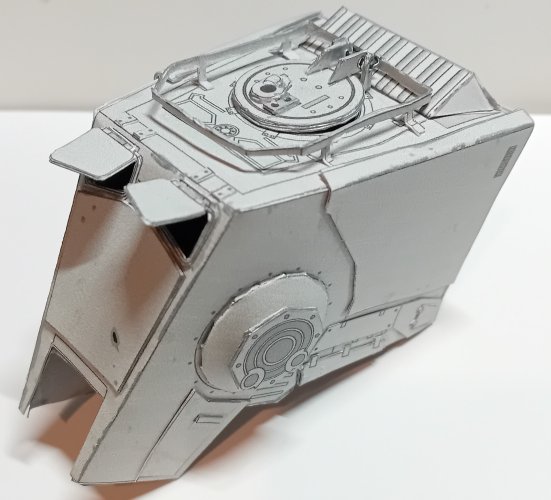
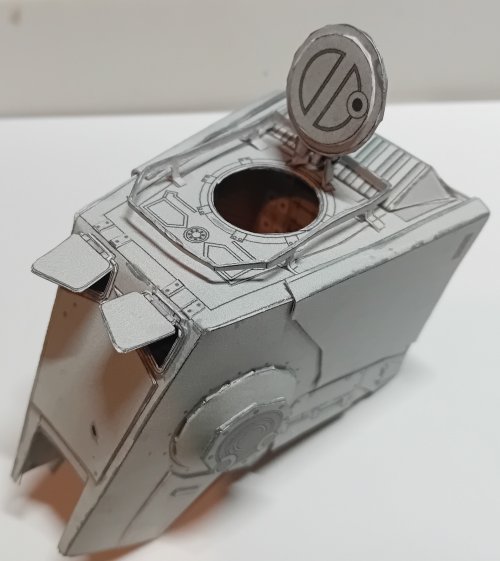

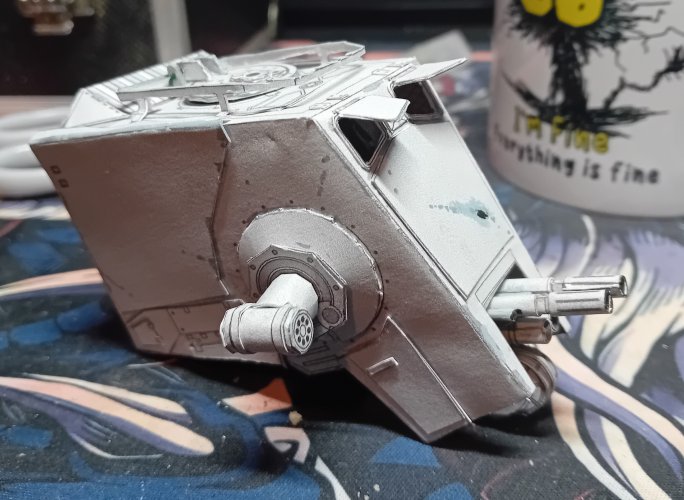
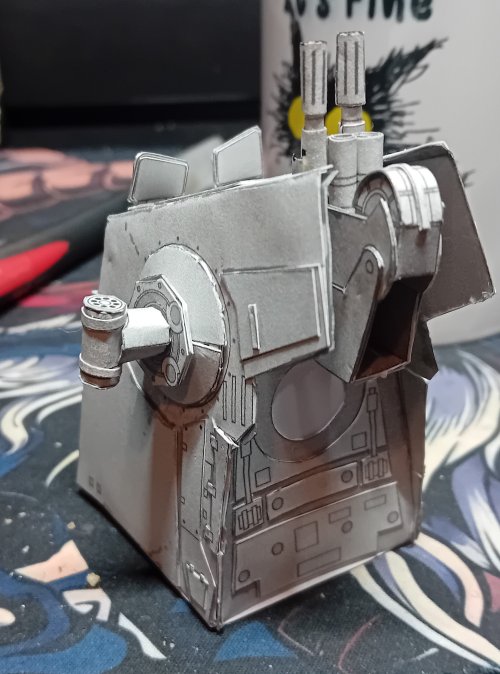
 i accidentally deleted the wip pics of the chin/right cheek weapons off my phone, so heres some of the progress so far: