Hi max348, and :welcome1: to the Gauge.
Nevermind - I think I was just SOAKING everything a little to much.
I tried diluting the glue a little more to where I was able to mist it out of a hairspray container ( the wifes, lol! ) & that seemed to help out alot...
I don't think that it's possible to soak scenery work
too much. It sounds to me as if you're not soaking it enough, and the glue mixture is sitting on top of the foam, rather than soaking in.
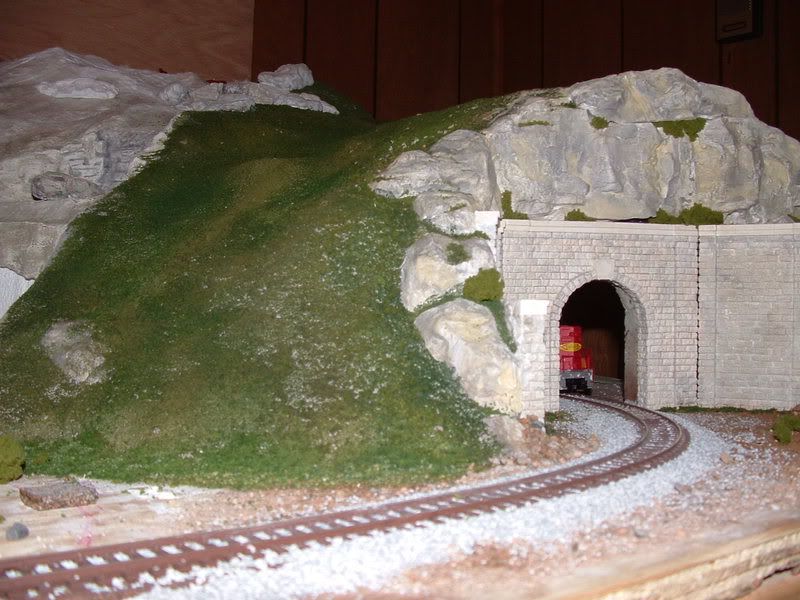
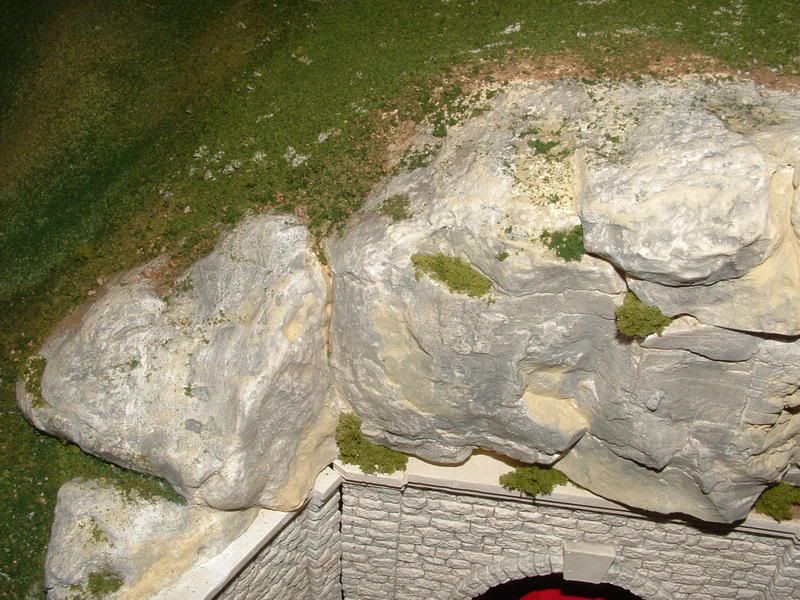
In my opinion, the key step to applying ground foam or ballast is the application of "wet" water. The glue mixture will only extend as far into the scenic material as the "wet" water has prepared the way. I like to apply all of the scenic foam in one step, if possible, although you can always come back and add more as required. My scenic landforms are done with plaster over screen, except in areas where bare plywood is needed, such as yards, so all of these areas are painted first - I used flat latex house paint, applied as a wash as soon as the plaster was fully hardened. Thinning it to a "wash" consistency made it easier to apply over the plaster, but of course wouldn't work if your scenery base is foam. In either case, I like to let the paint dry berfore going on to apply ground cover.
I start with the finest textures of ground foam first, to represent the dirt and small plants that are everywhere, the gradually work up to the coarser materials. Woodland Scenics "Clump Foliage" is good for bushes, as is lichen, although the latter will benefit from an application of fine or medium foam.
When you have all of the scenic material arranged to your satisfaction, wet the area with "wet" water, made by adding of few drops of liquid dish detergent to your sprayer of tap water. You need a sprayer that gives the finest mist possible, and direct the first few spritzes upwards, allowing the water to fall onto the scenery like a gentle rain. After the foam has been dampened enough, you can spray directly at it without fear of dislodging it. Soak the area thoroughly, to the point that water begins to "pool" in the low spots.
If you have some fairly steep hillsides, it's a good idea to coat the terrain with undiluted white glue, straight from the jug and applied with a suitable brush - a cheap, disposable 1" brush works well, and you can even rinse the brush out for re-use, if you do so before the glue hardens. Obviously, you have to make this application before applying the foam.

When you mist this area with the "wet" water, the glue will "wick-up" into the foam, although I also like to apply the diluted glue to these areas, too.
After the area has been thoroughly wetted, it's time to apply the diluted white glue mixture. I find that white glue works as well as matte medium, but is a whole lot cheaper, especially when you buy it in the gallon jugs. I mix it with hot tap water, as it seems to mix more readily than with cold water. A 50/50 mix is good, but 40/60 or 60/40 will work fine, too. Don't use a sprayer for applying this - it will gum up the sprayer, and put glue in places that you don't want it (think track, structures, and other lineside details). Instead, use a plastic applicator bottle that applies drops when inverted, and will do so even faster when squeezed slightly. You want the same effect as an eye-dropper, but with a bigger reservoir - I've seen suggestions that mention the container for contact lense solutions, and a good-quality turkey baster might even work well, if you can control the flow sufficiently. Soak the area completely with the glue mixture, and try to apply it so that you're always aware of the areas that you've done, and those yet to be covered. You'll see how easily the mixture spreads through the pre-wetted scenic materials, and be able to adjust the spacing of your applications appropriately. Don't be afraid if the glue starts to "pool" in low areas, either: when the glue mixture has been applied to every area, sift a little more ground foam into those "lakes" of glue, then give it a quick misting of "wet" water.
Now, clean your tools, and go find something else to do for a day or two.
")
:-D And don't touch anything as it's drying, or you'll make a real mess.

:-D
The ballasting was done in a separate operation before the ground cover, all of which was done in a single application. The background trees were added later.
In this scene, the ballasting, sub-roadbed, and rock fill, along with a narrow strip of foliage (in the glue-filled ditches
) was all applied at once, then the field at a later date, along with the background trees.
Same techniques here, with ballast, fill, and
all ground cover done in a single application. The trees and bushes were added later.
Finally, this area, which is bare plywood, with no roadbed or plaster relief. All ballast and ground cover applied at the same time.
Some of these areas took several days to dry, and while the foam
looks loose, it's secure enough to withstand direct vacuuming. Using an applicator for the glue mixture, rather than a sprayer, allows you to fill those gaps around structures that make otherwise good scenes look unfinished:
Wayne