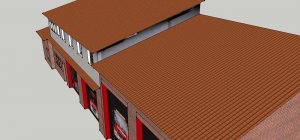
And I thought you were putting a lot of work into this, with just the firetruck...
German Fire Engine HLF 16/12 Feuerwehr Bremen
- Thread starter Revell-Fan
- Start date
You are using an out of date browser. It may not display this or other websites correctly.
You should upgrade or use an alternative browser.
You should upgrade or use an alternative browser.
The parts look really good!
I am really looking forward to seeing how this turns out!
I am really looking forward to seeing how this turns out!
- Apr 5, 2013
- 13,876
- 10,214
- 228
More internal reinforcements:
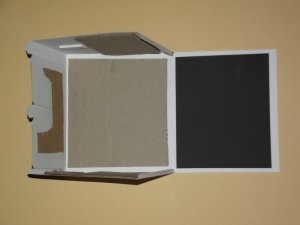
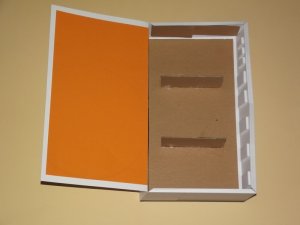
The boxes were closed. A quick setup:
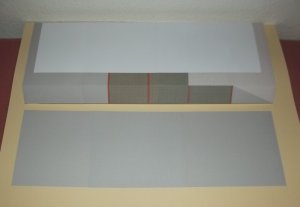
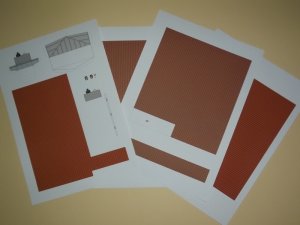
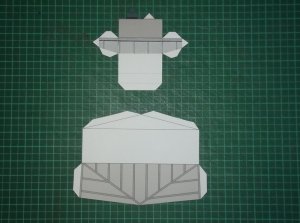
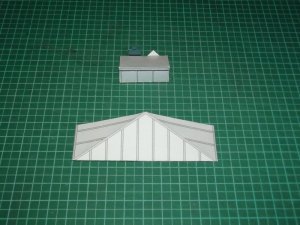
The roof parts are printed. However, I encountered a problem. Sometimes the colours are printed in a different shade. I have no idea why but I suppose it is the paper.
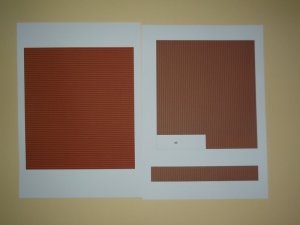
Here you can see it more clearly: The same texture printed differently. Printing software, ink, printer, print setting - everything was the same but the outcome wasn't. Very strange.
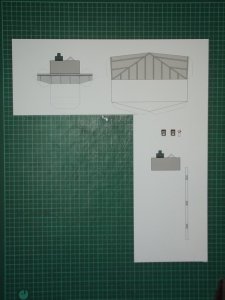
I managed to print two more pages with the same shade and used these to fix the issue and to give the roof a consistent look. Here are a few detail bits, a chimney, a small protrusion and some greeblies. Yep, I don't build anything without greeblies.


The boxes were closed. A quick setup:

The roof parts are printed. However, I encountered a problem. Sometimes the colours are printed in a different shade. I have no idea why but I suppose it is the paper.

Here you can see it more clearly: The same texture printed differently. Printing software, ink, printer, print setting - everything was the same but the outcome wasn't. Very strange.

I managed to print two more pages with the same shade and used these to fix the issue and to give the roof a consistent look. Here are a few detail bits, a chimney, a small protrusion and some greeblies. Yep, I don't build anything without greeblies.


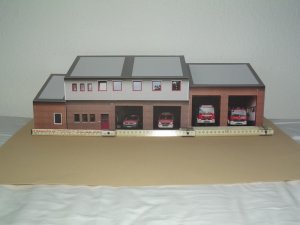
A quick placement test:
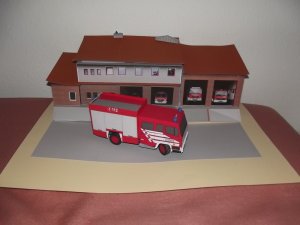
Not to shabby.
Four of these large sheets of card are required to make two boxes of 66 x 43 cm which will serve as a ground plate and a back plate:
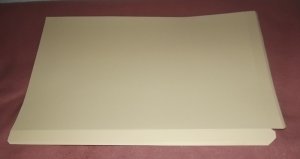
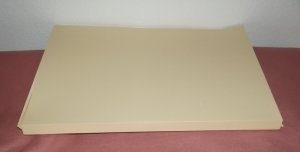
They need some formers made of leftover card from the stash:
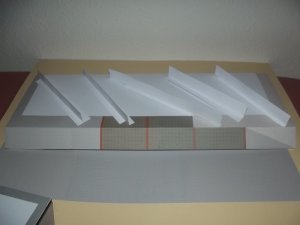
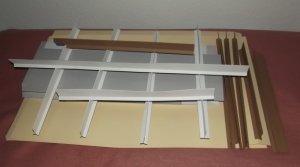
These will be interlocked later. Now I'm concentrating on making some pins and notches to firmly combine the back and ground plate. Stay tuned!

Not to shabby.
Four of these large sheets of card are required to make two boxes of 66 x 43 cm which will serve as a ground plate and a back plate:


They need some formers made of leftover card from the stash:


These will be interlocked later. Now I'm concentrating on making some pins and notches to firmly combine the back and ground plate. Stay tuned!
The whole scene has to be built from the back to the front. The first thing I need is the presentation base. Beause of its size it is made of two big plates. They are interconnected by pins and notches. Both are constructed the same way:
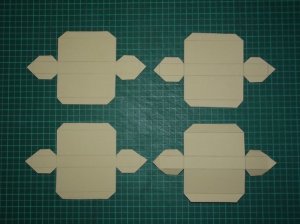
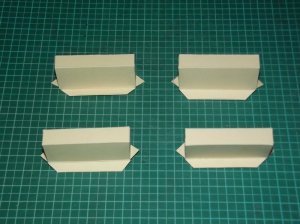
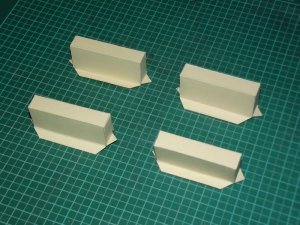
These are the pins. Then come the notches:
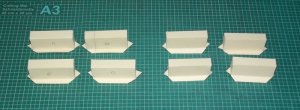
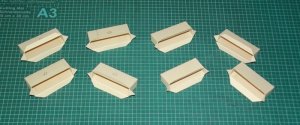
Since the pins are supposed to be pushed into the notches the notches are slighty bigger. 1mm higher and 1mm wider sufficed.
Now the plates are marked with cutting points:
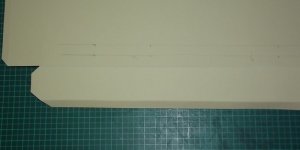
The marked areas are cut out:
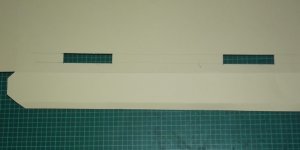
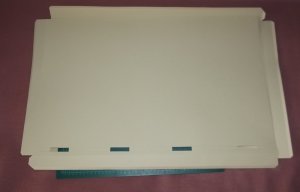
The notches will be pushed through the holes and glued tight.
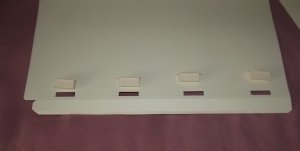
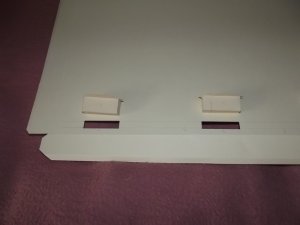
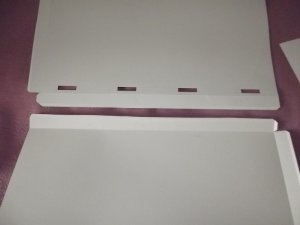
To make sure that the positions of the pins and notches matched I used the notch holes as templates for the pin holes.
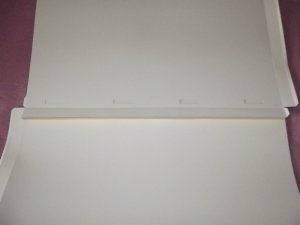
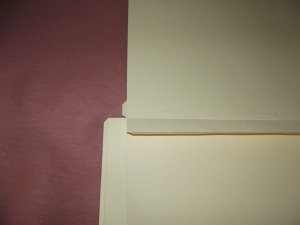
The holes were traced onto the corresponding plate
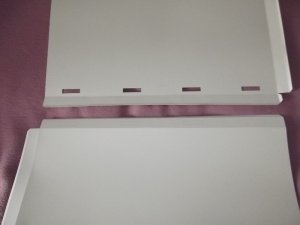
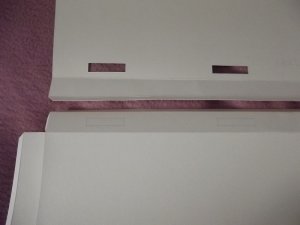
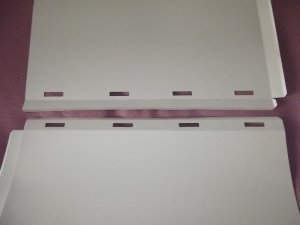
and cut out. Notches and pins are pushed through the holes and attached:
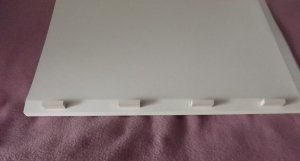

Here you can see the idea. This construction should be strong enough to avoid any sagging later, especially when the house is glued into place which will add even more stability.
Then the two parts of each plate are glued together to form one BIG 90 x 74 cm piece of card.
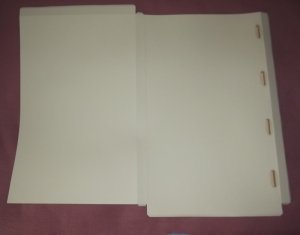
This is the biggest piece of card I have ever worked with.


These are the pins. Then come the notches:


Since the pins are supposed to be pushed into the notches the notches are slighty bigger. 1mm higher and 1mm wider sufficed.
Now the plates are marked with cutting points:

The marked areas are cut out:


The notches will be pushed through the holes and glued tight.


To make sure that the positions of the pins and notches matched I used the notch holes as templates for the pin holes.


The holes were traced onto the corresponding plate


and cut out. Notches and pins are pushed through the holes and attached:


Here you can see the idea. This construction should be strong enough to avoid any sagging later, especially when the house is glued into place which will add even more stability.
Then the two parts of each plate are glued together to form one BIG 90 x 74 cm piece of card.

This is the biggest piece of card I have ever worked with.
Last edited:
I like this method of connecting the panels together! I think that this would work for the large BSG hangar diorama as well.
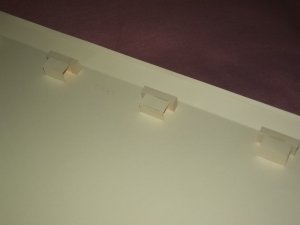
The notches need some structural support from the inside in order to prevent sagging. For this reason I created four simple but extremely sturdy pieces made of leftover card.
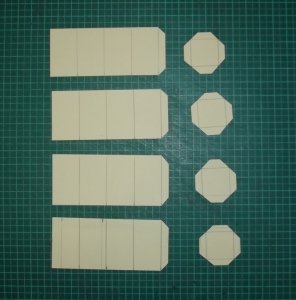
The big piece is folded into a box.
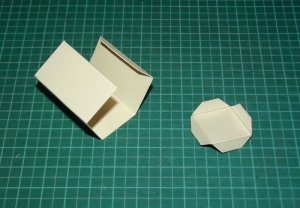
The small square piece is glued to the middle of the box.
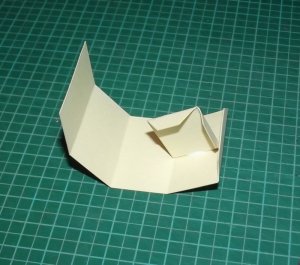
Then everything is wrapped around:
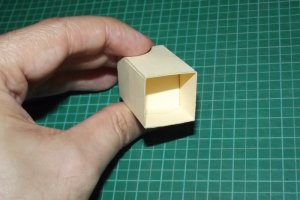
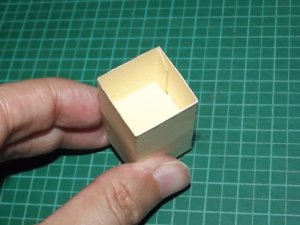
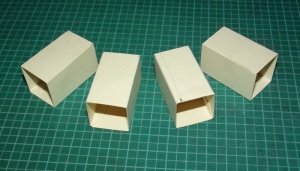
The boxes are glued to the plate and the notch.
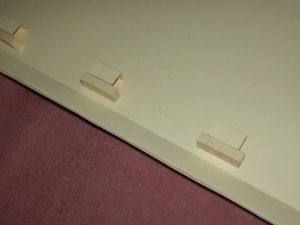
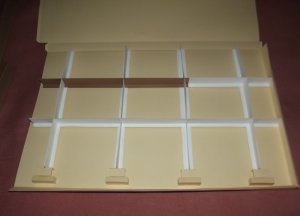
Next I have added the internal skeleton.

The big piece is folded into a box.

The small square piece is glued to the middle of the box.

Then everything is wrapped around:


The boxes are glued to the plate and the notch.


Next I have added the internal skeleton.

The first box was closed.
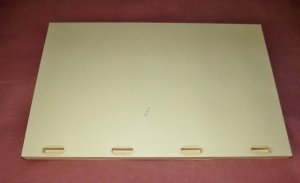
The next box was treated the same way:
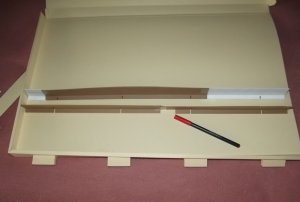
I used leftover card for the skeleton. I roughly estimated the best position of the rips and marked the incision points with a felt tip.
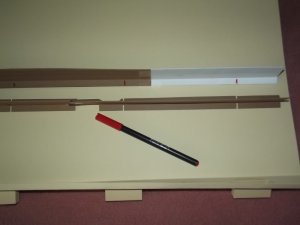
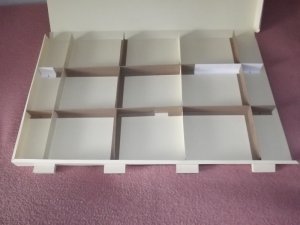
The box was closed.
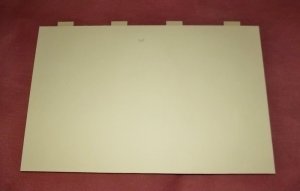
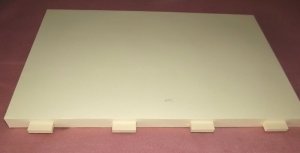
Now came the exciting part: Both pieces were joined:
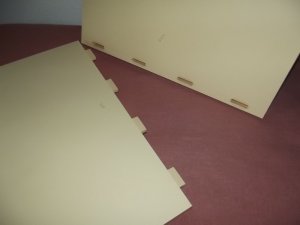
That proved to be a bit tricky because the fit was very tight. My first attempt failed because the middle pins would not slide into the notches. So I cut the back side open again so that I could reach inside the piece with the notches to apply pressure from behind. That worked quite well and both parts were assembled into this frame:
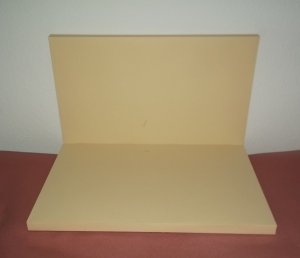
This was left to dry over night. Everything was still a bit shaky but that was supposed to change the next day: The first element of the house was added. The open side proved extremely helpful here, too, because it allowed me to apply pressure to the back side.
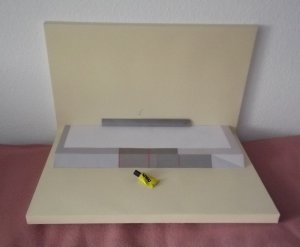
The ruler in the pic is 30 cm long, BTW.
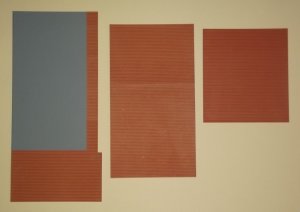
The roofs were laminated to grey card to add stability to the overhanging sides.
Now I need to print and attach a suitable background. Stay tuned!

The next box was treated the same way:

I used leftover card for the skeleton. I roughly estimated the best position of the rips and marked the incision points with a felt tip.


The box was closed.


Now came the exciting part: Both pieces were joined:

That proved to be a bit tricky because the fit was very tight. My first attempt failed because the middle pins would not slide into the notches. So I cut the back side open again so that I could reach inside the piece with the notches to apply pressure from behind. That worked quite well and both parts were assembled into this frame:

This was left to dry over night. Everything was still a bit shaky but that was supposed to change the next day: The first element of the house was added. The open side proved extremely helpful here, too, because it allowed me to apply pressure to the back side.

The ruler in the pic is 30 cm long, BTW.

The roofs were laminated to grey card to add stability to the overhanging sides.
Now I need to print and attach a suitable background. Stay tuned!
Thank you! 
Yesterday the weather was splendid. I went for a walk and took some pictures for the background of the diorama. The one that comes with the original fire station picture is good but I thought it would be better to create something new to be able to control the perspective better. So I took these

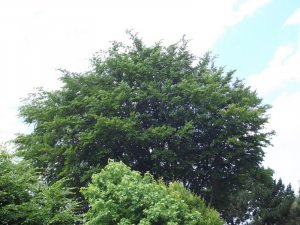
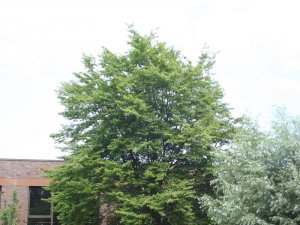
and combined them into this:
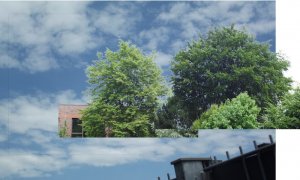
cropped and colour tweaked:
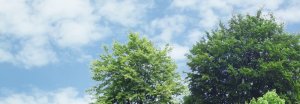
This was divided into three parts and printed.
In picture three you can see the walls of MY local fire station, BTW, so the motif fits perfectly here.
On my walk I encountered a very curious cat. She was lying directly on the sidewalk and I almost ran over her because I was constantly looking up to the sky, checking for good cloud formations.
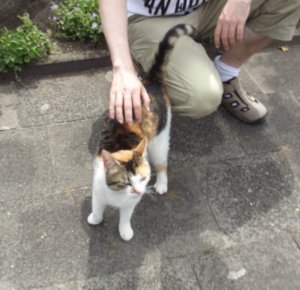
After she got her daily amount of petting units she headed across the street for the next garden and took a break in the shadows of a small tree.
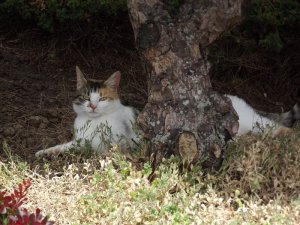
If she only knew what I saw half an hour later...
Floating dinner! :Grin:
Yesterday the weather was splendid. I went for a walk and took some pictures for the background of the diorama. The one that comes with the original fire station picture is good but I thought it would be better to create something new to be able to control the perspective better. So I took these


and combined them into this:

cropped and colour tweaked:

This was divided into three parts and printed.
In picture three you can see the walls of MY local fire station, BTW, so the motif fits perfectly here.
On my walk I encountered a very curious cat. She was lying directly on the sidewalk and I almost ran over her because I was constantly looking up to the sky, checking for good cloud formations.

After she got her daily amount of petting units she headed across the street for the next garden and took a break in the shadows of a small tree.

If she only knew what I saw half an hour later...

Floating dinner! :Grin:
Last edited:


