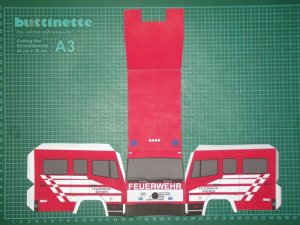
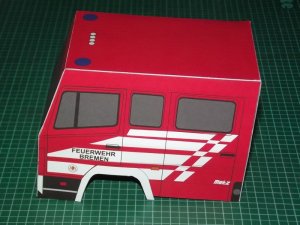
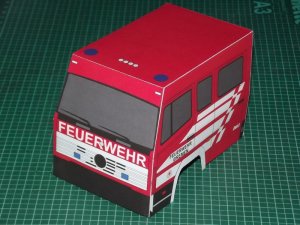
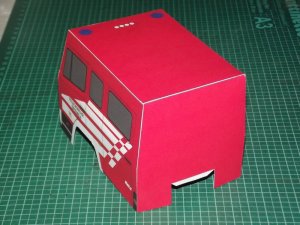
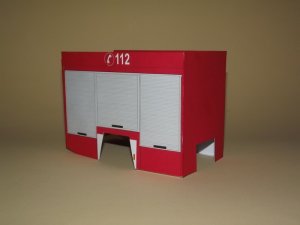
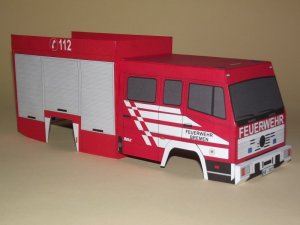
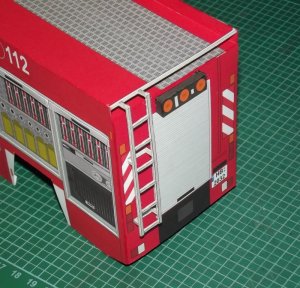
German Fire Engine HLF 16/12 Feuerwehr Bremen

Revell-Fan

Co-Administrator
Staff member
Administrator
Moderator
Aug 1, 2009
11,612
12,353
228
Vreden
One of our tenants is a retired fire fighter. This gave me the idea to make a fire engine for him as a present for his birthday. On http://www.streetpaper.de/ (Police > Bremen) I found a nice-looking fire truck model which I chose to build.

This vehicle is filed under

Mercedes Benz Actros
Hilfeleistungslöschfahrzeug (aid fire truck) HLF 16/12
Feuerwehr (fire brigade of) Bremen

geraet.jpg


Unfortunately there are no instructions available, so I'll have to rely on pictures of the real thing and pictures of a finished and enhanced model on kartonbau.de and see how far my intuition will take me. It seems that this thread will be the first complete build report on this model. ;)

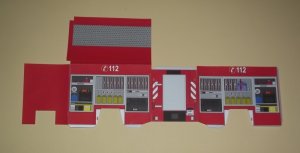
I turned the plans into *.pngs to change two things: The light blue windows looked a bit unrealistic. I recoloured them and made them dark grey. Second, I enlarged the plans by 40% to print them on A3 size. Since the original design is 1/43 the new scale is about 1/30 now.
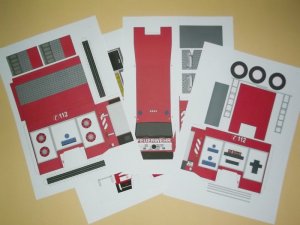
DSCF7083.JPG

I re-arranged a few parts to avoid visibe seam lines on the front and back compartment. I left the line on the undercarriage because you won't see it if you don't display it upside down. ;)
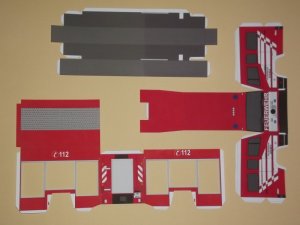
DSCF7086.JPG

One thing that took me completely off-guard: I had major printing problems with Gimp. The red came out inconsistently, the scale of a few pages was completely off. I checked everything three times, made several test prints and wasted a few pages for nothing. I had absolutely no idea what was happening. I restarted the PC, checked the resolution and colour values, nothing helped. Then I tried something else. I loaded the pages on a canvas in Corel and printed them with Corel. That helped. Scale and colours were perfect. It was the first time Gimp let me down this way. Strange.
 

Rhaven Blaack

!!!THE MAN BEHIND THE CURTAIN!!!
Staff member
Administrator
Moderator
Jun 12, 2009
12,519
9,894
228
Oregon
www.deviantart.com
That is a GREAT idea! I have given many (finished) paper/cardstock models as gifts to both family and friends.
Thank you for sharing the link with us. I look forward to seeing how this turns out.
 
  • Like
Reactions: Revell-Fan

Revell-Fan

Co-Administrator
Staff member
Administrator
Moderator
Aug 1, 2009
11,612
12,353
228
Vreden
Nice looking model. Could you please consider painting the edges of paper, including bends? This will add alot
Wherever possible! thumbsup Right now I'm only assembling the single parts to toy around with them because I have to see how everything goes together (there are no instructions). Once a part is finished it goes into a box for the time being. :)

Super model, I will be hard pressed to make its modifications with the different programs
It looks cool! :) However, I have already found some areas which need to be modified. The Mercedes star for example is not present (probably for legal reasons or simply a glitch) and has to be added, the two small front lights must be positioned higher and a side mirror is missing. Nothing serious but there is room for improvement. :)
 

Revell-Fan

Co-Administrator
Staff member
Administrator
Moderator
Aug 1, 2009
11,612
12,353
228
Vreden
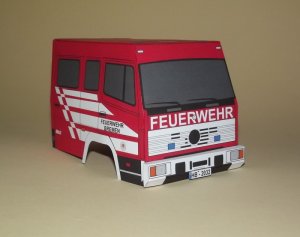
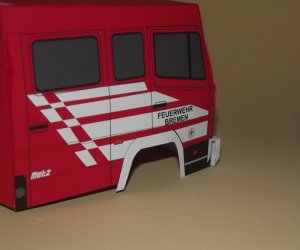
The driver's cabin:

DSCF7115.jpg

DSCF7116.jpg

DSCF7118.jpg

DSCF7120.jpg

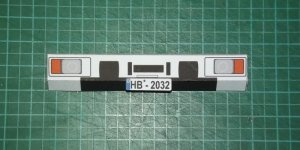
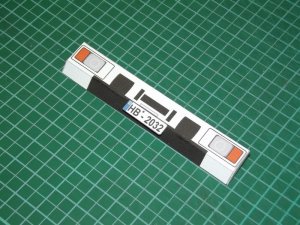
The bumper and the license plate are attached:

DSCF7125.jpg

DSCF7126.jpg

DSCF7127.jpg

There is a visible gap at the back of the bumper:

DSCF7128.jpg

I reinforced the inside with corugated card.

DSCF7143.jpg

On the inside you see the previously misprinted pages. Never waste a piece of paper! ;)
 
Last edited:

Revell-Fan

Co-Administrator
Staff member
Administrator
Moderator
Aug 1, 2009
11,612
12,353
228
Vreden
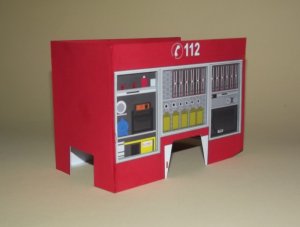
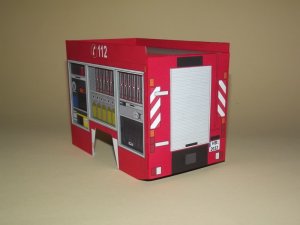
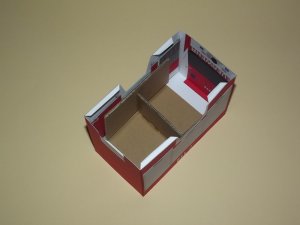
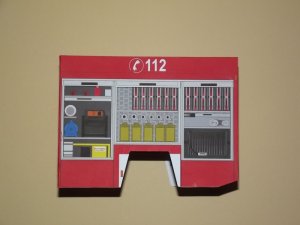
The back compartment is constructed in a similar way. Basically it is a big box.

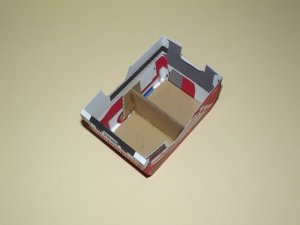
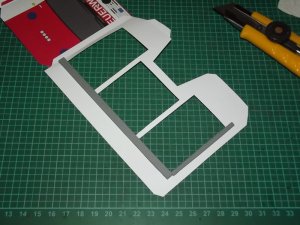
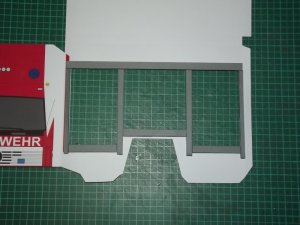
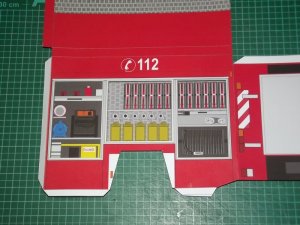
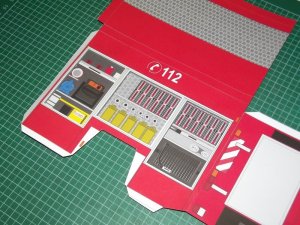
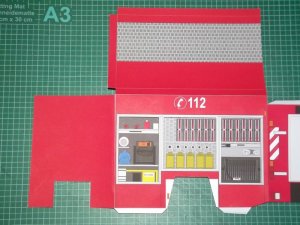
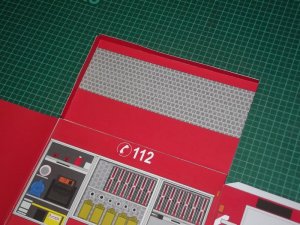
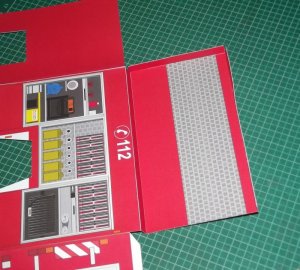
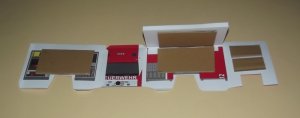
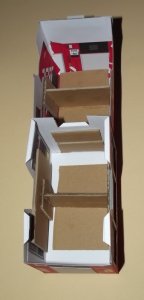
Volker designed the kit with a variety of display options. He provided separate plates which show the interior of the model. If you want to use these plates or not - you'll have to cut out the white spaces on the side parts because they contain relevant parts for other components. If you want to display the interior it is best to add a self-made spacer like the one I made. I used several strips of card and laminated them to a thickness of about 2mm.

DSCF7129.jpg

These were glued to the back side of the compartment.

DSCF7130.jpg

DSCF7131.jpg

By adding only cardboard strips instead of using complete plates I saved a lot of card.

DSCF7132.jpg

The interior plate was glued to the frame. The spacers add some depth to the model.

DSCF7133.jpg

DSCF7134.jpg

All components of the back compartment together:

DSCF7135.jpg

Another ingenious design element is the top tub. Its sides serve as glue tabs.

DSCF7136.jpg

DSCF7137.jpg

I reinforced the interior with corrugated card.

DSCF7138.jpg

I chose the right side to be displayed closed. To do so I glued the covers to the side.

DSCF7139.jpg

DSCF7140.jpg

The back side gets a cover, too.

DSCF7141.jpg

A view at the inside:

DSCF7142.jpg

To add some realism I cut off the top portion of the covers of the left side and attached only the bottom showing the grips.

DSCF7145.jpg

I really like the texture. Of course you are free to flesh out the interior by laminating the single elements or even replace them with 3D structures.
 
Last edited:

Revell-Fan

Co-Administrator
Staff member
Administrator
Moderator
Aug 1, 2009
11,612
12,353
228
Vreden
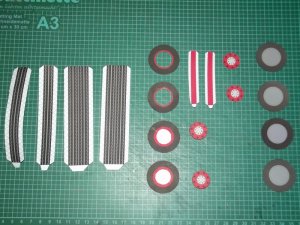
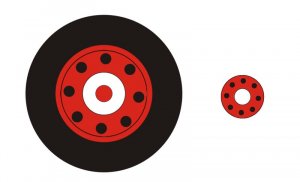
The wheels:

DSCF7121.jpg

The front wheels get the thinner profile part, the back wheels get the thicker one.

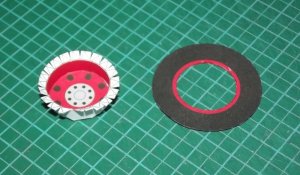
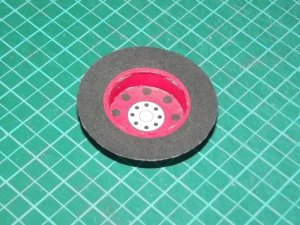
The fully textured wheels are the back side which is glued to the undercarriage later. The center of two front sides must be cut out. These will be the fronts of the back wheels. There are two thin red strips in the kit. These are glued to two of the hub caps:

DSCF7122.jpg

DSCF7123.jpg

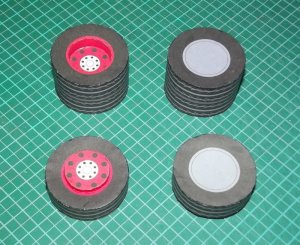
The other two hub caps are laminated to 2mm card and attached to the remaining fronts. The finished wheels look like this:

DSCF7124.jpg

When you compare them to the real ones you realize major differences. Volker's design is good for what it is, it is very easy to assemble without going overboard. However, with some small changes you can achieve a much more realistic look:

Hilfeleistungsloeschfahrzeug1-1-0.jpg

The front of the front wheel must look like this. The center must be coloured red. Only the ring is raised, not the complete circle. The center circle is flat.

This is a change I'm not sure to make because I have already assembled the wheels (I just had an idea how to do it without doing too much damage, so we'll see). I will however update the back wheels since the fix only requires adding a new center plate. The center plate must be completely red and feature a laminated center circle.

There will be a few other changes which I will compile into a file, so don't bother downloading and using the images of the corrected parts I post here (the resolution is not too good either ;) ).
 
Last edited:

Revell-Fan

Co-Administrator
Staff member
Administrator
Moderator
Aug 1, 2009
11,612
12,353
228
Vreden
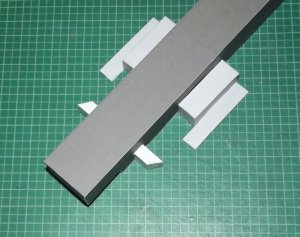
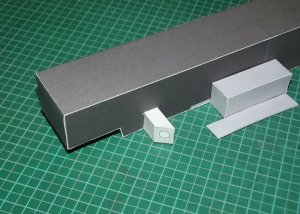
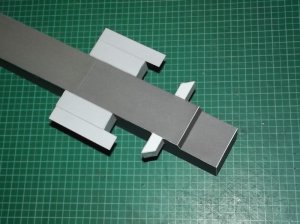
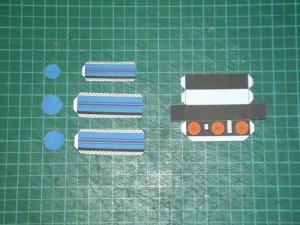
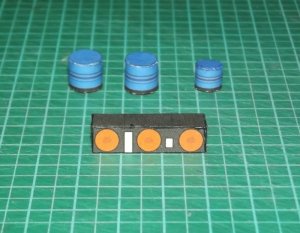
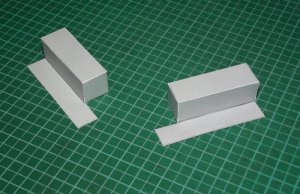
When I looked at the parts I found these two structures. At first I was unable to understand what they were supposed to be. The build on kartonbau.de gave me a clue: they are steps helping you to get in or out of the vehicle.

DSCF7146.jpg

DSCF7147.jpg

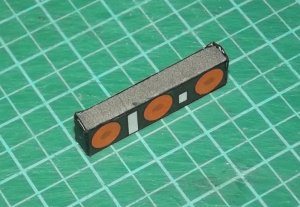
They are glued to the undercarriage. There are even marks indicating the spots.
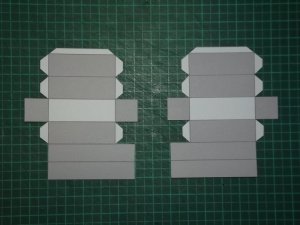
DSCF7151.jpg

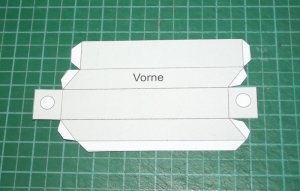
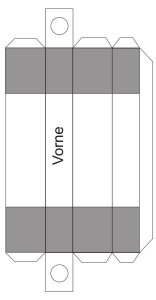
When I found out which side was the front I noticed that the white rectangles were meant to be cut out.

DSCF7152.jpg

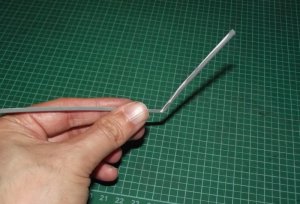
Volker provided two different front axles. One is straight, the other is angled. He even added center marks to push a rod through the parts if you want to make the wheels spin. I chose to use the angled axle.
DSCF7148.jpg

The circles show where to attach the rod if you like.
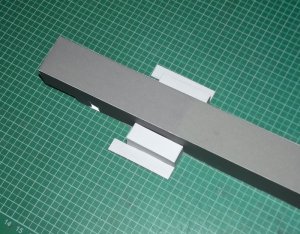
DSCF7149.jpg

You may even choose the direction the wheels are going by turning the axle upside down. Another of Volker's clever ideas. :)

DSCF7153.jpg

The axle is pushed through the hole and glued tight.

DSCF7154.jpg

Bottom view:

DSCF7155.jpg
 
Last edited:

Revell-Fan

Co-Administrator
Staff member
Administrator
Moderator
Aug 1, 2009
11,612
12,353
228
Vreden
I haven't seen it in ages, like "Soilent Green", "Zardoz" and "The Ice Pirates". It's about time that these movies are shown again. They showed "Logan's Run" a few weeks ago. "Papillon" seems to be in an endless loop here though. :Grin:
 
  • Like
Reactions: Awry_Chaos

micahrogers

Moderator "Where am I, and how did I get here?"
Staff member
Moderator
Jul 12, 2012
3,772
4,639
113
Shannon GA
they need to do a remake of Fahrenheit 451 and try to be as close to the book as possible. I read the book before I saw this movie, and I didn't enjoy it as much as I would have.
 

Revell-Fan

Co-Administrator
Staff member
Administrator
Moderator
Aug 1, 2009
11,612
12,353
228
Vreden
This is the optional straight axle:

Hilfeleistungsloeschfahrzeug3-0-0.jpg

Use this if you want to display the front wheels in a parallel position. The hole indicates where to insert a rod to make the wheels rotatable. If you use the angled axle like me this part can be omitted.
 

Revell-Fan

Co-Administrator
Staff member
Administrator
Moderator
Aug 1, 2009
11,612
12,353
228
Vreden
The more I look at the open side compartments the stronger I feel the itching to fully detail them. However, that would delay the finish which I don't want to risk in regard to the present situation. Due to Corona things may change so quickly and there is still a little bit of work ahead. Since the vehicle is to be displayed from the right (closed) side later I decided to leave them as they are. The open compartments serve more as a gimmick for the casual viewer who turns the vehicle around for inspection. Why is the right side more important, you may ask. Well, yesterday I got an idea which is going to blow those flat side panels out of the water. A new focal point which is going to give the whole project a completely new meaning. Just wait and see! ;)
 
Last edited:

Revell-Fan

Co-Administrator
Staff member
Administrator
Moderator
Aug 1, 2009
11,612
12,353
228
Vreden
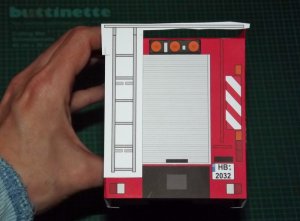
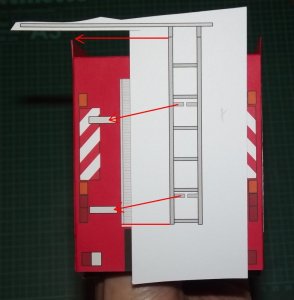
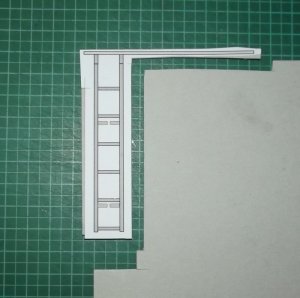
This is the ladder leading up to the roof. It consists of one front and one back side. Both are supposed to be laminated together

DSCF7165.jpg

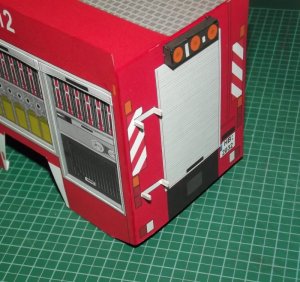
and attached to the rear of the vehicle like this:

DSCF7167.jpg

The long horizontal beam on the top serves as an anchor for the four big ladders which will be stored on the roof.

The original features a hook-like structure on the top allowing the climber to reach the rooftop more easily and to fully embrace the rungs. The small rectangular structures between the rungs are supposed to be folded down and serve as spacers but they are in the wrong place:

DSCF7171.jpg

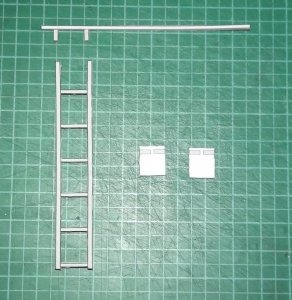
So I laminated everything to 1mm card, skipped the back side print, cut the spacers off and repositioned them.

DSCF7169.jpg

DSCF7172.jpg

DSCF7174.JPG

DSCF7176.JPG

I attached the ladder to the spacers first and then added the beam. Everything looks great now! :)
 
Last edited: